
For artists, writers, and page designers, nothing is as frightening as a blank page. Thanks to Word’s Publishing Layout View templates, fear of the blank page is a thing of the past. (Good riddance vacansopapurosophobia!) Although you can start with a blank canvas when the creative juices are raging, don’t be shy about reaching for one of Word’s templates to give you a jump-start (see Figure 8-1).
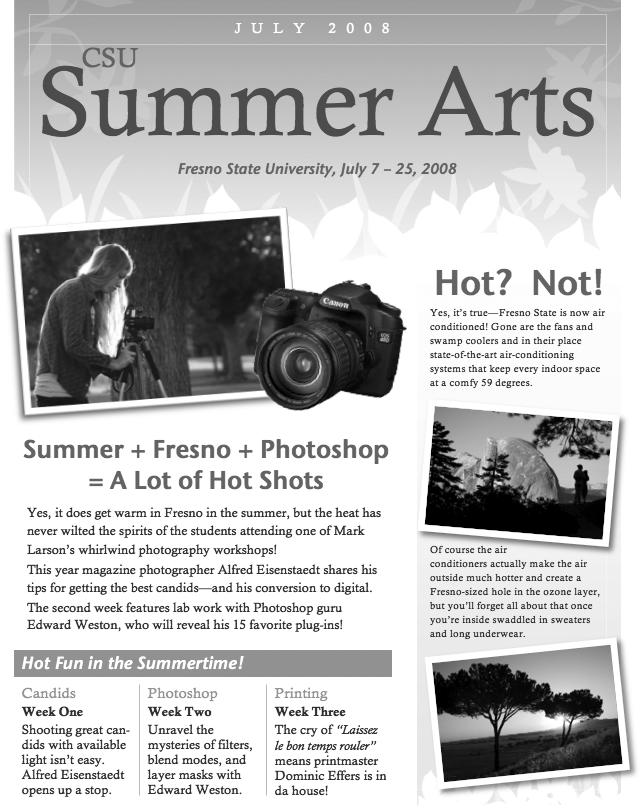
Figure 8-1. With Word’s Spring Newsletter as the starting point, this kind of page is easy to put together. All you have to do is replace the placeholder text and pictures, making some font changes, and changing the picture size.
The next few pages present an overview of choosing and using Word’s Publishing Layout view templates—and the Publishing Layout view itself. The rest of the chapter fleshes out the topic in depth, including starting a document from scratch and saving and sharing your own templates.
You can open a new Publishing Layout view document template from the Project Gallery or—if you’re already working in Publishing Layout view—from the Elements Gallery (see Figure 8-2).
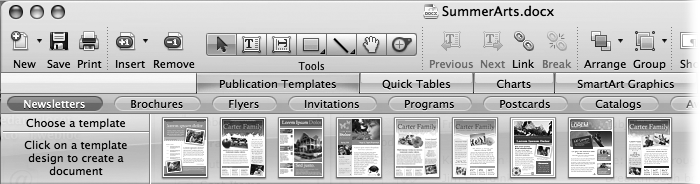
Figure 8-2. The Publication Templates section of the Elements Gallery displays thumbnail views of all available templates. Choose the type of document you want to create by clicking the buttons for newsletters, brochures, flyers, invitations, and so on; then click one of the thumbnail images to open a new document based on the template.
To open the template from the Project Gallery, choose File→ Project Gallery.
The Project Gallery appears. Click the New tab, and then click the various categories in the list to display their document thumbnails. Click the flippy triangles that appear next to some of the categories to reveal their subcategories. The categories leading to Publishing Layout view are Events, Flyers, Marketing, Newsletters, Calendars, CD Labels, and Programs.
Tip
If you’re already in Publishing Layout view, click the Elements Gallery’s Publication Templates tab just below the toolbar to reveal the publication templates thumbnails—arrayed in the Elements Gallery (Figure 8-2). Or, to start from scratch with a blank document, choose the Blank Documents category and click the Word Publishing Layout thumbnail.
Double-click one of the Template thumbnails to open it. (To follow along with the example on these pages, choose the Spring Newsletter.)
A new document based on the template opens in Publishing Layout View, displaying the workspace, content tabs, and toolbar that are unique to this view (see Figure 8-3).
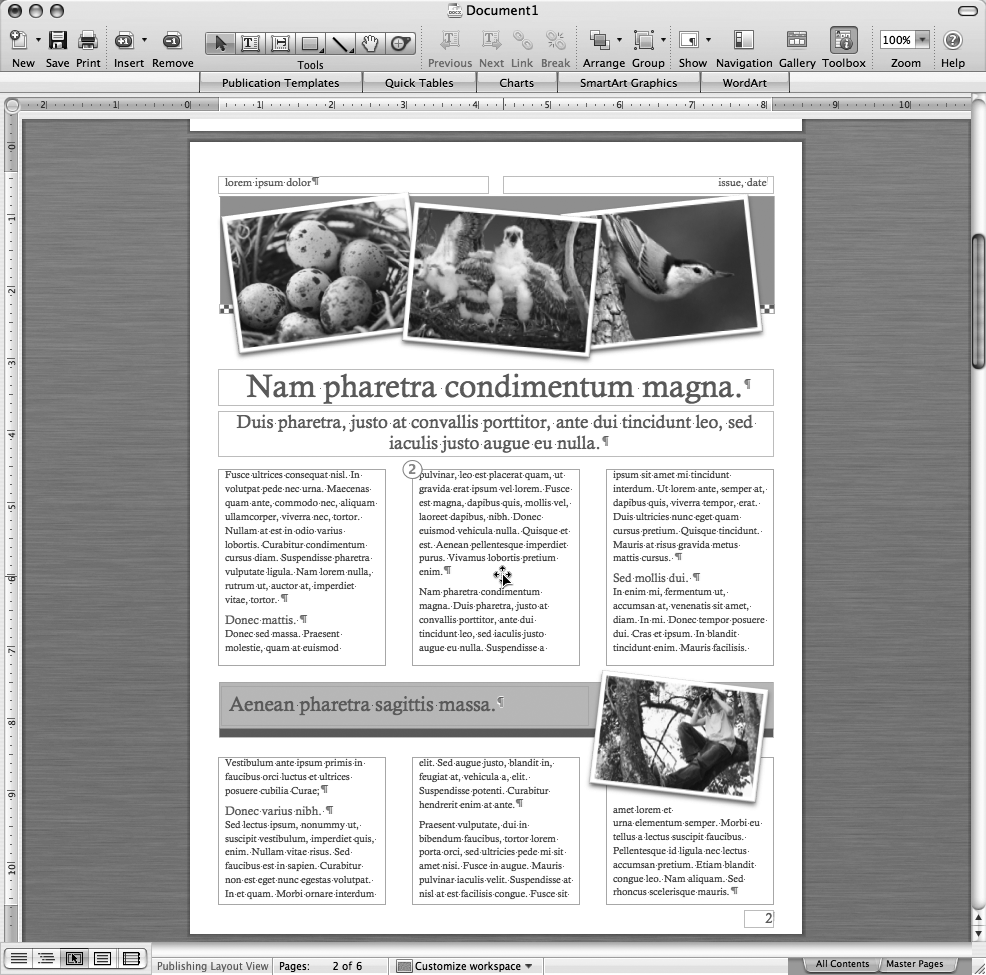
Figure 8-3. By choosing View → Show → Outlines, you can keep better track of your text-box layout. This page uses a set of six linked text boxes; the cursor is over the second box in the series, which temporarily displays a number indicating its position in the lineup. The Status bar at the bottom of the window shows what page you’re on and has the pop-up menu for customizing the workspace—the “worktable” on which the pages lie—as well as the tabs to shift from the normal All Contents view to the Master Pages view (Master Pages).
If you’re used to word processing with plain text, your first glimpse of one of Word’s carefully designed page layout templates can be a shocker. Although the eye-catching layout looks like the product of a skilled designer using a professional page-layout program like InDesign or Quark, it’s actually created entirely in Word by harnessing the power of the new Publishing Layout View.
Similar to its Notebook Layout cousin, Word’s Publishing Layout view displays its pages the way they might look in real life—on an attractive tabletop background with the look of real wood. If you don’t like designing your pages while they’re laid out on oak, click the Customize Workspace pop-up menu at the bottom of the window and choose a different background. If you want the least conspicuous background, choose Industrial, Aluminum, or Titanium.
Word’s designers created the first page of the Spring Newsletter by using background images, text boxes, photographs, and a photo with a transparent background. You can get a better idea of how they constructed the page by choosing View → Show → Outlines (see Figure 8-3).
The layout outlines reveal that this page is composed of a collection of text boxes arranged on top of a couple of background graphics (which are actually on the Master Page, described on Master Pages). All three of the photos are JPEG graphics, rakishly rotated to give the newsletter an informal look. Two of the pictures display a white border or stroke (Transparency), the flower has a transparent background (Arranging objects) and overlaps one of the other photos (Arranging objects), and they all sport drop shadows (Shadow Tab) to help give the two-dimensional newsletter a three-dimensional feel. Finally, the “Save the Date!” text box uses a color fill.
All of the newsletter templates (and many other templates) are multi-page, designed to match and work together in the particular document you’re creating. If you’re designing a newsletter, for example, you probably want a front page that shows the headlines and masthead, a variety of inner pages designed differently, and perhaps a back page that lets you fold and mail the newsletter without an envelope. In fact, that’s the exact arrangement of the Spring Newsletter template’s six pages. Click the Navigation button in the toolbar (or choose View → Navigation Pane) to reveal the Navigation Pane (Figure 8-4) and use its scroll bar to view all the template pages.
Although Microsoft’s designers have provided a complete newsletter package of six pages, your newsletter can be any length at all—and you’re free to reorder or remove pages. To remove a page, highlight it in the Navigation Pane and then click the Remove button in the toolbar, or choose Insert → Remove Page. Word dutifully withdraws the page from your document. If the Navigation Pane isn’t showing (Figure 8-4), clicking the Remove button removes whichever page contains the insertion point.
Note
You don’t have to have the Navigation Pane visible while you’re adding or removing pages—but it certainly helps keep you “on the same page” with Word while you do so.
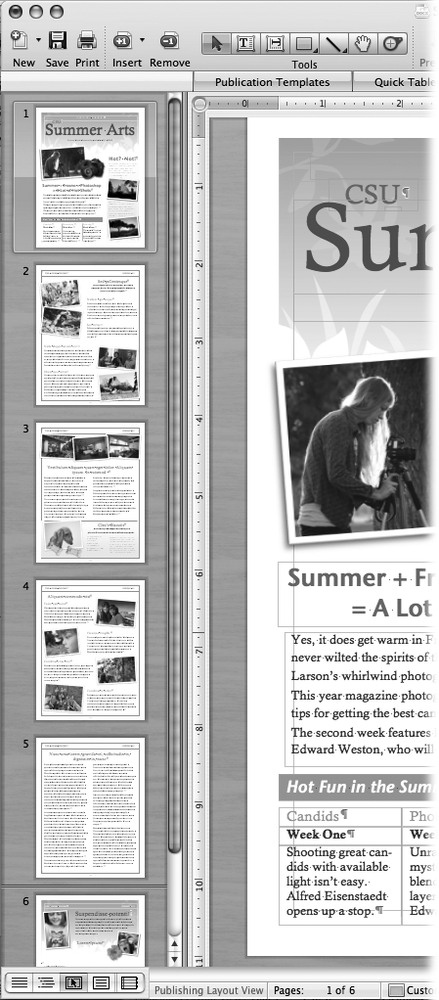
Figure 8-4. Click the Navigation button to reveal the navigation pane, a strip of thumbnails showing your page order. In this document, a double line between pages Opening Documents with the Open Command and Returning to Favorite Documents indicates a section break where the Master Page design changes (Master Pages). You can reorder pages by dragging them into a new position and remove a page by selecting it and pressing Delete or clicking the Remove button in the toolbar.
Adding a page is just as easy. Click the Insert button in the toolbar (or choose Insert → New Page) and Word creates a new blank page following the selected page in the Navigation Pane (or following the current page if the Navigation Pane is hidden). To add another template page—instead of a blank page—choose the page style you want in the Navigation Pane and use the Insert button’s pop-up menu to choose Duplicate Page (or choose Insert → Duplicate Page). Word creates an exact duplicate of the page—layout, text, pictures, the works.
With a few exceptions, the “Greek” text in the template is placeholder text, intended to show you the document’s design, as described in the box on Adding template pages. You can’t edit this placeholder text—in fact, it disappears when you click it. When it vanishes, start typing and your words begin to fill up the space. With the placeholder text out of the way, you’re back in the world of normal word processing.
To get started, for example, scroll back to the first page, click “Lorem Ipsums,” and then type your own name. (If your name is much longer than Lorem Ipsums, it forces the headline onto two lines. Select your name, open the Formatting Palette, and use the Size slider in the Font pane to decrease the size and keep the headline on one line.)
Next, click one of the text boxes and start typing—or paste in text from another document. The placeholder text disappears, replaced by your words. Whenever you click a text box, your first click selects the whole box, displaying its eight light blue handles. Your second click (or simply starting to type) takes you inside the box—into text-editing mode—where you can add or edit text using all of Word’s usual word processing features.
Double-click the orange “Save the Date!” Headline text box and type your own headline. When you’re done adding text, leave the editing mode and select the text box by clicking one of its corners or clicking outside and then back on the text box—making its corner handles reappear. If it’s not already open, click the Toolbox button in the toolbar and open the Formatting Palette’s Colors, Weights, and Fills pane. Then click the Color pop-up menu and choose a different color for the text box fill. (Since the text is white, or reversed, stick with the darker colors.)
If you decide this document’s a keeper, choose File → Save, give it a name, choose a destination, and then click Save. When you’re working with templates, the document you work on is always a clone of the template. You can modify the document and save it, and still go back to the Elements Gallery and find the template there, unchanged, and ready for another use.
Similar to the dummy text in the text boxes, two of the pictures on this page are placeholders—the flower is a regular picture, not a placeholder (the difference will soon become obvious). If you find the “template people” irresistible, you can keep their pictures. Otherwise, drag some of your own photos onto the placeholder to replace the template family with your own—the size, border, rotation, and other attributes of the placeholder picture remain the same. Just click the Object Palette button in the Toolbox and then click the Photos tab to display a folder of your own pictures or your iPhoto library (see The Toolbox Redux). This shortcut gives you access to any picture folders on your computer—all from within Word. Scroll through your images and drag any one of them onto one of the template’s picture placeholders. Word replaces the template’s version of a perfect family with your own.
You don’t have to use the Object Palette’s view of your photos. You can drag a picture file directly from a folder, or a thumbnail directly from iPhoto, Adobe Bridge, Microsoft Expression Media, or from most any other photo organizing software. You can also add pictures to your document without using picture placeholders: Just drop the picture into your document at the approximate place you want it to appear. Word inserts small pictures at full size and scales down large pictures so they don’t take over the whole page. Then you can click the picture and drag one of its resizing handles to adjust the picture size (see Figure 8-5).
To remove a photo, click once to select it, then press delete.
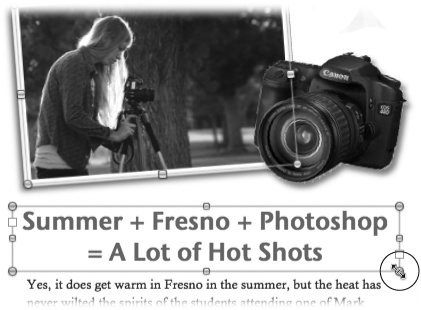
Figure 8-5. Click any picture or text box once to select it, and then use the corner or side handles to adjust its size. When you move your cursor over one of the handles, it assumes a double-headed arrow shape (circled). Pictures feature an additional handle sprouting from the top edge. Drag this handle to rotate the picture. Text boxes display two additional squares you can click to link one text box to another (see Linking text boxes).