
Holiday & Everyday Ornaments
Ornaments are just tiny sculptures as far as I’m concerned! And they aren’t only for decorating trees; I love to add a funny personalized ornament to gifts too.
You can make these ornaments with a theme in mind: animals, family members, fruits, veggies. . . you name it! I’ll walk you through how to make a Pembroke Welsh Corgi, but feel free to use these techniques to make ideas of your own. I’ve included a few other ornaments as inspiration.
STEP 1
Decide what you want to make. I’m making a Corgi because I adore them, but this tutorial will work for almost any pet or four-legged animal!
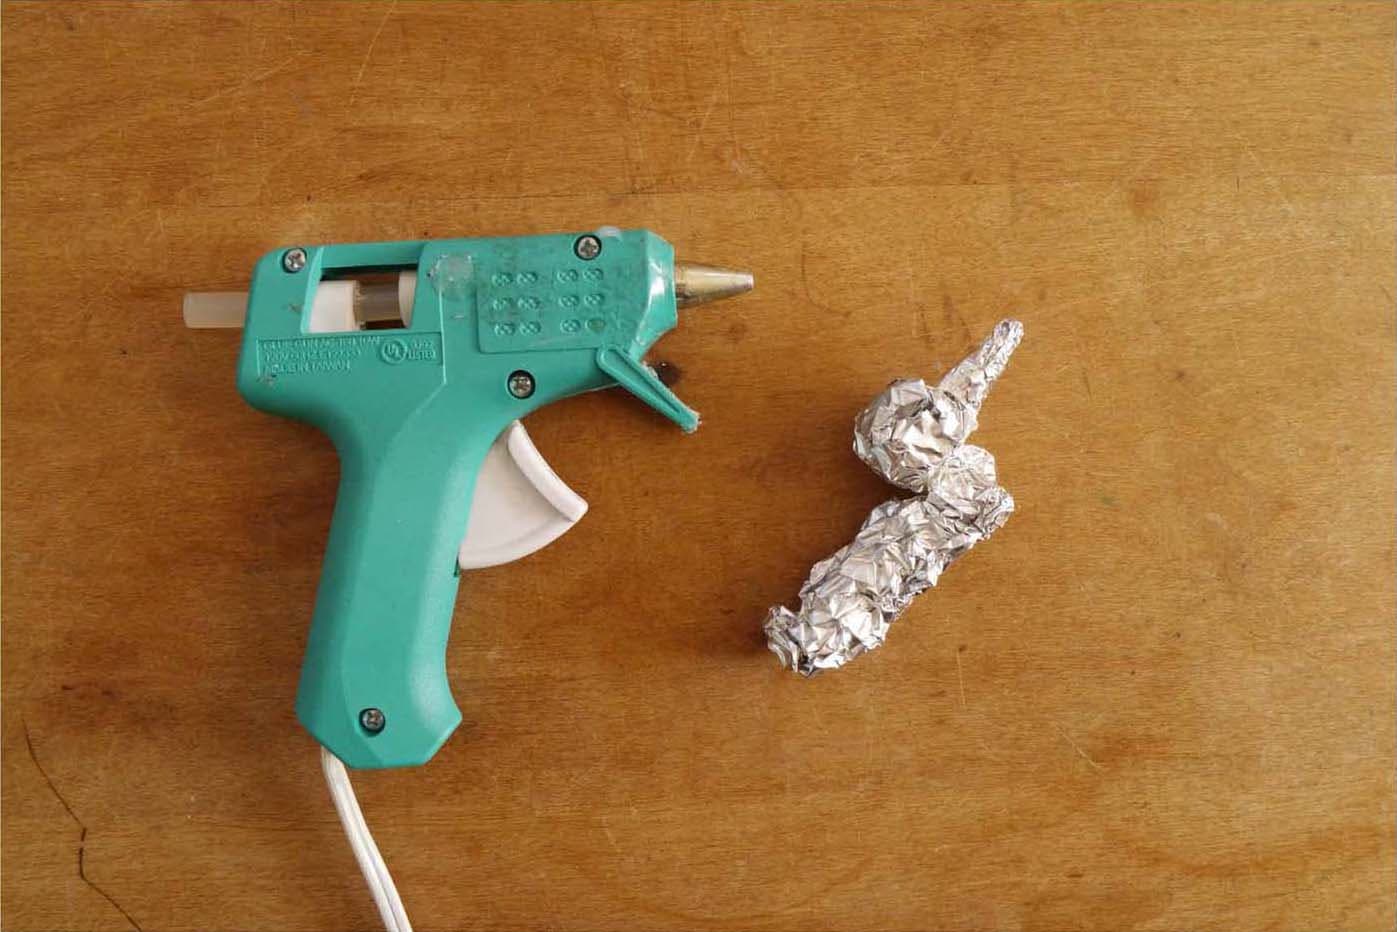
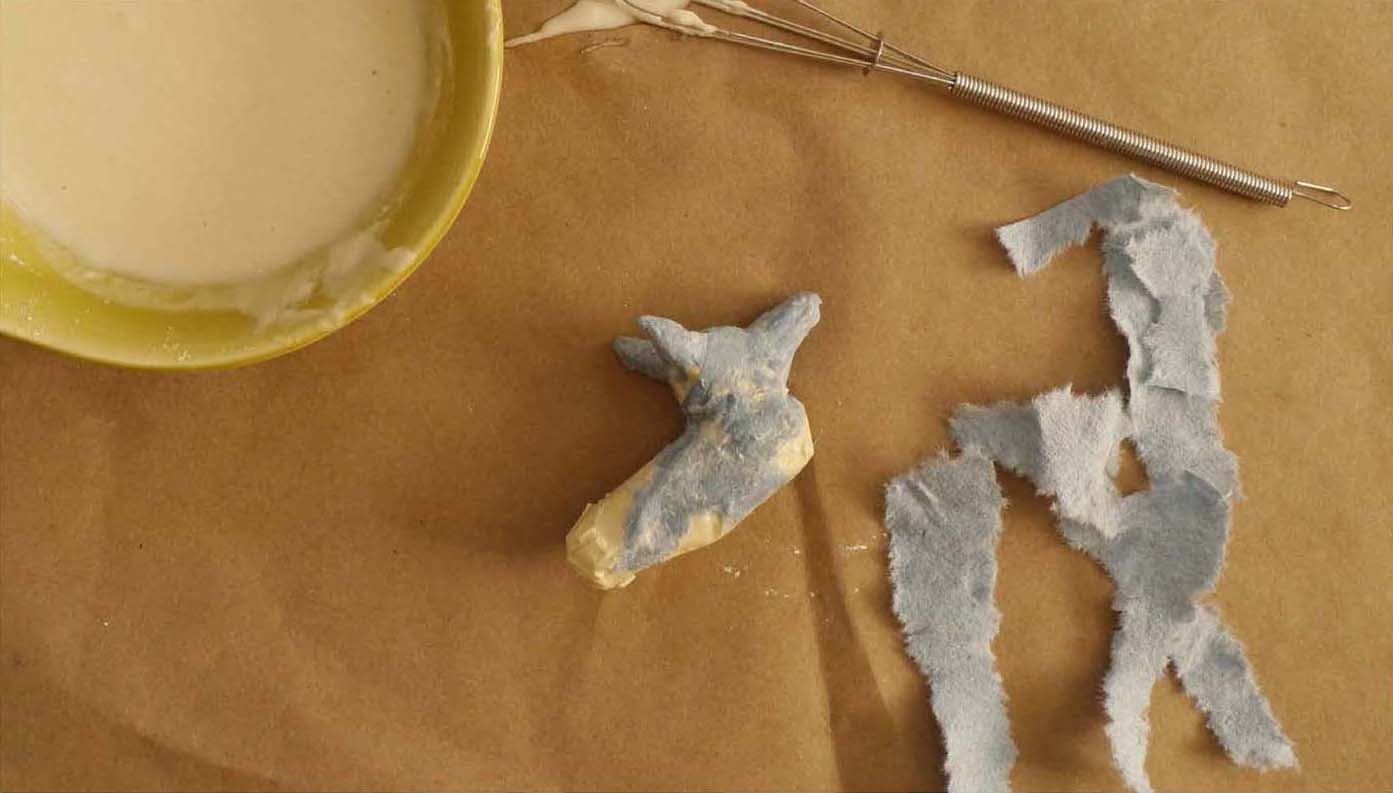
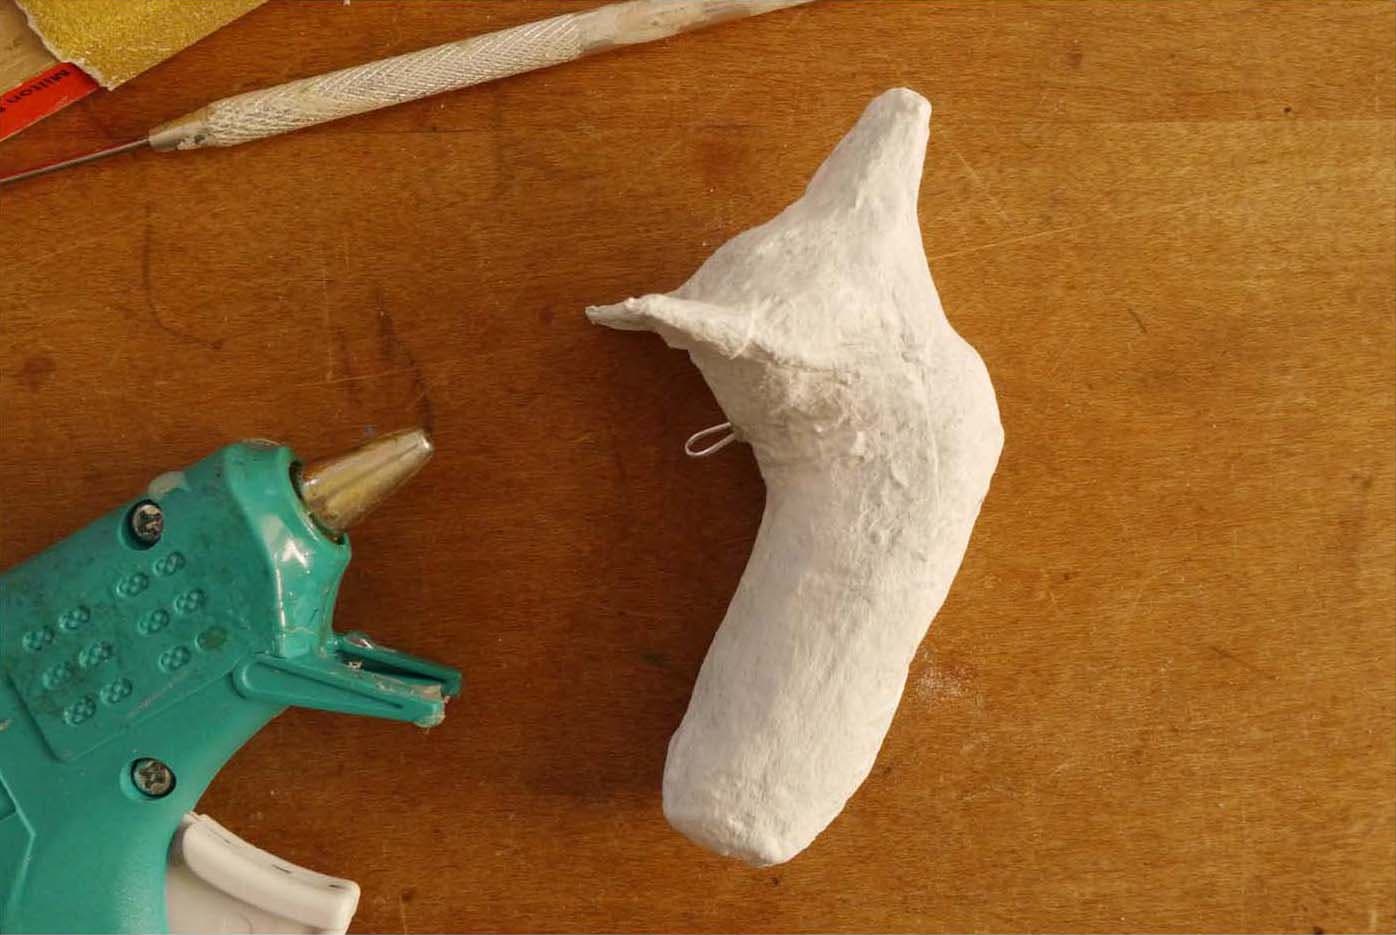
Using small bits of foil, make a body—sort of a tube-ish blob. You don’t want realistic anatomy here; the simpler, the more fun these things are. Make a round head and a pointy snout.

STEP 2
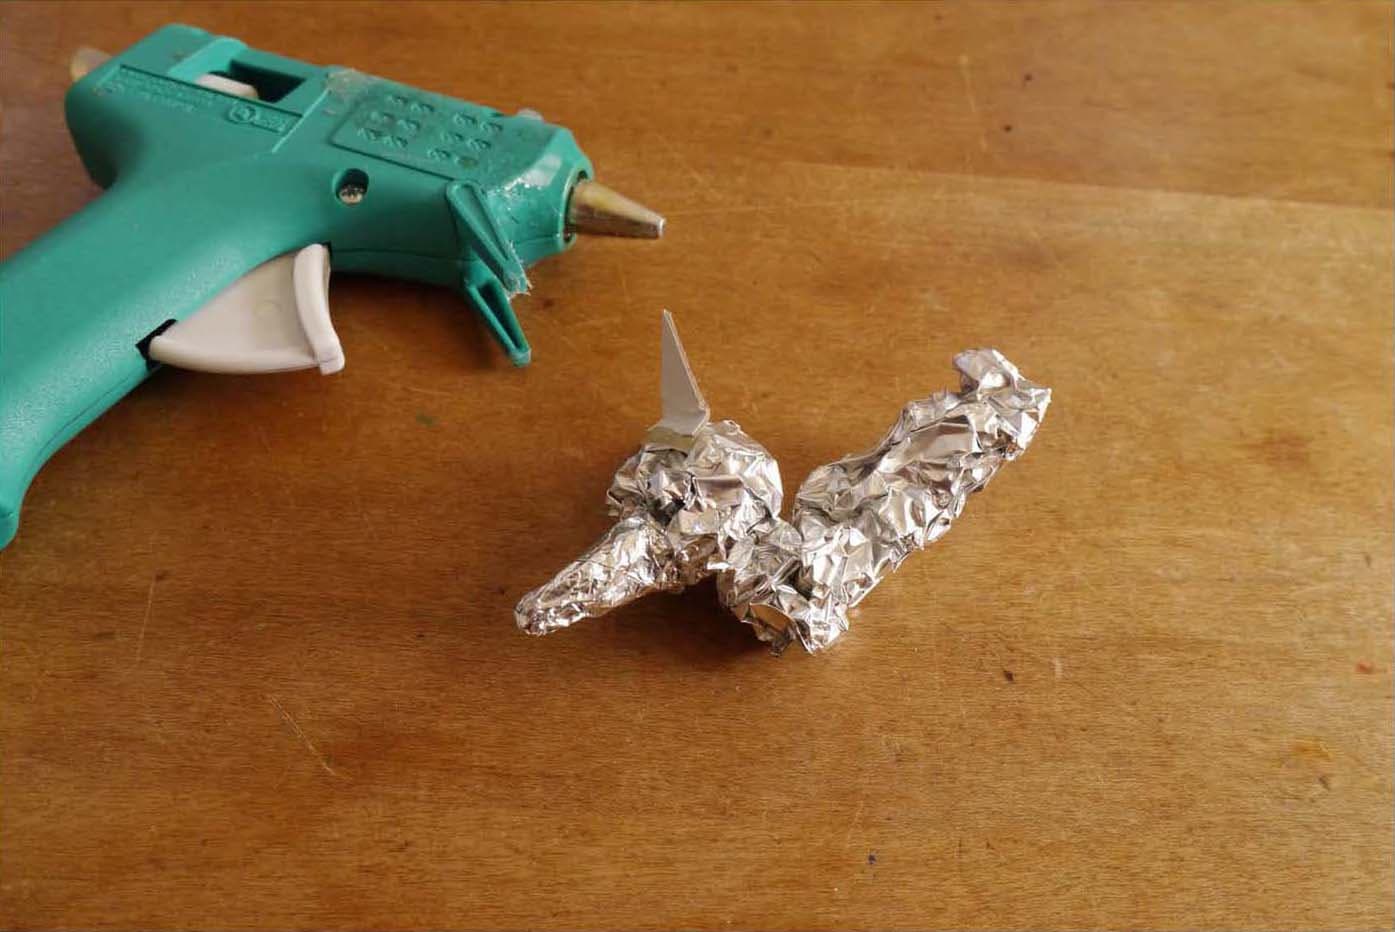
Hot glue the snout to the head and the head to the body.
STEP 3
Draw pointy ears on chipboard, including an approximately ¼-inch tab at the bottom where you will add glue. Cut out the ears and fold along the lines you added at the bottom. Hot glue the ears to the Corgi’s head.
STEP 4
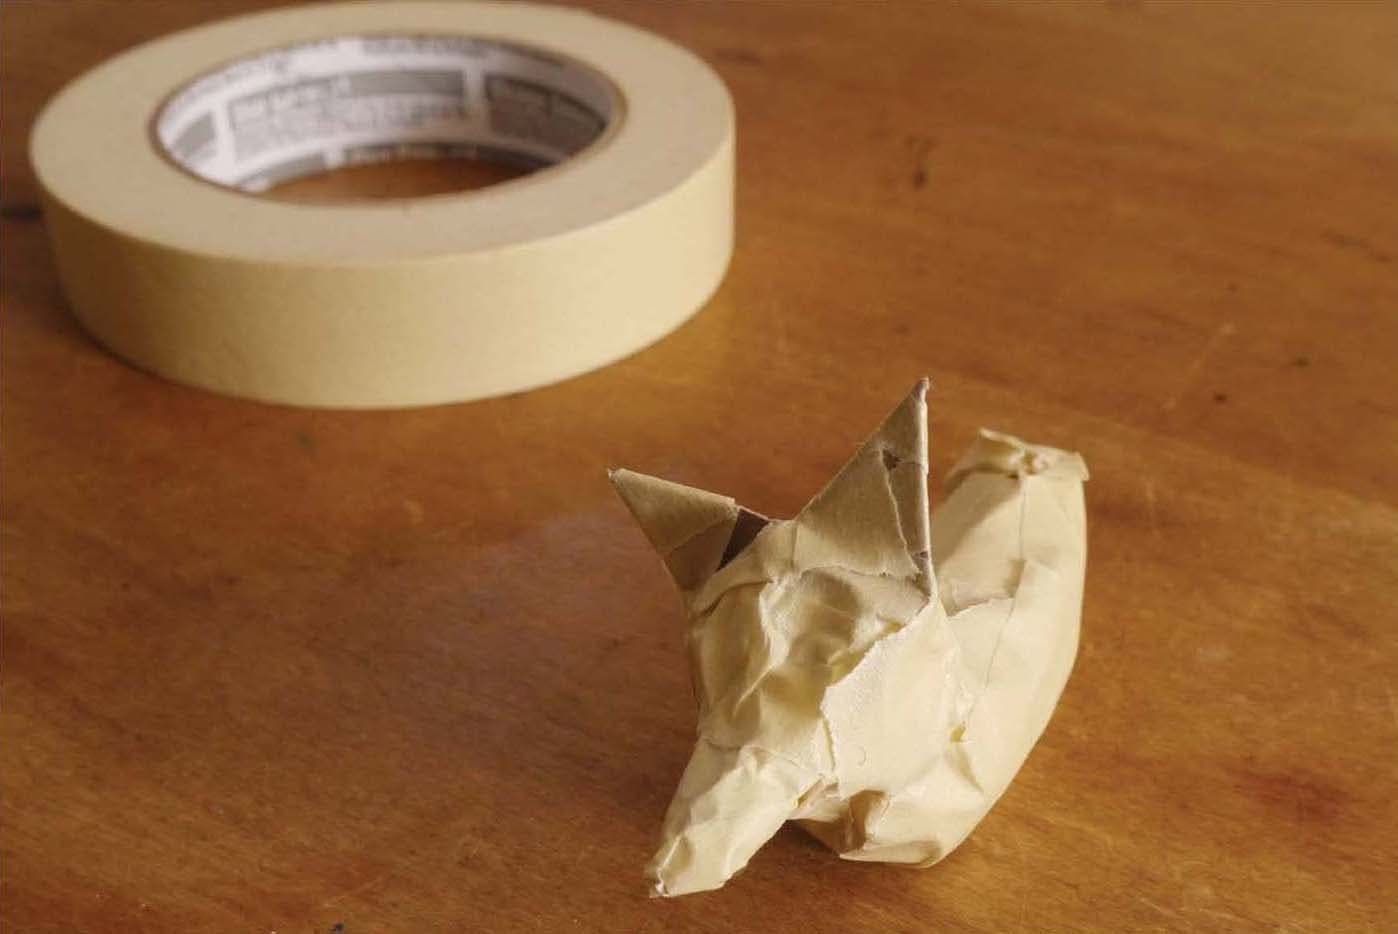
Cover the entire ornament with masking tape.
STEP 5
Make paste using flour and water, and tear up your paper (any kind you like; shop towels are great because they are thick enough that you will only need one layer). Then papier-mâché your ornament.
STEP 6
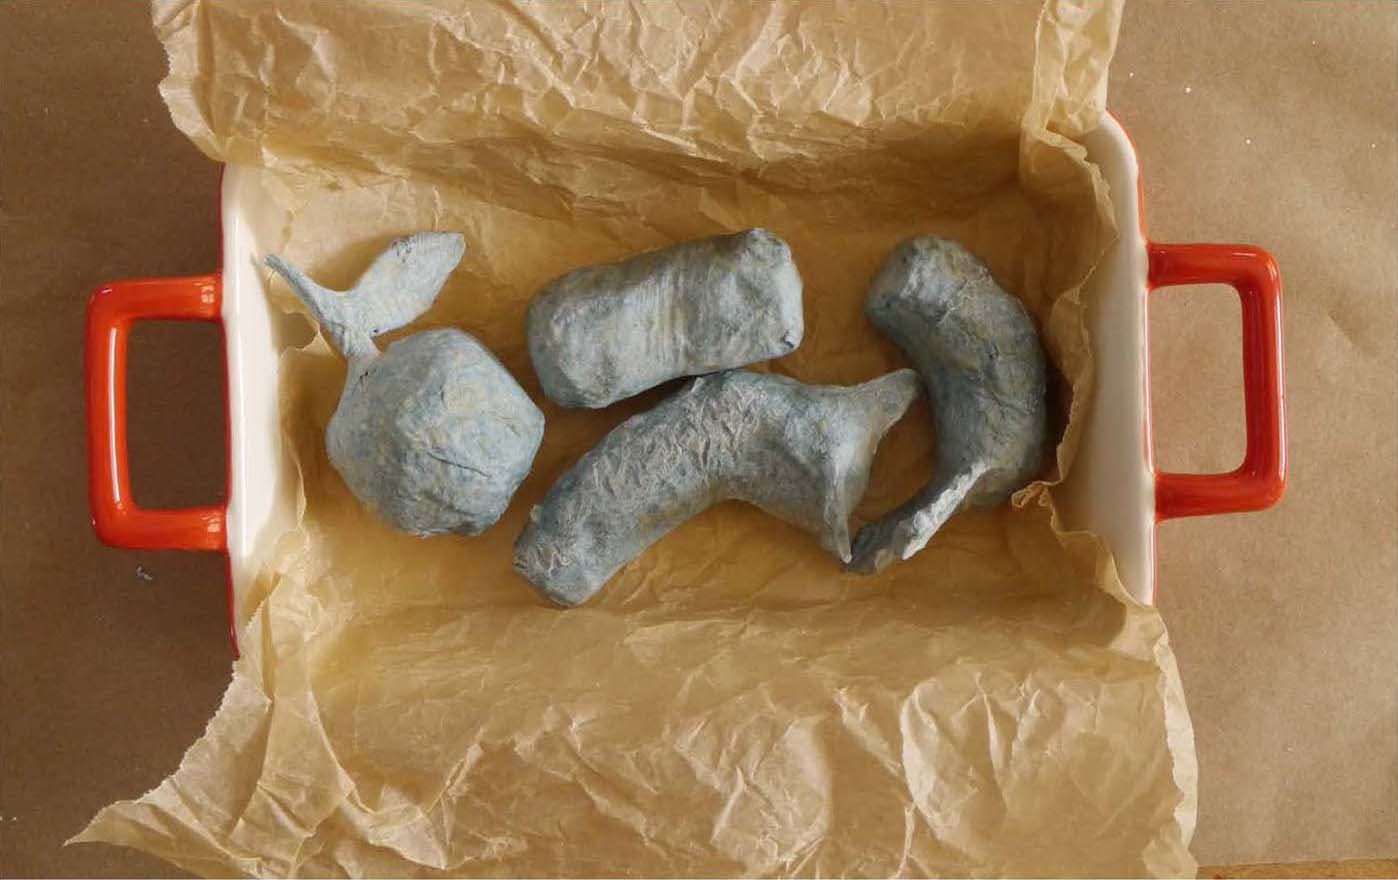
Let your ornament dry, or to bake it in the oven, place it on a parchment-covered cookie sheet, bake for about an hour at 170 degrees Celsius/340 degrees Fahrenheit, turning halfway through. Make sure to check on the ornament while baking.
STEP 7
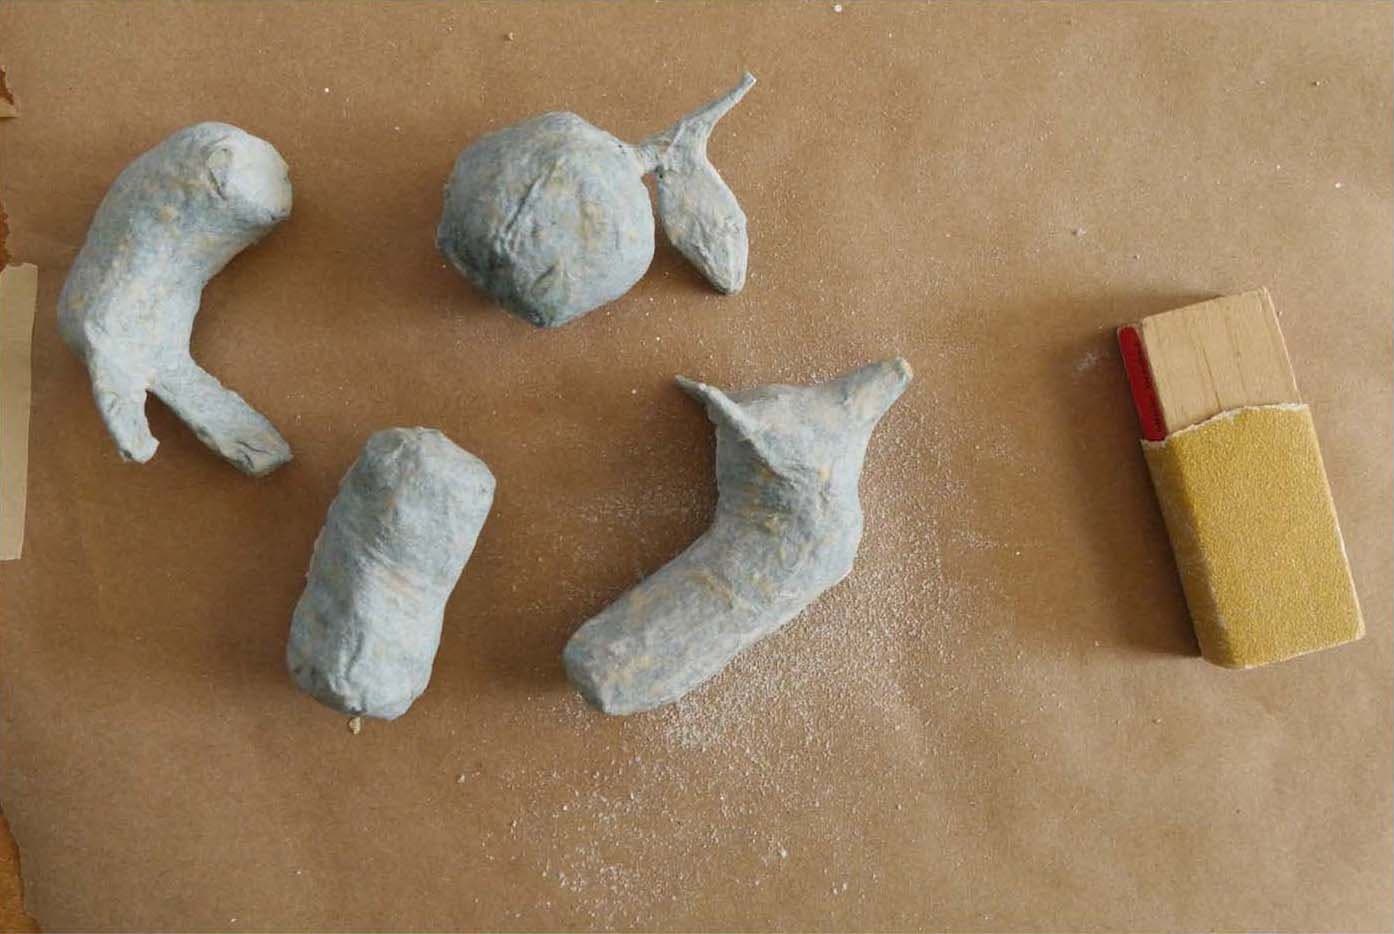
Sand off any crusted glue or bits that poke out.
STEP 8
To make holes for adding pipe-cleaner legs, use very pointy scissors and carefully poke four holes where the legs should go. The holes need to be big enough for pipe cleaners, but not much larger than that.

STEP 9
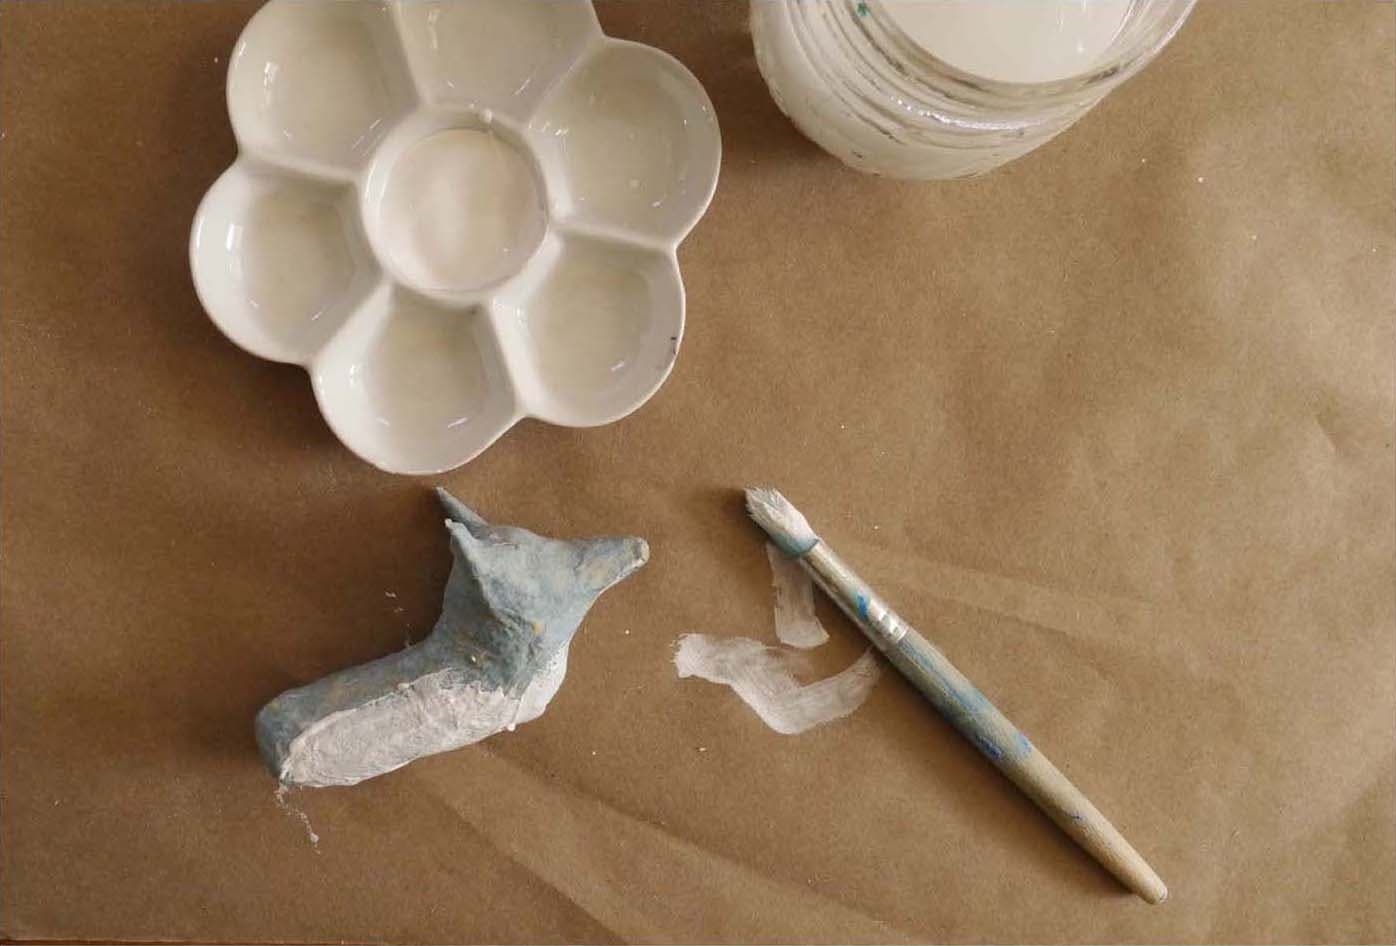
Gesso your ornament.
STEP 10
To make the hanging loop, cut a small piece of wire (about 1½ inches). Bend the wire in half, and then crimp the two cut ends by squeezing them together with pliers. Then, using an awl or a thick needle, make a hole for the hanging loop.

STEP 11
Add a bit of hot glue to the hole and press the ends of the wire loop in. Immediately wipe off any hot glue that collects at the base of the loop.
STEP 12
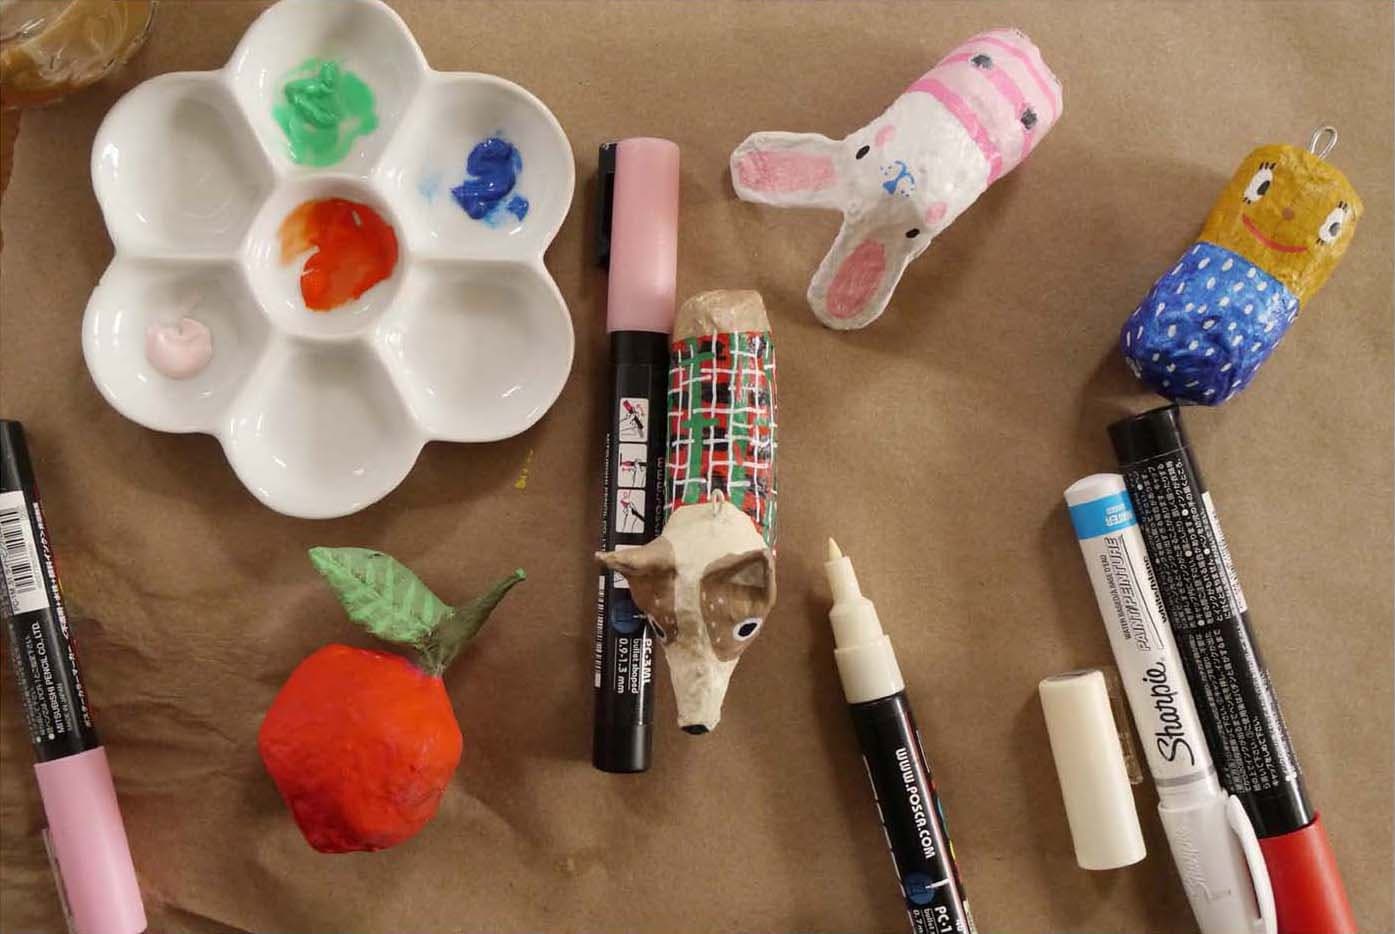
Paint your little buddies and add details with paint pens. Indulge in details here— these are small pieces and they’re quick to decorate. They look great in bright colors, and everything I make gets a face!
STEP 13
Seal and let dry.

STEP 14
Now let’s add some legs. Cut your pipe cleaner legs to any length you like. I love bending a little foot too. Add a bit of hot glue to each hole and stick the legs in.

STEP 15
My other ornaments have various bits of wire for arms and legs too. Use whatever you happen to have on hand. To personalize your ornament, you can use the flag-making technique from the “Your Biggest Fan” project (here) and add a name to it.

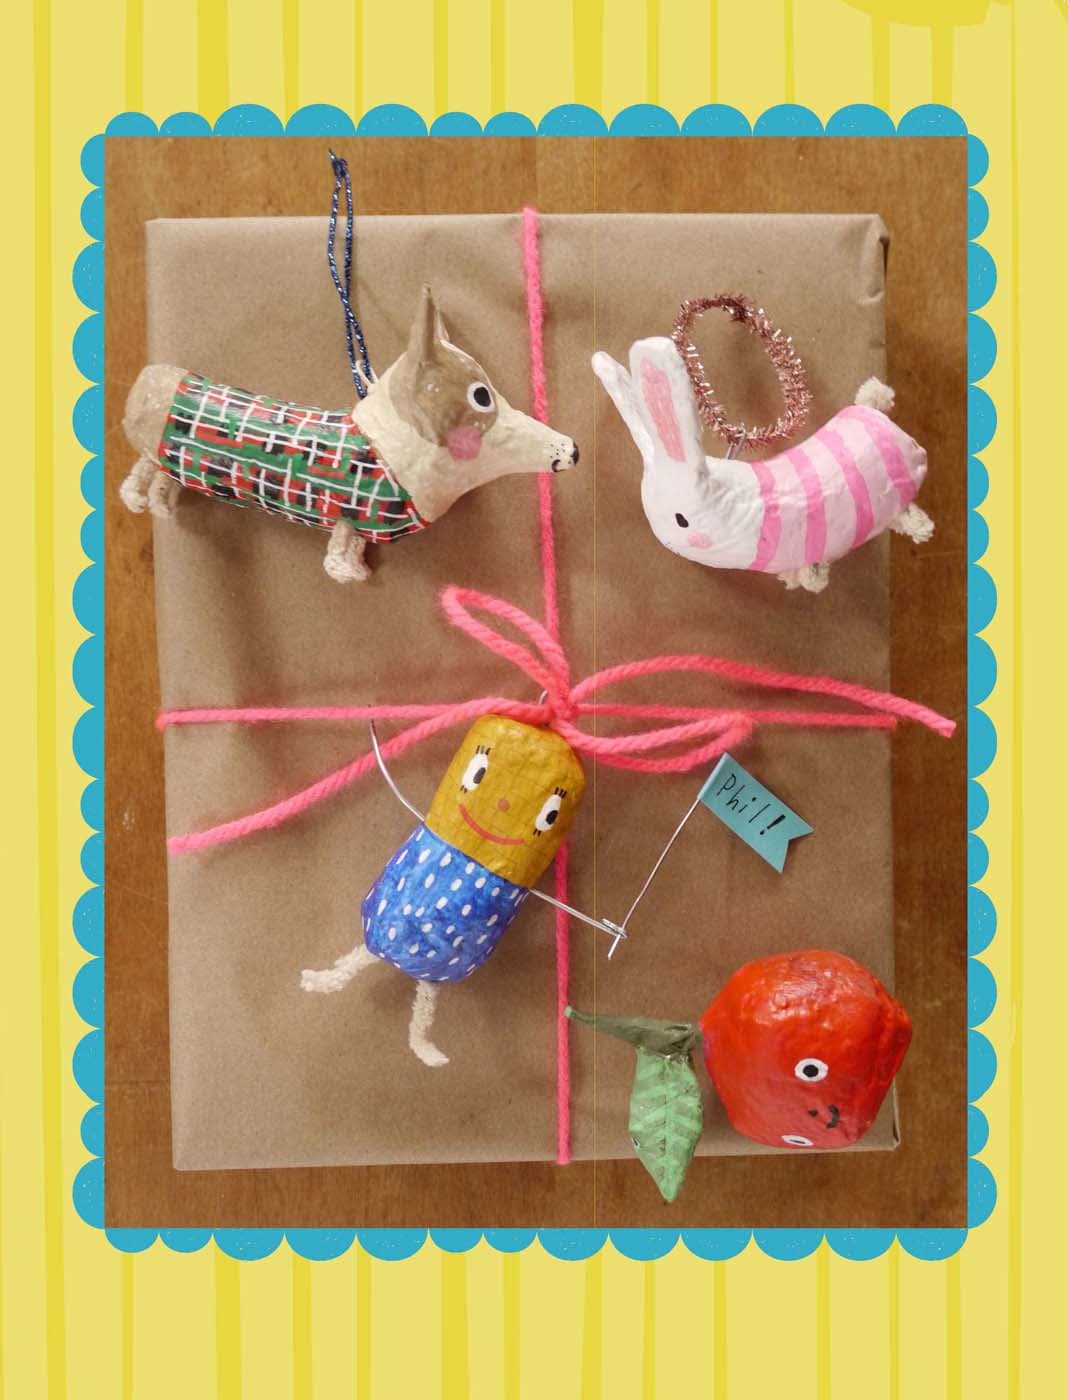
Look at these fun friends! You can tie string or ribbon loops for hanging, or use your homemade ornaments as a gift topper. I can’t think of anything that wouldn’t be better with an ornament added to it!