Before we can get React up and running, we need an installer to download and manage our JavaScript software packages. One of the most popular package managers is the Node Package Manager (NPM). Another one is Yarn, a newer package manager that supposedly drew a lot of inspiration from NPM. For our project, we opted to use NPM instead of Yarn. You can use Yarn if you prefer.
Our project will be using NPM, so this chapter will go through some of the most pertinent NPM commands and shortcuts, including semantic versioning and NPM scripts. We will just briefly discuss Yarn and go through some commonly used Yarn commands.
Don’t worry about following the commands here for now because we would be doing it step-by-step in the succeeding chapters once we begin building our project.
Node Package Manager Overview
Before we get started, let’s review what NPM is and how we use it in our app. NPM is similar to other package managers, such as RubyGems in Ruby on Rails or PIP in Python.

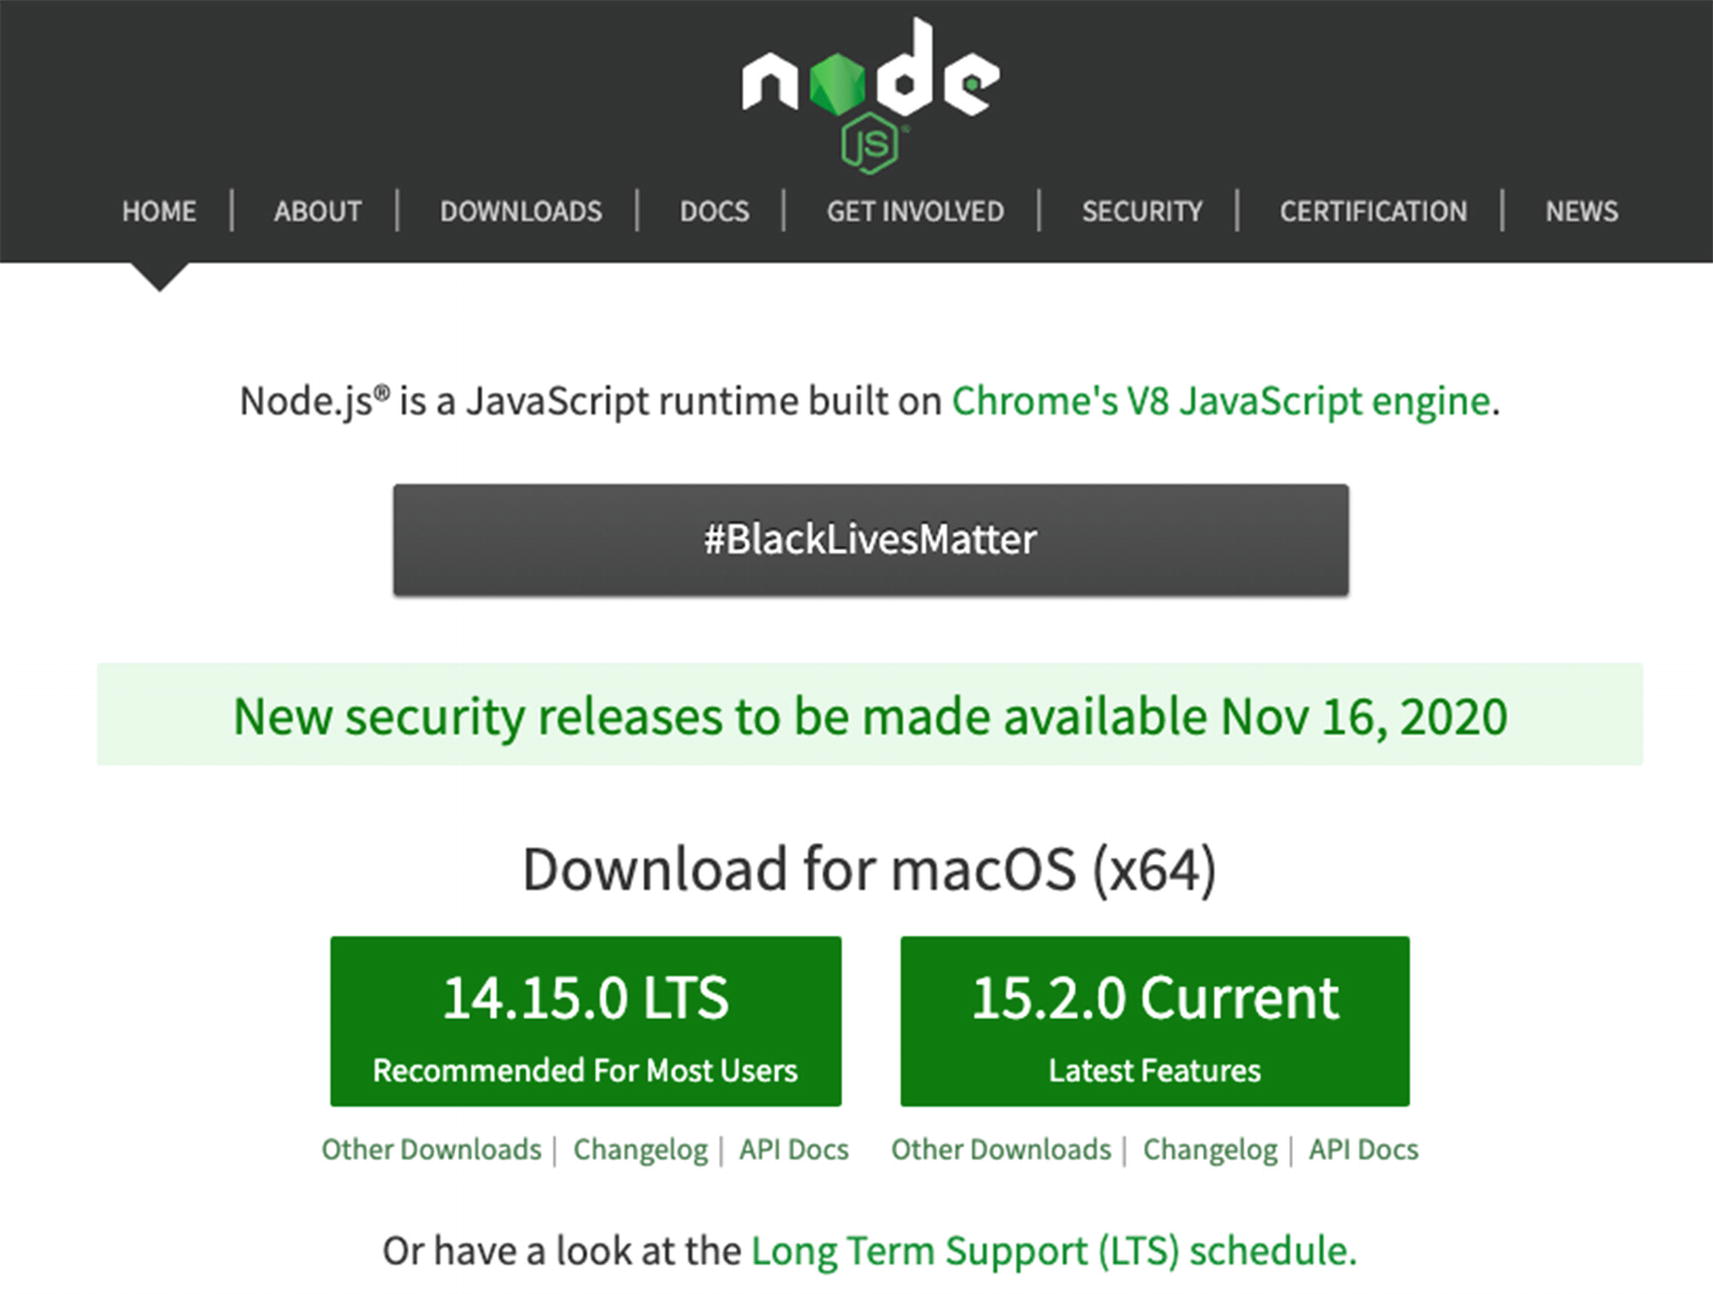
Node’s website
Speaking of Node versioning, let me introduce you – if you’re not familiar with it yet – to Node Version Manager, or nvm for short.
Node Version Manager
Node Version Manager (NVM) is a tool for managing different versions of the Node.js runtime.
You can easily downgrade or upgrade the Node.js version, which will come in handy if you face a legacy application or a JavaScript library that is only compatible with a specific range of Node.js versions.
For a complete installation of NVM in Mac and Linux, go here https://github.com/nvm-sh/nvm .
Unfortunately, nvm does not support Windows, but it’s possible to do it in Windows Subsystem for Linux (WSL) depending on the WSL version.
To download and install NVM in Windows, go here https://github.com/coreybutler/nvm-windows.
The preceding commands will install and use the latest minor version of Node v12.
Another indispensable resource for any JavaScript developer is the npmjs website, where we can search for libraries or frameworks that we need to install for our project.
Installing Packages
You can use NPM to install just about any library or framework available in the NPM registry. You can head to www.npmjs.com to see more. If you already have an older version, you can update as follows.
Node Packaged Modules
Packages are either installed in local or global mode. Global mode packages are available from the command-line interface (CLI), while packages in local mode are installed in a node_modules folder of the parent working file.
Fill in the blanks or just press Enter to accept the default values or add the flag –-y to quickly generate a package.json file.
This will automatically fetch all the declared packages needed for you to run the app. The declared packages are located in the package.json file.
Package.json and Package-lock.json
Package.json is an important manifest file when using NPM and Node applications. It contains all of your app info, particularly the dependencies or modules that your app requires to run correctly. This manifest file is also the first thing that many developers would look at to run their local versions of your project.
Package-lock.json is a replica, versioned dependency tree of your package.json file.
A Sample of a package.json File
While package.json is used for dependencies such as project properties, author, version, description, scripts, license, etc., package-lock.json is likewise automatically created to lock dependencies to a specific version number.
As shown in Listing 2-1, the scripts object is the first thing I always read in an existing project because the scripts tell us what commands to run in order to run the project or build the project. The scripts object also helps us run shorter commands through its key and value pair. Another cool thing you can do in your scripts is to customize it.
The Dependencies, which is in our example just initially contains the bare minimum such as react and react-dom, are libraries that we require for our application in runtime. But take note also of the devDependencies object. The devDependencies object contains JavaScript libraries that you want to be added only during local development and testing because you don’t need them in production. Some good examples include Gulp, Prettier, and ESLint.
Semantic Versioning or Semver
There are several types of versioning, but semantic versioning or semver is one of the most popular.
Given a version number MAJOR.MINOR.PATCH, increment the:
MAJOR version when you make incompatible API changes,
MINOR version when you add functionality in a backward-compatible manner, and
PATCH version when you make backward-compatible bug fixes.
Additional labels for pre-release and build metadata are available as extensions to the MAJOR.MINOR.PATCH format.
An example of semantic versioning is “^3.2.1”.
The first number (3) is the major version, (2) is the minor version, and (1) is the patch version.
The caret ^ tells NPM that we will take in the major version of that scheme; the minor and patch versions can vary. Another way to write this is, for example, 2.x, with 2 being the major version.
In some cases, you will see the tilde ~ (i.e., “~3.2.1”). This particular versioning can be read as “we will take the major version to be 3 and the minor version to be 2, but the patch version can be any number.” You could also write this as 3.2.x.
In case you need the specific numbers for all three versions, simply remove the caret or tilde character.
Yarn
Yarn is a new package manager for JavaScript. Yarn, released in 2016 by Facebook, was designed to supposedly address some performance and security issues hounding NPM (at that time!). As stated earlier, we will not be using Yarn, but you can use it instead of NPM. In the following, we highlight some of the similarities and differences in syntax between the two.
Common Commands Between NPM and Yarn
Command | NPM | Yarn |
|---|---|---|
To initialize a project | npm init | yarn init |
To set up the defaults | npm init –y | yarn init -y |
To check if any package is outdated | npm outdated | yarn outdated |
To clear local cache | npm cache clean | yarn cache clean |
To run a script | npm run build | yarn run |
To see a list of installed dependencies | npm list | yarn list |
Different Commands Between NPM and Yarn
Command | NPM | Yarn |
|---|---|---|
To install dependencies | npm install | yarn install |
To install packages | npm install[package-name] | yarn add [package-name] |
To uninstall packages | npm uninstall [package-name] | yarn remove [package-name] |
To install packages globally | npm install –global [package-name] | yarn global add [package-name] |
To uninstall packages globally | npm uninstall –global [package-name] | yarn global remove [package-name] |
To update packages * for updating minor and patch releases only | npm update [package-name] | yarn upgrade [package-name] |
To install only regular dependencies | npm install --production | yarn --production |
To show only the top-level dependencies | npm list -g --depth 0 | yarn list --depth=0 |
To install and save packages in devDependencies | npm install --save-dev [package-name | yarn add [package-name] -D |
- 1.
To generate a package.json file quickly, use npm init –-y.
- 2.
Add private: true to package.json to prevent accidental publishing of any private repo.
- 3.
Add packages (i.e., transpiling code or running tests) used for development purposes in your devDependencies.
- 4.
Don’t delete the package.json, but you can delete the package-lock.json before committing it.
- 5.
If you encounter yarn.lock and want to use NPM instead, just delete the yarn.lock and do an npm install to automatically create a package-lock.json in your application.
- 6.
You need to run npm install after cloning a project from a Git repository.
- 7.
It is not recommended to push node_modules to your source control repo such as Git.
Summary
In this chapter, we have discussed how to get started with NPM including the various key commands that you need to understand going forward. We’ve also looked into using nvm to easily switch from one Node version to another. In the next chapter, we will talk about the various React components and how we use them in our application.
