
This appendix contains the instructions for installing MySQL, to support the database application in Chapter 5, and Win32All, to support some of the Python Windows integration described in Chapter 9.
MySQL is an open-source database server very popular in open-source software development. The following instructions will guide you through the install. However, for the most current information, go to the MySQL website at http://www.mysql.org.
In a web browser, navigate to http://dev.mysql.com/downloads. You will see a screen like the one shown in Figure B-1.
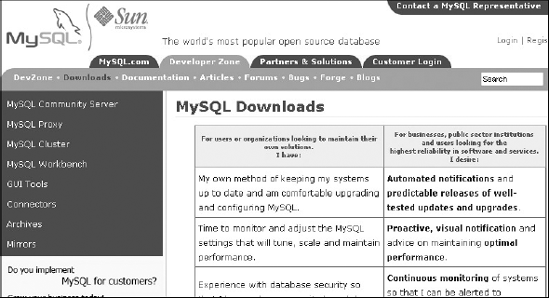
Click the MySQL Community Server link on the sidebar on the left. After you are taken to the next page, you can scroll down to see a list of operating systems, as shown in Figure B-2.
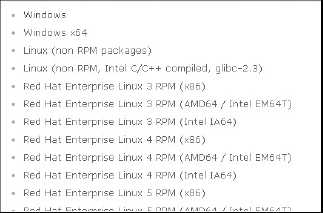
Click the operating system on which you want to install (these instructions assume you are installing on Windows).
After doing that, you will be taken to a downloads screen, as shown in Figure B-3.
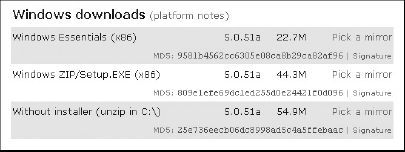
Scroll down to the bottom of the next page, and click the link "No thanks, just take me to the downloads!"
You will be taken to a page with a list of locations from which you can download. After clicking the ftp link next to a location close to you, you'll see the Security Warning dialog shown in Figure B-4.
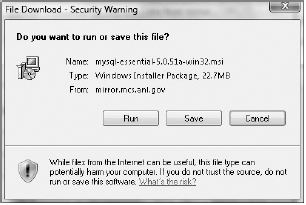
Click Run.
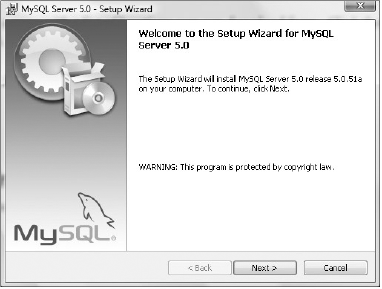
After the download completes, the Welcome screen of the Setup Wizard will appear, as shown in Figure B-5.
Click Next. Figure B-6 shows the Setup Type dialog that will appear, from which you can select the appropriate install type.
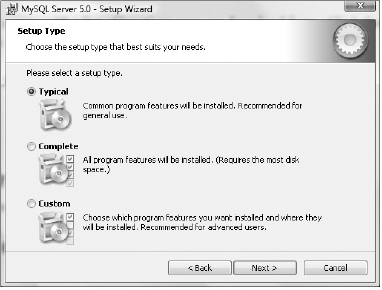
For the purposes of this book, it's perfectly adequate to perform a "typical" install, so click Next.
You'll be presented with the install confirmation screen, shown in Figure B-7.
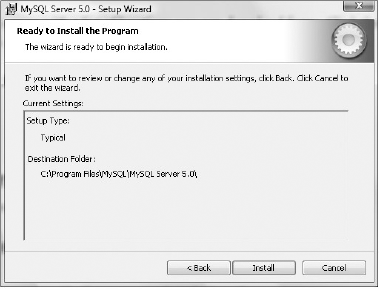
Click Install to begin the install. When the install is completed, you'll see the Wizard Completed dialog shown in Figure B-8.
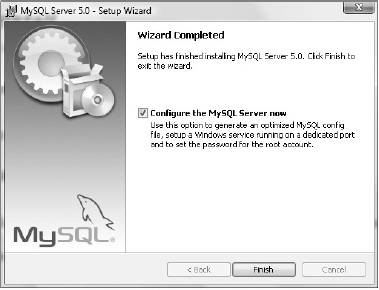
Click Finish to configure the MySQL server.
Figure B-9 shows the first page of the Configuration Wizard that appears after the install is completed.
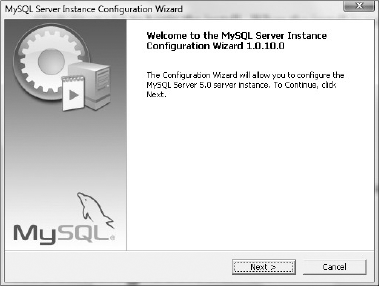
Click Next. Figure B-10 shows the dialog that appears, from which you can pick a configuration type.
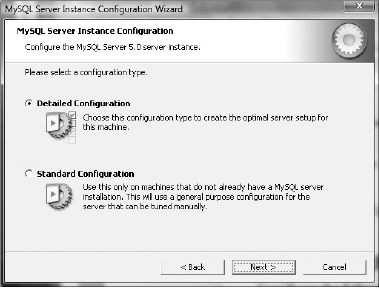
For the purposes of this book, a standard configuration is sufficient, so click the Standard Configuration radio button and click Next.
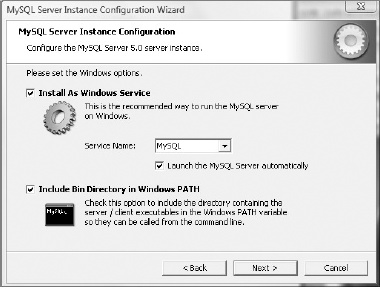
In the dialog that appears next, shown in Figure B-11, you can install MySQL as a Windows service and include the MySQL bin directory in the Windows path. Make sure both are checked and click Next.
You'll then see the dialog shown in Figure B-12, which contains some security options.

As shown in Figure B-12, enter a root password and click Next. The dialog shown in Figure B-13 will appear.
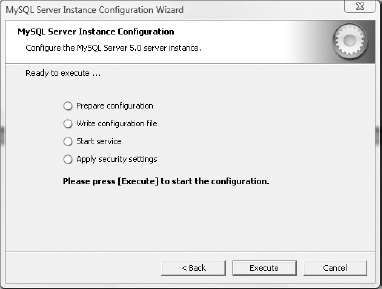
Click Execute to run the configuration.
When the configuration is finished, click Exit to close the Configuration Wizard. MySQL is now installed and configured.
Win32All is a collection of add-ons and APIs that enable a Python developer to interact with Windows.
In a web browser, navigate to http://sourceforge.net/projects/pywin32/. You will see the Python for Windows Extensions window shown in Figure B-14.
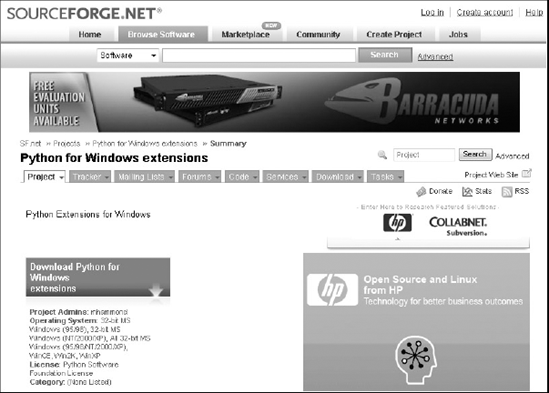
Click the Download the Python for Windows Extensions link. Scroll down the page to the section that is shown in Figure B-15.

Notice that downloads are available for versions of Python from 2.2 through 2.6. Click the appropriate link for the version of Python you have installed and you'll get a prompt to download the file (assuming the security set for your browser allows you to download files), as shown in Figure B-16.
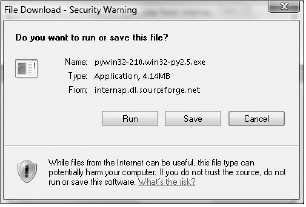
Click Run.
After the file downloads, the install will start and the dialog shown in Figure B-17 will appear.
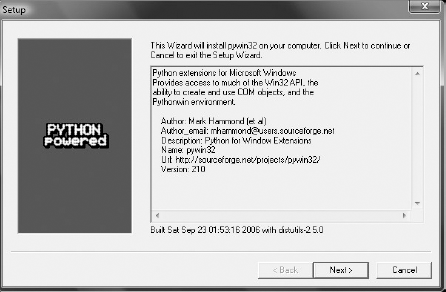
Click Next. As shown in Figure B-18, you'll be prompted with the location of your version of Python, which the install will locate in the Windows Registry.

Click Next. Figure B-19 shows the confirmation dialog that will appear.
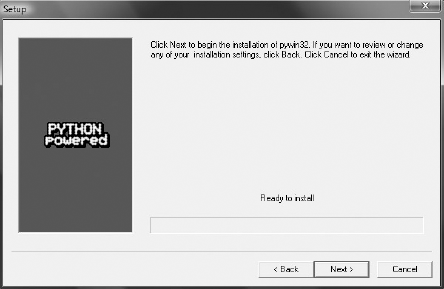
Click Next to begin the install. When the install is finished, the dialog shown in Figure B-20 will appear, indicating the log of the successful install.
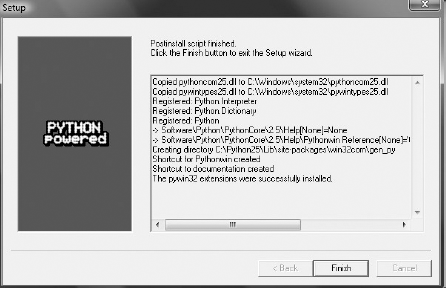
Click Finish to exit the install.
Win32All is now installed.