
We make an image with an opaque background into one with a transparent background using the free and open-source GIMP image editor.
We can get GIMP (GNU Image Manipulation Program) at http://www.gimp.org/. There are versions that can be installed on Windows and Linux. GIMP is an excellent package and well-worth the effort of learning to use. It can be frustrating when you are not used to it so this particular recipe is devoted to describing the steps that will transform a .png image with an opaque background into a .gif image with a transparent background.
In Windows, you simply go to the website and click the Download button and it will install and can be used immediately. With Linux, it is often already installed. With any Debian-based Linux sudo apt-get install gimp should get it installed and you are ready to go.
This recipe does not involve running Python code. Instead, it is a list of actions to perform with your mouse on the Gimp GUI. In the following instructions, click Select | Invert is the short-form for "Left-click on, select, then left-click on Invert".
- Open GIMP and open the file
apteryx1.png. This is a cartoon bird that has been drawn.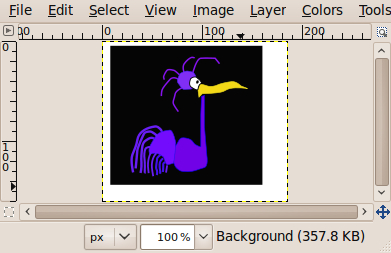
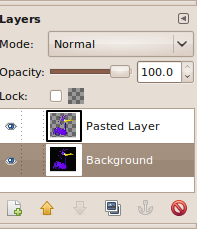
- Click Windows | Dockable dialogs | Layers. This will open up a display panel that shows all the layers making up the image we are working on. Watching what is going on with the layers is the secret to using GIMP.
- Click Select | By color, and then place the cursor arrow anywhere on the black portion of the image and click. You will see a shimmering dotted line around the outline of the bird. What we have done is to select for alteration only the black portions of the picture.
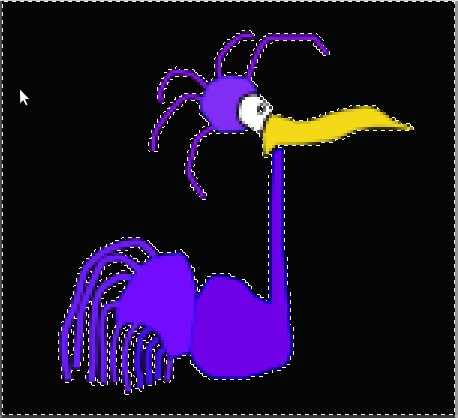
- Click Select | Invert. What this does is it changes the selection to everything except the black portion.
- Click Edit | Copy. This picks up a copy of the selected portion (everything not black) and places it onto an invisible clipboard.
- Click Edit | Paste. This takes a copy from the clipboard and potentially pastes it onto our existing image. But until you have completed the next step, the pasted image is held in a kind of no-man's land.
- Click Layer | New. This firmly places the pasted portion of the image onto its own separate layer. The layers are like sheets of clear glass with portions of a composite picture on it. When you work on them and change one layer, the others are unaltered.
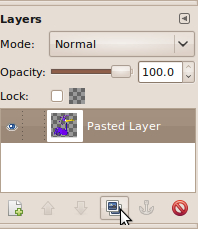
- Right-click the Backdrop layer as shown, then click Delete Layer. This discards the Backdrop layer that consists of the original image. You will see there is only one layer left. It contains the bird image placed on a transparent background.
- Click File | Save as. In the save window, type in
apteryx1.giffor the file name.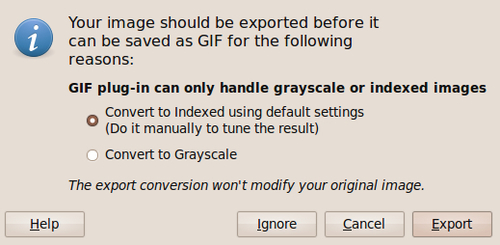
- Close GIMP. You will find your new
GIFimage with a transparent background in whatever folder you sent it to. In Linux systems, transparent areas are shown as a gray checker-board pattern.
All images used in this chapter that have areas which are transparent were prepared using GIMP this way. There are other ways to achieve this but this is possibly the most readily available one. The animations in this chapter consist of a smaller, partially transparent image moving across a larger opaque image.