
Chapter 5. Publishing the Flash Catalyst Project
This is the final step in the design or wireframe project process, in which we are going to learn how to publish projects in SWF format to display them on the web, or in AIR format to create desktop-installable applications.
As we saw in the previous example, we do not need to publish the
project to see it while we are still working, but it is possible to preview
it through File→Run Project, or by pressing Cmd+Enter (Ctrl+Enter in Windows) to run the project in the
default browser.
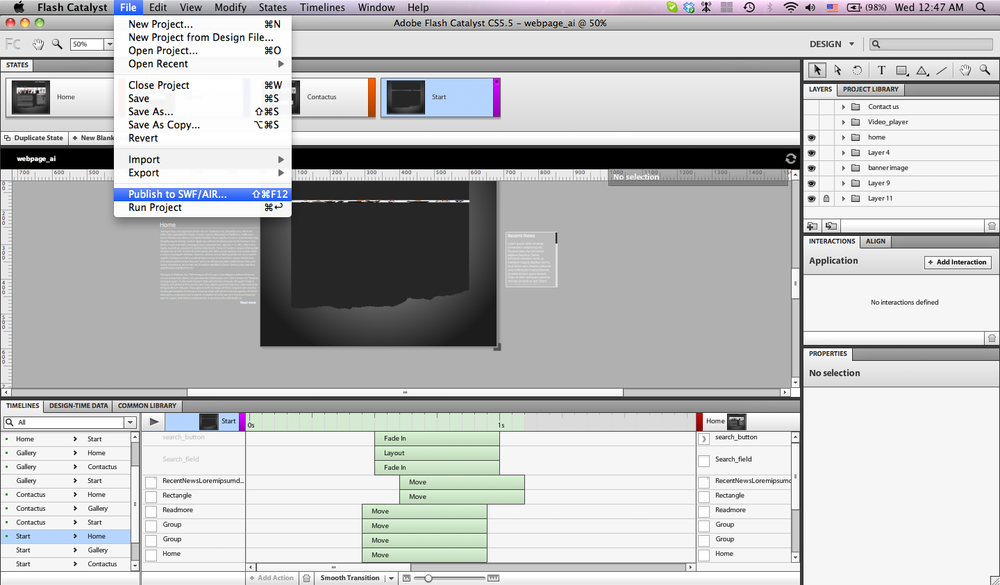
You can publish the project by choosing Publish
SWF/AIR from the File menu or using the shortcut Shift+Cmd+F12 (Shift+Ctrl+F12 in Windows).
Since Flash Catalyst does not provide extensive functionality, many users export their Flash Catalyst projects to Flash Builder to complete them. However, it is preferable to do the publish step in Flash Builder rather than Catalyst.
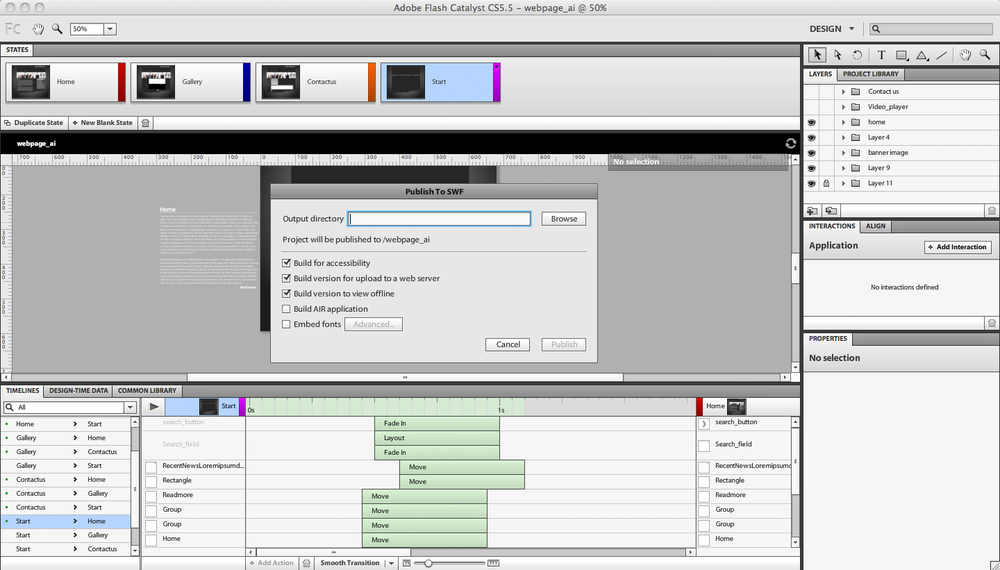
The Publish SWF/AIR dialog box in Flash Catalyst includes the following options:
The Output directory is the location where the published project will be saved.
Build for Accessibility checkbox
Build version for uploading to web server checkbox
Build version to view offline checkbox
Build AIR application checkbox
Embed fonts
The Embed fonts option allows you to embed fonts in Flash Catalyst projects. If the project does not include any fonts to embed, this option will not be selectable.
The advantage of embedding the font in the project is that you can make sure that the user will see the project as you designed it, even if they do not have the font installed on their computer. Make sure to only embed the fonts that will not be available on the user’s computer, otherwise this will affect the size and performance of your project.
When you click publish, you will notice that Flash Catalyst saves three versions of the project to the specified location: a web version, a local version, and an AIR application version. The web version includes the SWF, the HTML container, the SWFObject.js, and the files that will ensure that the application runs properly on your client’s computer.
Project Performance
Running an optimized project can help the application load faster and prevents the computer from consuming a lot of the CPU resources. However, it is important to consider the following optimization tips to help you create fast-loading applications.
Remove the unnecessary artwork or components from the project at each state. For example, if you have an element that is not used in the state and is not part of the state transition, you can delete this element by selecting it and clicking the Delete key. Note that the element may appear nonfunctional in a specific state but can still be part of the transition animation. If you remove it from this state, the transition will not work properly.
The second tip is optimizing the artwork through the Optimize Artwork drop-down menu from the HUD. In this menu, you have different optimization options, such as:
- Optimize Vector Graphics
This option allows you to compress the vector elements in the design. If you choose it, you will notice that the HUD displays Optimized Graphics in the element title.
- Rasterize
In some cases, the complex vector graphics can cause huge CPU consumption, which may result in slow performance, even if the size of the project is fine. In this case, converting the vector graphics into rasterized bitmaps will ensure that the project runs properly.
- Compress
This option allows you to compress the image by a specified percentage. Please note that the higher the compression percentage, the lower quality you get.
- Convert to Linked Image
This smart solution takes the image out of the project and loads it externally from the project folder. This option can decrease the project size and allows you easily edit images by replacing them in the external folder.

In this quick guide to Flash Catalyst CS5.5, we have learned how to import artwork, convert it into interactive components that can do specific actions, and how to apply animated transitions between project pages. Most of the other tasks in Flash Catalyst are based on these concepts and workflow, so you can start creating your own project and practice using the different options to create interactive UI or application wireframes.
You can learn more about Flash Catalyst CS5.5 through this Adobe link:
| http://www.adobe.com/products/flashcatalyst.html |
And you can find more learning resources in the following links:
| http://tv.adobe.com/ |
| http://www.adobe.com/devnet/flashcatalyst.html |