Once we have defined the display, camera, textures, and shaders that we are going to use, we can define the ElevationMap object.
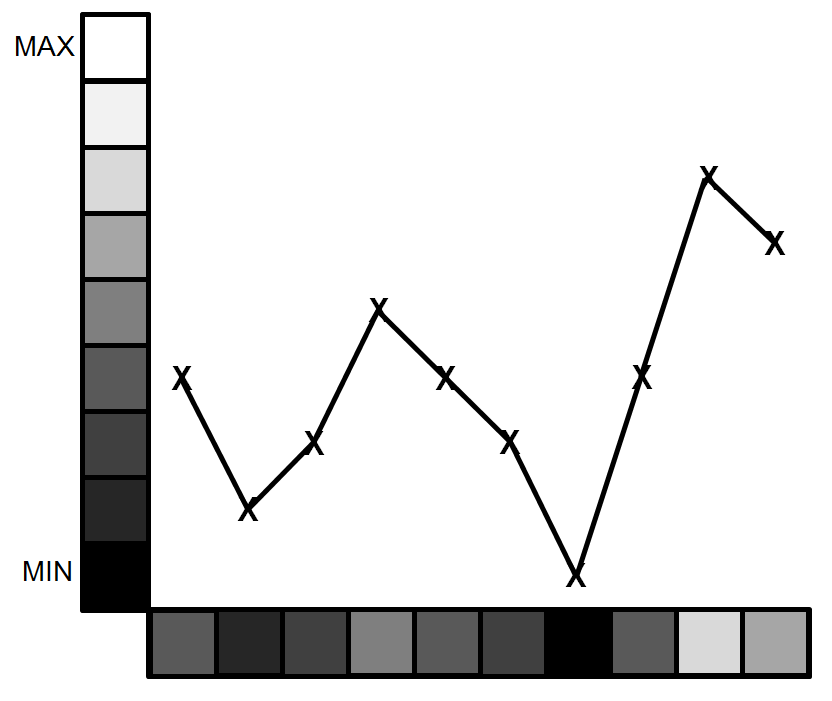
It works by assigning a height to the terrain image based on the pixel value of the selected points of the image. For example, a single line of an image will provide a slice of the ElevationMap object and a row of elevation points on the 3D surface:

We create an ElevationMap object by providing the filename of the image we will use for the gradient information (textures/Map.png), and we also create the dimensions of the map (width, depth, and height—which is how high the white spaces will be compared to the black spaces):

The Map.png texture provides an example terrain map, which is converted into a
three-dimensional surface.
We also specify divx and divy, which determine how much detail of the terrain map is used (how many points from the terrain map are used to create the elevation surface). Finally, ntiles specifies that the texture used will be scaled to fit 20 times across the surface.
Within the main DISPLAY.loop_running() section, we will control the camera, draw ElevationMap, respond to inputs, and limit movements in our space.
As before, we use a Keyboard object to capture mouse movements and translate them to control the camera. We will also use mykeys.read() to determine if W, S, R, and T have been pressed, which allow us to move forward and backwards, as well as rise up and down.
KEY = {'R':114,'S':115,'T':116,'W':119,'ESC':27,'NONE':-1}
The dictionary provides an easy way to translate between a given value and the resulting string. To access a key's value, we use KEY['W']. We also used a dictionary in Chapter 3, Using Python for Automation and Productivity, to translate between the image EXIF tag names and IDs.
To ensure that we do not fall through the surface of the ElevationMap object when
we move over it, we can use mymap.calcHeight() to provide us with the height of
the terrain at a specific location (x,y,z). We can either follow the ground by ensuring the camera is set to equal this, or fly through the air by just ensuring that we never go below it. When we detect that we are on the ground, we ensure that we remain on the ground until
we press R to rise again.
