
In the previous chapter, we had a quick theoretical overview of the Observer pattern. We also took a look at creating Observables from scratch, from a list, or from an already existing function. In this chapter, we are going to use what we learned to create our first reactive Android app. First of all, we are going to set up the environment, importing required libraries and useful libraries. Then, we are going to create a simple app, containing a few RecyclerView items, populated using RxJava, in a few different flavors.
We are going to use IntelliJ IDEA/Android Studio for this project, so the screenshots should look familiar to you.
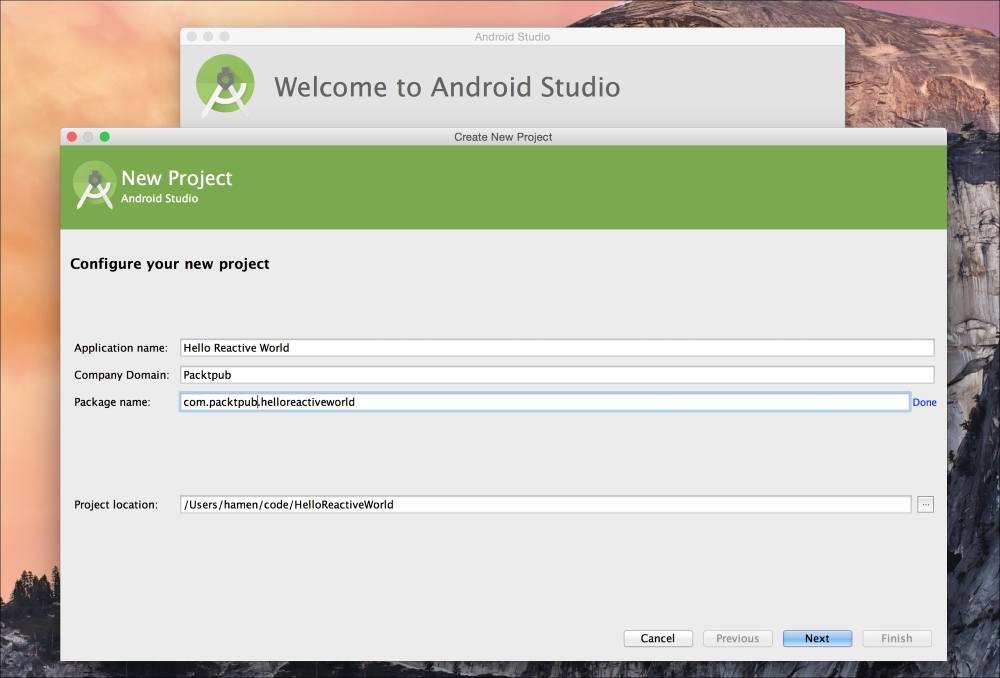
Let's dive in and create a new Android project. You can create your own project or import the one provided with the book. It's up to you to choose your preferred setup.
If you want to create a new project with Android Studio, as usual, you can refer to the official documentation at http://developer.android.com/training/basics/firstapp/creating-project.html:
Obviously, we are going to use Gradle to manage our dependencies list. Our build.gradle file will look like this:
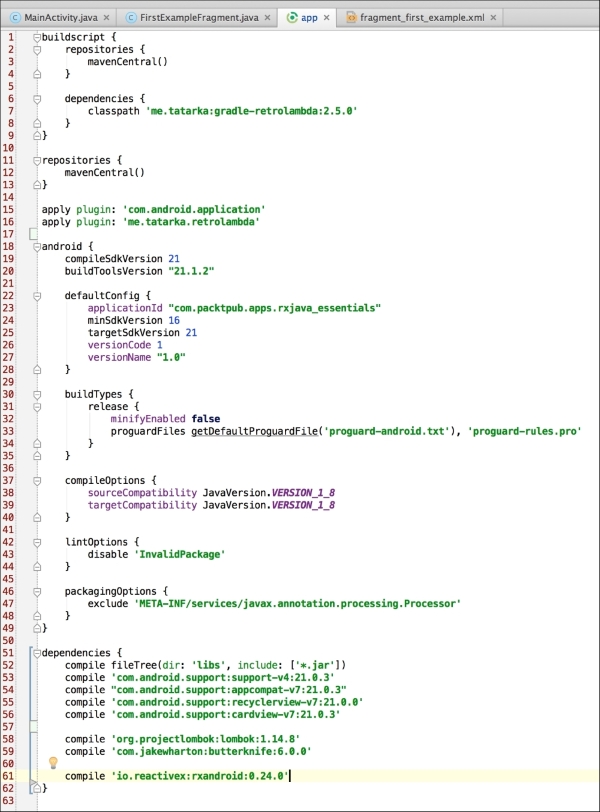
As you can see, we are importing RxAndroid. RxAndroid is an enhancement of RxJava, specifically designed for Android.
RxAndroid is part of the RxJava family. It's based on RxJava 1.0.x, and it adds a few useful classes to the vanilla RxJava. Most of all, it adds specific Schedulers for Android. We will deal with Schedulers in Chapter 7, Schedulers – Defeating the Android MainThread Issue.
Being pragmatic, we also imported Lombok and Butter Knife. Both of them will help us avoid a lot of boilerplate code in our Android app.
Lombok uses annotations to generate tons of code for you. We will use it mostly to generate getter/setter, toString(), equals(), and hashCode(). It comes with a Gradle dependency and an Android Studio plugin.