

58 Part 2: Start Sewing
Curved Seams
Curved seams may seem challenging, but you can
create great-looking curves by following some simple
steps.
When sewing inward curves, you have to clip the seam
allowance so the fabric can stretch. You have to notch
the seam allowance of outward curves to reduce bulky
lumps. Both techniques are easy to learn. Just be sure
you have a nice pair of small, sharp scissors!
This is an inward curve cut into two pieces of
fabric. The fabric is sewn with the right sides
together.
With a straight stitch and a
5
⁄
8
-inch (1.5 cm) seam
allowance, carefully sew the seam, guiding the
fabric to follow the curve.
What You Need
• Standard foot attachment
• Sharp scissors
• Straight pins
• Pinking shears (optional)
• Iron
1 2
Inward Curve
Notice where the horizontal
line on the throat plate
crosses the vertical
5
/
8
-inch (1.5 cm) seam
allowance line.
hhCH5_Sewing.indd 58 5/23/13 3:37 PM

59Chapter 5: Corners and Curves
Press the seam open as far into the curve as you
can. Be careful not to crease the fabric.
Turn the fabric right side out and press the
seam flat.
Trim the seam to
1
⁄
4
inch (.6 cm), cutting through
both layers of the fabric.
Grade the seam by trimming just one layer of the
seam allowance close to the stitching line, and
notch the curve. If your curve is gentler, you can
just cut straight snips.
3
4
5 6
When cutting these
notches, be sure not to cut
into your stitches!
hhCH5_Sewing.indd 59 5/23/13 3:37 PM
60 Part 2: Start Sewing
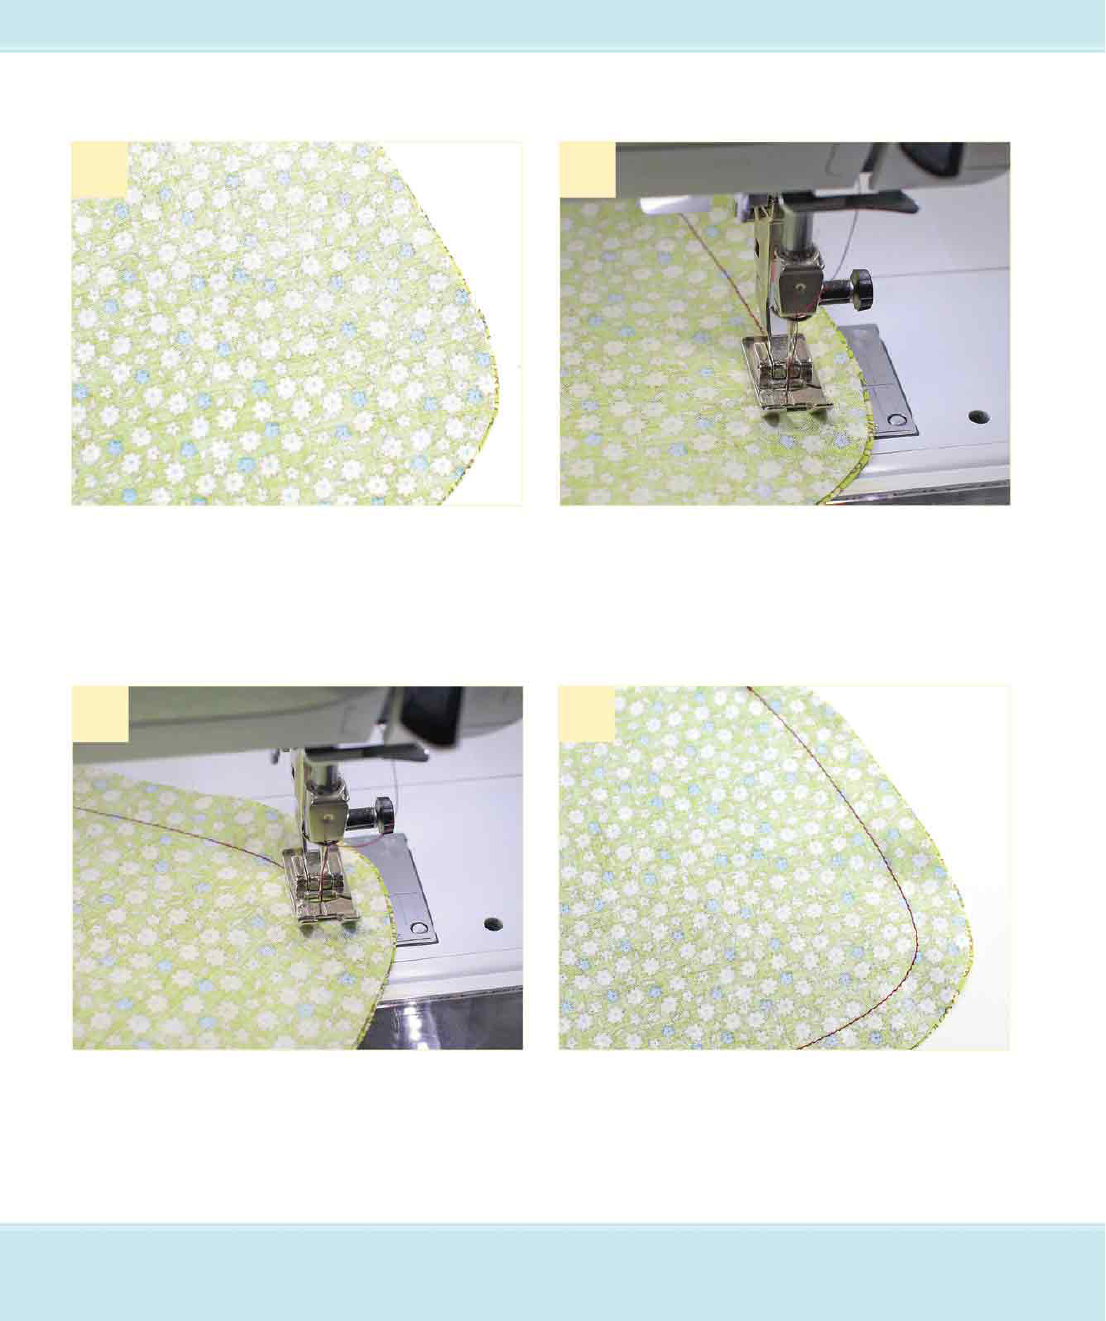
When sewing a tight curve, you may have to
pause, raise the foot, and pivot the fabric slightly.
Then lower the foot and continue sewing.
Notice the smooth, even seam along the curve.
Be careful to keep it from looking like a corner
with a point.
This outward curve is a gently rounded corner.
The fabric is cut and sewn with the right sides
together.
Sew a straight stitch and gently guide the fabric to
turn as you round the curve. Be sure to keep the
seam allowance lined up at all points throughout
the curve.
1
2
3 4
Outward Curve
hhCH5_Sewing.indd 60 5/23/13 3:37 PM

61Chapter 5: Corners and Curves
5
6
Needle Up or Needle Down?
Most sewing machines have a selection button
to keep the needle in the down position when
you stop sewing.
Notice the button with the small icon that has
the needle and both the up and down arrow?
The digital display shows you which of the two
choices you have selected. Sewing with the
needle down is key to smooth seams on curves
and corners.
If your machine is not digital, you can turn the
handwheel on the side of the machine to keep
the needle down while turning your fabric.
Trim the seam allowance and notch the curve.
Notice the uneven notching for the top and
bottom layers; this keeps the seam strong.
Press the seam open as much as possible. Turn
the fabric right side out, and press the seam flat.
A notched curve.
The seam allowance can also be
trimmed at
1
⁄
8
inch (.3 cm) with
pinking shears.
hhCH5_Sewing.indd 61 5/23/13 3:37 PM
..................Content has been hidden....................
You can't read the all page of ebook, please click here login for view all page.