

Opening a Buttonhole
You’ve created a perfect buttonhole—now it’s time to
open it up so it’s functional! The tiny space that needs to
be cut might seem a bit intimidating, but don’t worry—
I’ve got a few tricks to share.
Buttons can be used simply as an embellishment or
serve a purely functional purpose—and sometimes
they can do both. So be on the lookout for interesting
buttons!
What You Need
• Straight pins
• Small, sharp scissors
• Seam ripper
• Seam sealant liquid
(such as Fray Check)
1 2
Place a pin at the end of the buttonhole. This will
act as a stop for the tip of the scissors.
Carefully cut forward to the pin at the end.
Place a pin at the other end and cut to that end.
114 Part 3: More Techniques
Small embroidery scissors cut
easily in tiny spaces!
Start cutting at the center of the
buttonhole.
LLCH8_Sewing.indd 114 5/23/13 3:38 PM
3
4
Pull the buttonhole open. Trim any loose threads
from the fabric.
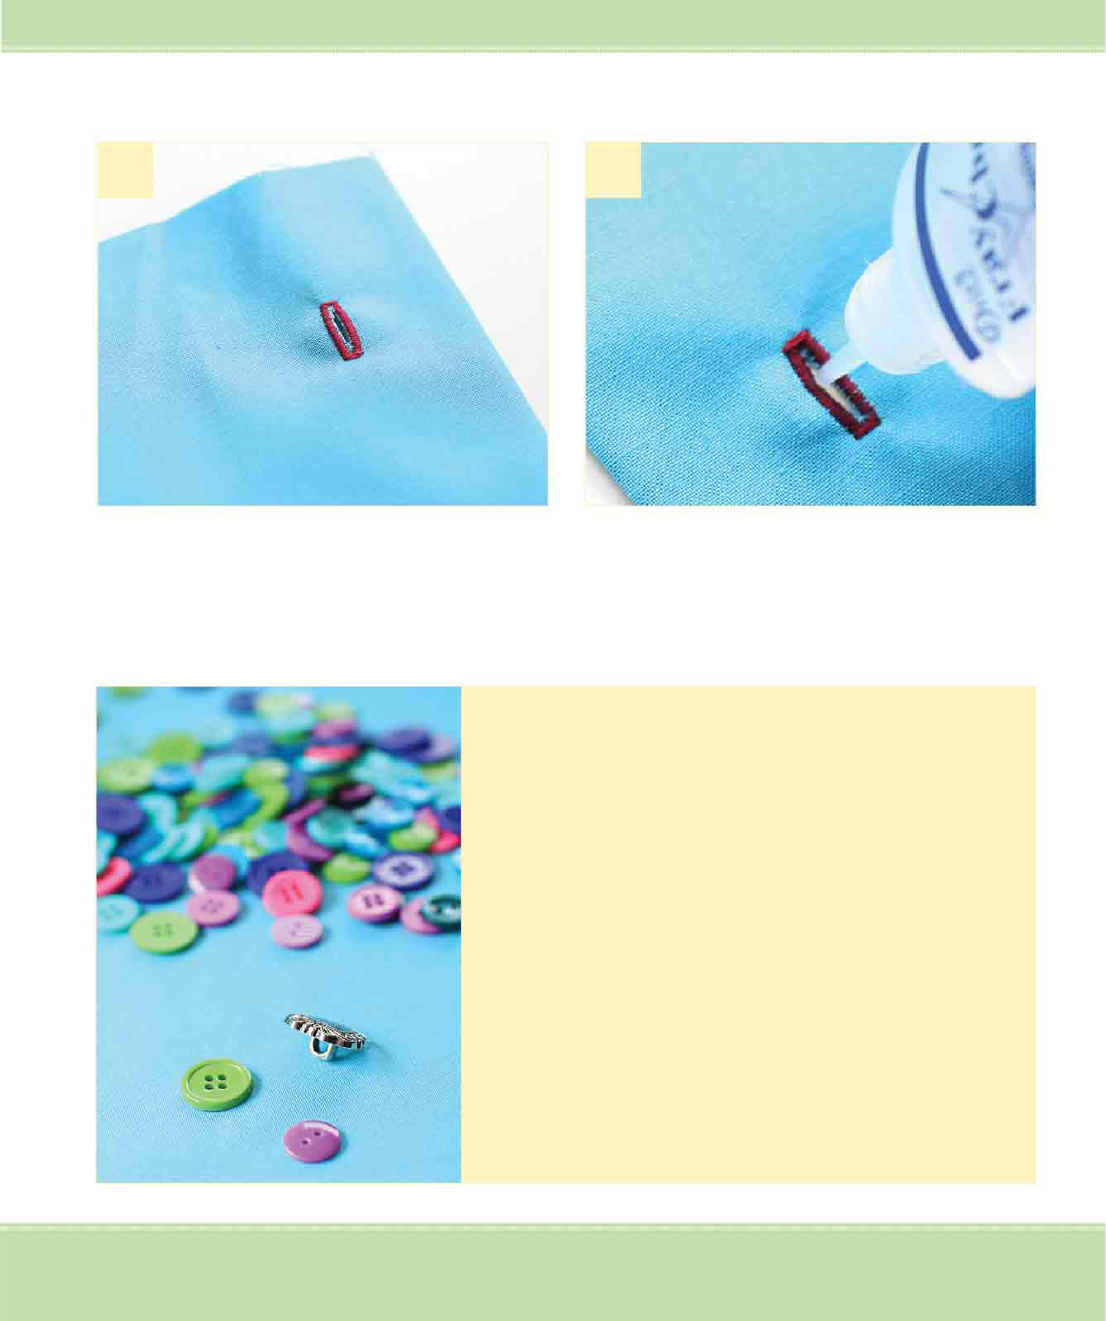
For extra durability, apply the seam sealant liquid
to the cut edges. Test it out by sliding a button
through the hole.
Who Knew There Were So Many Types
ofButtons?
Buttons are made in a variety of materials, including
metal, glass, plastic, clay, ivory, and wood. They vary in
shape and size. There are round, oval, square, and even
novelty shapes, such as stars and flowers!
Flat buttons can have either two or four holes in the cen-
ter and can be sewn by hand or sometimes by machine.
Shank buttons attach by sewing through a loop under
the bottom side of the button.
Choosing the right button is really determined by the
overall goal you have for the project. Is the button func-
tional or decorative? It’s up to you!
115Chapter 8: Fasteners
LLCH8_Sewing.indd 115 5/23/13 3:38 PM
..................Content has been hidden....................
You can't read the all page of ebook, please click here login for view all page.