
166 Part 3: More Techniques
Setting a Sleeve
Once you’ve created a sleeve, you’ll be ready to
attach it to the shirt. This is called setting a sleeve.
The key to a comfortable sleeve is adding a bit of
ease in the shoulder. Easing is similar to gathering,
but doesn’t create tucks or visible gathers.
Here are the basic steps for setting a sleeve; refer
to your pattern instructions for specifics on the
type of sleeve and attachment.
What You Need
• Standard foot attachment
• Fabric marking tool
• Iron
• Straight pins
• Scissors
• Narrow ironing sleeve board
(or rolled towel)
1 2
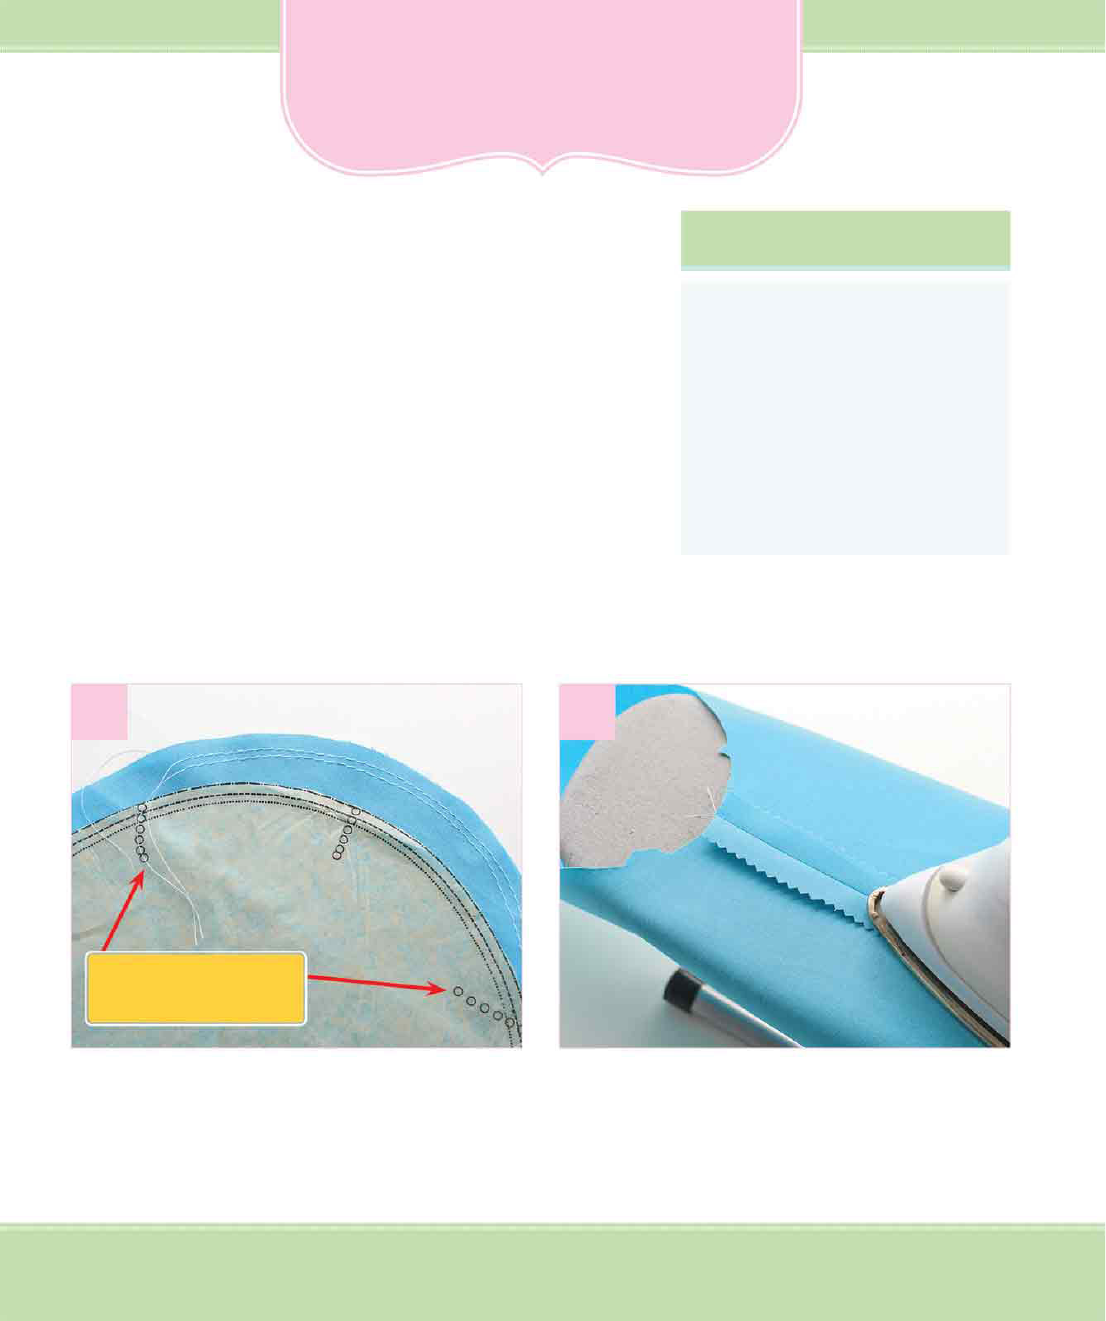
Once the sleeve is cut, sew two rows of basting
stitches between the EASE dot marks.
Sew the sleeve side seam, and press open with an
iron on a sleeve board. If you don’t have a sleeve
board, roll up a towel tightly and slide the sleeve
over it to press the seam.
Sew two rows of basting
stitches between dots.
ooCH11_Sewing.indd 166 5/23/13 3:39 PM

With the sleeve right side out and the shirt inside
out, begin pinning the sleeve to the armhole.
Match up the notches and underarm seam.
Sew with a standard straight stitch around the
entire armhole, just past the ease stitching. Be
careful not to sew any tucks or folds.
3
4
5 6
Trim the seam allowance to
1
⁄
4
inch (.6 cm). Use
a basic zigzag stitch around the edge of the arm-
hole to finish the seam.
Press the seam allowance carefully; this will help
to shrink up any tiny tucks or gathers. Turn the
shirt right side out.
Pull the bobbin threads to ease
the shoulder to fit it into the top
area of the armhole.
167Chapter 11: Basic Clothing Techniques
ooCH11_Sewing.indd 167 5/23/13 3:39 PM
..................Content has been hidden....................
You can't read the all page of ebook, please click here login for view all page.