
Easy Project 2:
Pincushion
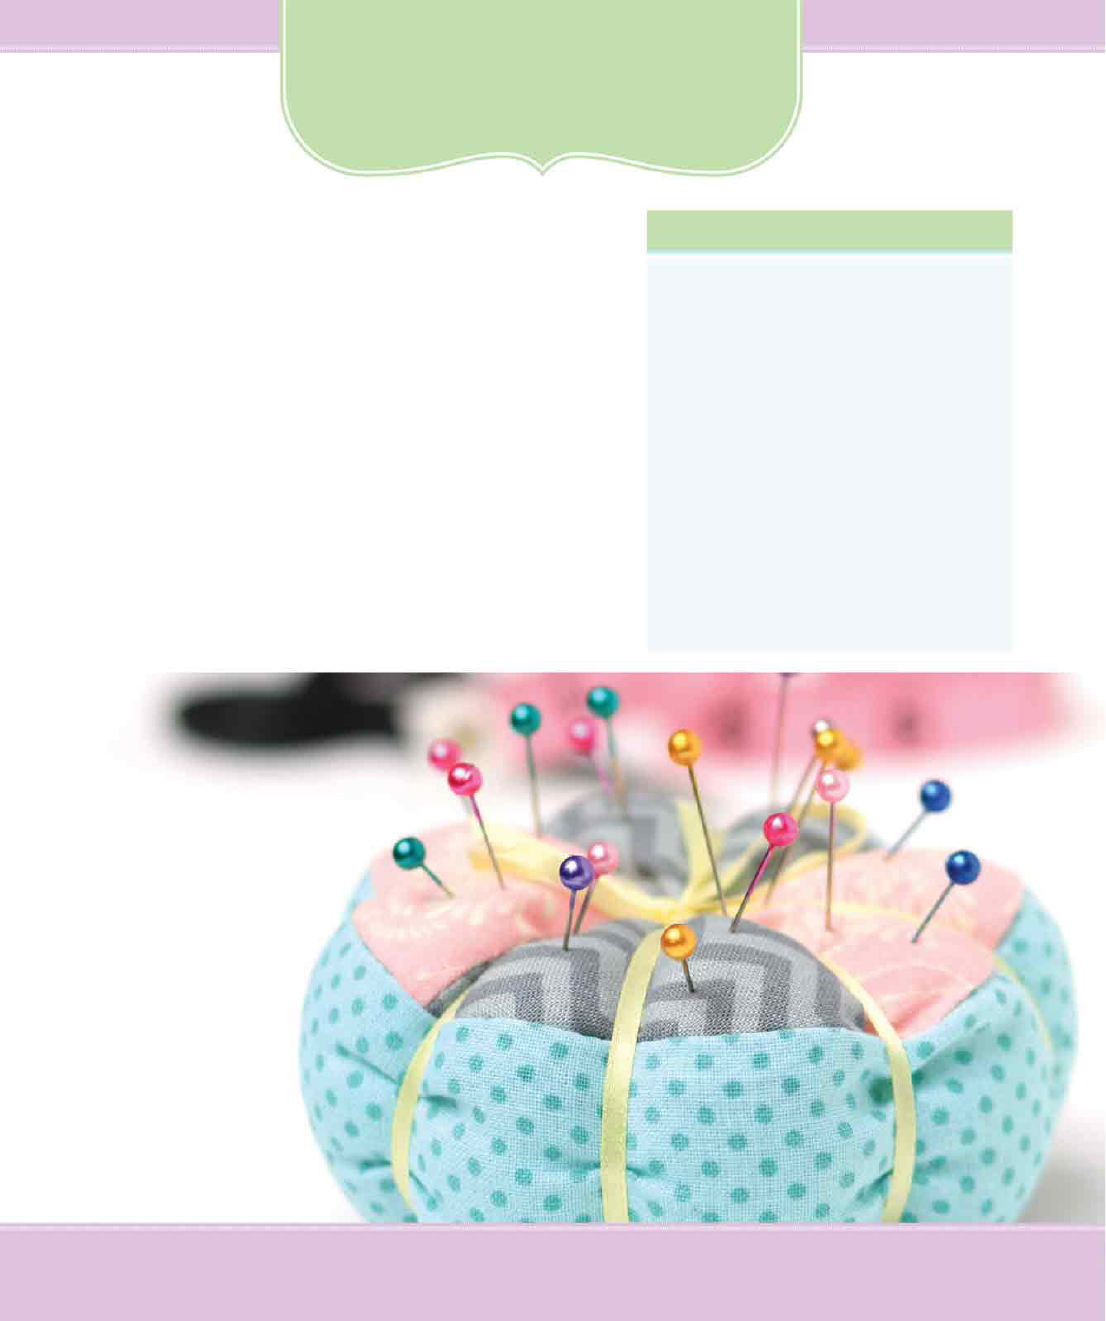
Making a pincushion is a great beginning
sewing project and a unique way to spruce up
your sewing workspace. Pick several different
fabrics that coordinate well together, and
you’re on your way to creating a pretty little
pincushion!
212 Part 4: A Gallery of Projects
What You Need
• Small scraps cotton fabric in two colors
• 11
1
⁄
2
x
2-inch (29.25
x
5 cm) piece cotton
fabric
• 50 inches (127 cm) thin ribbon or yarn
• Hand-sewing needle
• Scissors
• Straight pins
• Iron
• Stuffing or batting
• Traced pattern piece from this book
ssProjectsEasy_Sewing.indd 212 5/23/13 3:40 PM

3
Open up the seam and press it flat. Repeat for
the bottom half of the circle.
Lay out the four top pieces and with the right
sides together, line up the center seam. Pin, and
straight stitch.
Separate into two sets of four pieces for the top
and bottom.
213Easy Projects
You can choose to use a variety
of fabrics for a patchwork look
for the top or bottom.
1
2
Trace the pattern pieces onto paper. Cut out the
eight pieces for the pincushion, using the pattern.
Pincushion Top
and Bottom
Cut 8
ssProjectsEasy_Sewing.indd 213 5/23/13 3:40 PM

With the right sides together, pin the bottom
circle into the other side. Leave a small opening
to turn the piece right side out, and straight stitch.
7
With the right sides together, fold the side piece
in half, matching up the short ends. Pin, and
straight stitch.
With the right sides together, pin the top circle
to the side piece. Carefully straight stitch with a
1
⁄
4
-inch (.6 cm) seam allowance around the entire
circle.
214 Part 4: A Gallery of Projects
5
6
4
With the right sides together, line up the two halves
of the circle and pin the center seam. Stitch, and
press open. Repeat for the bottom circle.
ssProjectsEasy_Sewing.indd 214 5/23/13 3:40 PM

Continue to wrap the pincushion until it’s divided
into eight sections. Wrap back up to the top, and
tie the ribbon in a knot or a bow. Sew through
the top and bottom at the center to secure the
ribbon.
11
Place the center of the long piece of ribbon on
the center top of the pincushion. Pin to hold it in
place.
Wrap the ribbon around the bottom and criss-
cross to wrap back up to the top, following the
seam lines. Place a pin to hold it at the center.
9
10
Turn the pincushion right side out, and stuff firmly
with the batting. Hand sew the opening closed,
being sure to secure both ends of the stitching.
8
215Easy Projects
ssProjectsEasy_Sewing.indd 215 5/23/13 3:40 PM
..................Content has been hidden....................
You can't read the all page of ebook, please click here login for view all page.