After installing the Gradle STS extension, perform the following steps to install the Spring Gradle project:
- After installing, you are ready to create a Gradle project for Spring development. Go to the New project wizard (Ctrl-N) of STS Eclipse and create a Gradle project.

- On the Gradle Project wizard, assign a name for your project and choose Java Quickstart for the Sample project option. Click Finish and it will take a while to create, build, clean, and install your Gradle STS project.
- Delete unnecessary project files. Right-click on the project and click on Gradle (STS) | Refresh all.
- Open the build.gradle and overwrite the existing configuration with this:
apply plugin: 'eclipse'
apply plugin: "war"

sourceCompatibility = 1.8
version = '1.0'

war {
    baseName = 'ch02-gradle'
    version = '1.0'
}

sourceCompatibility = 1.8

repositories {
    mavenCentral()
    jcenter()
}
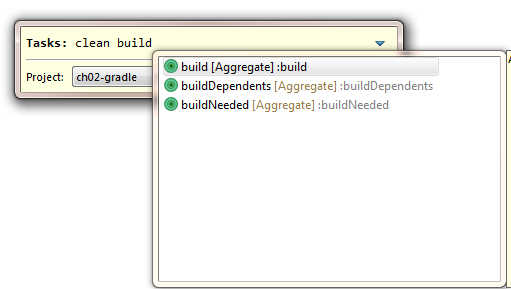
- Right-click on the project and click Gradle (STS) | Tasks Quick Launcher to run the Gradle Task Launcher. Using the launcher, clean and build the project for the first time:

- Finally, at this point, you have created your Spring Gradle project which will look like this:

