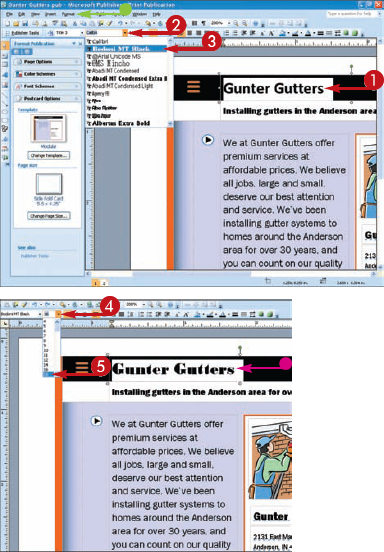
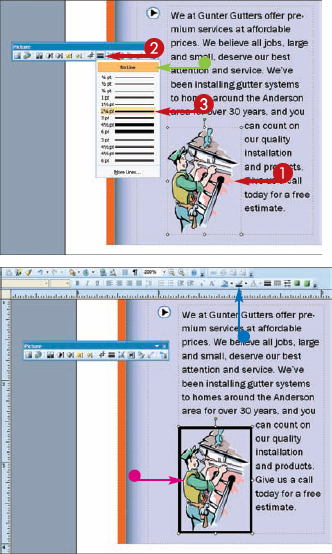
You can control the font and size of your publication text. By default, when you assign a publication design, Publisher uses a predefined set of formatting for the text, including a specific font and size. You may need to change the font or increase the size to suit your own publication's needs.
Change the Text Font and Size


Publisher applies the new size.
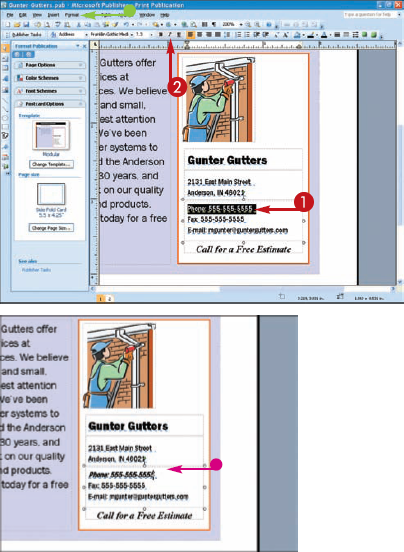
You can change the style of your publication text by applying bold, italic, or underline formatting. For example, you might need to make a paragraph bold to stand out in a newsletter article, or change a flyer heading to italics for emphasis.
Click Bold (

Click Italic (

Click Underline (

Publisher applies the new style.
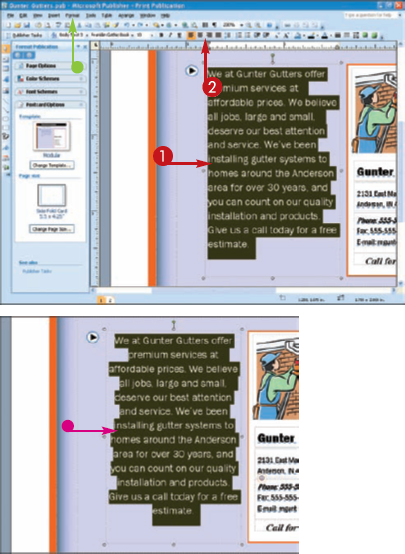
You can use Publisher's alignment commands to change the way in which text is positioned horizontally in a text object box. Depending on the publication design that you select, alignment is preset to best suit the publication type. You can change the alignment to suit your own needs.
Click the Align Left button (

Click the Center button (

Click the Align Right button (

Click the Justify button (

Publisher applies the new alignment.
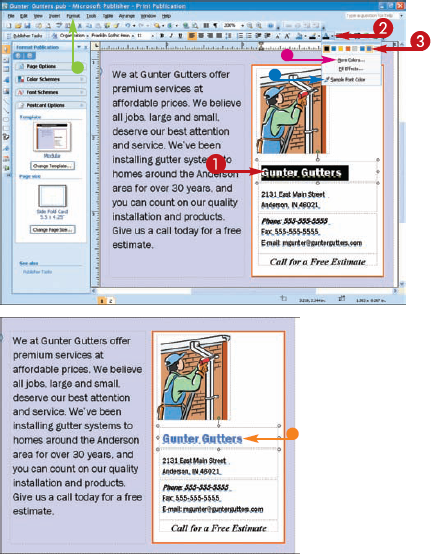
You can add color to your text to enhance the appearance of a publication or add emphasis to your text. You can also use the new Sample Font Color feature to duplicate colors in your publication. When selecting text colors, be careful not to choose a color that makes your text difficult to read.
Change Text Color
By default, Publisher displays colors that are associated with the design.

Publisher immediately applies the color to the text.

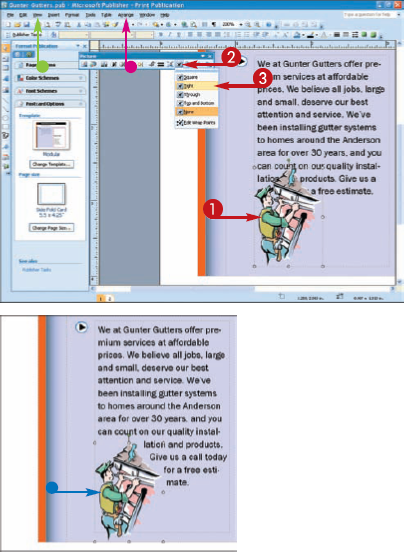
You can control the way in which a text object wraps text around a picture object or any other object in a publication. For example, you may want a column of text to wrap tightly around a clip art object.
Publisher immediately applies the text wrapping.
You can add a border to any object in a publication, including text boxes, clip art, and pictures. You can also control the line thickness of the border.
Add a Border
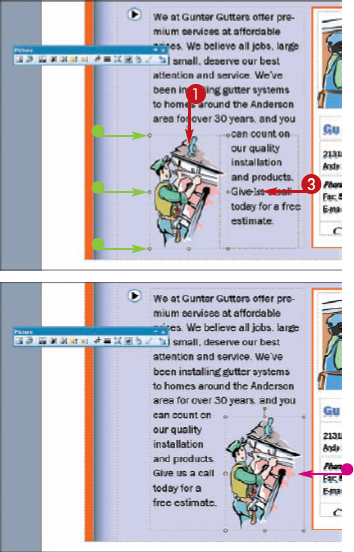
You can move a publication object to better suit your layout. For example, when building a publication from a blank document, you may need to move text objects or picture objects around to create a better layout.
Move a Publication Object
Publisher moves the object.
You can resize a publication object to improve the appearance of the object or the layout. For example, you may need to resize a clip art object to make it bigger, or resize a text object to fit more text into the box.
Resize a Publication Object
When you release the mouse button, Publisher resizes the object.
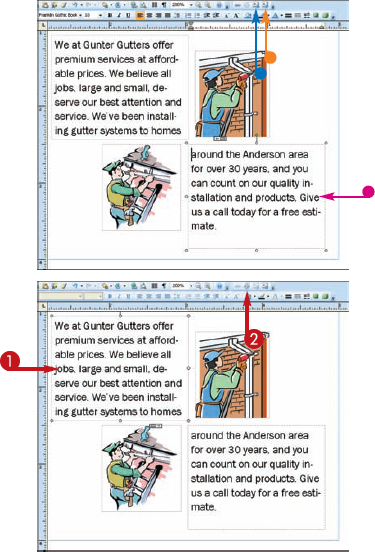
You can link text boxes to create a relationship between the text in each box. For example, you may want to connect two text boxes so that the text flows from one to the other, such as two columns in a newsletter. You can also break a text box connection to turn a grouped text box into two separate boxes. You can use the Connect Text Boxes toolbar to navigate and connect text boxes in a publication.
Connect Text Boxes
LINK TEXT BOXES
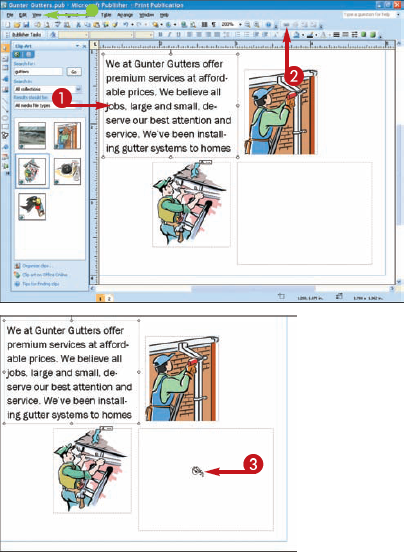
BREAK A LINK
Publisher breaks the link.
Tip
What happens if my text exceeds the size of my text box?
When you add too much text to a text object, it is called overflow. You can correct overflow text by connecting the text box to an adjacent text box and flowing the text into it using the Connect Text Boxes toolbar. Another option is to click the Format menu and then click AutoFit Text, which allows you to choose from three text-fitting options. You can also enlarge the size of the current text box or reduce the font size of the text to make it fit.

Why does Publisher reduce my font size to fit my text in a box?
With some publication designs, AutoFitting is turned on by default, and Publisher tries to fit your text into the space provided. To turn this feature off, right-click the text box and click Format Text Box to open the Format Text Box dialog box. Click the Text Box tab and click the Do not fit option (

You can change the background of your publication page by assigning a new background color, gradient effect, or texture. You can apply a background to the current page, or to all of the pages in your publication.
Edit the Background Page
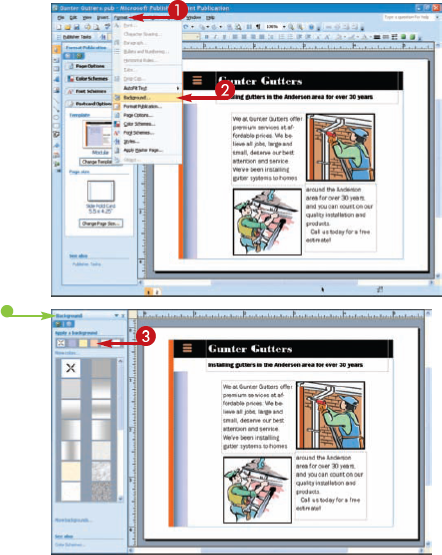
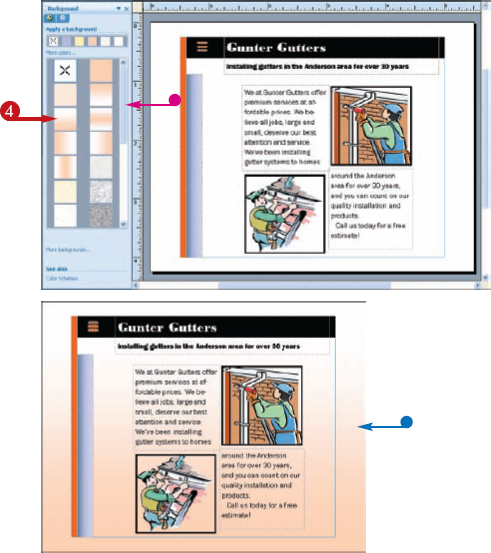
Publisher displays a list of backgrounds in the list box.
Publisher assigns the background to the publication.
Tip
How do I remove a background that I no longer want?
To remove a background, reopen the Background pane and click the No Color option – the selection with a large × in the middle. Publisher immediately removes the background and returns the publication to the original background setting.
Can I assign backgrounds other than what is shown in the Background pane?
Yes. You can assign color backgrounds, turn a picture into a background, and more. To add a color background, click the More colors link in the Background pane and choose a color. Click the More backgrounds link to open the Fill Effects dialog box, where you can assign a different gradient effect or background texture, or turn a picture into a background.

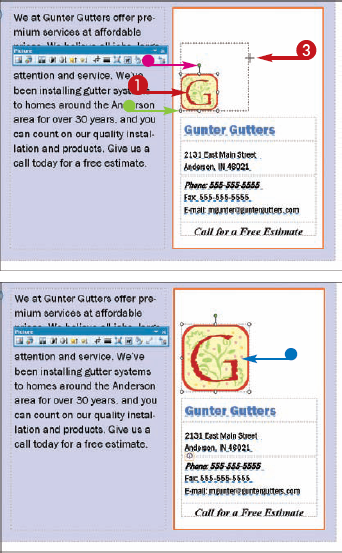
You can use Publisher's Design Gallery to add all kinds of extra touches to your publication projects. For example, you can add a calendar to a newsletter, or a graphical marquee to a letterhead. The Design Gallery features a wide variety of design objects, such as mastheads, borders, boxes, and even coupons and logos.
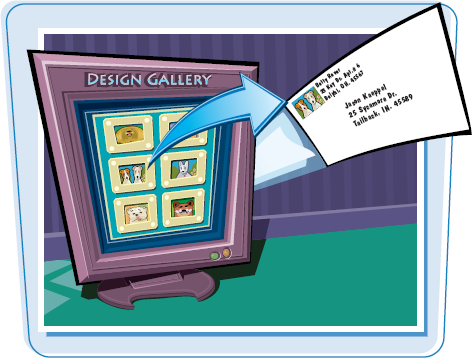
Add a Design Gallery Object
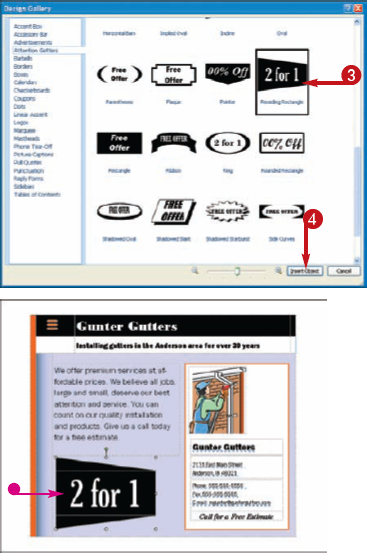
INSERT A DESIGN GALLERY OBJECT
The Design Gallery dialog box appears.
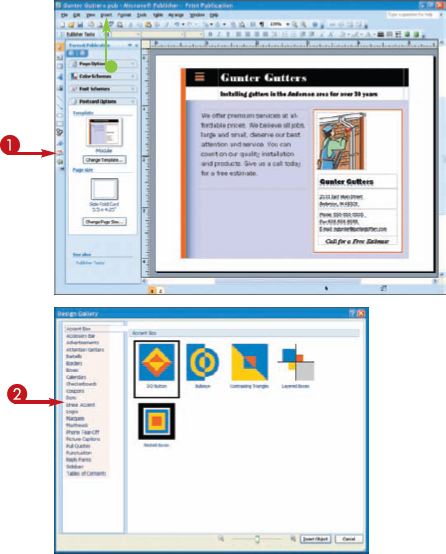
You can move and resize the object to suit your layout.
Note
See the "Move a Publication Object" and "Resize a Publication Object" tasks to learn more.
Tip
Can I customize a Design Gallery Object?
Yes. Many of the Design Gallery objects are made up of simple lines and shapes. You can customize the appearance of an element by selecting individual parts of the object and making changes to the element's formatting. For example, you might change the border of an object or change the fill color. To learn more about formatting drawn objects in Microsoft Office, see Chapter 3.
I want to customize an object. How do I select an individual line or fill color to edit?
You may need to ungroup an object in order to edit individual elements, such as lines, fills, and shapes. To apply the Ungroup command, click the object, click the Arrange menu, and then click Ungroup. Depending on the complexity of the object, you may need to activate the command more than once to free all of the individual elements that comprise the object. Once you finish making your edits, you can apply the Group command to turn them back into a single object.

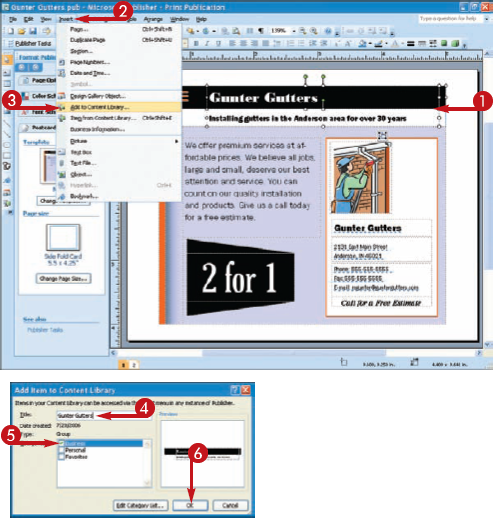
If you find yourself using the same elements in each publication that you create, you can save the elements in Publisher's Content Library. Anything placed in the Content Library is accessible from any other Publisher files that you open. For example, if you use the same pull quote or headline in every publication that you create, you can save the element in the Content Library and insert it any time that you need it.

Use the Content Library
ADD AN ITEM TO THE CONTENT LIBRARY
The Add Item to Content Library dialog box appears.

Publisher adds the item to the Content Library.
PLACE AN ITEM FROM THE CONTENT LIBRARY
You can move and resize the item to best fit the publication.
Note
See the tasks "Move a Publication Object" and "Resize a Publication Object" to learn more.

Tip
How do I remove an item that I no longer want to keep in the Content Library?
To remove an item, display the Content Library task pane by clicking the Insert menu and then clicking Item from Content Library, or by clicking the Item from Content Library button (
Can I create new categories for the Content Library?
Yes. The Content Library installs with three default categories: Business, Personal, and Favorites. You can create new categories or edit existing categories. To do so from the Content Library pane, move the mouse pointer over an item in the library, and then click Edit Category List. The Edit Category List dialog box appears, where you can add new categories, move categories in the list, and edit existing categories.