CHAPTER 5
Adding Text
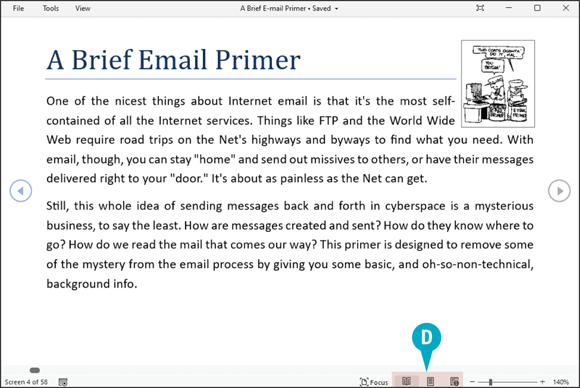
Change Word’s Views
To help in your text adding and editing chores, you can control how you view your Word document in several ways. For example, you can use the Zoom feature to control the magnification of your document with either the Zoom slider or the Zoom buttons.
You can also choose from five different views: Print Layout, which displays margins, headers, and footers; Outline, which shows the document’s outline levels; Web Layout, which displays a web page preview of your document; Read Mode, which optimizes your document for easier reading; and Draft, which omits certain elements such as headers and footers.
Change Word’s Views
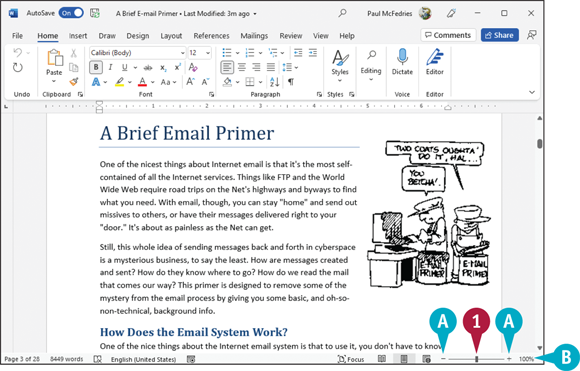
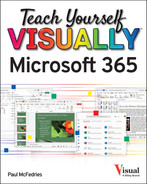
Using the Zoom Tool
![]() Drag the Zoom slider on the Zoom bar.
Drag the Zoom slider on the Zoom bar.
![]() You can also click a magnification button to zoom in (
You can also click a magnification button to zoom in (![]() ) or out (
) or out (![]() ).
).
![]() You can click the percentage to display the Zoom dialog box and precisely control zooming.
You can click the percentage to display the Zoom dialog box and precisely control zooming.
![]() Word magnifies the document, and the magnification percentage appears here.
Word magnifies the document, and the magnification percentage appears here.
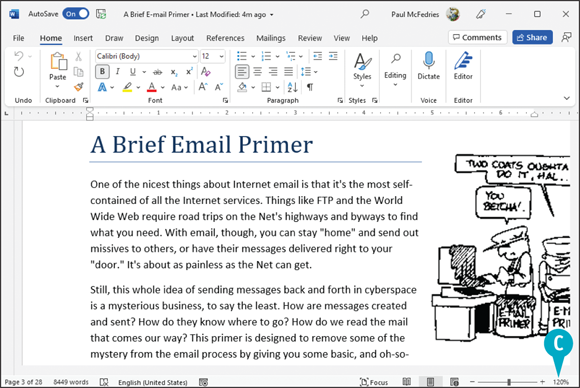
Switch Layout Views
![]() Click the View tab on the Ribbon.
Click the View tab on the Ribbon.
![]() In the Views group, click a layout view button.
In the Views group, click a layout view button.
Word displays a new view of the document.
In this example, Read Mode view helps you focus on reading a document. See Chapter 8 for details on Read Mode.
![]() You can also switch views using the View buttons at the bottom of the program window.
You can also switch views using the View buttons at the bottom of the program window.
Type and Edit Text
You can use Word to quickly type and edit text for a letter, memo, or report. By default, Word is set to Insert mode; when you start typing, any existing text moves over to accommodate the new text. If you have set up Word to toggle between Insert mode and Overtype mode, you can press ![]() to switch to Overtype mode. In Overtype mode, the new text overwrites the existing text.
to switch to Overtype mode. In Overtype mode, the new text overwrites the existing text.
Word makes typing easy; you do not need to worry about when to start a new line within a paragraph, and you can easily start new paragraphs and delete text.
Type and Edit Text

Type Text
![]() Start typing your text.
Start typing your text.
![]() At the end of a line, Word automatically starts a new line, wrapping text to the next line for you.
At the end of a line, Word automatically starts a new line, wrapping text to the next line for you.
![]() The insertion point marks your location in the document and moves to the right as you type. Text you type appears to the left of the insertion point.
The insertion point marks your location in the document and moves to the right as you type. Text you type appears to the left of the insertion point.
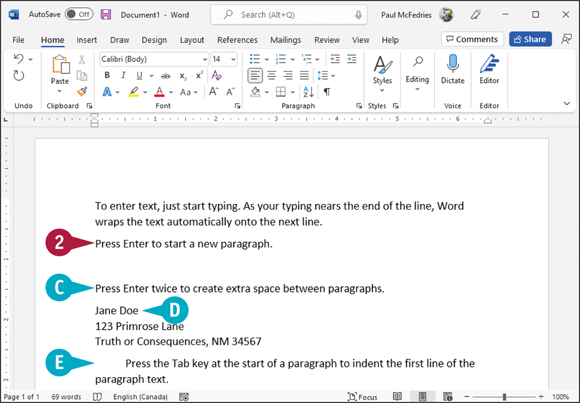
![]() Press
Press ![]() to start a new paragraph.
to start a new paragraph.
![]() You can press
You can press ![]() twice to add an extra space between paragraphs.
twice to add an extra space between paragraphs.
![]() You can press
You can press ![]() +
+ ![]() to insert a line break and start a new line when your text does not fill the line. You often use line breaks when typing addresses.
to insert a line break and start a new line when your text does not fill the line. You often use line breaks when typing addresses.
![]() You can press
You can press ![]() to quickly indent the first line of text in a paragraph.
to quickly indent the first line of text in a paragraph.
Edit Text
![]() If you make a spelling mistake, Word either corrects the mistake as you type or underlines it in red.
If you make a spelling mistake, Word either corrects the mistake as you type or underlines it in red.
![]() Click to the right of a mistake in a document.
Click to the right of a mistake in a document.
![]() Press
Press ![]() to delete characters to the left of the insertion point.
to delete characters to the left of the insertion point.
![]() Click to the left of a mistake in a document.
Click to the left of a mistake in a document.
![]() Press
Press ![]() to delete characters to the right of the insertion point.
to delete characters to the right of the insertion point.
Note: You can delete larger quantities of text by selecting the text and pressing ![]() .
.
Insert Quick Parts
You can make working with Word faster and more efficient by taking advantage of Quick Parts. If you repeatedly type the same text in your documents — for example, your company name — you can add this text to the Quick Part Gallery. The next time you need to add the text to a document, you can select it from the gallery instead of retyping it.
You can also use any of the preset phrases included with Word. You access these preset Quick Parts from the Building Blocks Organizer. (See the first tip at the end of this section for more information.)
Insert Quick Parts
Create a Quick Parts Entry
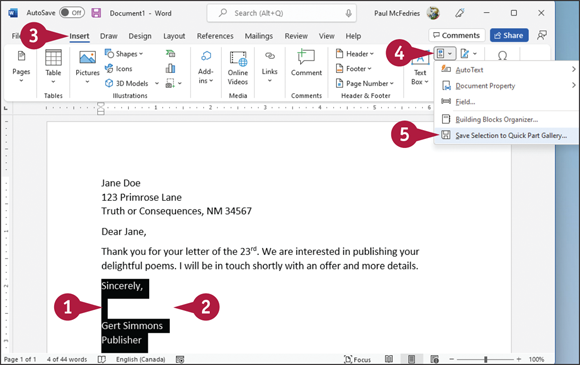
![]() Type the text that you want to store, including all formatting that should appear each time you insert the entry.
Type the text that you want to store, including all formatting that should appear each time you insert the entry.
![]() Select the text you typed.
Select the text you typed.
![]() Click the Insert tab.
Click the Insert tab.
![]() Click the Quick Parts button (
Click the Quick Parts button (![]() ).
).
![]() Click Save Selection to Quick Part Gallery.
Click Save Selection to Quick Part Gallery.
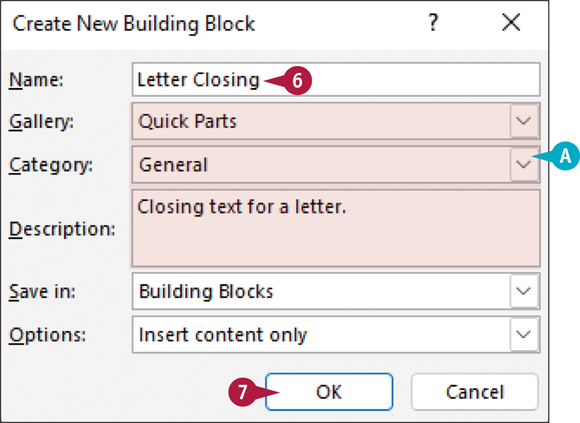
The Create New Building Block dialog box appears.
![]() Type a name that you want to use as a shortcut for the entry.
Type a name that you want to use as a shortcut for the entry.
![]() You can also assign a gallery, a category, and a description for the entry.
You can also assign a gallery, a category, and a description for the entry.
![]() Click OK.
Click OK.
Word stores the entry in the Quick Part Gallery.
Insert a Quick Part Entry
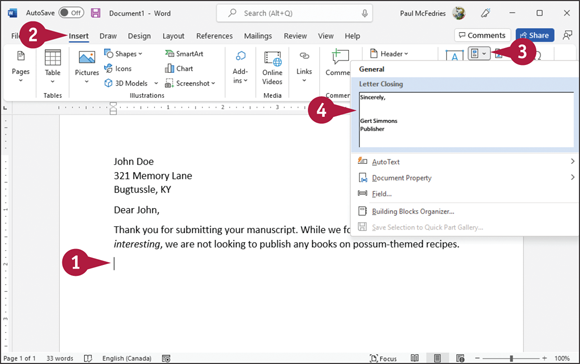
![]() Click in the text where you want to insert a Quick Part.
Click in the text where you want to insert a Quick Part.
![]() Click the Insert tab.
Click the Insert tab.
![]() Click the Quick Parts button (
Click the Quick Parts button (![]() ).
).
All building blocks you define as Quick Parts appear in the Quick Part Gallery.
![]() Click the entry that you want to insert.
Click the entry that you want to insert.
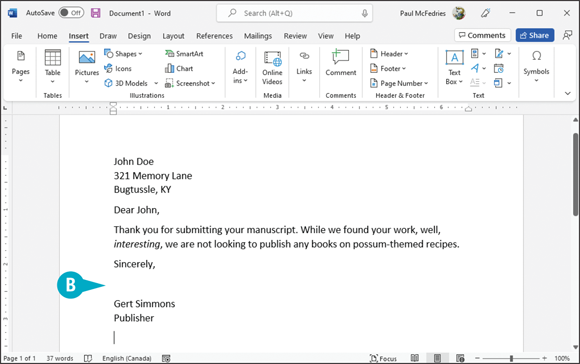
![]() Word inserts the entry into the document.
Word inserts the entry into the document.
Insert Symbols
From time to time, you might need to insert a mathematical symbol or special character into your Word document. From the Symbol Gallery, you can insert many common symbols, including mathematical and Greek symbols, architectural symbols, and more.
If you do not find the symbol you need in the Symbol Gallery, you can use the Symbol dialog box. The Symbol dialog box displays a list of recently used symbols as well as hundreds of symbols in a variety of fonts. You can also use the Symbol dialog box to insert special characters.
Insert Symbols
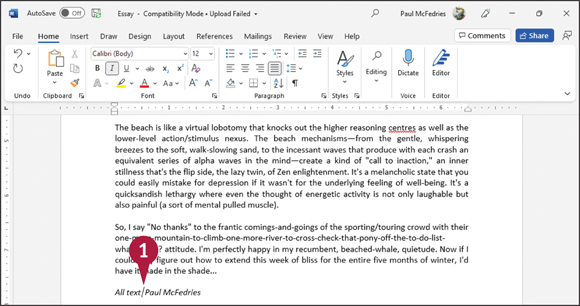
![]() Click the location in the document where you want the symbol to appear.
Click the location in the document where you want the symbol to appear.
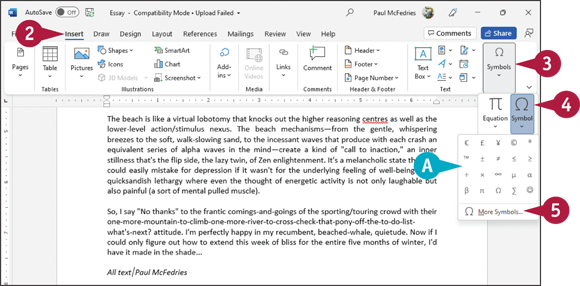
![]() Click the Insert tab.
Click the Insert tab.
![]() Click Symbols.
Click Symbols.
![]() Click Symbol.
Click Symbol.
![]() A gallery of commonly used symbols appears. If the symbol you need appears in the gallery, you can click it and skip the rest of these steps.
A gallery of commonly used symbols appears. If the symbol you need appears in the gallery, you can click it and skip the rest of these steps.
![]() Click More Symbols.
Click More Symbols.
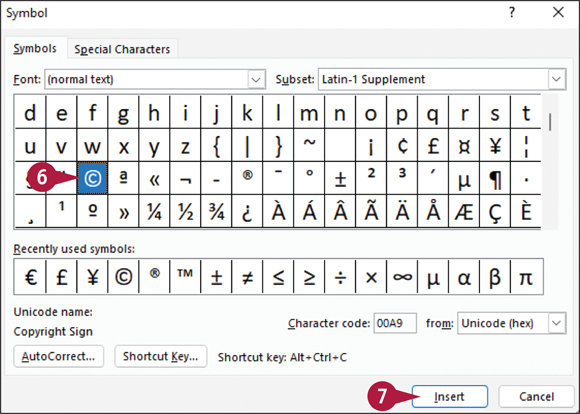
The Symbol dialog box appears.
![]() Click the symbol you want.
Click the symbol you want.
![]() Click Insert.
Click Insert.
![]() The symbol appears at the current insertion point location in the document.
The symbol appears at the current insertion point location in the document.
Note: You can control the size of the symbol the same way you control the size of text; see Chapter 6 for details on sizing text.
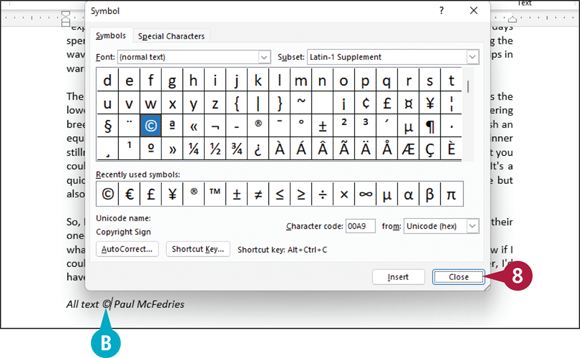
The dialog box remains open so that you can add more symbols to your document.
![]() When finished, click Close.
When finished, click Close.