CHAPTER 2
Working with Files
Create a New File
When you are ready to create new content, rather than adding to an existing document, you can create a new file. The Start screen that appears when you open a Microsoft 365 app (except Outlook, OneNote, and Teams) enables you to create a new file, as described in Chapter 1. If Word, Excel, PowerPoint, Access, or Publisher is already open and you want to create a new document, workbook, presentation, database, or publication, you create a new file using Backstage view. You have the option of creating a blank file or basing the file on a template.
Create a New File
Create a New Blank File
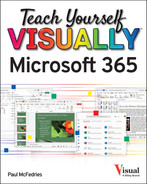
![]() Click the File tab.
Click the File tab.
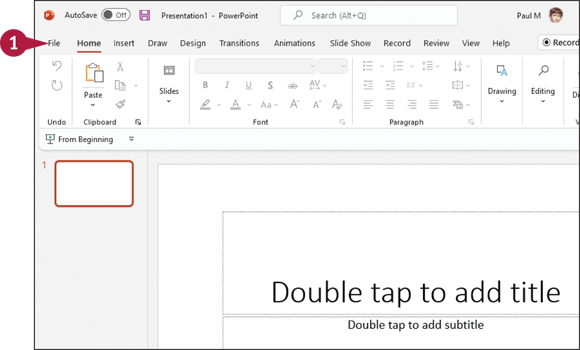
![]() Click New.
Click New.
The New screen appears.
![]() Click the Blank Type thumbnail, where Type is the type of file, such as Document (Word), Workbook (Excel), or Presentation (PowerPoint).
Click the Blank Type thumbnail, where Type is the type of file, such as Document (Word), Workbook (Excel), or Presentation (PowerPoint).
Create a New File from a Template
![]() Click the File tab (not shown).
Click the File tab (not shown).
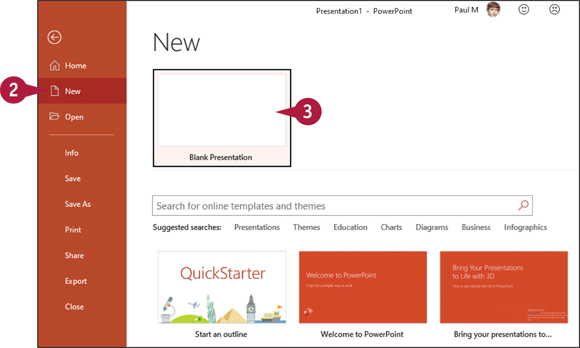
![]() Click New.
Click New.
The New screen appears.
![]() Click the template that represents the type of file that you want to create.
Click the template that represents the type of file that you want to create.
![]() You can use this Search box to search for the template you want.
You can use this Search box to search for the template you want.
Note: A template contains predefined text and formatting that serve as the starting point for your document, saving you the effort of manually adding that text and formatting it.
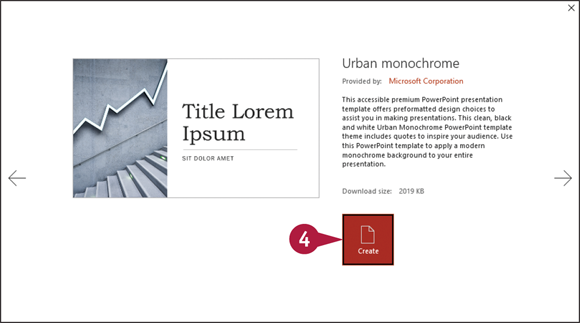
A preview and description of the template appears.
![]() Click Create.
Click Create.
The Microsoft 365 app creates and then opens a new file based on the template.
Save a File
You save files you create in Microsoft 365 apps so that you can use them at another time. When you save a file, you can give it a unique filename and store it in the folder or drive of your choice.
After you save a file for the first time, you can click the Save button (![]() ) in the app’s title bar to save it again. The first time you save a file, the app prompts you for a filename. Subsequent times, when you use the Save button (
) in the app’s title bar to save it again. The first time you save a file, the app prompts you for a filename. Subsequent times, when you use the Save button (![]() ) in the title bar, the app saves the file using its original name without prompting you.
) in the title bar, the app saves the file using its original name without prompting you.
Save a File
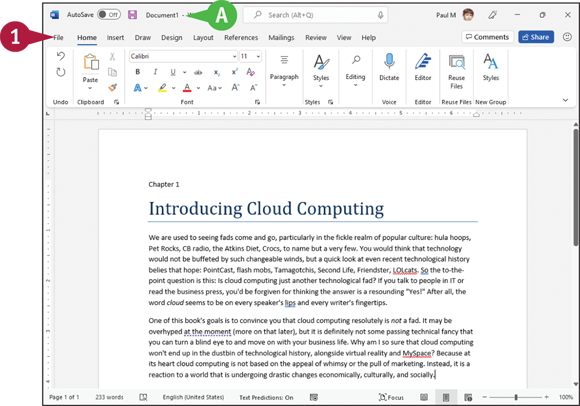
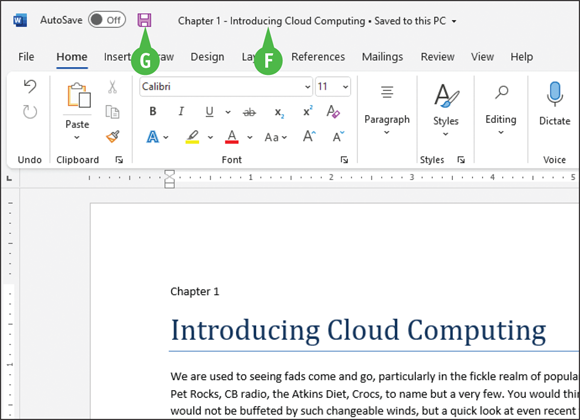
![]() Before you save a file, the app displays a generic name in the title bar (such as Document1 for a Word document, as shown here).
Before you save a file, the app displays a generic name in the title bar (such as Document1 for a Word document, as shown here).
![]() Click the File tab.
Click the File tab.
Backstage view appears.
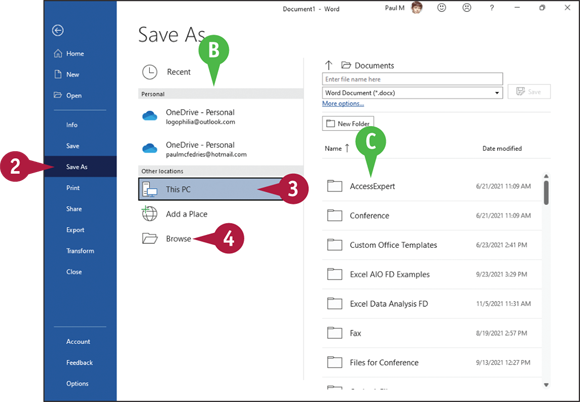
![]() Click Save As.
Click Save As.
![]() Locations where you can save files appear here.
Locations where you can save files appear here.
Note: Once you select a location, folders available at that location appear on the right side of the screen.
![]() Click the location where you want to save the file; this example uses This PC.
Click the location where you want to save the file; this example uses This PC.
![]() If the folder in which you want to save the document appears here, click it and skip to step 5.
If the folder in which you want to save the document appears here, click it and skip to step 5.
![]() Click Browse.
Click Browse.
The Save As dialog box appears.
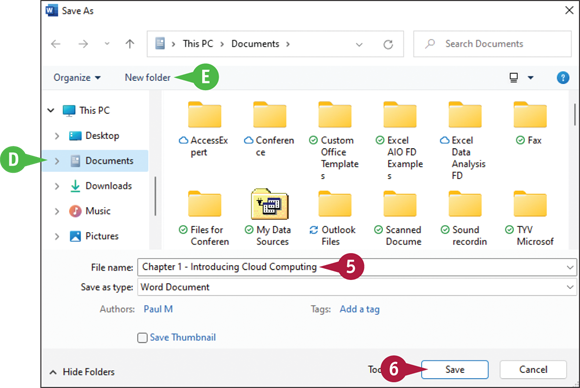
![]() Type a name for the document.
Type a name for the document.
![]() You can click in the folder list to select a location on your computer in which to save the document.
You can click in the folder list to select a location on your computer in which to save the document.
![]() You can click New folder to create a new folder in which to store the document.
You can click New folder to create a new folder in which to store the document.
![]() Click Save.
Click Save.
![]() Word saves the document and displays the name you supplied in the title bar.
Word saves the document and displays the name you supplied in the title bar.
![]() For subsequent saves, you can click the Save button (
For subsequent saves, you can click the Save button (![]() ) on the Quick Access Toolbar to quickly save the file.
) on the Quick Access Toolbar to quickly save the file.
Open a File
You can open documents that you have saved previously to continue adding data or to edit existing data. If you are not sure where you saved a file, you can use the Open dialog box’s Search function to locate it.
In Word, you can open and edit PDF files. Because Word optimizes PDF files to enable you to edit text, editing a PDF file in Word works best if you used Word to create the original PDF file. If you used a different app to create the PDF file, the result might not look exactly like the original PDF.
Open a File
![]() Click the File tab (not shown).
Click the File tab (not shown).
Backstage view appears.
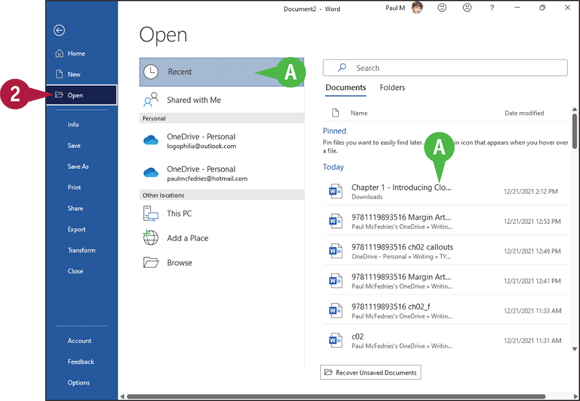
![]() Click Open.
Click Open.
![]() By default, the Microsoft 365 app displays recently opened documents. If you see the file you want to open, you can click it to open it and skip the rest of these steps.
By default, the Microsoft 365 app displays recently opened documents. If you see the file you want to open, you can click it to open it and skip the rest of these steps.
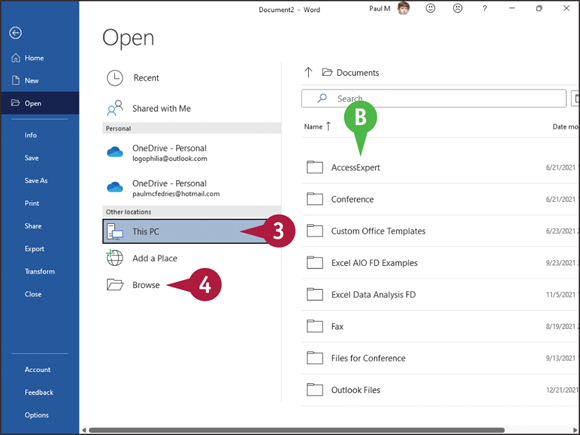
![]() Click the place where you believe the document is stored. This example uses This PC.
Click the place where you believe the document is stored. This example uses This PC.
![]() If the folder containing the document appears here, click it and skip to step 6.
If the folder containing the document appears here, click it and skip to step 6.
![]() Click Browse.
Click Browse.
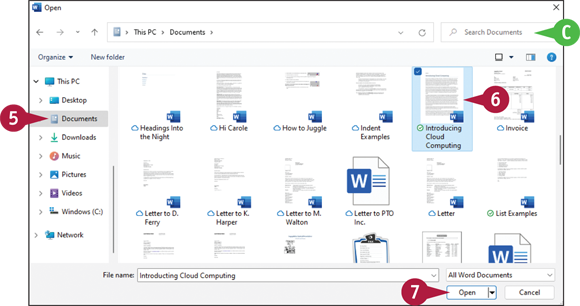
The Open dialog box appears.
![]() If you chose the wrong place, you can search for the file by typing part of the filename or content here.
If you chose the wrong place, you can search for the file by typing part of the filename or content here.
![]() Click in the folder list to navigate to the folder containing the document you want to open.
Click in the folder list to navigate to the folder containing the document you want to open.
![]() Click the document you want to open.
Click the document you want to open.
![]() Click Open.
Click Open.
The file opens in the app window.
![]() To close a file, click the Close button (
To close a file, click the Close button (![]() ) in the upper-right corner. If you have not saved the file, the app prompts you to save it.
) in the upper-right corner. If you have not saved the file, the app prompts you to save it.
Print a File
If a printer is connected to your computer, you can print your Microsoft 365 files. For example, you might distribute printouts of a file as handouts in a meeting.
When you print a file, you have two options: You can send a file directly to the printer using the default settings, or you can open the Microsoft 365 app’s Print screen to change these settings. For example, you might opt to print just a portion of the file, print using a different printer, print multiple copies of a file, collate the printouts, and so on. (Printer settings vary slightly among Microsoft 365 apps.)
Print a File
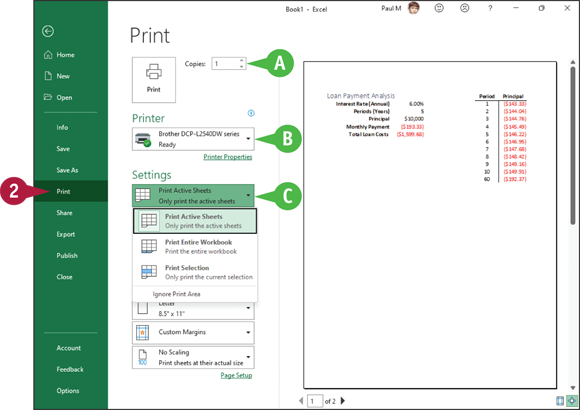
![]() Click the File tab.
Click the File tab.
Backstage view appears.
![]() Click Print.
Click Print.
![]() You can specify the number of copies to print by clicking the Copies
You can specify the number of copies to print by clicking the Copies ![]() .
.
![]() You can choose a printer from the Printer drop-down list.
You can choose a printer from the Printer drop-down list.
![]() You can choose to print a selection from the file or specific pages using the available settings in the Settings list.
You can choose to print a selection from the file or specific pages using the available settings in the Settings list.
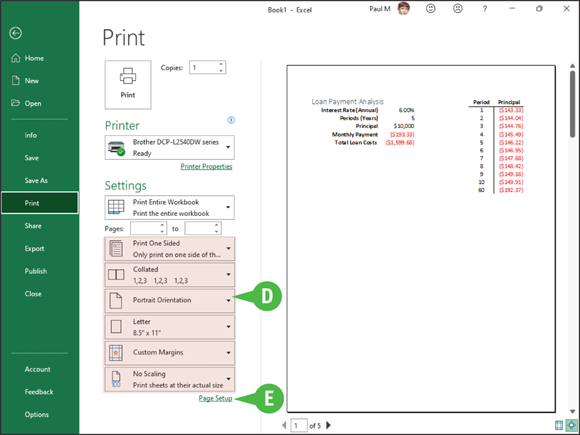
![]() You can select additional print options under Settings. For example, you can choose from various paper sizes and to print in landscape or portrait orientation.
You can select additional print options under Settings. For example, you can choose from various paper sizes and to print in landscape or portrait orientation.
![]() If you do not see the setting you want to change, click Page Setup to view additional settings.
If you do not see the setting you want to change, click Page Setup to view additional settings.
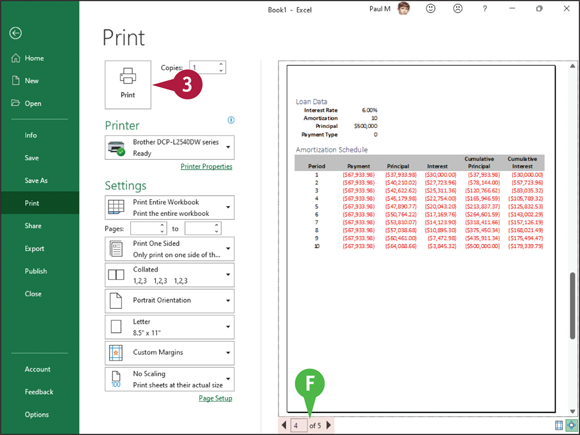
![]() You can page through a preview of your printed file by clicking the previous arrow (
You can page through a preview of your printed file by clicking the previous arrow (![]() ) and the next arrow (
) and the next arrow (![]() ).
).
![]() Click Print.
Click Print.
The Microsoft 365 app sends the file to the printer.
Select Data
You can select data in your file to perform different tasks, such as deleting it, changing its font or alignment, applying a border around it, or copying and pasting it. Selected data appears highlighted.
Depending on the app you are using, Microsoft 365 offers several different techniques for selecting data. For example, in Word, PowerPoint, Outlook, and Publisher, you can select a single character, a word, a sentence, a paragraph, or all the data in the file. In Excel and Access tables, you typically select cells. In OneNote, use the technique appropriate to the type of data you want to select.
Select Data
Select Data in Word, PowerPoint, or Publisher
Note: You can use this technique to select characters, words, sentences, and paragraphs.
![]() Click to one side of the word or character that you want to select.
Click to one side of the word or character that you want to select.
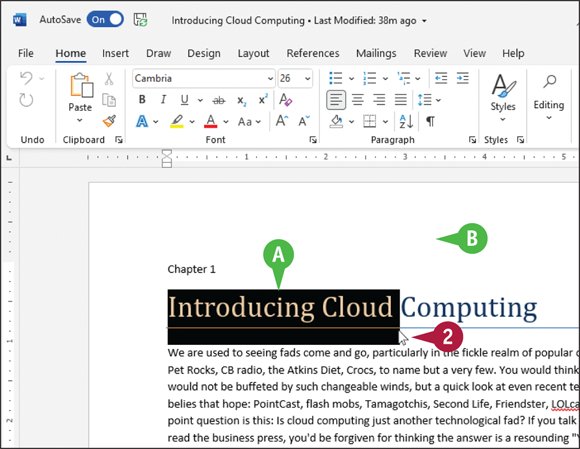
![]() Drag the mouse (
Drag the mouse (![]() ) across the text that you want to select.
) across the text that you want to select.
![]() The app highlights the characters to indicate that they are selected.
The app highlights the characters to indicate that they are selected.
![]() To cancel a selection, click anywhere outside the text or press any arrow key on your keyboard.
To cancel a selection, click anywhere outside the text or press any arrow key on your keyboard.
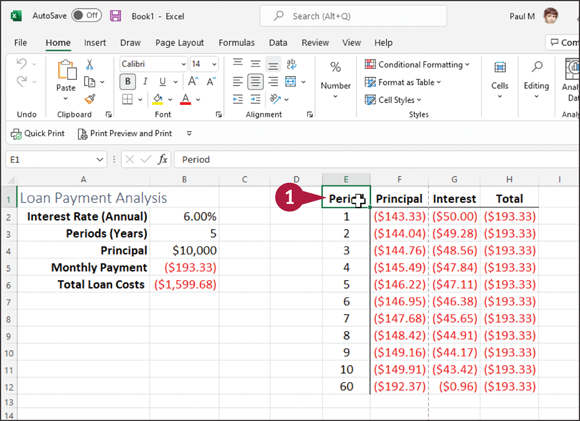
Select Cells in Excel or Access
![]() Click the cell representing the upper-left corner of the cells you want to select.
Click the cell representing the upper-left corner of the cells you want to select.

![]() Drag the cell pointer across the cells you want to select.
Drag the cell pointer across the cells you want to select.
![]() The app highlights the characters to indicate that they are selected.
The app highlights the characters to indicate that they are selected.
![]() To cancel a selection, click anywhere outside the text or press any arrow key on your keyboard.
To cancel a selection, click anywhere outside the text or press any arrow key on your keyboard.