
Chapter 11
Digital Imaging, Archiving, and Printing
In my office at the moment, I have six Photoshop manuals, three books on maintaining a digital archive, three books on RAW format, three more on color management, and six books on digital photography in general. Each of the books is probably 500-plus pages. This chapter cannot possibly teach you the complexities of postprocessing digital images in a comprehensive way. I’m going to throw you a life preserver here, not teach you how to build a boat.
I also need to confess up front that I am a confirmed Macintosh user. The entire photography and design industry is Mac-centric; all of our computers in the New York University Photo and Imaging Department are Macs. The few times I have had to use a PC (even to write an e-mail), I feel like someone who has driven an automatic transmission his or her entire life and is suddenly confronted with a stick shift and a clutch pedal.
This is not to say that PCs don’t work for photography or that you shouldn’t use PCs; just be aware that there are marked differences between Macs and PCs when it comes to working with graphics.
Computer Equipment: Who Said Digital Was Cheap?
Here’s the good news. If your computer (Mac or PC) has 100 GB of hard drive storage and 1 GB of RAM, you are probably fine for now (at least, in my opinion).
The big problem with digital photographs is storage space— especially if you are shooting RAW files. Even if you are shooting JPEGs, you should invest in a separate hard drive as a way to back up your archive—but the hard drive can be a lot smaller and less expensive. I’d recommend an auxiliary 100 GB (separate from the computer) to anyone who is shooting JPEGs and 500 GB for RAW shooters (this also assumes that photographers who shoot RAW probably also shoot more photos).
Pro Tip
Backing up your work is imperative in case of a catastrophic crash, but fire and theft are other possibilities. Online storage services like PhotoShelter.com offer secure off-site storage that allows you to access your entire archive from any computer, anywhere, anytime. Also a service like this can be very inexpensive.
Monitors
Monitors can be quite pricey depending on how fussy you are. Like many photographers, I have two monitors for my desktop Apple G5 computer. The two-screen system is nice for digital imaging because it allows you to keep the photograph you are working on in one screen while the other can hold the palettes and tools for Photoshop. (The extra screen space is a real convenience, too.) One monitor is the Apple Cinema Display that costs about $600. I use this for word processing and other utility programs.
I can’t control individual colors on the Apple screen, and the color calibration tool that Apple provides is a fairly rudimentary program in the system preferences menu. But my other screen is an expensive LaCie monitor (about $1,500) that can be calibrated and allows me to control the individual RGB balance (red, green, and blue). I have a calibration device (about $150) that I use weekly to ensure precise color calibration.
The difference between the two monitors is subtle but quite noticeable to me. If I weren’t a professional, I’d probably be able to get along fine with the cheaper monitor and never know what I was missing. You should be fine with whatever monitor you are using; just be aware that as you progress with your photography, so will your standards for your monitor.
Printers
There are so many possibilities on the printing end that it is impossible to recommend a single great solution. Much of it comes down to one simple question. How big do you want to go?
Gamut refers to the number and range of colors that can be seen or reproduced within a given color space or system. The eye can see a very large gamut of color, about 10 million distinctly different colors.
If you never need to print bigger than 8×10, then there are a huge number of printers available to you for less than $200 from Hewlett-Packard, Canon, Epson, and many more. The better printers designed specifically for printing photos in this category will use six colors of ink to give a wider range, or gamut, of colors. Many printers in this category— like the Epson 380, for example—offer conveniences like a small monitor to preview the image and a memory card slot for direct printing (this enables them to work even if they aren’t plugged into a computer). The results can be surprising and impressive for the price.
Bigger, tabloid-style printers are really made for photography and usually boast eight separate inks for a greater color gamut and richer blacks. These printers require a computer in order to function and can make prints up to 13 inches wide. Typical prices run from about $400 to $800, and many of these printers—like the Epson 2400—can really be considered “small” pro-level printers.
Using the Right Printer Paper
Using printers has gotten a lot easier in the last year or two, but working with a new printer is always a little frustrating. It can require a fair amount of experimentation in order to get everything working well. Read the instruction manual for your printer carefully. Pick one photograph and keep printing that one image until you get it right. Keep notes of your print settings as you make prints so that you can reproduce your results.
At New York University, all of our monitors are calibrated weekly—and we ensure that all of the color spaces for printers, screens, and programs are set to the same color space. Yet, students will often come in with a print that “looked great on the screen” but looks lousy when printed.
Often, the cause is a cheaper, off-brand paper. Printers need to be matched exactly to the paper you will be printing on. If you are printing on a generic paper from a large discount store, the results can be hit or miss because the printer won’t have a specific setting or profile for the paper.
Pro Tip
In the same way that your eyes adjust to light of different color temperatures, they also adapt to the color of the screen when you are color correcting an image on the computer.
Before you hit the print button, look away from the screen for 10 to 15 seconds to give your eyes a chance to refresh. If the image still looks good when you look back at the screen, then go ahead and print.
Kiosks and the Internet
Wait … do I even need a printer? Maybe not. I prefer ordering snapshot prints online or going to the local digital printing kiosk at the drugstore. It’s much cheaper (ink and paper are expensive); the prints are water resistant and printed on photographic paper (with better archival properties than lower-end inkjet prints); and they have a wider gamut (range) of colors.
There are digital printing kiosks in many retail establishments, including drugstores, large discount stores, warehouse clubs, and grocery stores. The benefit of getting your prints this way is that you can have them the same day—sometimes within minutes. (Plus, you can lose yourself in your photography while the family is off shopping.)
The Internet is loaded with options for printing your digital photos. Just keep in mind you’ll have to wait a few days to get them back in the mail. Places like Shutterfly.com and Snapfish.com will print and mail your prints to you. Many retail stores offer online photo processing services as well, and you can often go to the store closest to you to pick up your prints.
Making final prints of your work is integral to your growth as a photographer—even if they are only 4×6 drugstore prints. They expose technical problems that you won’t see on the screen or in the camera. Prints also make the process concrete and complete. They are tremendously satisfying. It is still the best way to preserve your best work, learn from it, and share it with your audience. Don’t condemn your best photographs to a life in cyberspace! Get them on paper, hold them in your hands, and put them in a frame.
Archiving Your Work
When was the last time your computer crashed? I currently have more than 16,000 photographs on my computer. If my work wasn’t backed up, it would be devastating to me both financially and emotionally. You must back up your photographic archive periodically onto a separate hard drive. You should also copy every important memory card or shoot onto a DVD or CD as well.
Then comes the big question: Where do you put it all, and how do you keep track of it all?
iPhoto
Macs come with a nifty little program called iPhoto which automatically launches every time the computer senses a camera or a memory card has been plugged in. I don’t use it, but lots of people love iPhoto. It makes the entire process of downloading, viewing, storing, printing, and sharing photos pretty idiot proof. The controls for manipulating or changing your photos are very rudimentary, but you can always open the files in a more sophisticated program like Photoshop Elements and the changes will be reflected once they’re made and the photo is saved in your iPhoto library.
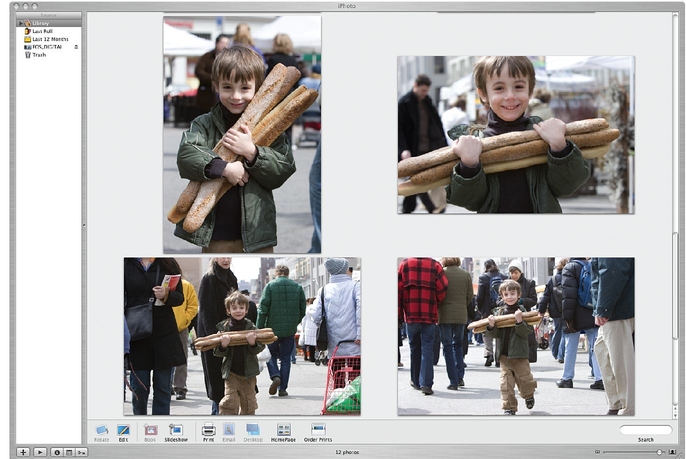
Screen shot of iPhoto.
iPhoto allows you to attach keywords (for example, “vacation,” “Italy,” or “Birthday 2008”) to a photo or group of photos, which makes finding things a lot easier in the future. It also allows you to create virtual albums in the same way you create play lists for your iPod. Best of all, it allows you to create printed and bound books of your work (more on that in the next chapter).
If you’re a casual snap shooter and happen to have a Mac, then iPhoto isn’t a bad way to keep track of your work. Just make sure you copy your iPhoto library onto a separate hard drive every once in a while.
Adobe Photoshop Elements
I bought a copy of Photoshop Elements to try out because I figured the full Adobe Photoshop program (at $600+) was probably too complicated and too extensive for most people reading this book. I had never used it before and assumed it would be completely stripped down with none of the important tools.
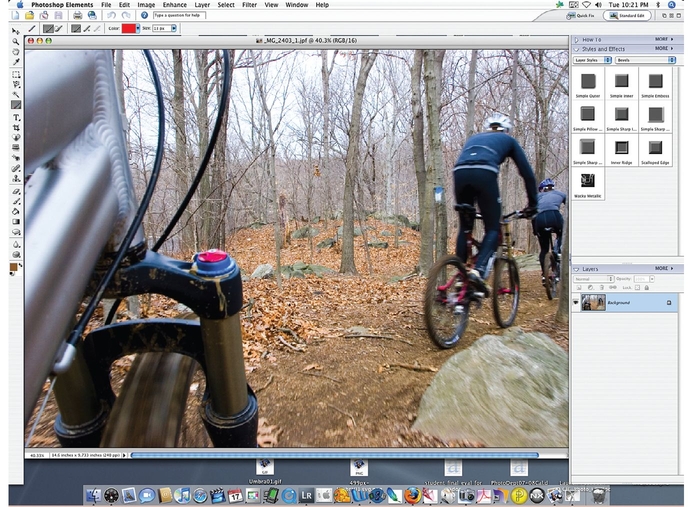
Screen shot of Photoshop Elements.
The great news is that Elements has everything you are likely to need at about $100 (even less if you are a teacher or a student). At this price, it’s a completely indispensable program for any serious amateur photographer.
In many ways, Elements is even better than the full version of Photoshop because it assumes you are a beginner and has more helpful hints right in the main menu bar.
Adobe Photoshop Lightroom
This program changed my life. I loved it within the first 15 minutes I tried it, and it just keeps getting better. I swear I am not on Adobe’s payroll (although I was one of the beta testers for the program).
Lightroom is used to make global adjustments to an entire image and eases the photographer’s workflow by filing and processing multiple images. It’s really a digital darkroom for photographers who work in a traditional photographic manner.

Screen shot of Photoshop Lightroom.
Lightroom doesn’t completely replace Photoshop; you can’t alter an image pixel by pixel, and you can’t cut and paste images for collage-like effects. Lightroom is designed to be companion software to Photoshop.
The great thing about Lightroom is that it’s really built for photographers shooting the RAW/DNG format, so it makes working and archiving with RAW files as easy as shooting JPEGs.
If I had to work professionally with only Lightroom and Photoshop Elements, I could probably get along fine. At about $300, it’s a very versatile program for serious photographers working in RAW format.
The Least You Need to Know
• Set up a system for archiving your photos early on.
• Back up your archive on a hard drive that is separate from your computer. Back up important shoots on CDs or DVDs as well.
• Photoshop Elements is the single most essential program you can own.
• Making final prints is an integral part of the artistic process and is essential to making your work as strong as it can be.
..................Content has been hidden....................
You can't read the all page of ebook, please click here login for view all page.