
Let’s dive right in and start building the coffee shop site. The first step is to install and configure Netlify CMS and integrate it with Gatsby.
Install dependencies
netlify-cms-app: The Netlify CMS application itself
gatsby-plugin-netlify-cms: The Netlify CMS Gatsby plugin
Configuration
Netlify CMS is configured with a YAML file named config.yml.
YAML primer
YAML, short for YAML Ain’t Markup Language (a recursive acronym!), is a commonly used configuration file format. The Netlify CMS configuration file is a set of key/value pairs, also known as a dictionary. The value can be a scalar value (string, number, boolean, and so on), another dictionary, or an array.
A simple YAML dictionary
A single-line YAML dictionary
A YAML array
A more complex YAML structure
Creating the initial configuration
The initial CMS configuration
Let’s go over this configuration. First, we configure the Netlify CMS backend. There are several supported backends, but we are using the Git Gateway backend. This is a generic backend that uses our Git repository as the data store and Netlify Identity for authentication to the CMS application.
The media_folder option is the path on disk that static media resources will be kept. When a user uploads new images via the CMS, they will be saved to this directory. When the image cat.gif is uploaded, it will be stored as static/img/cat.gif in the repository.
The public_folder option is the URL, relative to the Gatsby site’s root, that the images will be served from. When running the site locally, for example, cat.gif will be served from http://localhost:8000/img/cat.gif.
Now we need some content for our CMS to manage. The site will have a blog, so let’s look at collections and set up a blog collection.
Collections
All pieces of content managed by Netlify CMS are members of a collection. Collections are configured in the config.yml file. There are a few different types of collections.
Folder collections
A folder collection represents content items in a common format, stored under a common folder. New items can be added to a folder collection via the UI. All files under the given folder will be part of the folder collection and are expected to have a consistent structure.
A folder collection is configured by setting a folder property in the collection configuration. We will use a folder collection for the blog posts.
Filtered folder collections
It is possible to have varied files under the same folder by using filtered folder collections. Like folder collections, the content files are all located under one folder, but you can specify filter criteria to only select certain files in that folder.
Like folder collections, a filtered folder collection needs to have a folder property that specifies the common containing folder. Additionally, there is a filter property that specifies criteria. Only files matching the criteria will be included in the filtered folder collection. An example filter criteria is { field: "language", value: "en" }. This collection will only include files with a language of en.
File collections
While folder collections are general-purpose collections that can contain arbitrary files, a file collection explicitly defines specific files that should be part of that collection. Only those files will be included in the collection. To set up a file collection, the collection configuration should have a files property that is an array of files.
A file collection would be used for defining pages of a site that can have dynamically managed content, for example, a Home or About page.
Configuring the blog collection
Configuration for the blog collection
First, we give the collection a name. This is the name that the collection will be referred to by internally. The label property specifies the display name in the UI for this collection.
The folder property sets the root folder where the blog posts will reside, relative to the project root.
The create property determines whether or not new items can be created in this collection using the CMS application.
Next is the slug property, which defines the pattern to use for constructing the slugs of blog posts. A slug is a URL-friendly, human-readable version of a string. Each blog post’s URL will contain this configured slug. An example slug for a blog post might look like this: 2020-06-20-hello-world. Blog post titles will be turned into slugs when creating pages for the posts. For example, the blog post title “Here’s Blog Post #2!” might have a slug of heres-blog-post-2.
Lastly, we configure the fields for this collection. We will keep it simple here. Each blog post has a title, publish date, and a body. Each field has a widget type specified. This determines the UI control that is used for editing that value in the CMS application.
More about fields
By default, fields are required. Netlify CMS will not allow an entry to be published unless all required fields have a value. A field can be marked as optional by specifying a required: false option in the collection’s configuration.
Fields also support basic validation. You can specify a pattern property. The value of this property should be an array. The first element of the array is a regular expression string, and the second element is the error message to display if the input doesn’t match the regular expression.
Blog posts will be stored as Markdown files. Each field is set as a property in the front matter, except for the body field. When Netlify CMS sees a body field with a widget type of markdown, it stores that field as the main body of the Markdown file rather than inside the front matter.
An example blog post
Add the Gatsby plugin
Updated Gatsby configuration
Commit and deploy
After a moment, Netlify will see that you pushed to the master branch and will build and deploy the new version of the site.
Configure Netlify Identity and Git Gateway
The last thing to do before we can add a new blog post is to configure Netlify Identity and Git Gateway. Netlify Identity is a built-in basic identity provider that administrators of your site can use to log in and use the CMS to add and manage content.
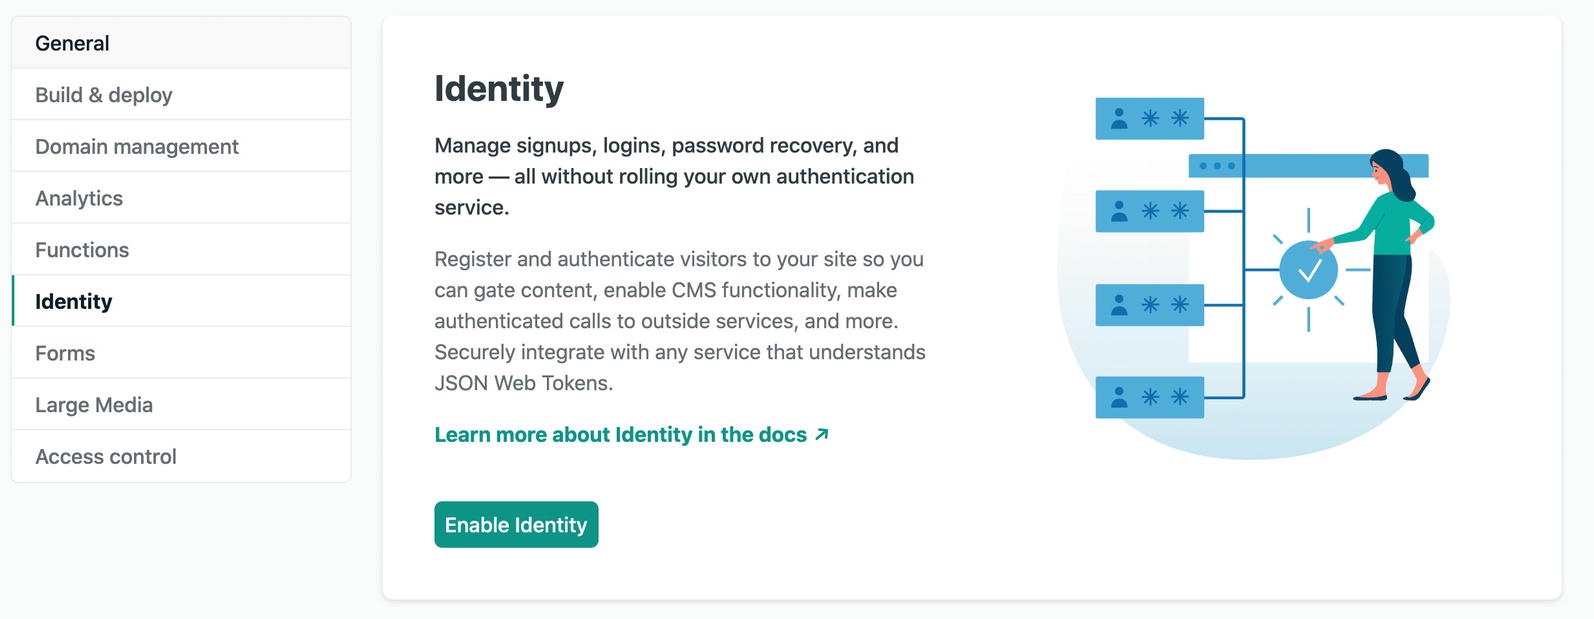
The Identity tab
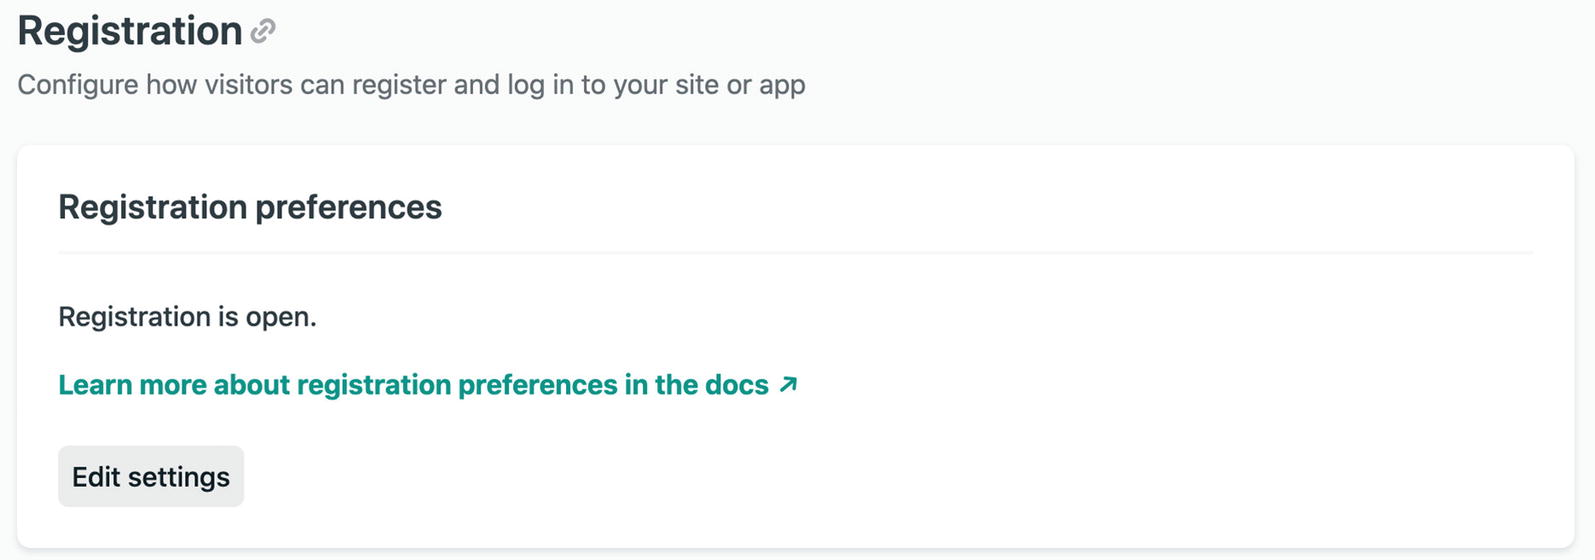
Open registration enabled
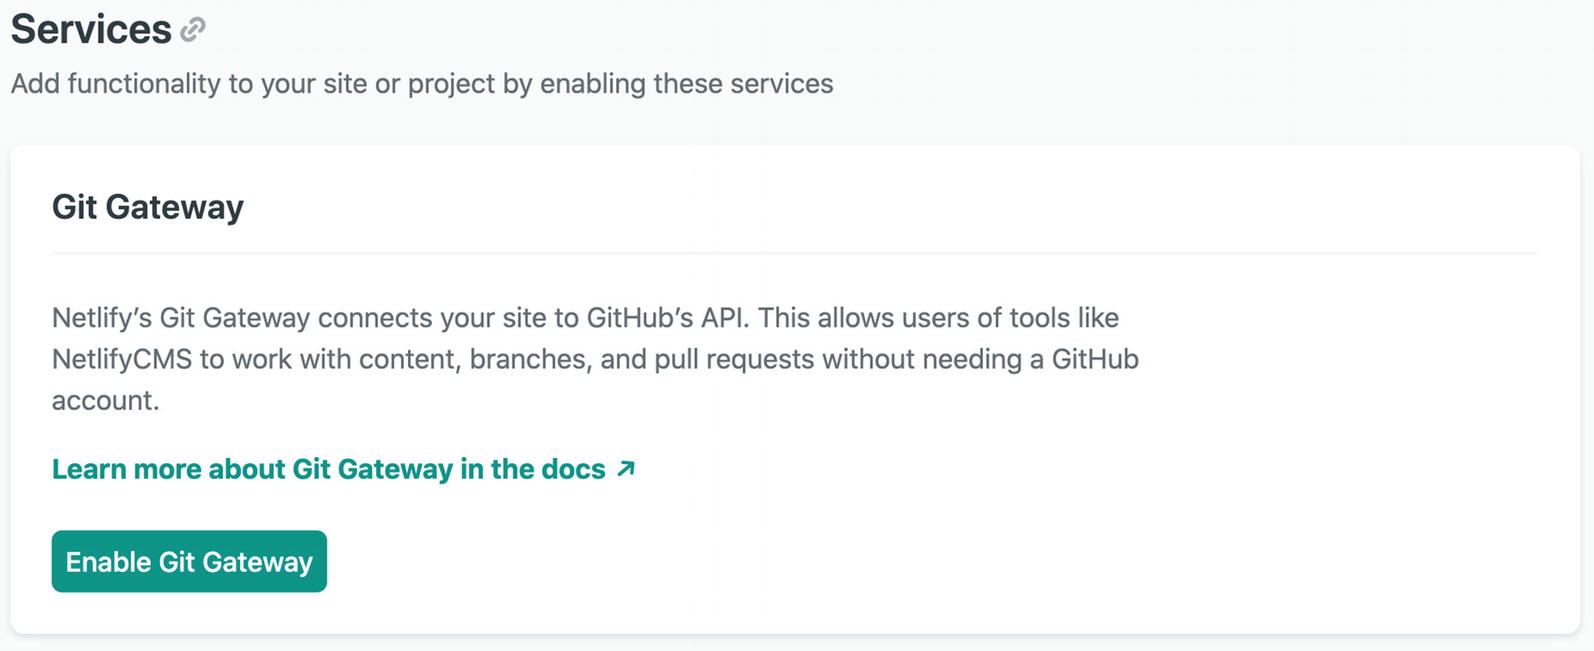
Enabling Git Gateway
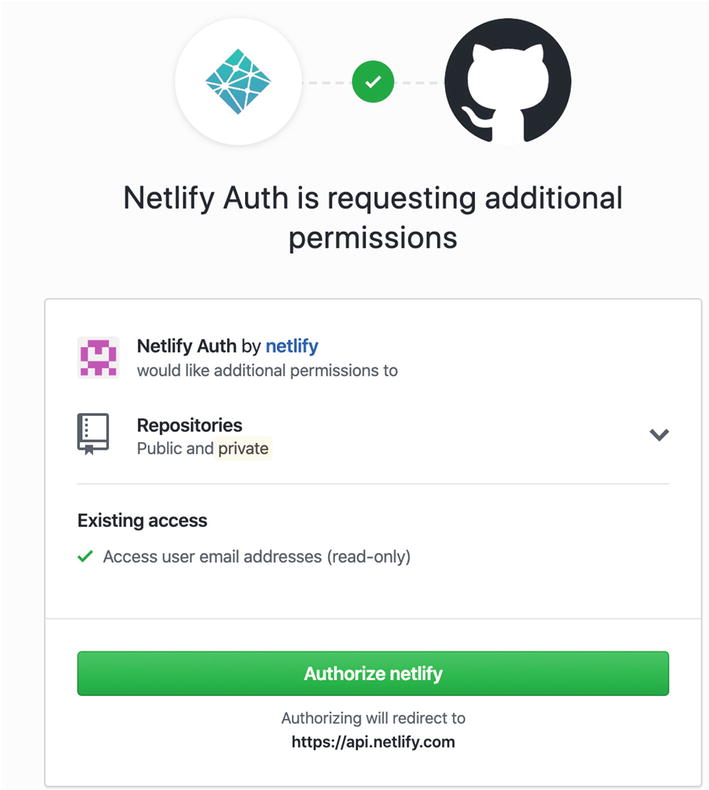
Granting additional permissions
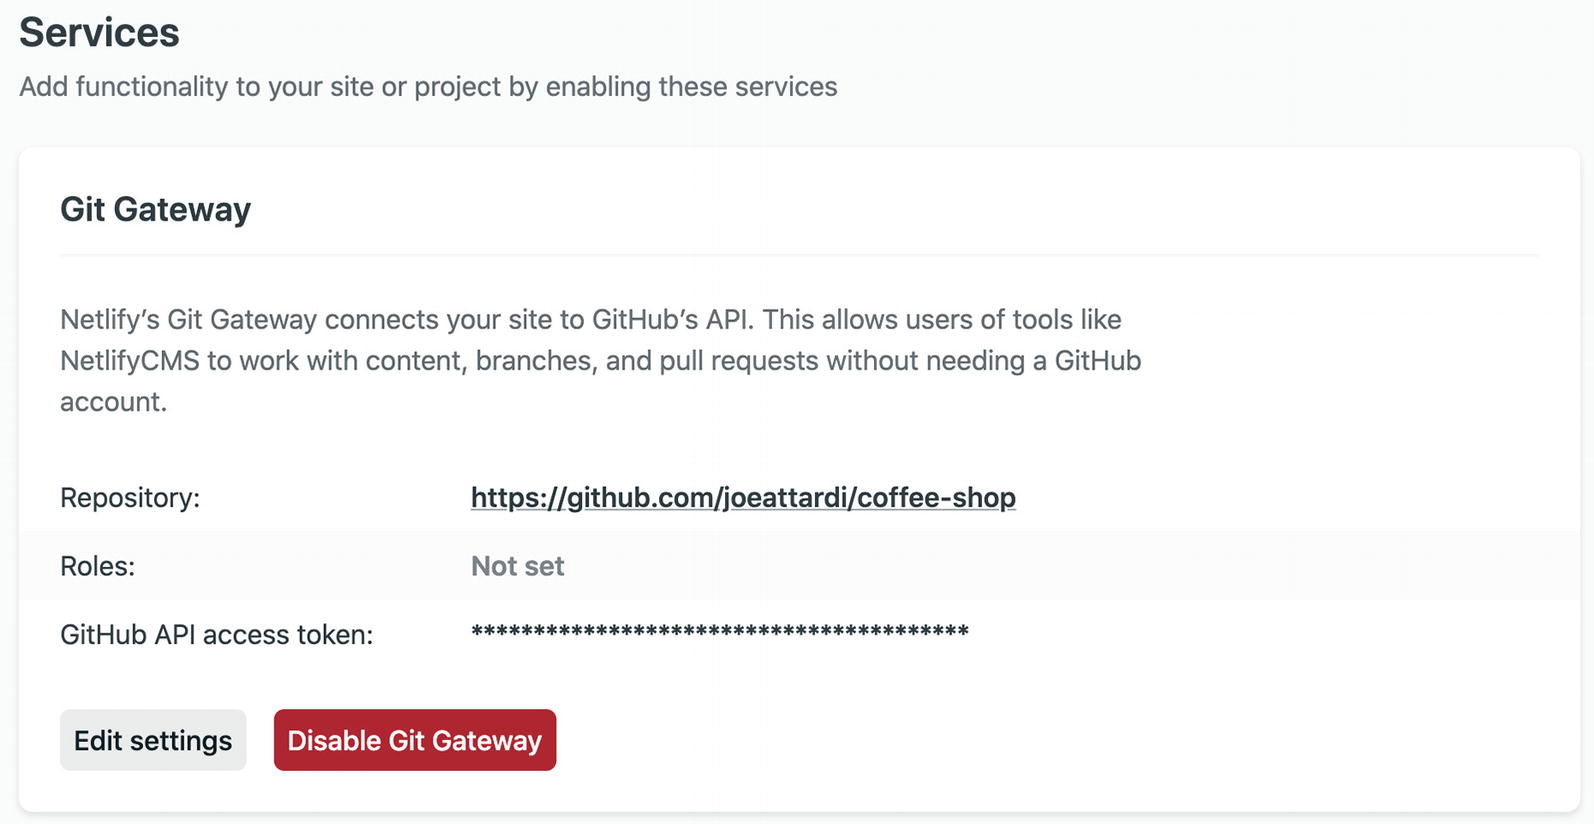
Git Gateway enabled
Git Gateway adds several endpoints under /.netlify/git/github that act as a proxy to GitHub’s API from our site. These endpoints will be called by the CMS when content is added, modified, or removed.
More about Netlify Identity
We are using Identity Level 0, which is the free tier of Netlify Identity. With that, you get up to 1,000 active users and 5 invite-only users. If this does not meet your needs, there are also paid levels of Identity with higher user limits and more features such as custom branded log-in pages, audit logs, and single sign on via SAML.
Invite-only registration
We configured open registration, so a user can sign up at the log-in screen of the CMS. You can also set registration to invite-only. In this configuration, you can invite users via the Netlify Identity settings UI, and users will not be able to sign themselves up.
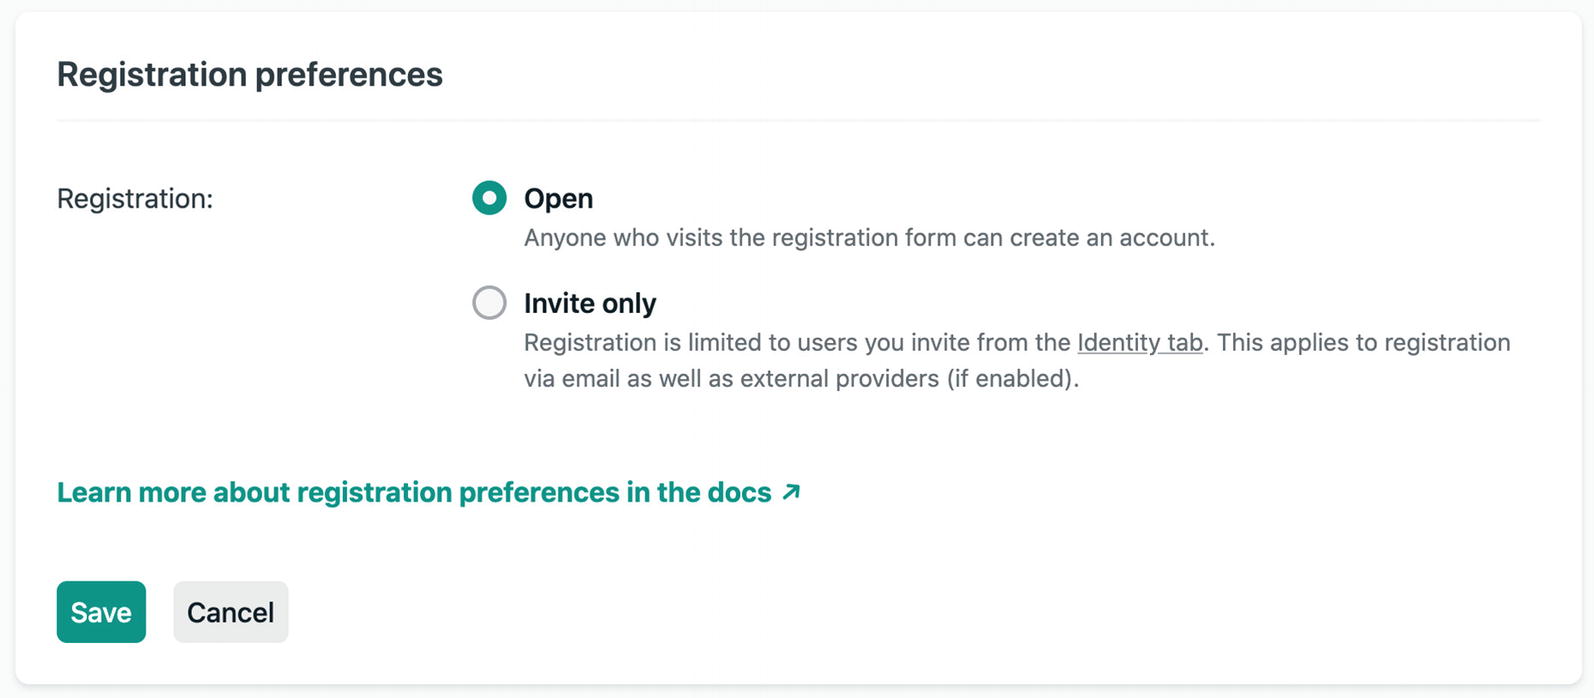
Editing registration preferences for Netlify Identity
Summary
Installed Netlify CMS and the Netlify CMS Gatsby plugin
Configured the blog collection
Enabled Netlify Identity and Git Gateway