
Watching Video Files
A video file is a file on your hard disk that contains video and audio. These files include videos you capture from video cameras, smart phones, digital cameras, recorded TV shows, and videos you download from the web. Video files come in many formats, and thanks to the Windows 8 Video app and Media Player 12’s support for additional formats, Windows can now play almost any type of video. The following sections will help you understand how to manage and play videos in the Video app and Media Player.
Using your Videos library
To open your Videos folder, start File Explorer. Then click Videos in the Navigation pane. Figure 25.1 shows an example where there are already some videos and other items in the Videos folder. Only the icons that look like thumbnails are actual videos. When you click one of those, it shows in the Preview pane (if the Preview pane is open).
FIGURE 25.1 Videos folder example
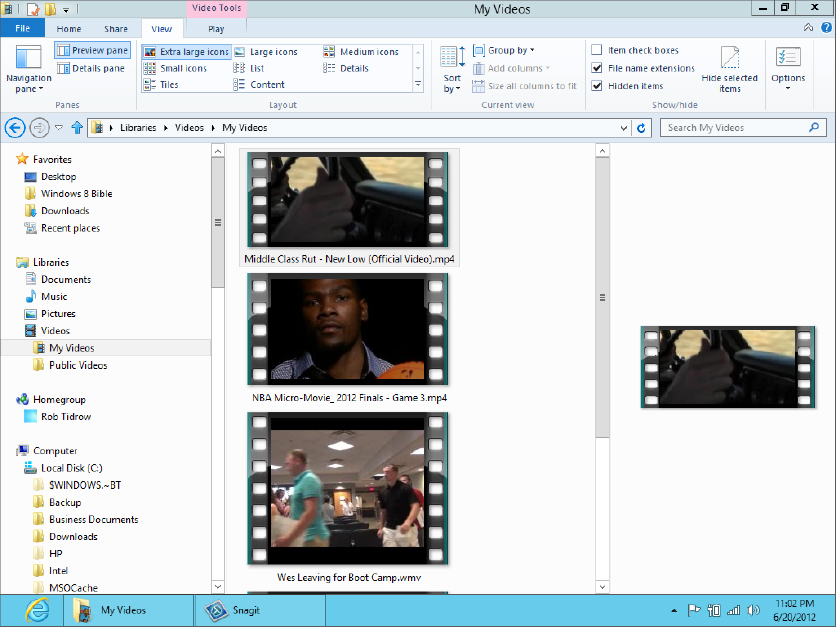
If you want to see filename extensions of video files but they’re not currently visible, click the View tab and then click Options. In the Folder Options dialog box, click the View tab, clear the checkmark next to Hide Extensions For Known File Types, and click OK.
Recorded TV
Recorded TV shows are video files stored in the .dvr-ms (Digital Video Recording — Microsoft) format. You use Media Center (see Chapter 26, “Using Media Center”) to define times and channels to record, as on a VCR or DVD recorder. You can also decide where you want to store recorded TV shows in Media Center. And of course, you can watch recorded TV shows in Media Center.
You can also watch recorded TV shows in Windows Media Player. To view your recorded TV shows in Media Player, click the Recorded TV branch in the Navigation pane.
If some of your recorded TV shows don’t show up, Media Player may not be monitoring their folders. Launch Media Player while on the Windows Start screen by typing media. Click Windows Media Player on the Apps screen. In Media Player, click Organize ![]() Manage Libraries
Manage Libraries ![]() Recorded TV. In the resulting Recorded TV Library Locations dialog box, click the Add button to add folders that contain recorded TV to the list of the monitored folders.
Recorded TV. In the resulting Recorded TV Library Locations dialog box, click the Add button to add folders that contain recorded TV to the list of the monitored folders.
Playing videos using Video App
To watch a video using the Windows 8 Video app, open File Explorer and right-click a video you want to play. Choose Open With and select Video. Or, if Video is the default video player, you simply have to double-click that video from File Explorer and Windows automatically launches the Video app with your video paying. Figure 25.2 shows the Video app playing back a selected video.
FIGURE 25.2 Video app playing a video
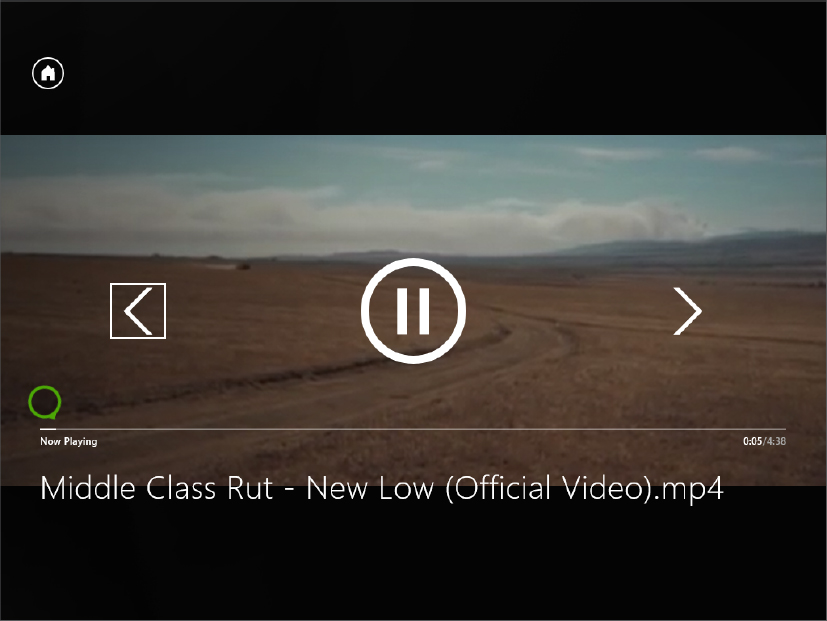
Notice in Figure 25.2 that the video controls display to help you control the video playback. These controls include the following:
- Rewind: Enables you to skip back to a previously played section of the video.
- Pause/Play: During playback, the Pause button appears so you can halt the playback. While paused, the Play button appears so you can restart the playback of the video.
- Fast Forward: Enables you to skip forward in the video.
- Now Playing Bar: Shows a progress timeline of the video. Slide the Now Playing controller (usually a green circle) forward and backward to move the video to a specific place on the timeline.
If you do not click on any of these playback controls, after a few moments they will disappear from view. Bring them back into view by moving the mouse or tapping the screen on a touch screen monitor.
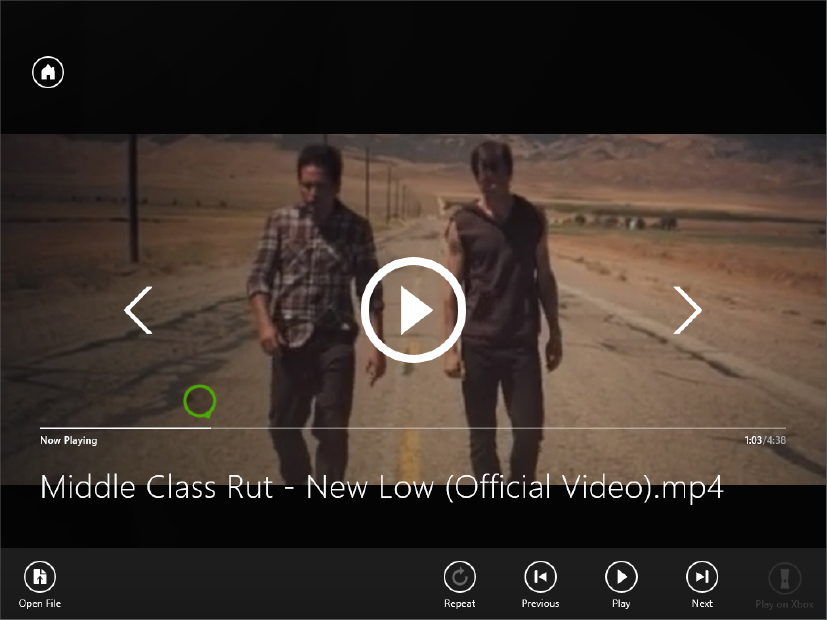
While playing a video, you can display additional tools by right-clicking. Figure 25.3 shows playback and Video app tools at the bottom of the screen. You can click the Open File button to display the Files app to see a list of videos you can play. You also have buttons to repeat, rewind, play, and fast forward.
FIGURE 25.3 Using the Video app to play a video
Playing videos using Media Player
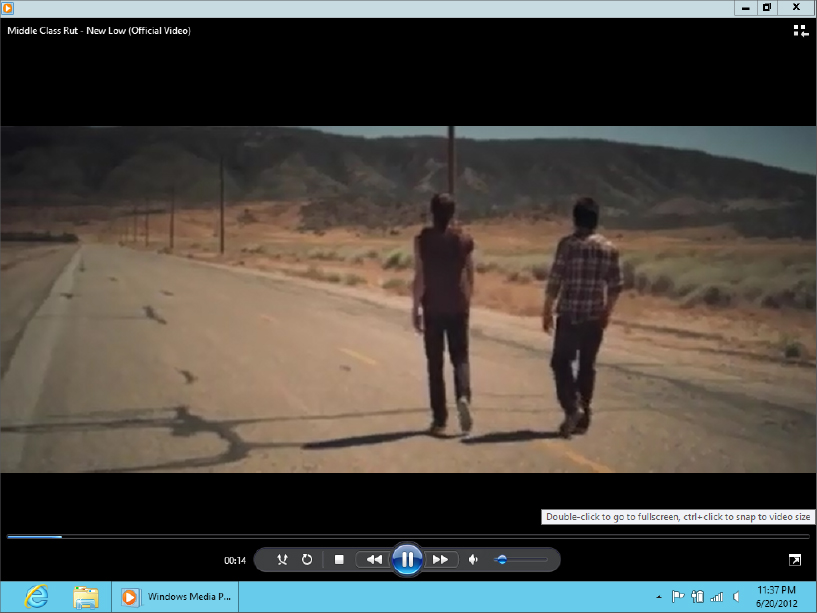
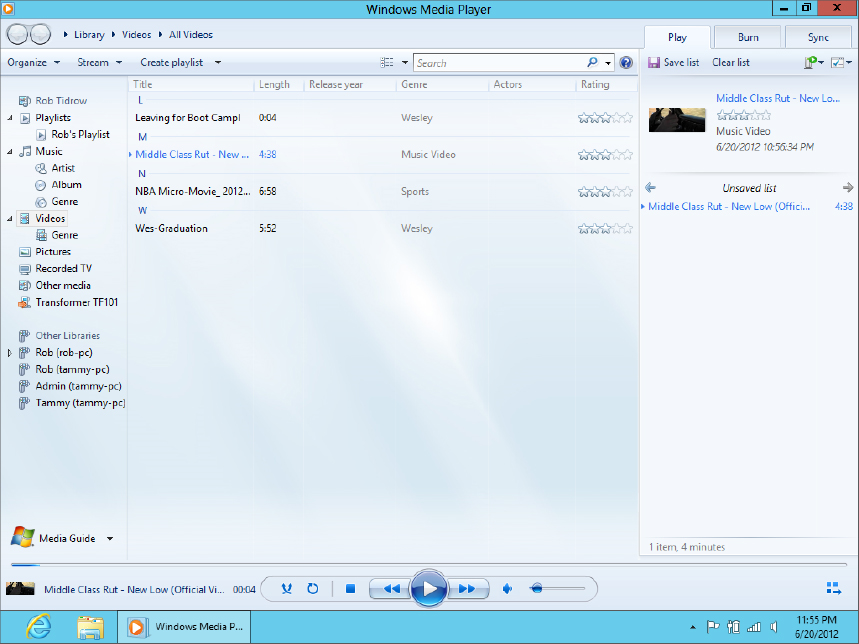
To watch a video file in the Media Player, open Media Player (show the Charms Bar, click Search, type media, and click Windows Media Player on the Apps screen). If the video is stored in a format supported by Media Player, it should open in Media Player (see Figure 25.4). If it opens in some other program, close that program. Then follow these steps to watch it in Media Player:
FIGURE 25.4 Using Media Player to play a video
Adding videos to your Media Library
You can store information about your video files in Media Player’s library. Depending on how Media Player is configured, video files from your Videos folder, and perhaps Public Videos folders, should already appear in Media Player. To find out, click Videos in the Navigation pane.
To add video files to your media library, monitor the folders in which they’re stored by using the following steps
FIGURE 25.5 Using the Videos Library Locations dialog box
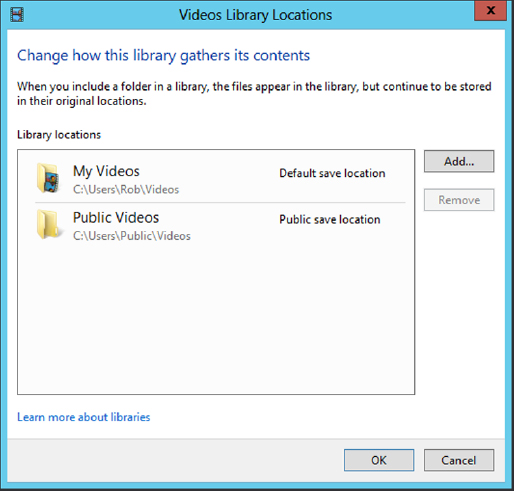
Media files from the folders you specified are added to your library. You can use the View Options button on the toolbar to display icons in Icon, Tile, or Details view. You also can add your own media information to better organize your videos by genre, director, actor, or whatever. To add a genre to a video, choose the Details view, and then click in the Genre column and type a tag, such as SciFi, Sports, Nature, and so on.
By default, the Navigation pane doesn’t show Genre as an option under the Videos branch. To add Genre, click Organize ![]() Customize Navigation Pane to open the Customize Navigation Pane dialog box. Under the Videos branch, place a check beside Genre and any other items you want to show, and click OK.
Customize Navigation Pane to open the Customize Navigation Pane dialog box. Under the Videos branch, place a check beside Genre and any other items you want to show, and click OK.
Figure 25.6 shows an example where we’ve already categorized video files by Genre. We clicked the Genre icon in the Navigation pane at the left to see video files stacked by categories.
FIGURE 25.6 Video files organized by Genre
Playing videos from your library
Playing videos in Media Player is no different from playing songs. In the library, just double-click the video’s title or icon. Or right-click an icon, stack, or category name, and choose Play.