
Using BitLocker Drive Encryption
File History and System Protection ensure the availability of your files, in that they allow you to restore lost or damaged files by restoring from a backup copy. BitLocker drive encryption isn’t about availability. It’s about confidentiality. If your notebook computer is lost or stolen, that’s certainly a bad thing. But if it contains confidential personal, client, or patient information, that’s even worse. BitLocker drive encryption ensures that lost or stolen data can’t be read by prying eyes.
BitLocker drive encryption works by encrypting all the data on a hard drive. With BitLocker drive encryption active, you can still use the computer normally. All the necessary encryption and decryption takes place automatically behind the scenes. But a thief would be unable to access data, passwords, or confidential information on the drive.
BitLocker hardware requirements
BitLocker drive encryption uses an encryption key to encrypt and decrypt data. That key must be stored in a Trusted Platform Module (TPM) Version 1.2 microchip and compatible BIOS. Only newer computers come with the appropriate hardware preinstalled. You’ll also need a USB flash drive to store a copy of the password.
In addition to a TPM chip, your hard drive must contain at least two volumes (also called partitions). One volume, called the system volume, must be at least 1.5GB in size. That one contains some startup files and cannot be encrypted. The other volume, called the operating system volume, will contain Windows 8, your installed programs, and user account folders. Both volumes must be formatted with NTFS.
Encrypting the volume
When all the necessary hardware is in place, setting up BitLocker drive encryption is a relatively easy task:
FIGURE 31.22 The BitLocker Drive Encryption window
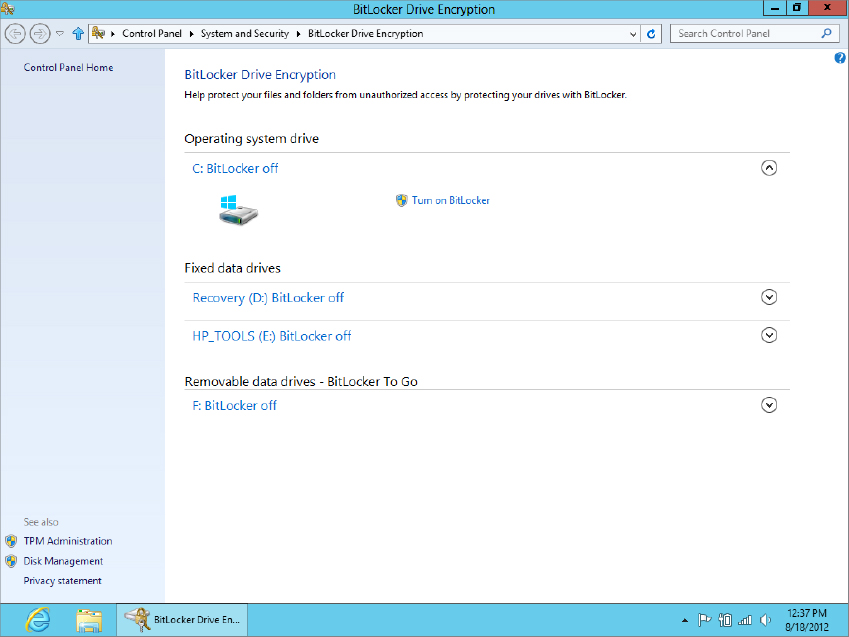
The wizard will ensure that all systems are working and it’s safe to encrypt the drive. Just follow the instructions to the end to complete the procedure.
Make sure you password-protect all user accounts to prevent unauthorized access to the system. Otherwise a thief can get at the encrypted data just by logging in to a user account that requires no password!
When the computer won’t start
Once BitLocker is enabled, you should be able to start the computer and log in to it normally. BitLocker will only prevent normal startup if it detects changes that could indicate tampering. For example, putting the drive in a different computer, or even making BIOS changes that look like tampering, will cause BitLocker to prevent bootup. To get past the block, you’ll need to supply the appropriate password.
Turning off BitLocker
Should you ever change your mind about using BitLocker, repeat the steps in the section “Encrypting the volume” and choose the option to turn off BitLocker drive encryption.
More info on BitLocker
The setup wizard for BitLocker drive encryption is designed to simplify the process as much as possible for people using computers with TPM 1.2. Other scenarios are possible, but go beyond the scope of this book. For more information, search Windows Help for BitLocker. Or better yet, browse to www.TechNet.com and search for BitLocker.