Enter a name into the Zone name edit box and a brief description into the Zone description edit box.
When done, click on the Save and Continue button.
When the page loads, it should default to the Configuration tab. Check the Enable Captive Portal checkbox to display other captive portal configuration options.
In the Interfaces list box, select the interface(s) on which the captive portal will be enabled.
Enter reasonable values in the Idle timeout and Hard timeout edit boxes.
Check the Enable logout popup window checkbox so that users can explicitly log out before the idle timeout period expires.
In the After authentication Redirection URL edit box, enter a redirection URL (such as www.google.com).
Scroll down to the Authentication section and make sure Local User Manager/Vouchers is selected, as shown in the following screenshot:
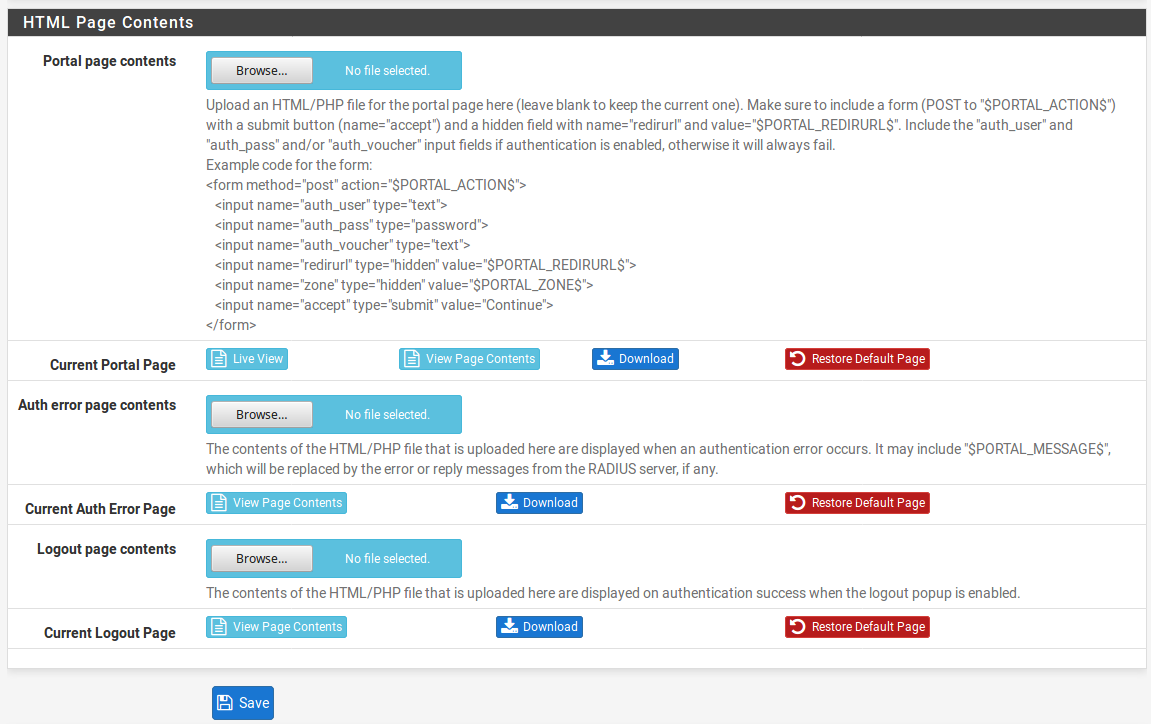
Scroll down to HTML Page Contents. For voucher authentication, we will define a custom page. In the Portal page contents section, click on the Browse button and upload a page for voucher authentication. The page must have the two following fields:
When you are done making changes, click on the Save button.
Voucher authentication is now configured, but we still need to generate voucher codes. To do this, click on the Vouchers tab, as shown in the following screenshot:
Check the Enable the creation, generation and activation of rolls with vouchers checkbox to begin the voucher creation process.
Click on the Save button.
When the page reloads, there will be a new section at the top of the page, Voucher Rolls. Click on the Add button in this section to add a voucher roll.
Enter a 16-bit number in the Roll # edit box (0-65535). This number will be found on the top of the generated voucher roll, as shown in the following screenshot:
Enter the number of minutes each user is allowed per voucher code in the Minutes per ticket edit box.
Enter the number of voucher codes that will be generated in the Count edit box (1-1023).
You can enter a non-parsed comment in the Comment edit box.
Click on the Save button when done.
You will be returned to the main Voucher page. In the Voucher Rolls section, there will be a table listing all generated voucher rolls. Export the voucher roll you just created by clicking on the Export icon (a sheet of paper with an X on it) in the Action column. This will export the voucher icon as a comma-separated value (CSV) file that can be opened with a text editor or spreadsheet.
Repeat steps 16 through 22 for as many voucher rolls as you wish to generate.