
- Open Finder.
- Click Applications in the left-hand pane.
- Now, double-click on the Visual Studio icon.
- Now, click on the New Project button.
- In the Choose a template for your project dialog box, scroll down till you reach the other section.
- Select Miscellaneous and, under Generic, select Blank Solution:

- Now, click the Next button.
- In the Solution Name: textbox, type Chapter8.Xamarin. Also make sure you have selected a proper location:

- Now, click Create.
- Now, the Solution Explorer should look like this:

- Now, Ctrl + click on the Chapter8.Xamarin label and select Add | New Project.
- Select App under the iOS section in the left-hand pane and select Single View App in the right-hand pane.
- Make sure C# is selected as the programming language:

- Click the Next button.
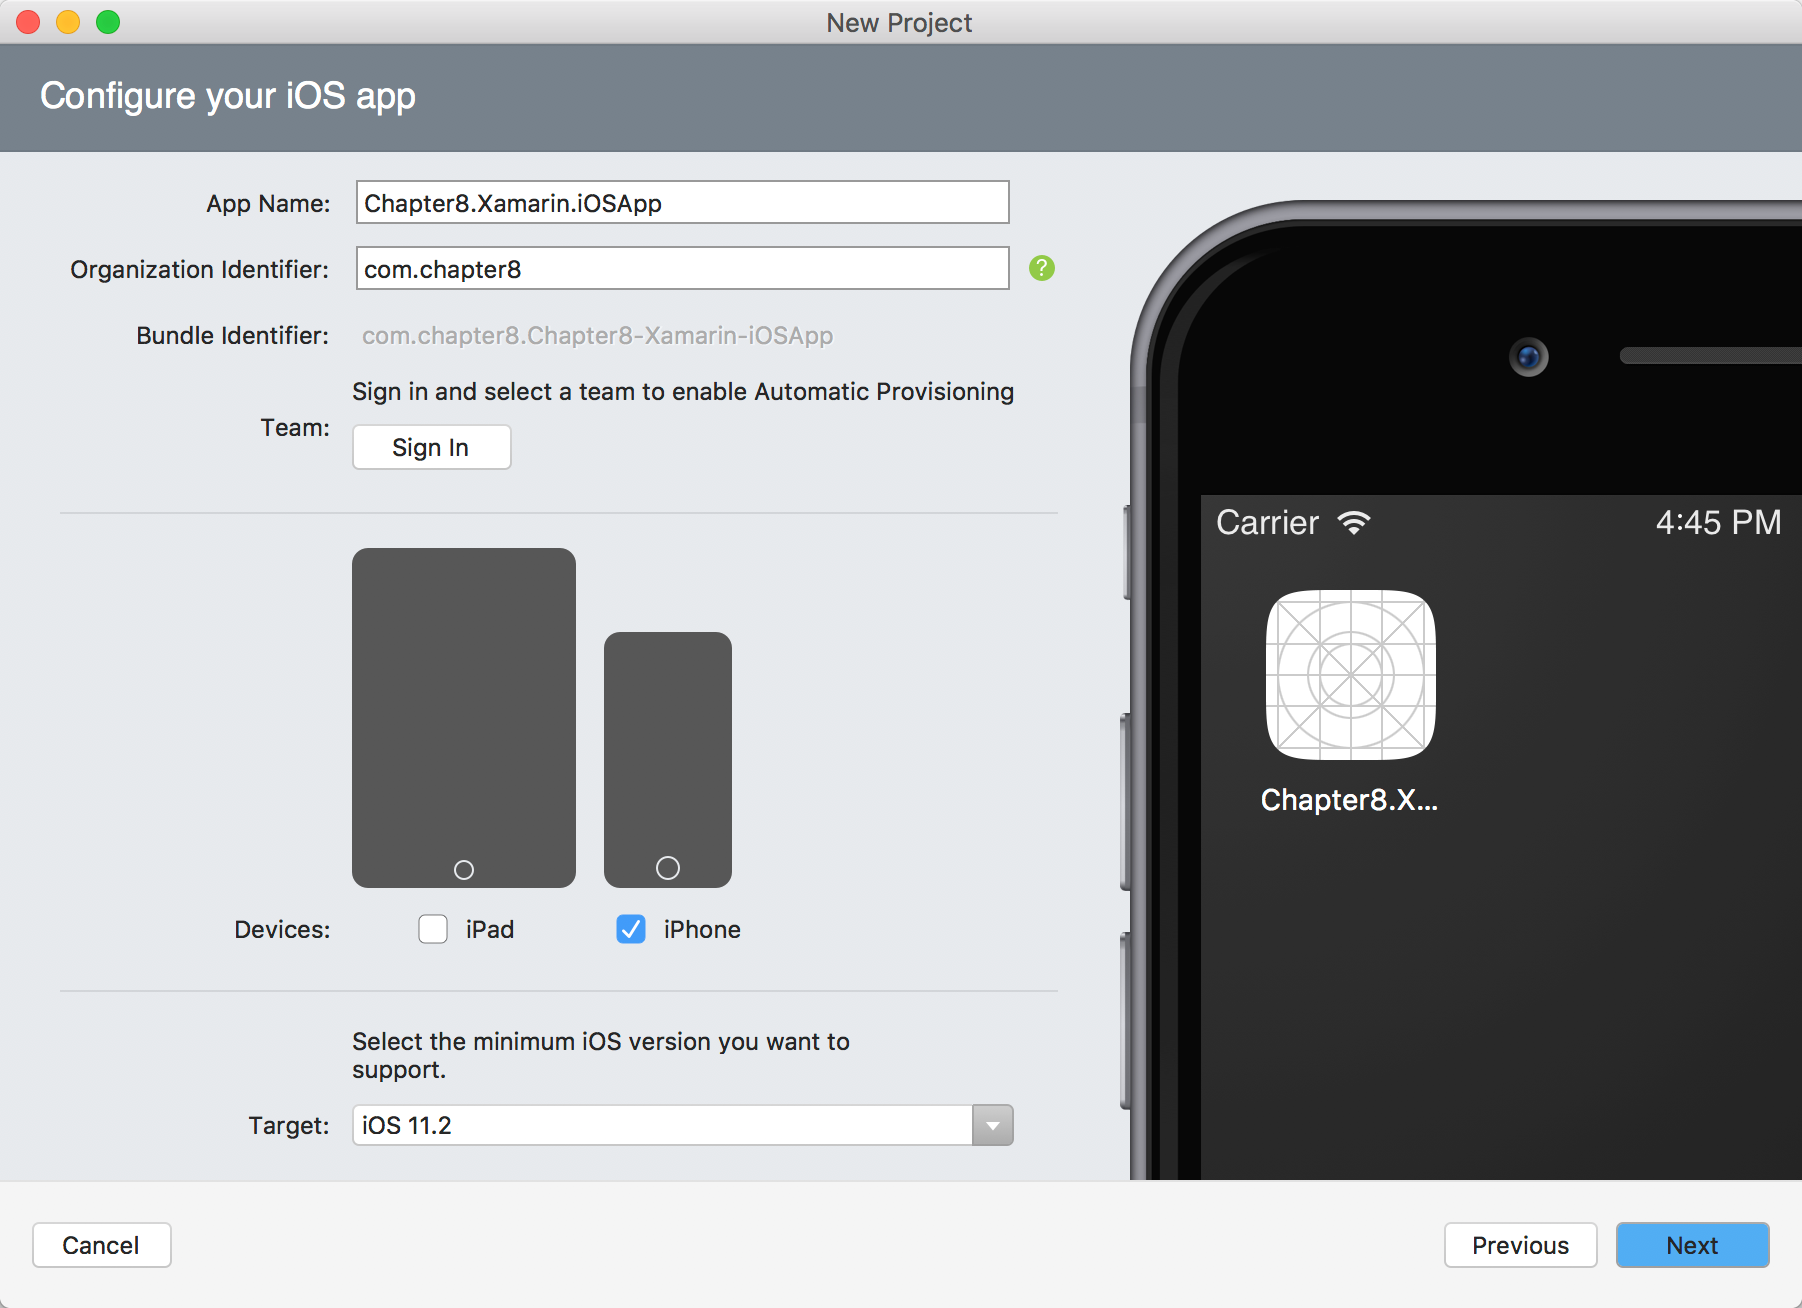
- The New Project dialog box will be displayed.
- Type Chapter8.Xamarin.iOSApp in the App Name: textbox, com.chapter8 in the Organization Identifier: textbox, and uncheck iPad from the devices. Leave the Target: OS as it is:
- Click Next.
- Leave everything as it is and click Create:

- Now, the Solution Explorer should look like this:
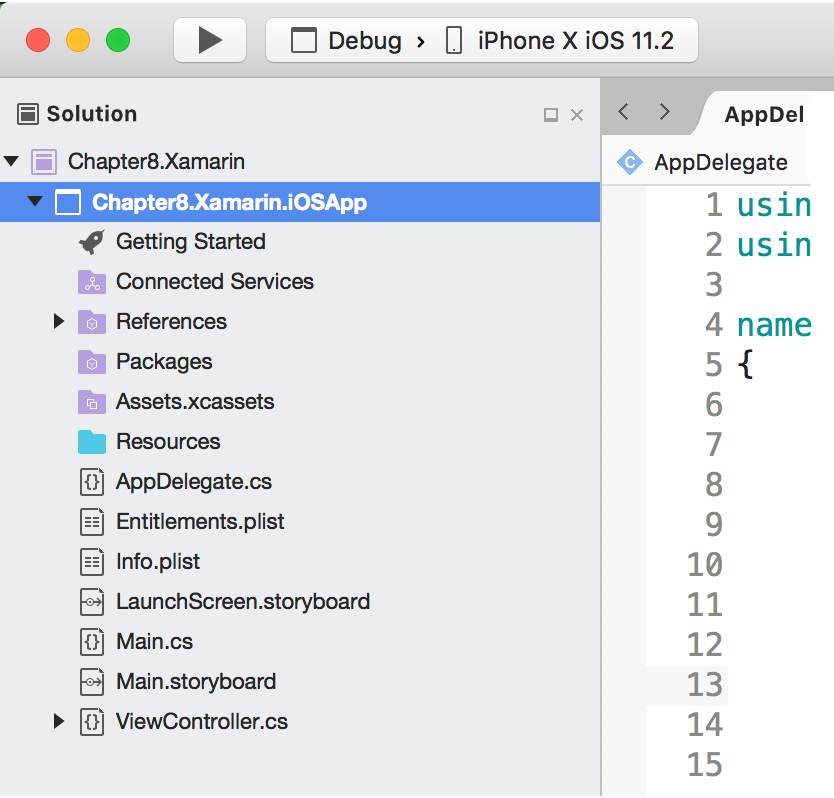
Solution Explorer
- Now, press the command + return to debug the application or press the Play button on top of the Solution Explorer.
- Now, you should see the iOS emulator kicking in, which displays the first screen of the app:

- Congratulations! You have tested your first iOS application.
- Now, stop the debugger by pressing shift + command + return.