How to Get Your Lesson Files
Thank you for purchasing this digital version of:
Adobe® Premiere® Pro CC Classroom in a Book®
The lessons in this book use specific source files, such as video clips, audio files, and image files created in Adobe Photoshop CC and Adobe Illustrator CC. To complete the lessons in this book, you must download all of the files from your Account page on peachpit.com to your hard drive. You will need about 8 GB of storage space.
To access the Classroom in a Book files, do the following:
1. On a Mac or PC, go to www.peachpit.com/redeem and enter this code:
C4C1E8543CAA
2. If you do not have a Peachpit.com account, you will be prompted to create one.
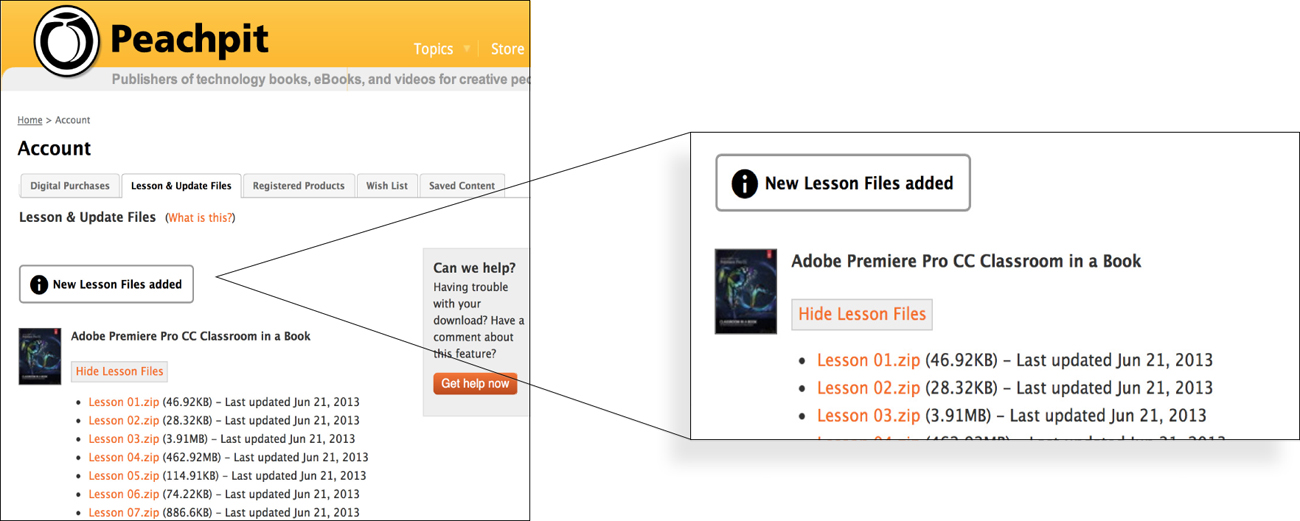
3. The downloadable files will be listed under Lesson & Update Files tab on your Account page (see image below).
4. Click the lesson file links to download them to your computer.
If you are unable to locate the files for this title by following the steps above, please email [email protected] and supply the code from step one. Our customer service representatives will assist you as soon as possible.

What to do with the Lesson files once you’ve downloaded them
The files are compressed into Zip archives to speed up download time and to protect the contents from damage during transfer. You must uncompress (or “unzip”) the files to restore them to their original size and format before you use them with the book. Modern Mac and Windows systems are set up to open Zip archives by simply double-clicking.
Working through the book will go smoothly if you copy all of the folders into a single place. We suggest creating a folder called “Lessons” on your Desktop and using that to store the lesson file folders and the Assets folder.
Although each lesson stands alone, some lessons use files from other lessons, so you’ll need to keep the entire collection of lesson files on your hard drive as you work through the book.
Relinking the lesson files
It is possible that the file path to the lesson files may need to be updated. If you open an Adobe Premiere Pro project and it cannot find a media file, the Link Media dialog may open and ask you to relink offline files. If this happens, you will need to navigate to one of the offline files in order to reconnect. Once you’ve reconnected one file in the project, the rest should reconnect.
Click the Locate button and use the browser to locate an offline clip. You can navigate to the same location where you copied the files you downloaded. If you stored your lesson files in the location we suggest, the path should be Desktop > Lessons > Assets. You may need to look in some of the included folders to find the media file (especially if it involves tapeless media). You can also navigate to the Lessons folder and click the Search button to have Adobe Premiere Pro search for the file. When you locate a file, just select it and click the OK button. For more information on this process, see “Using the Link Media panel and the Locate command” in Chapter 17.[live link?]
For more information on working with these files, go to the section How to use these lessons in “Getting Started” at the front of the book.
