
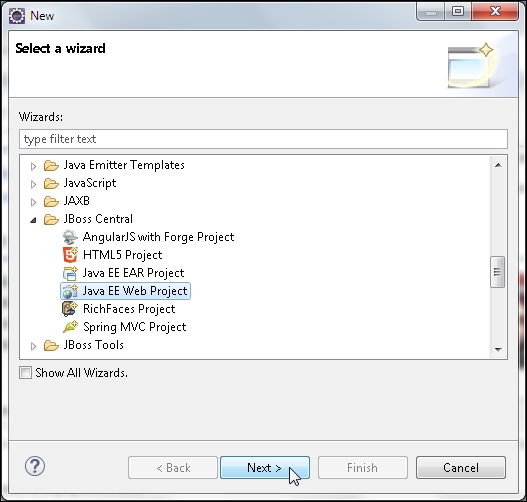
In this section, we will create a Eclipse project for JSF 2.x. Select File | New | Other in Eclipse. Select JBoss Central | Java EE Web Project and click on Next, as shown in the following screenshot:
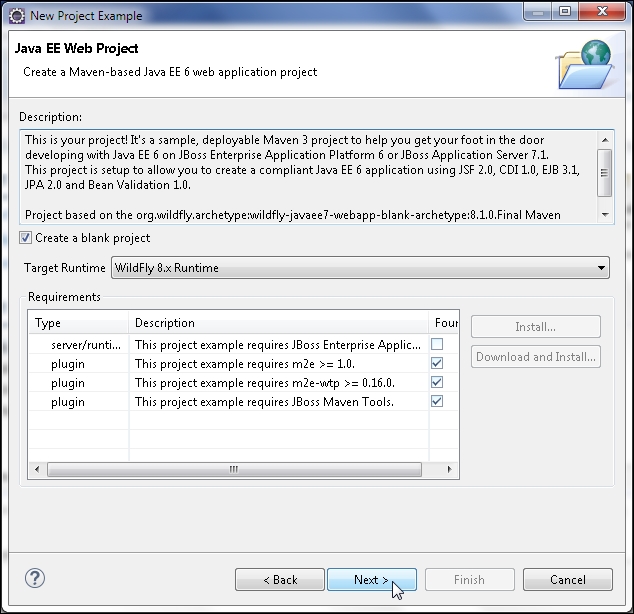
The Java EE Web Project wizard gets started. Though the wizard indicates that a Java EE 6 web application project will be created, a Java EE 7 web application project gets created.
A test is run for the requirements, which include JBoss AS runtime, the m2e and m2eclipse-wtp plugins, and the JBoss Tools plugin, as shown in the following screenshot. Select Create a blank project checkbox and select Target Runtime as WildFly 8.x Runtime. Click on Next.
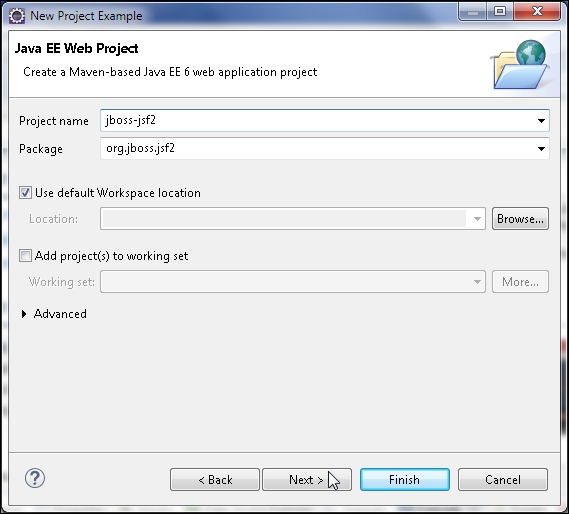
Specify Project name (jboss-jsf2) and Package (org.jboss.jsf2), and select the checkbox Use default Workspace location. Click on Next as shown in the following screenshot:
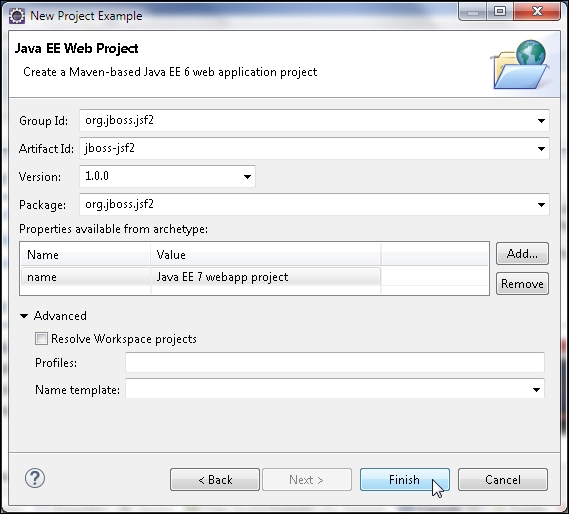
The Maven building tool is used for the example project, and therefore, it is necessary to specify the Maven modules: Group Id (org.jboss.jsf2), Artifact Id (jboss-jsf2), Version (1.0.0), and Package (org.jboss.jsf2), as shown in the following screenshot. Other than the name property, the properties listed in Properties available from archetype may be deleted as these are not required for the application.
The default name property is set to Java EE 6 webapp project, which should be modified to Java EE 7 webapp project. Click on Finish.
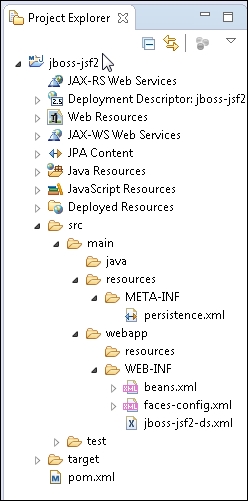
A Java EE Web Project gets created, as shown in Project Explorer in the following screenshot. Delete the //jboss-jsf2/src/main/resources/META-INF/persistence.xml configuration file as it is not used in the JSF application. The web project includes a default.xhtml file in the WEB-INF/templates directory. We will need a Facelets template, but not the default template.
Facelets is a set of tags in the http://java.sun.com/jsf/facelets namespace. Facelets tags are used in conjunction with JSF Core and JSF HTML tag libraries to develop a JSF Facelets application. The default suffix for a Facelets page is .xhtml. A Facelets application consists of the following configuration and templating files:
- A Facelets template page: A template may be reused in several Facelets composition pages.
- Facelets header and footer pages: These pages are included in the Facelets template page for common sections of a Facelets application.
- A configuration file: This is the
faces-config.xmlfile, which is included by default in a Java EE web project. - Facelets composition page or pages: These pages are run on the WildFly.
- A managed bean: This is used for the Facelets composition pages.
We will create a Facelets application with an input Facelets composition page and an output Facelets composition page. A common header and footer are included in the input and output pages. In the input page, a SQL query may be specified in an input field. The SQL query is used to get data from the database and create a JSF data table and demonstrate templating. A command button sends the input request parameters to a managed bean's action method. In the action method, a connection is established with MySQL database and a result set generated for the SQL query. A JSF data table is generated from the result set and displayed in the output Facelets composition page.
In the subsequent sections, we will create the different components of the Facelets application; first, the managed bean.