
The first step is to create an Android project. An Android project contains the files that make up an application. To create a new project, first open Android Studio.
If this is your first time running Android Studio, you will see the Welcome dialog, as in Figure 1.3.
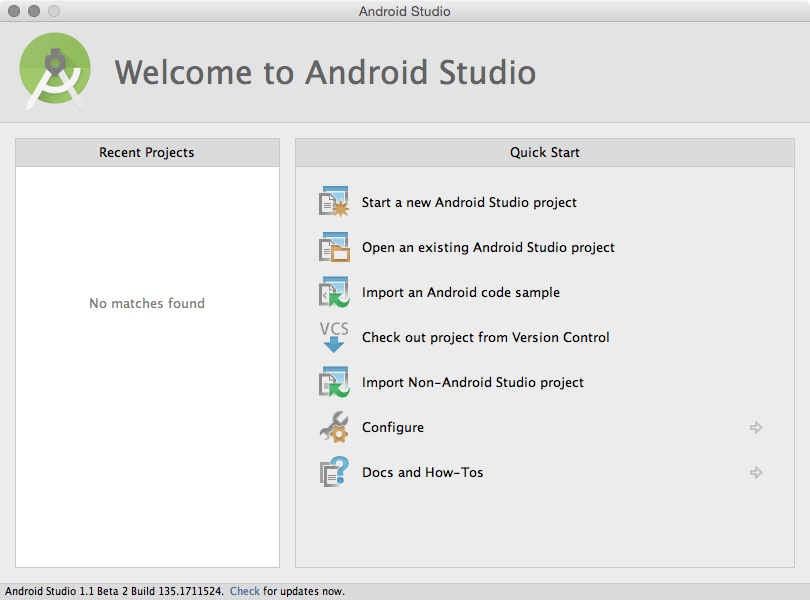
From the dialog, choose Start a new Android Studio project. If you do not see the dialog, you may have created projects before. In this case, choose File → New Project....
You should see the new project wizard. In the first screen of the wizard, enter GeoQuiz as the application name (Figure 1.4). For the Company Domain, enter android.bignerdranch.com. As you do this, you will see the generated Package name change to com.bignerdranch.android.geoquiz. For the Project location, you can use any location on your filesystem that you want.

Notice that the package name uses a “reverse DNS” convention in which the domain name of your organization is reversed and suffixed with further identifiers. This convention keeps package names unique and distinguishes applications from each other on a device and on Google Play.
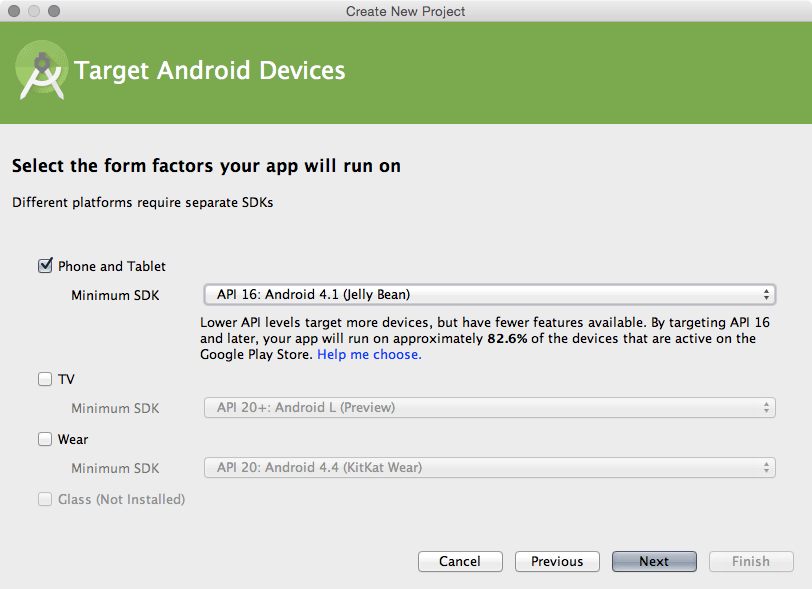
Click Next. The next screen allows you to specify details about which devices you want to support. GeoQuiz will only support phones, so just check Phone and Tablet. Select a Minimum SDK version of API 16: Android 4.1 (Jelly Bean) (Figure 1.5). You will learn about the different versions of Android in Chapter 6.
(Android Studio updates regularly, so your wizard may look slightly different from what we are showing you. This is usually not a problem; the choices should be similar. If your wizard looks very different, then the tools have changed more drastically. Do not panic. Head to this book’s forum at forums.bignerdranch.com and we will help you navigate the latest version.)
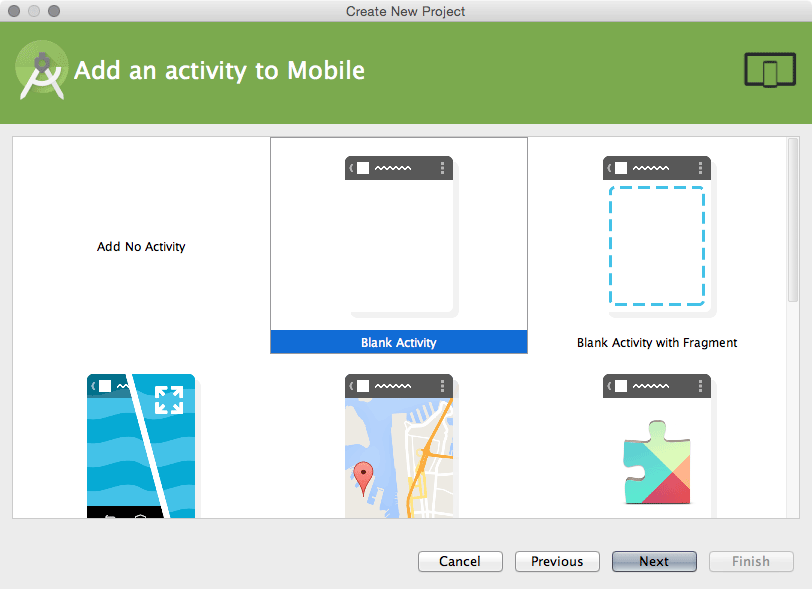
In the next screen, you are prompted to choose a template for the first screen of GeoQuiz (Figure 1.6). Choose Blank Activity and click Next.
In the final dialog of this wizard, name the activity subclass QuizActivity (Figure 1.7). Notice the Activity suffix on the class name. This is not required, but it is an excellent convention to follow.
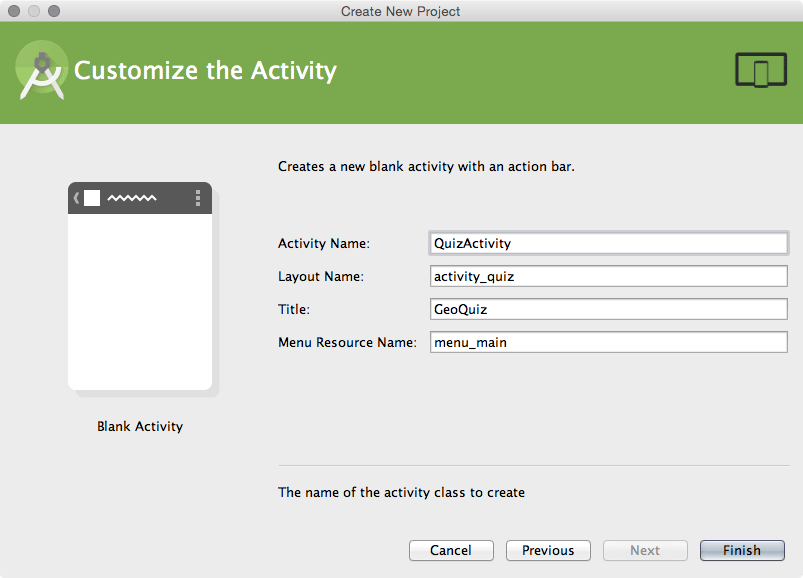
The layout name will automatically update to activity_quiz to reflect the activity’s new name.
The layout name reverses the order of the activity name, is all lowercase, and has underscores between words.
This naming style is recommended for layouts as well as other resources that you will learn about later.
For the Title, enter GeoQuiz to match the name of the app. Leave the Menu Resource Name as is and click Finish. Android Studio will create and open your new project.