


Download, deploy, and run PickMeUp in iOS, Android, and HTML environments
This chapter provides instructions for setting up and running the PickMeUp passenger application (referred to as passenger app in this chapter) provided with this book.
This chapter includes the following topics:
11.1 Set up a PickMeUp iOS project
This section describes how to set up your environment to run the PickMeUp iOS passenger app.
11.1.1 Prerequisites
The following prerequisites must be met to run the PickMeUp iOS passenger app:
•You must be using a Macintosh computer to run the PickMeUp iOS passenger app. If you are not using a Macintosh computer, you can still view the source code for the project, if you want.
•Xcode must be installed to open the PickMeUp.xcodeproj file.
•You are required to have an iOS developer certificate to deploy the application to a physical device. Otherwise, the application can only be run on the iOS simulator. With an iOS developer certificate, the application can be installed onto an iOS device, such as an iPad or iPhone.
•Optionally, you must have Git source code management (SCM) installed to the source using the git clone command. For details, see 11.1.2, “Obtain the PickMeUp iOS source code” on page 222.
11.1.2 Obtain the PickMeUp iOS source code
The project source is available from GitHub and also from the IBM Redbooks FTP site.
Obtain the source code from the GitHub repository
To obtain the source code from the GitHub repository, follow these steps:
1. Open a terminal window.
Obtain the source code from the Redbooks repository using FTP
To obtain the source code from the Redbooks repository using FTP, follow these steps:
1. Download the PickMeUp-iOS.zip file from the Redbooks FTP site to your computer. For the download instructions, see Appendix B, “Additional material” on page 243.
2. Open a Finder window and navigate to the directory that contains the downloaded file.
Figure 11-1 on page 223 shows the PickMeUp-iOS.zip file in the PickMeUpWorkspace.
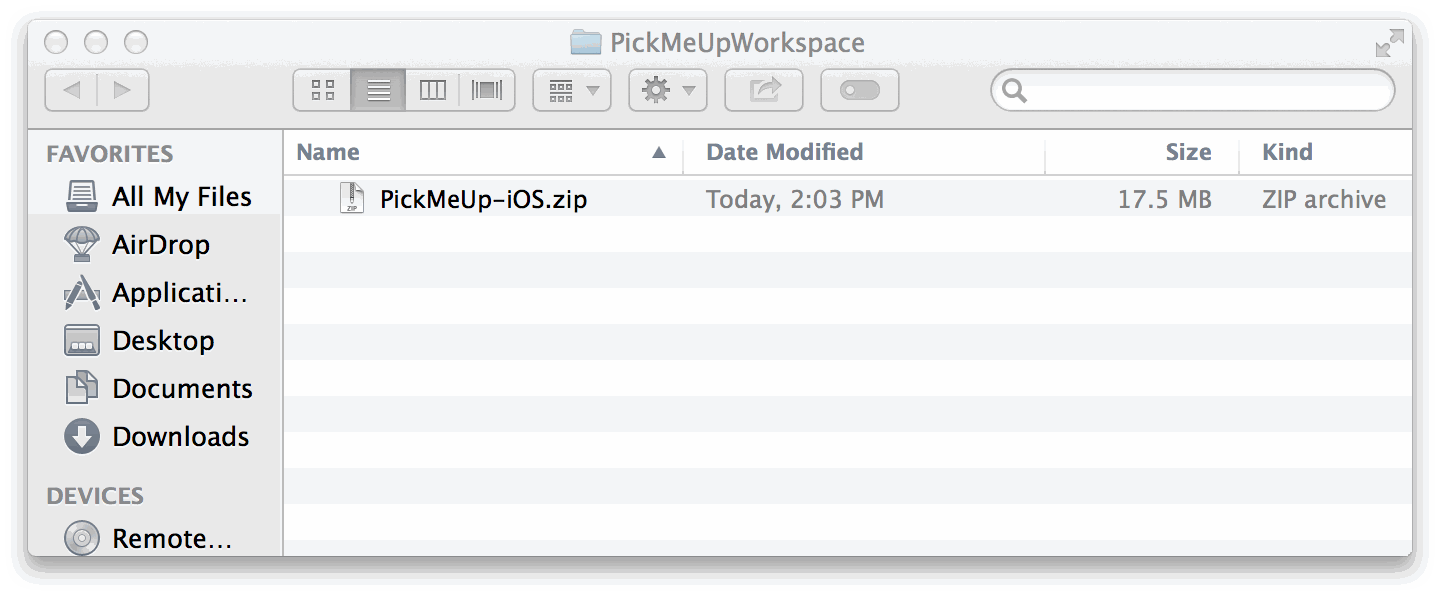
Figure 11-1 Finder window showing the downloaded PickMeUp-iOS.zip file1
3. Extract the PickMeUp-iOS.zip file.
Figure 11-2 shows the project directory after it is extracted.
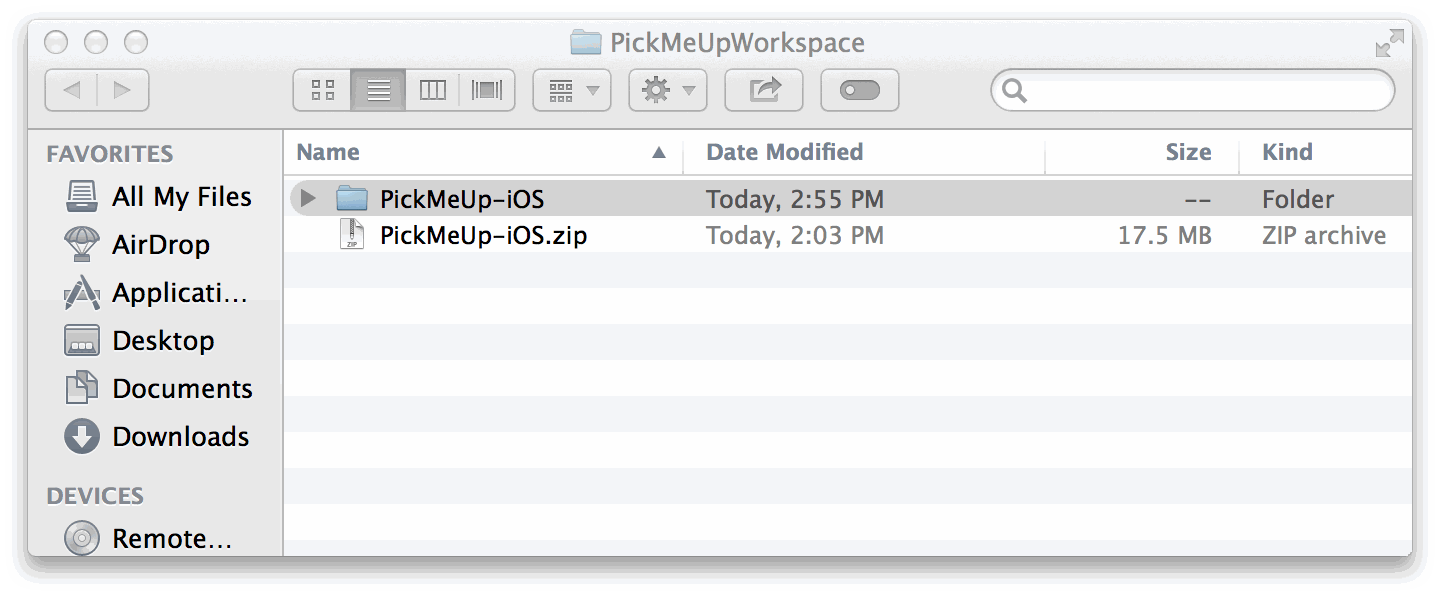
Figure 11-2 The PickMeUp-iOS.zip file is extracted1
11.1.3 Open the PickMeUp iOS project
The following steps show how to open the PickMeUp iOS Xcode project:
1. Open the project directory, PickMeUp-iOS.
Figure 11-3 on page 224 shows the contents of the project directory.

Figure 11-3 Contents of the project directory2
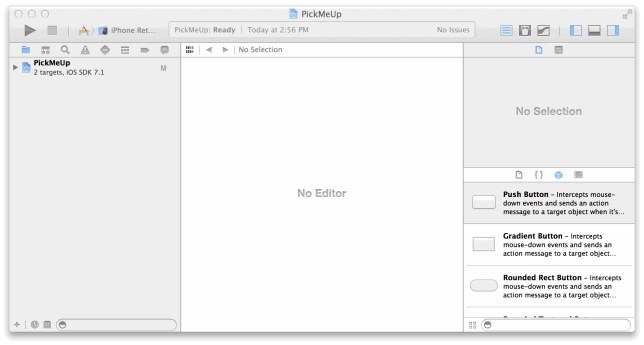
Figure 11-4 The opened PickMeUp.xcodeproj file2
11.1.4 Configure the project build settings
After opening the project, check the build settings to ensure that they are configured correctly to successfully build and run the application. The following properties need to be set up:
1. Set the Build For Active Architecture only property. To change this setting, click the current value for a list of available options.
Figure 11-5 shows the property after it is set to the correct value, No.

Figure 11-5 Set the Build Active Architecture Only property to No3
2. Set the Install Owner property. To change this setting, click the current value and edit it.
Figure 11-6 shows the property after it is set to the correct value, $(USER).

Figure 11-6 Set the Install Owner property to $(USER)3
3. Set the Library Search Paths property. To add or change any of the paths listed, click the current value and enter your change. We suggest setting the following paths to non-recursive:
– $(inherited)
– $(PROJECT_DIR)
– $(PROJECT_DIR)/PickMeUp
– $(PROJECT_DIR)_/PickMeUp/Lib
Figure 11-7 shows the Library Search Paths after they are set to the correct values.4

Figure 11-7 Set the Library Search Paths property as shown4
4. Set up the Code Signing identity and provisioning profile. To view or change this profile, select your developer certificate and provisioning profile, and then set the properties to the following suggested values:
Code signing identity: <Multiple values>
Debug: Don’t Code Sign
Any iOS SDK iOS Developer
Release: Don’t Code Sign
Any iOS SDK iOS Developer
. . .
Provisioning Profile None
|
Note: The code signing identity and provisioning profile require a valid developer certificate.
|
Figure 11-8 on page 227 shows the Code Signing properties to set.
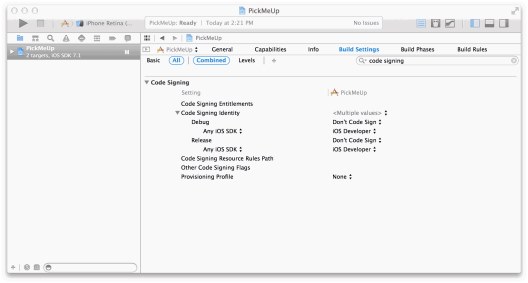
Figure 11-8 Set the Code Signing identity and provisioning profile as shown5
11.1.5 Run the application
Follow these steps to run the application:
1. Select the device on which to run the application.
Click PickMeUp (see Figure 11-9, red rectangle) to view a list of devices that the application can be run on. The list contains any devices that are currently connected and any iOS simulators that are available. If you have a valid iOS developer certificate and a device that is provisioned for development, select the iOS device from the menu. Otherwise, pick one of the available simulators.

Figure 11-9 Select the device on which to run the application5
2. Launch the application.
To launch the application, click the play (triangle) icon in the upper-left corner of the window (red rectangle in Figure 11-9 on page 227).
3. Optional: Stop the application.
To stop the application, click the Stop (square) icon in the upper-left corner of the window (red rectangle in Figure 11-9 on page 227).
11.1.6 Run PickMeUp for your iOS project
Instructions are provided to set up and run the sample applications provided with this book.
11.2 Set up a PickMeUp Android project
How to set up your environment to build and run the PickMeUp Android application is described.
11.2.1 Prerequisites
The following prerequisites must be met to run the PickMeUp Android application:
•An Android device with Android 4.1 Jelly Bean (API level 16) or higher is required to run the application.
|
Notes:
•Running PickMeUp on an emulator is not advised, because PickMeUp is using Google Play Services and Location Services. Using an emulator might cause the application to run with reduced functionality.
•The application was tested using Google Nexus 4, Google Nexus 7, and the Samsung Galaxy S4. For best viewing, we suggest using the screen sizes provided with these devices as the minimum screen sizes.
|
•A Google account and Google Maps Android API v2 key are required to build the application.
•Android Software Development Kit (SDK) is required to build the PickMeUp application. Stand-alone SDK tools and Eclipse or Android Studio bundle can also be used.
•The PickMeUp source code includes a Gradle build file. This file can be run using Gradle command-line tools, Android Studio integrated development environment (IDE), or Eclipse (with the Gradle plug-in).
11.2.2 Register with Google Maps API
Open a Google account and register for Google Maps API. Any Google account can be used to obtain the key for debugging and development purposes.
|
Note: Before building the PickMeUp application, a Google Maps API key is required. To obtain a Google Maps API key, follow this link. After signing in, press Create:
To add the credentials to an existing key, use the following line:
9F:22:30:50:6D:43:4D:E7:FB:98:79:76:DC:67:E1:1B:CF:9A:01:10;com.ibm.Pickmeup
After the key is generated, replace the google_maps_key entry with the key inside the following file:
<workspace>/PickMeUp/app/src/debug/res/values/google_maps_api.xml
The key starts with the term, AIza.
|
11.2.3 Android SDK Packages
The following SDK packages are required for building the PickMeUp application:
•Android 4.4.2 (API 19), SDK Platform
•Google Repository
•Android Support Repository
•Android SDK Build-tools 19.1
11.2.4 Run PickMeUp for your Android project
Instructions are provided to set up and run the sample applications described in this book.
11.3 Set up the PickMeUp back end
How to set up and run the PickMeUp back-end application are described. You must already have set up the IBM MessageSight server that you want to use with the PickMeUp application.
11.3.1 Prerequisites
The PickMeUp back end is a Node.js application, so you have to have Node.js installed in your environment. If you want to install it on your local environment, access the Node.js website for more details about setting it up:
For deployment simplification, you can use the IBM Bluemix environment, which is a Platform as a Service (PaaS) solution from IBM. For more information, see this website:
Use the CloudFoundry command-line interface (CLI) to interact with Bluemix. The CloudFoundry CLI can be downloaded using this link:
11.3.2 Register with Bluemix
Sign up for a Bluemix trial at no-charge at this website:
|
Note: The PickMeUp back end is lightweight, so the Bluemix trial no-charge option is usually sufficient for trying PickMeUp.
|
11.3.3 Download, deploy, and run PickMeUp
Use the following steps to download, deploy, and run PickMeUp on Bluemix, using CloundFoundry CLI:
1. Download the PickMeUp back-end source code and extract it to your machine.
2. Open the PickMeUp.js file in the package, and edit the configuration code to match the configuration of your Message Queuing Telemetry Transport (MQTT) broker (your MessageSight server configuration). A sample is shown in Example 11-1.
Example 11-1 MessageSight server configuration for the PickMeUp back end
mqtt: {
host: '<your.server.ip.goes.here>',
port: <your.server.port.goes.here>
}
3. Target the Bluemix environment for which you registered. See Example 11-2.
Example 11-2 Target the Bluemix environment
$cf api https://api.ng.bluemix.net/
4. Log in with your credentials. See Example 11-3.
Example 11-3 Log in to Bluemix
$cf login -u <username> -p <password>
5. Target a specific organization and space. See Example 11-4.
Example 11-4 Target a Bluemix organization and space
$cf target -o <orgName> -s <spaceName>
6. Navigate to the directory to which you extracted the PickMeUp back-end code.
Example 11-5 Deploy the PickMeUp code
$cf push Pickmeup --no-route
8. Optional: After the application is deployed, you can view the log file when you are running PickMeUp. Use the $cf logs Pickmeup command shown in Example 11-6.
Example 11-6 Tracing the logs of the application
$cf logs Pickmeup
11.4 Set up the PickMeUp HTML5 project
The HTML5 driver application (referred to as the driver app) consists of HTML, JavaScript, and Cascading Style Sheets (CSS) files. The application can be run using the following steps:
1. Extract the PickMeUp HTML5 source code to your machine.
2. Optional: Modify <driver_app>/js/Messenger.js to replace the MQTT server and port configuration with that of your MessageSight server.
3. Deploy the HTML5 assets using a web server.
4. In a websockets-compatible, modern browser (examples are provided in 10.1, “Advantages of developing an HTML5 PickMeUp application” on page 216), open index.html at the address specified by your web server configuration.
1 All images on this page were captured using Xcode, which is a trademark of Apple Inc., registered in the U.S. and other countries.
2 All images on this page were captured using Xcode, which is a trademark of Apple Inc., registered in the U.S. and other countries.
3 All images on this page were captured using Xcode, which is a trademark of Apple Inc., registered in the U.S. and other countries.
4 All images on this page were captured using Xcode, which is a trademark of Apple Inc., registered in the U.S. and other countries.
5 All images on this page were captured using Xcode, which is a trademark of Apple Inc., registered in the U.S. and other countries.
..................Content has been hidden....................
You can't read the all page of ebook, please click here login for view all page.