The EOS-1Ds Mark III system for landscapes
RAW versus JPEG
Maximizing dynamic range
Stitching images
Vibrationless shooting
Lenses
Filters
Post-processing work
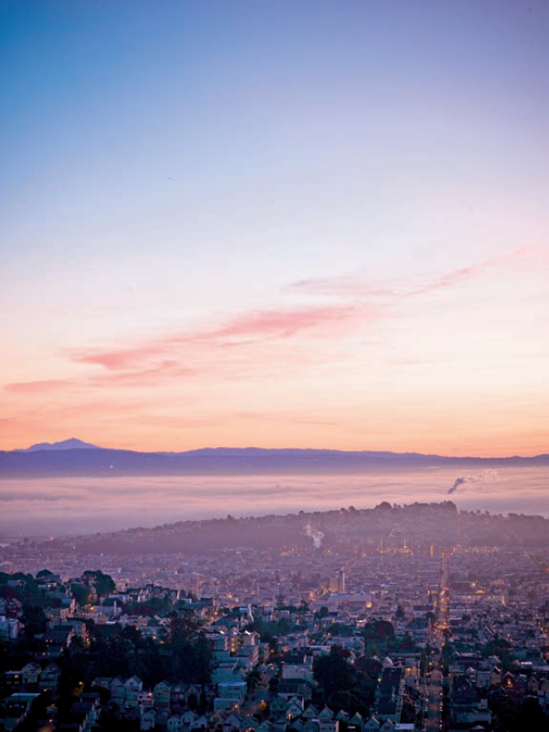
One thing I've learned is that the more time you spend in one place, or keep returning to one place, the more is revealed to you. I'm fortunate to live in San Francisco, and so every day offers a continuing lesson in how each day is visually wonderfully unique.
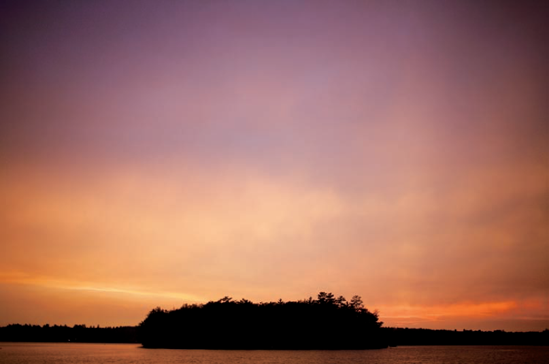
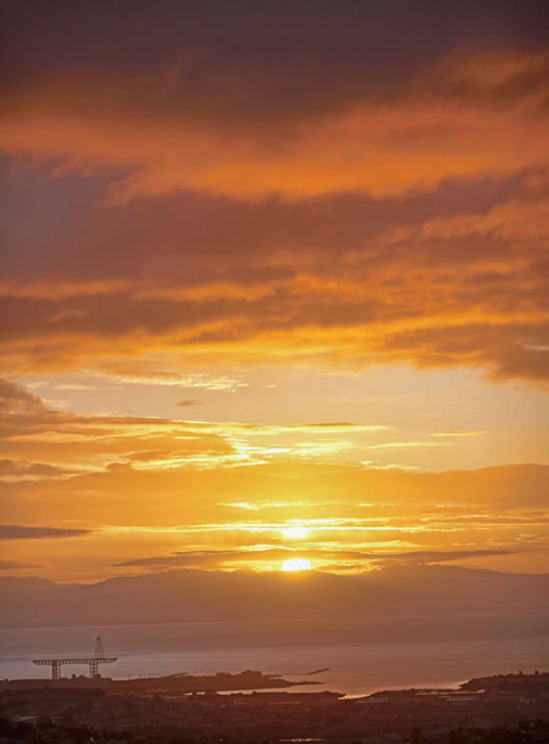
Although many think of landscape or nature photography as a relaxed and slow type of experience, which it certainly can be, chasing the light is always an adventure, not to mention the physical work often involved in getting to the right location. Particularly during the golden hours of dawn and dusk, the light is changing second by second. You can go through a world of lighting in 20 to 30 minutes, from deep dawn to sunrise and then to bright sky, or from sunset through darkening dusk and into night. Thus, strong skill sets are required in terms of knowing your gear and having the ability to operate quickly.
The EOS-1Ds Mark III sensor, along with some of the great Canon L lenses, allows for prints up to 16 × 20 inches at 300dpi, although I'd guess that in reality, they could be up to 24 × 30 and beyond. The system's ruggedness and reliability are real factors to take into account as well.
The 1Ds Mark III does wonderfully well in many situations. And although photography is about the camera, the final image is, of course, about more than the camera: your vision, shooting techniques, and post work all combine to create the quality and value in an image.
To my mind, landscape work is an important time to shoot RAW, although personally I shoot RAW on most assignments these days. Yes, JPEG often works well, but the question is what part of the information is being compressed and lost, and what isn't.
Particularly where there are subtle tonal transitions, such as banding in the sky, shooting RAW guarantees that you're capturing as much smooth tonality and range as the sensor and camera are capable of, thus it's especially critically here.
You also have a much wider range of color options while processing a RAW file than adjusting a JPEG; you can still change the color in a JPEG, but much of the range outside the chosen White Balance setting will not have been captured. This won't really affect the image quality if you're happy with the color temperature as recorded by the camera. But if you want to change to a different color temperature much less information has been recorded than on the RAW file and the images quality will suffer.
One huge concern, as always, is getting the maximum dynamic range out of the sensor without being overor underexposed. The 1Ds Mark III offers several ways of doing this. A principal method is the use of Highlight Priority when there are bright values in the image. This tool has created a huge improvement in highlight detail. There are other techniques, as well, as explained in the following sections.
The ability of the 1Ds Mark III to take multiple spot readings and average them is a godsend in this type of imagery, or any work where you want to pull in maximum dynamic range. And it is much faster than taking multiple exposures to discover which one works. As a refresher, you set your metering pattern to spot, and then you press the FEL button repeatedly to take multiple readings. You can take up to eight readings, which will be averaged to the best possible exposure. Choose the image elements you want to remain within range. If you know from experience that part of the scene is extremely dark and you're going to let it go into silhouette, avoid reading that part.
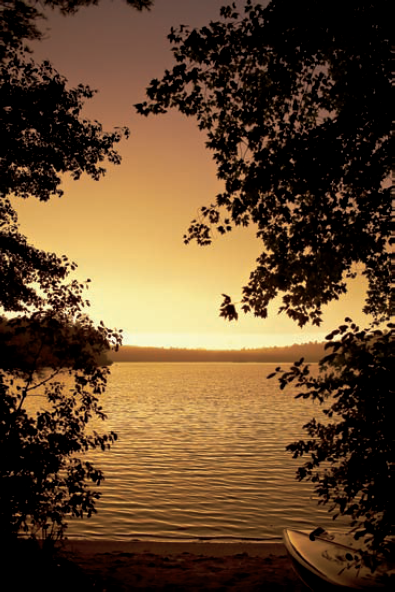
Figure 12.3. A good example of when Multi-point spot metering helps obtain an accurate reading. ISO 200, 1/1000 second at f/2.8, 35mm f1.4 L lens.
You can adjust the metering technique to your own preferences, but the main point is that you can take up to eight readings to quickly obtain the best exposure without having to shoot multiple tests. Almost every time I've used this technique, the histogram has been just where I wanted it to be, with no or very little overor underexposure.
The HDR (high dynamic range) merge technique can play a huge role in extending dynamic range. With the 1Ds Mark III, you can set an exposure bracket sequence, fire the images as quickly as keeping the camera vibration-free will allow, and then use the Merge to HDR feature in Adobe Photoshop. For landscape work, this is a real option and brings the 1Ds Mark III back into contention in terms of handling images with wide tonal range.
The Highlight/Shadow adjustment in Photoshop acts almost as a virtual HDR. By moving the shadow or highlight sliders, you can raise shadow values as well as lower highlight values. As long as detail is there to begin with, this can make quite a difference. When the detail doesn't exist, of course, you should have shot a bracketing sequence with HDR. Often more detail is there, lurking within shadows and highlights than you think, however, as in Figure 12.4 where the Shadow/Highlight tool, along with other techniques, was used to raise the shadow values in the image.
If you want a much bigger file, you can always take multiple images and stitch them together. Photoshop versions CS3 and CS4 do an amazing job of stitching images, and it's a simple procedure:
Drag all images into one document, as separate layers.
Click the bottom layer, hold the Shift key, and then click the top layer. All layers should now be selected.
Choose Edit
Auto-Align Layers. Choose Auto option normally.
Choose Edit
Auto-Blend Layers.Crop to taste, and that's it!
The easiest way to align images while you shoot is to use a tilt-shift lens. Once you've worked out your desired framing, lock the camera off. Make sure the camera is level. Then take three images, setting the shift position to left, center, and right. The three images will be optically aligned and can be combined in Photoshop by stitching them together.
Vibration is always an issue when you are going for the sharpest images possible. This includes the vibration transmitted by the photographer as well as the vibration created by the camera due to mirror slap, when the mirror races up to move out of the way at shutter release. The rule of thumb is to never shoot with a slower denominator than the focal length of the lens — for example, with an 80mm lens, don't shoot below 1/80 second. Although I've shot much slower with the 1Ds Mark III with good results, if sharpness counts and you have the time, using a tripod and cable release is the traditional way to steady the image. However, the 1Ds Mark III offers a second and often better choice for raising the mirror: Live View. In Live View mode, the mirror is already raised. Thus, using Live View and a shutter release offers an easy way to shoot without mirror slap.
A world of opinion will be out there on the topic of lenses and landscapes. In general, I personally try to avoid zoom lenses and stick with Canon L Primes.
One advantage of zooms is that they can be set to a focal length that doesn't exist in a prime, although, of course, you can always go wider and crop in. But if you want to retain the full image and a certain frame, and you can't physically move to where you need to be, zooms are the answer. Do stick to L zooms, however, and be aware of flagging the lens, meaning keeping direct light from entering, particularly hard sunlight. Zoom lenses tend to have more elements and thus flare more easily, which takes out the richness of darker tones in the process.
Here are the lenses that I prefer and use the most for my landscape and nature photography:
14mm 2.8L. Many landscapes just look better wide, and so the 14mm 2.8L II rectilinear lens is a great lens to have in your kit. But it is seriously wide, and it pushes the background away from what the eye sees. However, when you need it, there's nothing like it. Be very careful to level and adjust verticals as you see fit.
24mm TSE. The 24mm TSE lens offers a wide frame-size, along with tilt-and-shift correction. For example, when shooting upward with trees in the frame, if you want to avoid keystoning, a shift adjustment will surely help.
50mm 1.2 L. I love the 50mm 1.2L for detail, and so for scenes where it's in the proper focal length range, it's a good choice. I'm able to pull out detail in grass, for example, that looks more like what you would expect from a medium-format digital back or 4×5 film exposure
85mm 1.2L, 135 2.0 L, and 200mm 2.0L with or without extender. As usual, the 85mm 1.2L is always superb. And the 200mm 2.0L is extraordinary. It also does very well with a 1.4 extender, making it into a 280mm 2.8L lens. The 135 2.0 L lens fits nicely in between these 2 lenses in terms of focal length, and is wonderful when you wish the shallow depth of field as well as the shorter shutter speed that opening up to 2.0 offers.
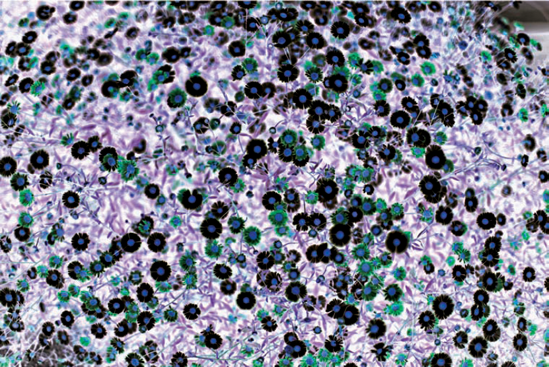
Figure 12.6. Wildflowers. This is a negative view of the image, created in Photoshop by inverting (Image
AdjustmentInvert). Why did I invert? This is where the image led me. ISO 100, 1/1600 second at f/1.4, 50mm 1.4L lens.Of course, if you're photographing distant objects, there is a wealth of Canon L telephotos — the white lenses — that have superb optical qualities. However, they are big and expensive. If you don't own one, they're certainly worth considering renting if you are traveling and plan to photograph animals in the wild, for example.
Although so much work can be done in the digital post-production world, there are still solid reasons for using physical filters, particularly graduated filters. These filters work in a matte box in front of the lens and gradually transition from a chosen neutral density (ND) value to clear. There are color graduated filters as well. You choose which ND filter to use, and also if the transition is narrow or wide. Usually, the longer the lens, the narrower you want the transition to be, and the wider the lens a wider grad transition will often work best. It takes experimentation and time to learn what works best for you.
ND graduated filters. The real advantage to ND grads is that they can bring areas of the image that would be out of exposure range (no matter how perfect your exposure is), back into range, and thus retain detail and tonality. With the 1Ds Mark III, you have close to nine stops of range. However, if nine stops are taken up by the main area in your image, and the sky is beyond that range, then an ND grad placed over the sky will bring it back into range.
Color graduated filters. In this case the filter transitions from clear to a particular color, such as clear to orange to make the sky appear warmer, or even from one color to another. A wealth of these filters exist to choose from.
A nice quality of an optical grad is that it allows you to place the grad just where you want it; the filter moves up and down in the matte box—thus you can see the effect while you're shooting, rather than imagining how it will look. And your image is that much more complete straight out of the camera, thus saving time in post-processing. Keep in mind that best results are achieved if your horizon is as level as possible and beware of buildings and mountains that might jut out from the horizon and change color or exposure in ways you don't find pleasing.
These filters are items to consider. Your own experimenting will tell you whether you prefer physical filters or to emulate these effects in post production, as in Figure 12.7.
As in all other areas of digital photography, a lot of the imagery has to do with post-processing work adjustments that are possible these days. From the choice and settings of the RAW processor through to Photoshop and all the tools it contains, as well as all the plug-ins that exist, you'll find a world of options to help you achieve your vision.
There are now many RAW processor choices to choose from. I will say that Iridient Digital's RAW Developer is one great choice for landscape work. It has fine shadow and highlight recovery, excellent color tools, and in my mind, the best noise reduction and sharpening tools of any of the RAW processors. RAW Developer helps make any image look its very best.
Note
You can find more details about RAW Processor choices in Appendix B.
Within Photoshop, I enjoy using many techniques: Smart Sharpen if sharpening is needed, the Noise Ninja plug-in to reduce noise, and the Alien Skin Exposure II plug-in to create looks that emulate a wide range of films stocks, both color and black and white.
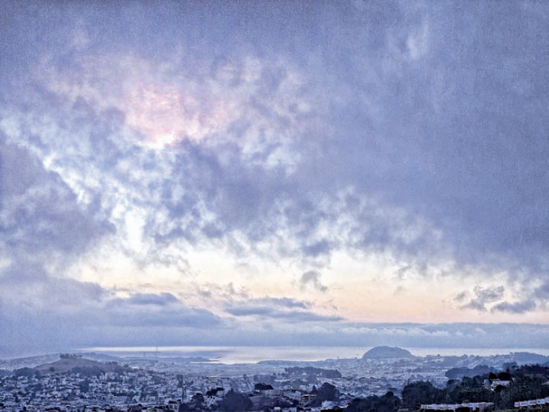
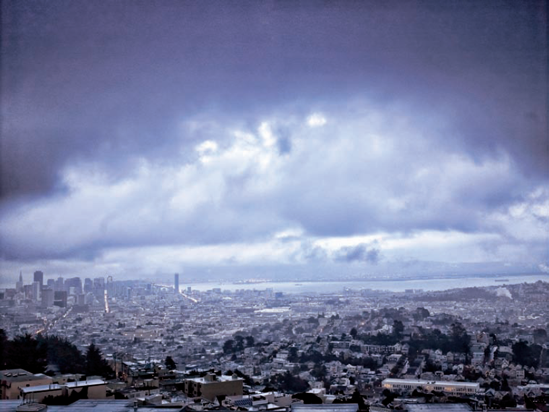
Figure 12.8. Cloudy day with a range of post-processing work applied to get the imagery I liked. Tools used include Exposure II presets, some work in the Topaz Adjust plug-in, Photokit Color II, adding a grain layer In CS4, and so on. ISO 400, 1/160 second at f/4.0, 50mm lens.
The plug-in Viveza from Nik software is an excellent tool for creating instant masks that can select an are a and then let you apply changes to just that area.
It's a long list and an expensive one. The goal is not to own every plug-in that exists even if you can afford to. The goal is to find and use the plug-ins that open up opportunities to achieve your particular vision. Many of these programs offer a free trial period, which is a great way to test out a program and determine if it's worth the money to purchase it.