
Chapter 3. Alignment
New designers tend to put text and graphics on the page wherever there happens to be space, often without regard to any other items on the page. What this creates is the slightly-messy-kitchen effect—you know, with a cup here, a plate there, a napkin on the counter, a pot in the sink, a spill on the floor. It doesn’t take much to clean up the slightly messy kitchen, just as it doesn’t take much to clean up a slighty messy design that has weak alignments.
The Principle of Alignment states: Nothing should be placed on the page arbitrarily. Every item should have a visual connection with something else on the page. The principle of alignment forces you to be conscious—no longer can you just throw things on the page and see where they stick.
When items are aligned on the page, the result is a stronger cohesive unit. Even when aligned elements are physically separated from each other, there is an invisible line that connects them, both in your eye and in your mind. Although you might have separated elements to indicate their relationships (using the Principle of Proximity), the Principle of Alignment tells the reader that even though these items are not close, they belong to the same piece.
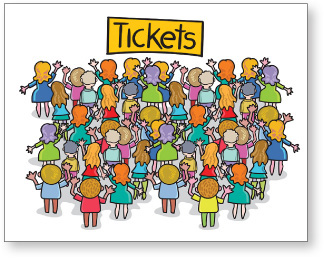
We occasionally experience a lack of alignment in Life, as in the scene at this ticket counter. It creates discomfort; it appears to be unorganized; we don’t know how to be effective.
Alignment creates a calm center; it communicates more clearly; we know what to do.
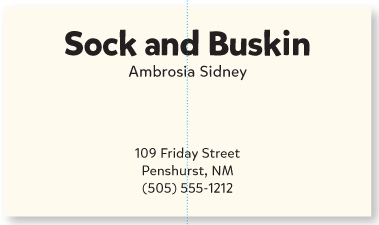
Take a look at this business card, the same one you saw in the last chapter. Part of its problem is that nothing is aligned with anything else. In this little space, there are elements with three different alignments: flush left, flush right, and centered. The two groups of text in the upper corners are not lined up along the same baseline, nor are they aligned at the left or right edges with the two groups at the bottom of the card, which don’t line up on the same baseline, either.
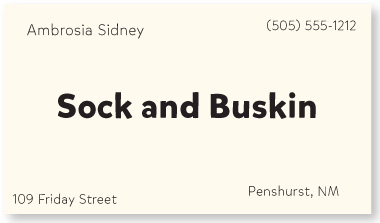
The elements on this card look like they were just thrown on and stuck. Not one of the elements has any connection with any other element on the card.

Get in the habit of drawing lines between elements to determine where the connections are lacking.
Take a moment to decide which of the items above should be grouped into closer proximity, and which should be separated.
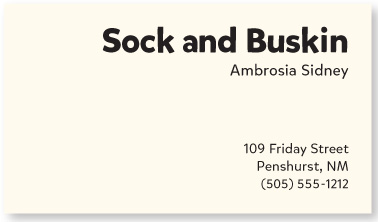
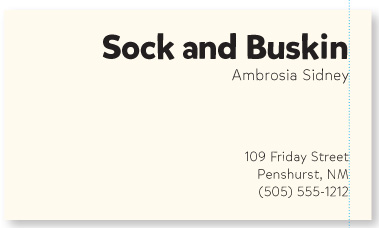
By moving all the elements over to the right and giving them one alignment, the information is instantly more organized. (Of course, grouping the related elements into closer proximity is also critical.)
The text items now have a common boundary; this boundary connects the elements.
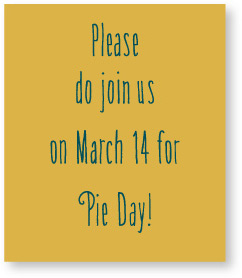
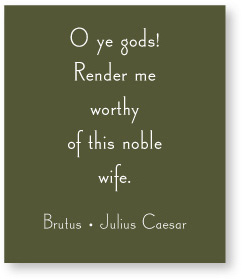
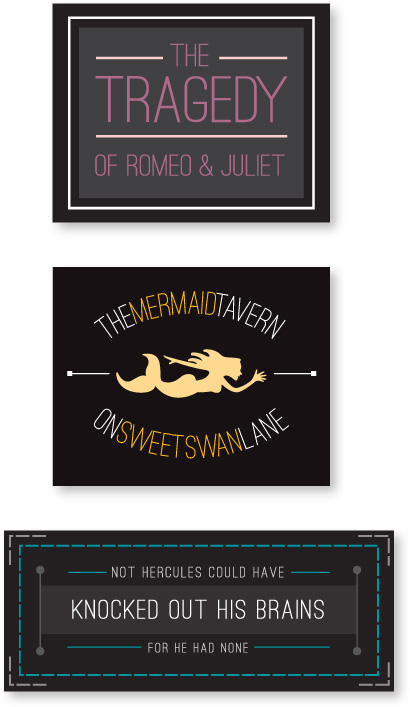
In the example (repeated below) that you saw in the Proximity chapter, the text is also aligned—it’s aligned down the center. A centered alignment often appears a bit weak. If text is aligned, instead, on the left or the right, the invisible line that connects the text is much stronger because it has a hard vertical edge to follow. This gives left- and right-aligned text a cleaner and more dramatic look. Compare the two examples below, then we’ll talk about it on the following pages.
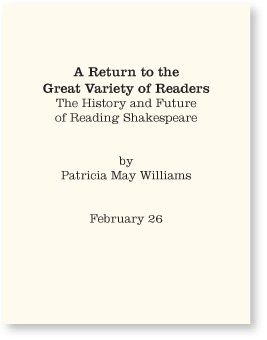
This example has a nice arrangement with the text items grouped into logical proximity. The text is center-aligned over itself, and centered on the page.
Although centered is a legitimate alignment, the edges are “soft”; you don’t really see the strength of the line.
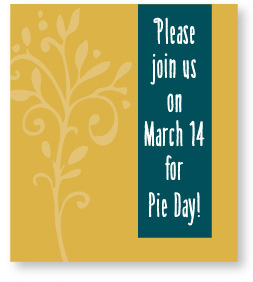
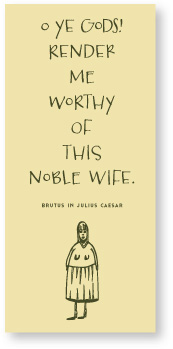
This has the same logical arrangement as above, but it is now right-aligned. Can you see the “hard” edge on the right?
There is a strong invisible line connecting the edges of these two groups of text. You can actually see the edge. The strength of this edge is what gives strength to the layout.
Do you tend to automatically center everything? A centered alignment is the most common alignment that beginners use—it’s very safe, it feels comfortable. A centered alignment creates a more formal look, a more sedate look, a more ordinary and oftentimes downright dull look. Take notice of the design layouts you like. I guarantee most designs that have a sophisticated look are not centered. I know it’s difficult, as a beginner, to break away from a centered alignment; you’ll have to force yourself to do it at first. But combine a strong flush right or left alignment with good use of proximity and you will be amazed at the change in your work.
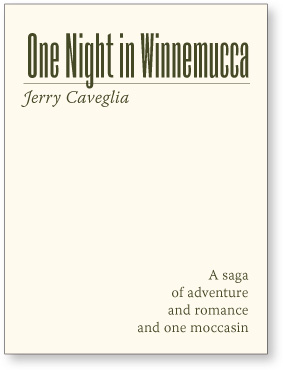
This is a typical report cover, yes? This standard format presents a dull, almost amateurish look, which may influence someone’s initial reaction to the report.
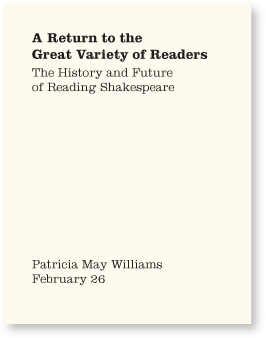
The strong flush-left alignment gives the report cover a more sophisticated impression. The author’s name is far from the title, but that invisible line connects the two text blocks.

typefaces
I was very pleased to see that my MA graduation certificate is flush left instead of centered!
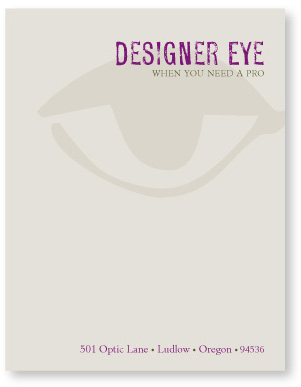
Stationery has so many design options! But too often it ends up with a flat, centered alignment. You can be very free with placement on a piece of stationery—but remember alignment.
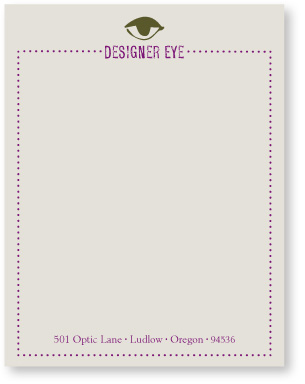
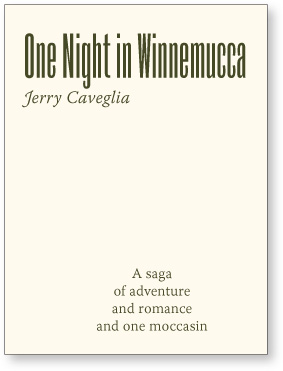
This isn’t bad, but the centered layout is a little dull, and the border closes the space, making it feel confined.
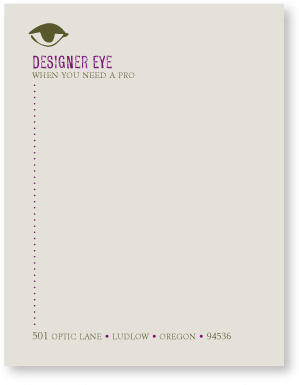
A flush-left alignment makes the page a little more sophisticated. Limiting the dotted line to the left side opens the page and emphasizes the alignment.
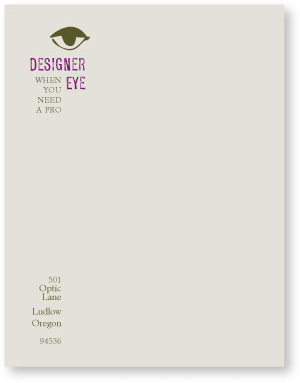
The text is flush right, but placed on the left side. The letter you type will have a strong flush left to align with the flush right of this layout.
typefaces
Be brave! Be bold!
I’m not suggesting that you never center anything! Many beautiful design projects are centered. Just be conscious of the effect a centered alignment has—is that really the look you want to portray? Sometimes it is. For instance, many weddings are rather sedate, formal affairs, so if you want to center your wedding announcement, do so consciously and joyfully.

Centered. Really rather stable and maybe dull, even with the cute font.
typeface
If you’re going to center text, then at least make it obvious that it is centered!

Experiment with uncentering the block of centered type.
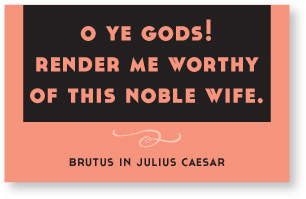
If you’re going to center the text, experiment with making it more dramatic in some other way.
Train your Designer Eye: On the opposite page, find at least three small design differences in each of numbers 2, 3, and 4 (different from number 1) that help to make these three examples communicate more clearly and present a more interesting visual appearance than the first one. If it is more visually interesting, it is more likely to be read and remembered. (Suggestions on page 226.)
Sometimes you can add a bit of a twist on the centered arrangement, such as centering the type but setting the block of type itself off center. Or set the type high on the page to create more tension. Or set a very casual, fun typeface in a very formal, centered arrangement. What you don’t want to do is set Times 12-point with double Returns!
1. This is the kind of layout that gives “centered” a bad name: Boring typeface, type that is too large, crowded text, double Returns, claustrophobic border.
2. A centered alignment needs extra care to make it work. This layout uses a classic typeface sized fairly small (relatively), more space between the lines, lots of white space around the text, no border.
3. Emphasize a tall, slender centered layout with a tall, slender piece of paper, perhaps half of a letter-sized page.
4. Emphasize a wide, centered layout with a wide spread. Try your next flyer sideways.
typefaces
I want to emphasize that even though I suggest you take
the centered alignment off your list for a while,
there are a great many brilliant projects that use a centered alignment.
But it must be a conscious choice,
not the default choice simply because you haven’t taken the time
to experiment with anything else.
fonts
Badges, such as these, are very popular right now, and they are often centered.
(Check CreativeMarket.com for hundreds of badge templates with which to experiment.)
A centered alignment works best when it is clearly intentional.
And when the alignment is intentional and strong,
you can be creative with other elements and
it still looks like a purposeful design
instead of random elements
randomly placed on the page.
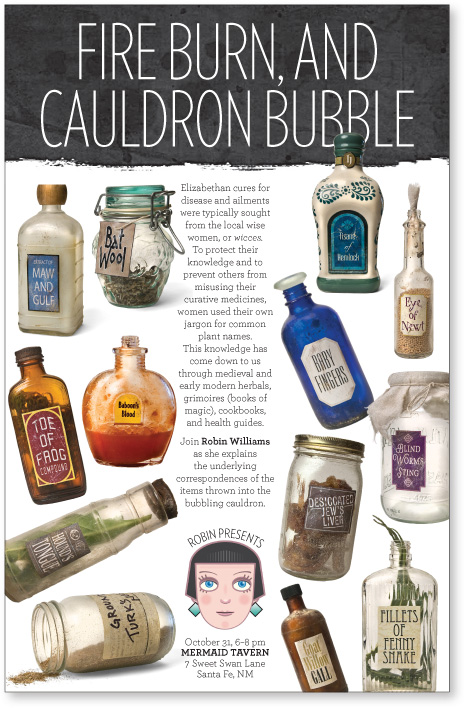
You can see a very strong line going right down the middle of this page. That allows us to play with the other elements but still maintain an organized, cohesive presentation.
You’re accustomed to working with text alignments. Until you have more training, stick to this guideline: Choose one. That is, choose one text alignment on the page—all text is either flush left, flush right, or centered.
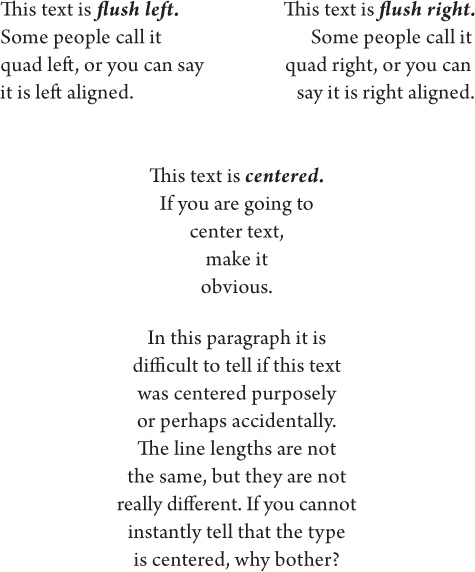
This text is justified. Some people call it quad left and right, and some call it blocked—the text lines up on both sides. Whatever you call it, don’t do it unless your line length is long enough to avoid awkward ![]() because the gaps are really annoying, don’t you think?
because the gaps are really annoying, don’t you think?
Occasionally you can get away with using both flush right and flush left text on the same page, but make sure you align them in some way!
In this example, the title and byline are flush left, but the description is centered. There is no common alignment between the two elements of text—they don’t have any connection to each other.
typefaces
Although these two elements still have two different alignments (the top is flush left and the bottom is flush right), the edge of the descriptive text below aligns with the right edge of the thin rule and text above, connecting the elements with an invisible line.
Train your eyes to notice the invisible lines.
When you place other items on the page, make sure each one has some visual alignment with another item on the page. If lines of text are across from each other horizontally, align their baselines. If there are several separate blocks of text, align their left or right edges. If there are graphic elements, align their edges with other edges on the page.
Nothing should be placed on the page arbitrarily!
typefaces
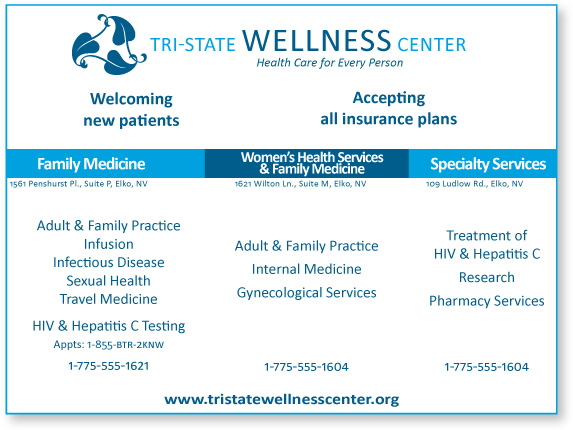
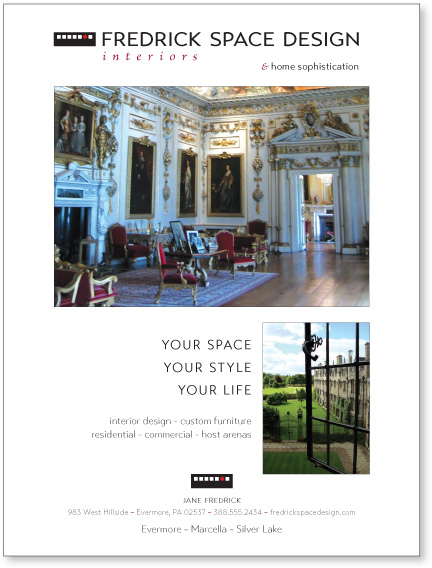
This is a typical advertisement in which the designer has been given the task of putting a lot of information into a small space. It can be improved immensely with one thing: alignment.
To do: Take a pencil and draw the vertical and horizontal alignments in this piece. You’ll find that all units are centered but they are not aligned with any other centered units. Let’s do one thing: Create vertical and horizontal alignments.
Also circle all the areas of white space. The white space is pretty messy.
Lack of alignment is probably the biggest cause of unappealing documents. Our eyes like to see order; it creates a calm, secure feeling in its clarity. Plus it helps to communicate the information.
In any well-designed piece, you will be able to draw lines to the aligned objects, even if the overall presentation of material is a wild collection of odd things and has lots of energy.
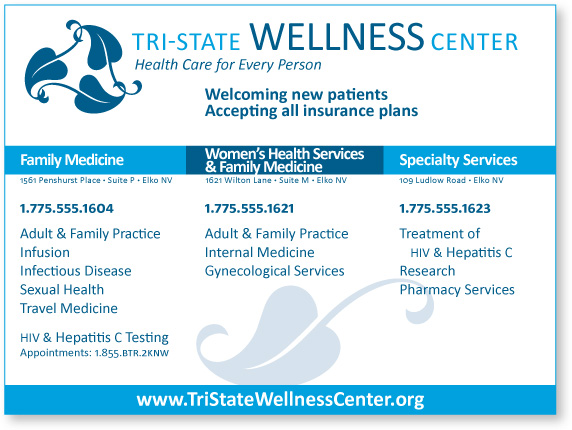
Simply lining up the elements makes a big difference here. Notice not one item is on the page arbitrarily—every item has some visual connection with another item on the page. This process opened up the space at the top of the ad so the name and logo could be larger.
I placed the phone numbers at the tops of each column of information. In the previous ad, where these numbers are aligned across the bottom, they trap white space inside the border.
Obviously, I added the blue bar at the bottom, which is a technique from the Principle of Repetition discussed in Chapter 4.
To do: Take a pencil and draw the alignments in this ad. Also draw shapes around the white space on both the ad on the opposite page and in this one. Can you see how the white space is now more organized?
Train your Designer Eye: Find at least a dozen differences, most of them tiny, that make this ad appear more professional and communicate more clearly. (Suggestions on page 226.)
A problem with the publications of many new designers is a subtle lack of alignment, such as centered headlines and subheads over indented paragraphs. With a quick glance, which of the examples on these two pages presents a cleaner and sharper image?

typefaces
This is a very common sight: headlines are centered; text is flush left and thus the right is “ragged”; paragraph indents are typewriter wide (that is, five spaces or half an inch, as you may have learned in school); the illustration is centered in a column.
Never center headlines over flush left body copy or text that has an indent because if the text does not have clear left and right edges, you cannot tell that the headline is actually centered. It looks random.
All these unaligned spots create a messy page: wide indents, ragged right edge of text, centered heads with open space on both sides, centered illustration.
To do: Draw lines on this example to see where elements are aligned and where they are not.
All those minor misalignments add up to create a visually messy page. Find a strong line and stick to it. Even though it may be subtle and your boss couldn’t say what made the difference between this example and the one before it, the more sophisticated look comes through clearly.
text
Find a strong alignment and stick to it. If the text is flush left, set the heads and subheads flush left.
First paragraphs are traditionally not indented. The purpose of indenting a paragraph is to tell you there is a new paragraph, but you already know the first paragraph is a new paragraph.
The professional typographic indent is one em (an em is as wide as the point size of your type), which is about two spaces, not five.
These columns are wide enough for the type to be set justified (aligned on both sides) without big gaps between the words.
If there are photographs or illustrations, align them with an edge and/or a baseline.
Train your Designer Eye: Find at least three other small differences that help to give this example a more professional appearance. (Suggestions on page 227.)
Even a piece that has a good start on a nice design might benefit from subtle adjustments in alignment. Strong alignment is often the missing key to a more professional look. Check every element to make sure it has a visual connection to something else on the page.
typefaces
This newsletter has a good start, but the immediate visual impression is a little sloppy, which affects the viewer’s impression of the content.
To do: Draw vertical lines to see clearly how many different alignments there are.
Check for illustrations that hang out over the edge just a bit, or captions that are centered under photos, headlines that are not aligned with the text, rules (lines) that don’t align with anything, or a combination of centered text and flush left text.

Can you see what has made the difference between this example and the one on the previous page?
To do: Draw lines along the strong alignments, both vertical and horizontal.
Train your Designer Eye: Find at least three other design details that help to make this example communicate more professionally. (Suggestions on page 227.)
I want to repeat: Find a strong line and use it. If you have a photo or a graphic with a strong flush side, align the side of the text along the straight edge of the photo, as shown below.
There is a nice, strong, invisible line along the left edge of the type, and there is a nice strong line along the left edge of the image. Between the text and the image, however, there is “trapped” white (empty) space, and the white space is an awkward shape, which you can see with the green dotted line. When white space is trapped, it pushes the two elements apart.

typeface
Find a strong line and use it. Now the strong line on the left side of the text and the strong line on the right side of the image are next to each other, making each other stronger, as you can see by the green dotted lines. The white space now is floating free off the right edge.
Train your Designer Eye: Start looking for this type of mistake, where a project has a strong line that is weakened by abutting it to a ragged edge. You can probably find one a day.
Also: Name at least three other things that are different between the slides. (Suggestions on page 227.)
If your alignments are strong, you can break through them consciously and it will look intentional. The trick is you cannot be timid about breaking the alignment—either do it all the way or don’t do it. Don’t be a wimp.
typefaces
Here an illustration is angled and breaking into the text block. This works just fine if the rest of the piece has clean alignments and the oddball element appears to be intentional. It is possible to break completely free of any alignment, if you do it consciously.
I am giving you a number of rules here, and it is true that rules are made to be broken. But remember the Rule about Breaking Rules: You must know what the rule is before you can break it.
Somehow you can tell if someone’s project has random and chaotic elements on purpose or because they simply didn’t know any better. And somehow, perhaps because of a collection of tiny little things that you would have to look for, when the rules are broken on purpose they have a stronger and more important impact.
Look around
You have probably noticed how critical the Principle of Alignment is. Even if you group things into appropriate proximity, you almost always need to strengthen the alignments in a piece as well.
To do: Collect a dozen ads or brochures or flyers or magazine spreads or whatever pieces you think are excellent, even if you cannot yet say exactly why or you don’t feel like you could actually create them. Find the strong alignments in each piece—I guarantee they will be there.
Also find at least half a dozen examples that you feel in your gut look a bit amateurish. Are they lacking the use of the Principle of Proximity or of Alignment?
The more you look around and put into words what works and what doesn’t work, the more you will absorb the concepts, the more you will absorb good design and what makes it good, and the more it will come back out of you in your own work.


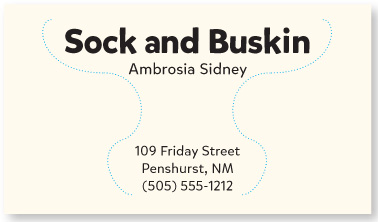
One might say that the information on this card is grouped into logical units of information using the Principle of Proximity. But it still presents an amateurish look. Why?
Now you know why: Because it has three different alignments on this little card (centered, flush left, and flush right). Plus someone stuck clipart in the corners.
A strong alignment organizes information more effectively and provides enough room to enlarge the cute doggy image.
Plus the white space is now more organized as well.
Designer Eyes
Can you improve these ads? Each one just needs a little more attention to proximity and alignment. (Suggestions on page 227.)
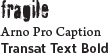
This magazine ad has a lovely start. But as you look at it, do you feel something tickling the back of your brain, suggesting that there is just a wee something that might pull these disparate pieces of the ad together more fully?
This program ad needs some help. Seriously consider every element in this small space and see:
1) if every element is necessary, and
2) is each element in the proper hierarchy?
That is, what is most important? Listen to your eyes—where do they go, what path do they follow, is that the best path? Is the important information grouped into logical proximity? Does the alignment support clear communication? Draw vertical lines to show the existing alignments in this little space.
Summary of alignment
Nothing should be placed on the page arbitrarily. Every element should have some visual connection with another element on the page.
Unity is an important concept in design. To make all the elements on the page appear to be unified, connected, and interrelated, there needs to be some visual tie between the separate elements. Even if the separate elements are not physically close on the page, they can appear connected, related, unified with the other information simply by their placement. Take a look at design projects you like. No matter how wild and chaotic a well-designed piece may initially appear, you can always find alignments within.
The basic purpose
The basic purpose of alignment is to unify and organize the page. The result is similar to what happens when you (or your dog) pick up all the dog toys that were strewn around the living room and put them into one toy box.
It is often a strong alignment (combined, of course, with the appropriate typeface) that creates a sophisticated look, a formal look, a fun look, or a serious look.
How to get it
Be conscious of where you place elements. Always find something else on the page to align with, even if the two objects are physically far away from each other.
What to avoid
Avoid using more than one text alignment on the page (that is, don’t center some text and right-align other text).
And please try very hard to break away from a centered alignment unless you are consciously trying to create a more formal, sedate presentation. Choose a centered alignment consciously, not by default.