In this chapter you focused on making your app more accessible using TalkBack. But this is not the whole story. Accommodating people with visual impairments is just one subset of accessibility.
Testing your application for accessibility should really involve user tests by people who actually use accessibility services on a regular basis. But even if this is not possible, you should still do your best to make your app accessible.
Google’s Accessibility Scanner analyzes apps and evaluates how accessible they are. It provides suggestions based on its findings. Try it out on CriminalIntent.
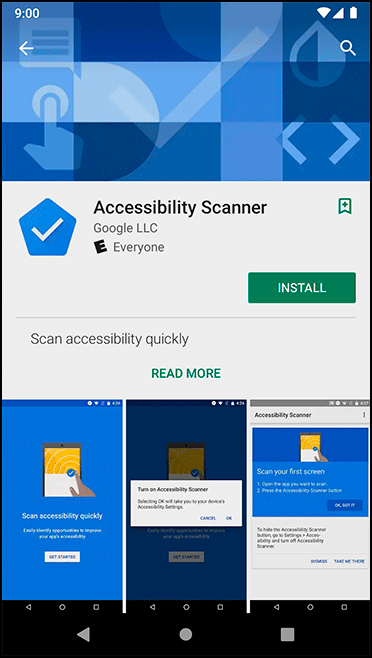
Begin by installing the Accessibility Scanner app on your device (Figure 18.11).
Once you have Accessibility Scanner installed and running and you see the blue check mark icon hovering over your screen, the real fun can begin. Launch CriminalIntent from the app launcher or overview screen, leaving the check mark alone. Once CriminalIntent appears, make sure it is displaying a crime details screen (Figure 18.12).

Press the check mark, and Accessibility Scanner will go to work. (You may need to give it certain permissions first; accept any permissions that are requested.) You will see a progress spinner while the analysis happens. Once the analysis is complete, a window showing suggestions will appear (Figure 18.13).

The EditText and CheckBox have outlines around them. This indicates that the scanner found potential accessibility problems with those widgets. Press on the CheckBox to view accessibility suggestions for that widget. Press the down arrow to drill into the details (Figure 18.14).
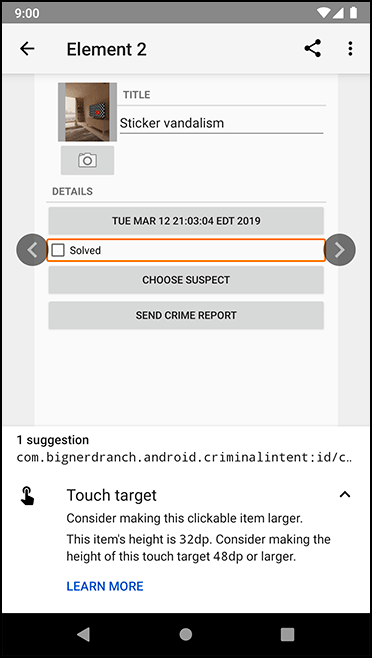
Accessibility Scanner suggests you increase the size of the CheckBox.
The recommended minimum size for all touch targets is 48dp.
The CheckBox’s height is smaller, which
you can easily fix by specifying an android:minHeight attribute for the widget.
You can learn more about Accessibility Scanner’s recommendation by pressing LEARN MORE.
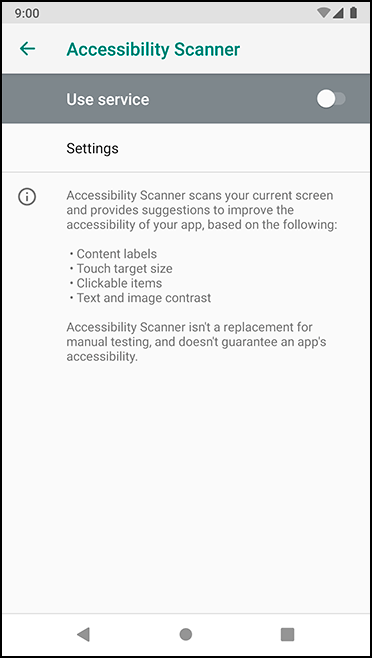
To turn Accessibility Scanner off, go to Settings. Press Accessibility, then press Accessibility Scanner. Press the toggle to turn the scanner off (Figure 18.15).