
In Chapter 9, I discussed Stream, which provides video capabilities and a platform for enterprises. Microsoft Forms is an application from Microsoft that is used to create forms and surveys to collect information and quizzes that can be shared and graded. Forms is built with a mobile-first approach, ensuring that it works not only on the mobile platform but also on many other devices.
A distinction needs to be made before we start, and that is that Microsoft Forms is not an InfoPath replacement. There are similarities between the two, but the intended purpose of Microsoft Forms is for quizzes, surveys, and polls. Microsoft is moving in the direction of using Power Apps to be the replacement for InfoPath, the last released version of which was included in Office 2013.
In this chapter, you will create a form to collect responses from employees about the annual company picnic, exploring the available data types you can use to create the questions. You will also create a quiz to demonstrate how quizzes can be created and graded. Finally, you will look at the reporting features so you can view metrics about the forms.
Using Microsoft Forms

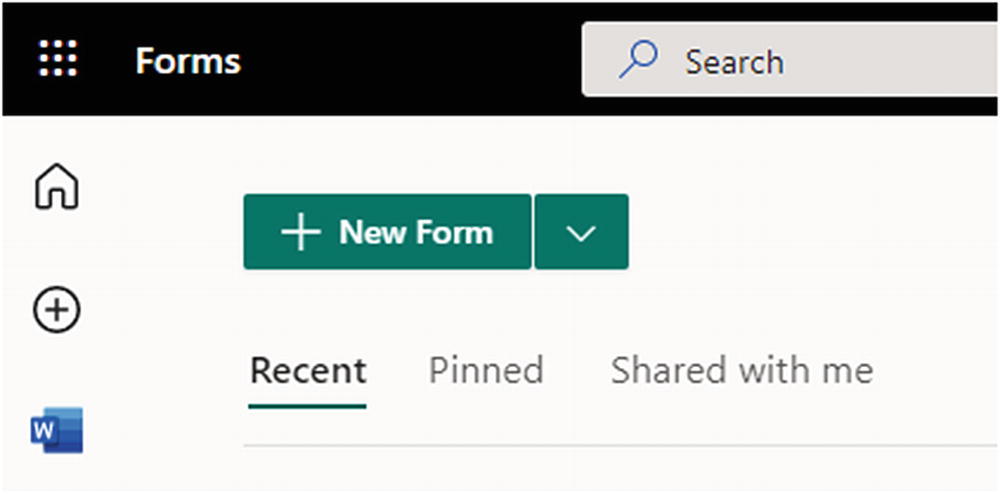
Microsoft Forms application
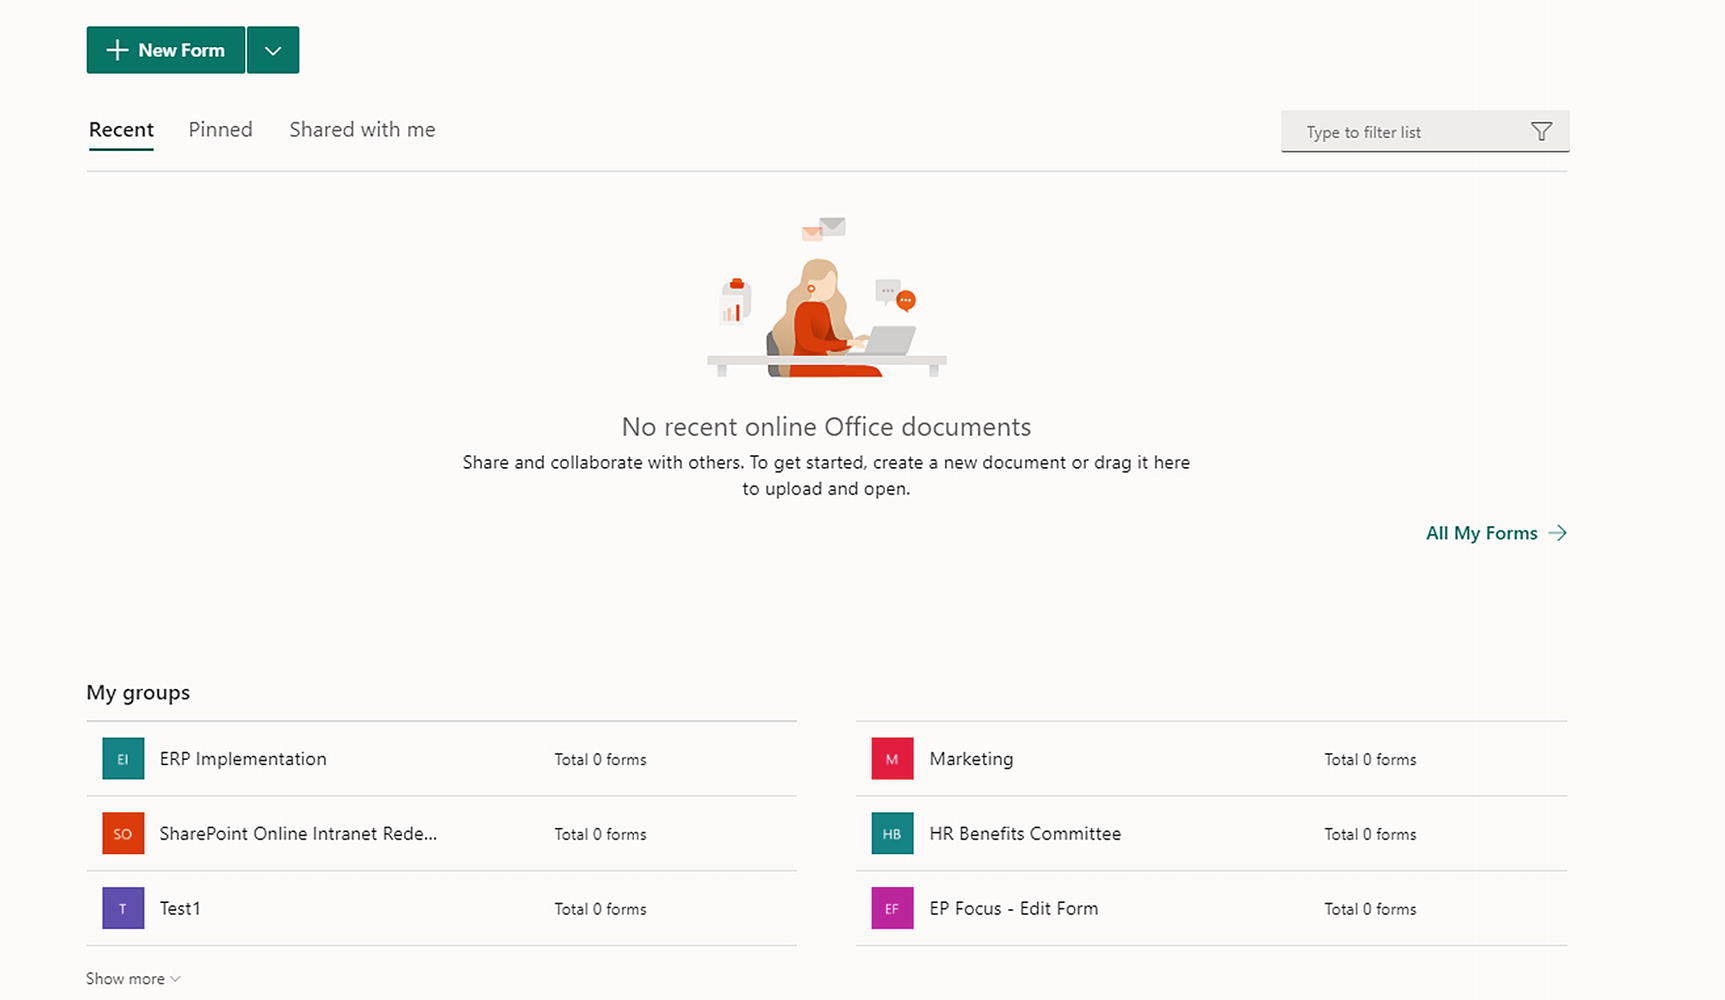
Microsoft Forms application dashboard
Editing/Creating Workspace

Microsoft Forms dashboard menu
The Preview button allows you to preview the form or quiz to see how your form or quiz renders. The preview mode offers an interesting function: it allows you to preview the form on both a typical mobile device and a computer.
The Theme button allows you to change the look and feel of the form. You can select from an available theme or upload your own image to use as a background image. If you choose to add an image, you can connect to the Bing search engine for pictures, OneDrive, or your local computer. Currently, you can only upload one picture to create a custom theme.
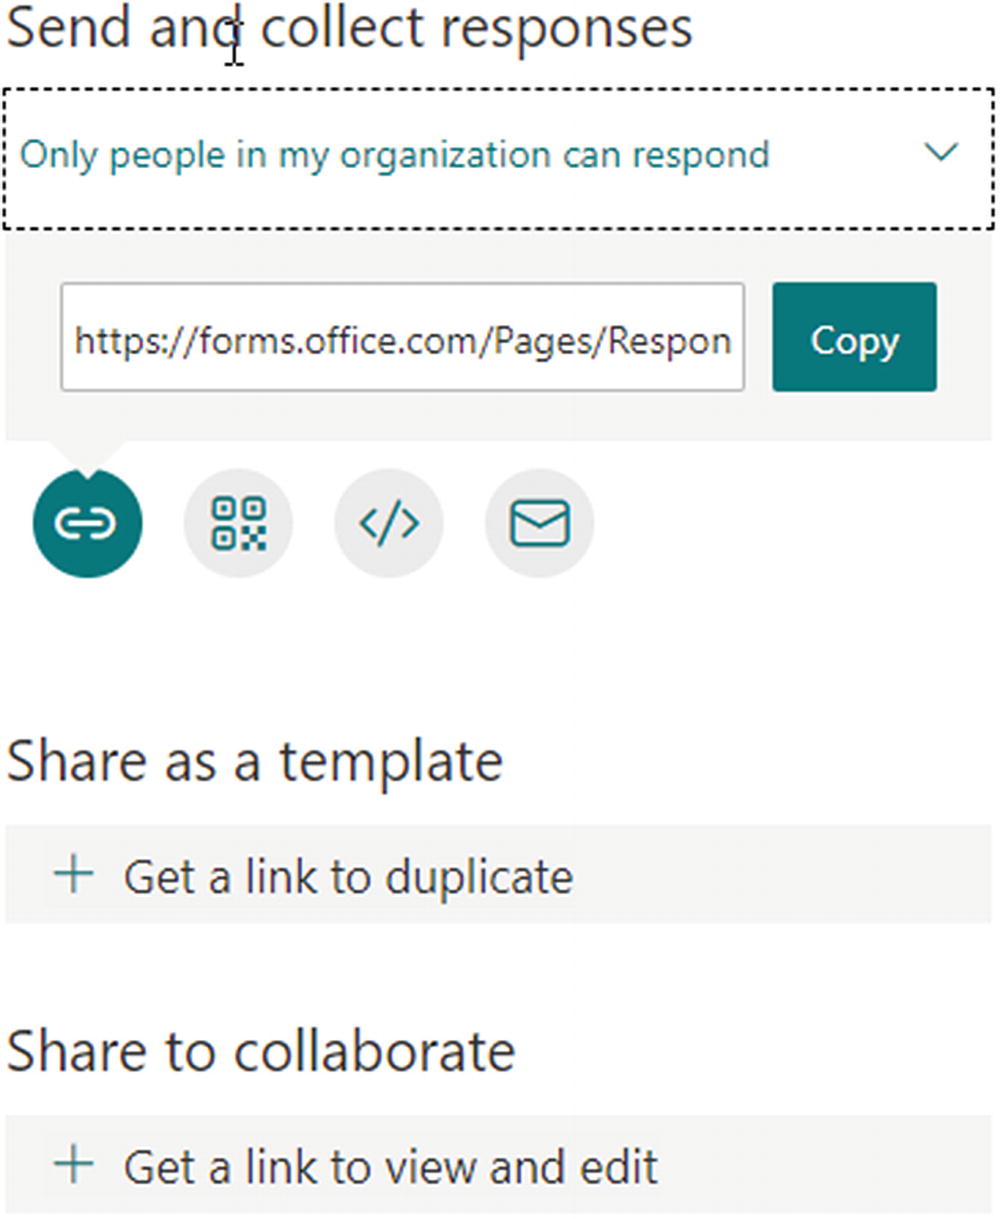
Sharing menu
Part of collaboration is the ability to share your data with others. By selecting the “Share as a template” link, other users can duplicate your form and use it as a base for their own form. By selecting the “Share to collaborate” link, you can send the form to others to edit the questions and/or add values to the questions.
The ellipsis (…) (Figure 10-3) offers some additional functionality when the form in edit mode.
The first advanced feature is the settings menu. These options let you allow anyone to fill out the form (anonymous) or restrict it to just internal company users. This setting isn’t permanent; when you go to share the form, you can change the option. This simply sets the default for the form.
The options for responses are whether you can accept responses, the Start date and End date of when the form can be filled out, whether to shuffle or lock the questions, and if you want to receive a notification of each response. These advanced settings are useful if you need the form filled out prior to a deadline.
The second option is Multilingual where you can add alternate languages so the submitter of the form can change to one of the available choices. This is useful; however, it does not translate the questions/answers you used to create your form or quiz.
The third option is Print form, which will allow you to print the form; this was not available in previous releases.
Creating Your First Form
Creating a new form
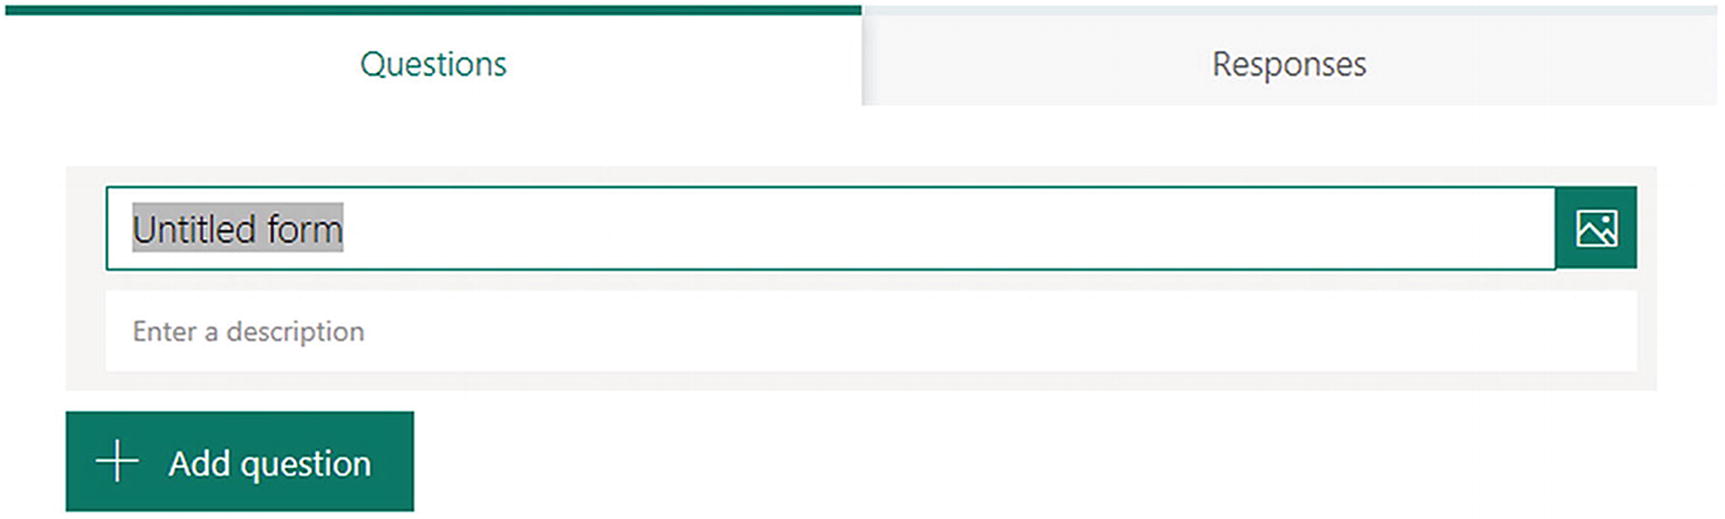
Editing the title and description
Clicking + New Form creates an empty form that you will add your questions to. Note that there are two tabs: Questions and Responses. Within the Questions tabs, you add your questions to create the form. The Responses tab, discussed later in this chapter, shows the responses to the form in a graphical format.
In the next section, I will discuss the available data types and how they can be used to craft forms and quizzes.
Data Types

Microsoft Forms data types
Choice
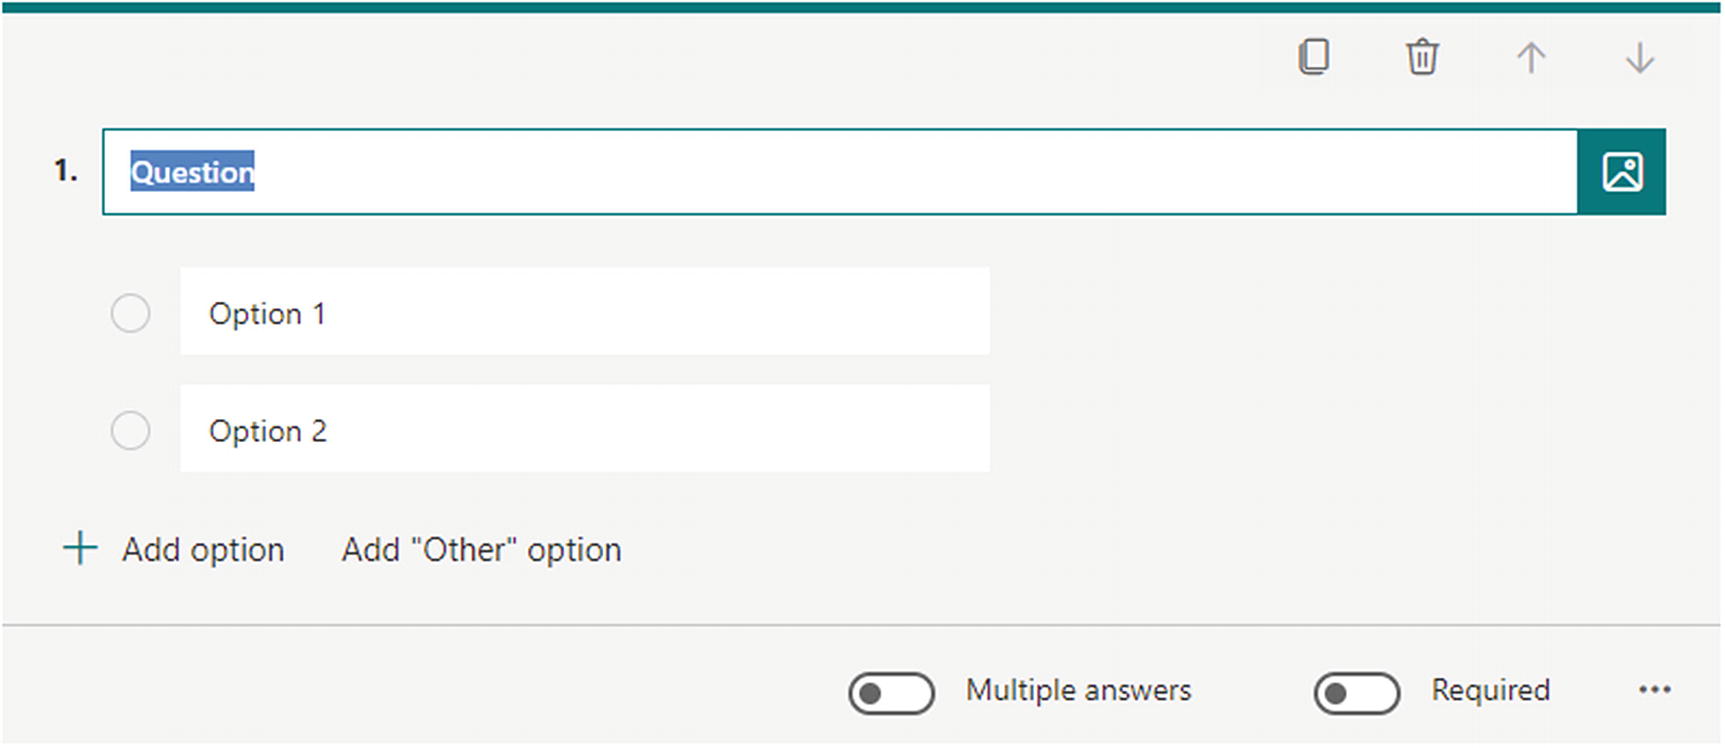
The choice data type
With this data type, Microsoft Forms allows two options: “Multiple answers” and “Required.” Selecting “Multiple answers” allows the submitter to select more than one choice. You will notice that the radio buttons turn into checkboxes when “Multiple answers” is selected.
Multiple answers are useful when there is more than one choice that could be selected or a submitter can select multiple correct answers to a question. Selecting the “Required” toggle forces the user to answer the question; the form can’t be submitted if the question is not answered. Selecting the ellipsis (…) shows the options to add a subtitle and set the questions to shuffle, which presents the questions in a different order to individuals.
For this exercise, let’s create a survey to gather information from employees about the annual company picnic. For the choice data type, add two choice questions:
Choice options: Yes, No
Allow multiple choices: No
Required: No
- Choice options: Basketball, Bocce, Horseshoes
Select “Add “Other” Option” to add a freeform field
Allow multiple choices: No
Required: Yes
Once you are satisfied with the questions and choices, select “+ Add question” and add another question using the date data type.

Question options
When creating questions, you can also insert a video or image into the question. This is done by selecting the image icon to the right of the text box.
Date
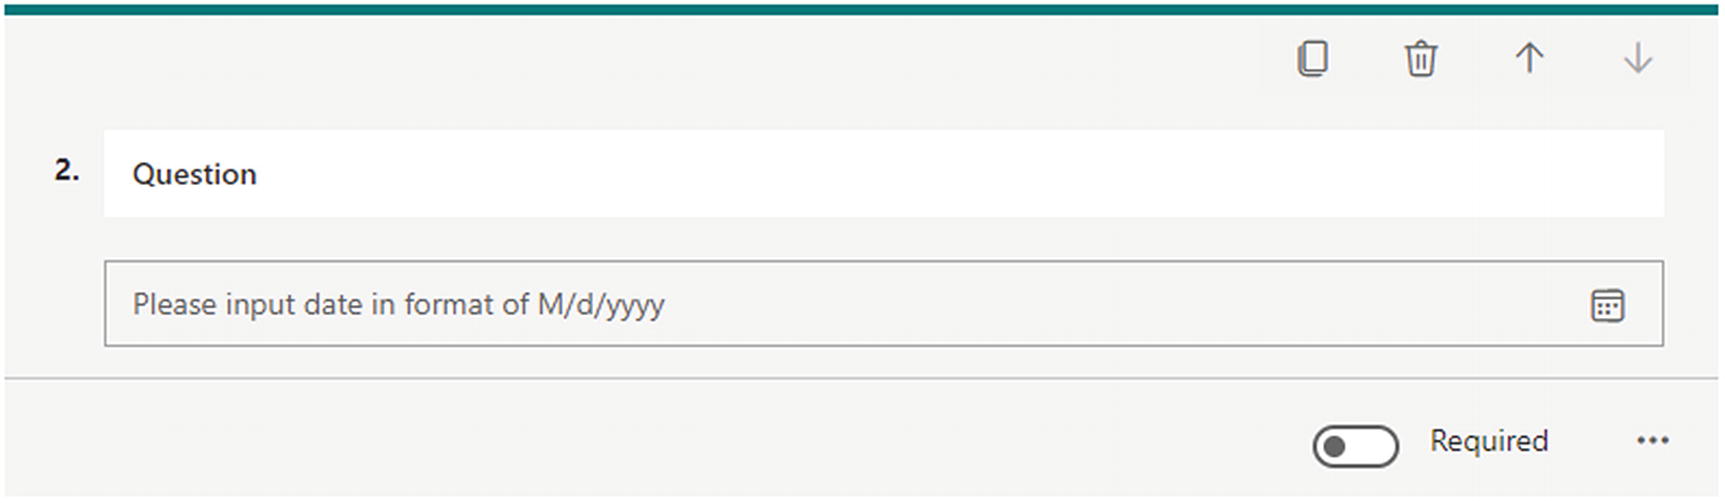
The date data type
Required: Yes.
Subtitle: Please select a date in June 2021 or August 2021.
Rating

The rating data type
Selecting the ellipsis (…) presents the opportunity to add labels to your rating. Labels help define what a single star/number is in terms of the lowest and highest.
Required: Yes
Symbol: Star
- Labels:
1 star: Bad
10 stars: Excellent
Text
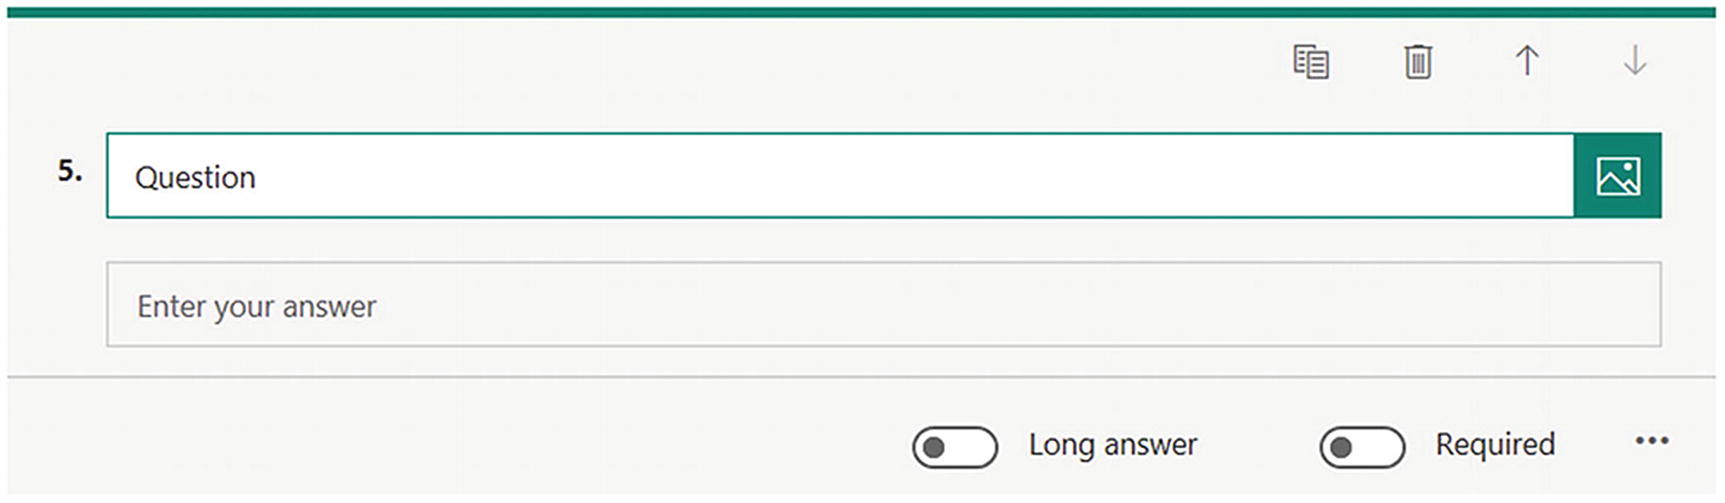
The text data type
The text data type does contain a “Long answer” toggle. Selecting this toggle increases the number of lines available for the user to fill out. This is preferred because you do not want to abruptly cut off an answer unless there is absolute certainty that the answer will be short.
Selecting the ellipsis (…) presents the option to restrict the data entered to a restriction value. The restrictions are limited to numbers only and cannot be used to restrict text.
Long answer: Yes
Required: Yes
Ranking
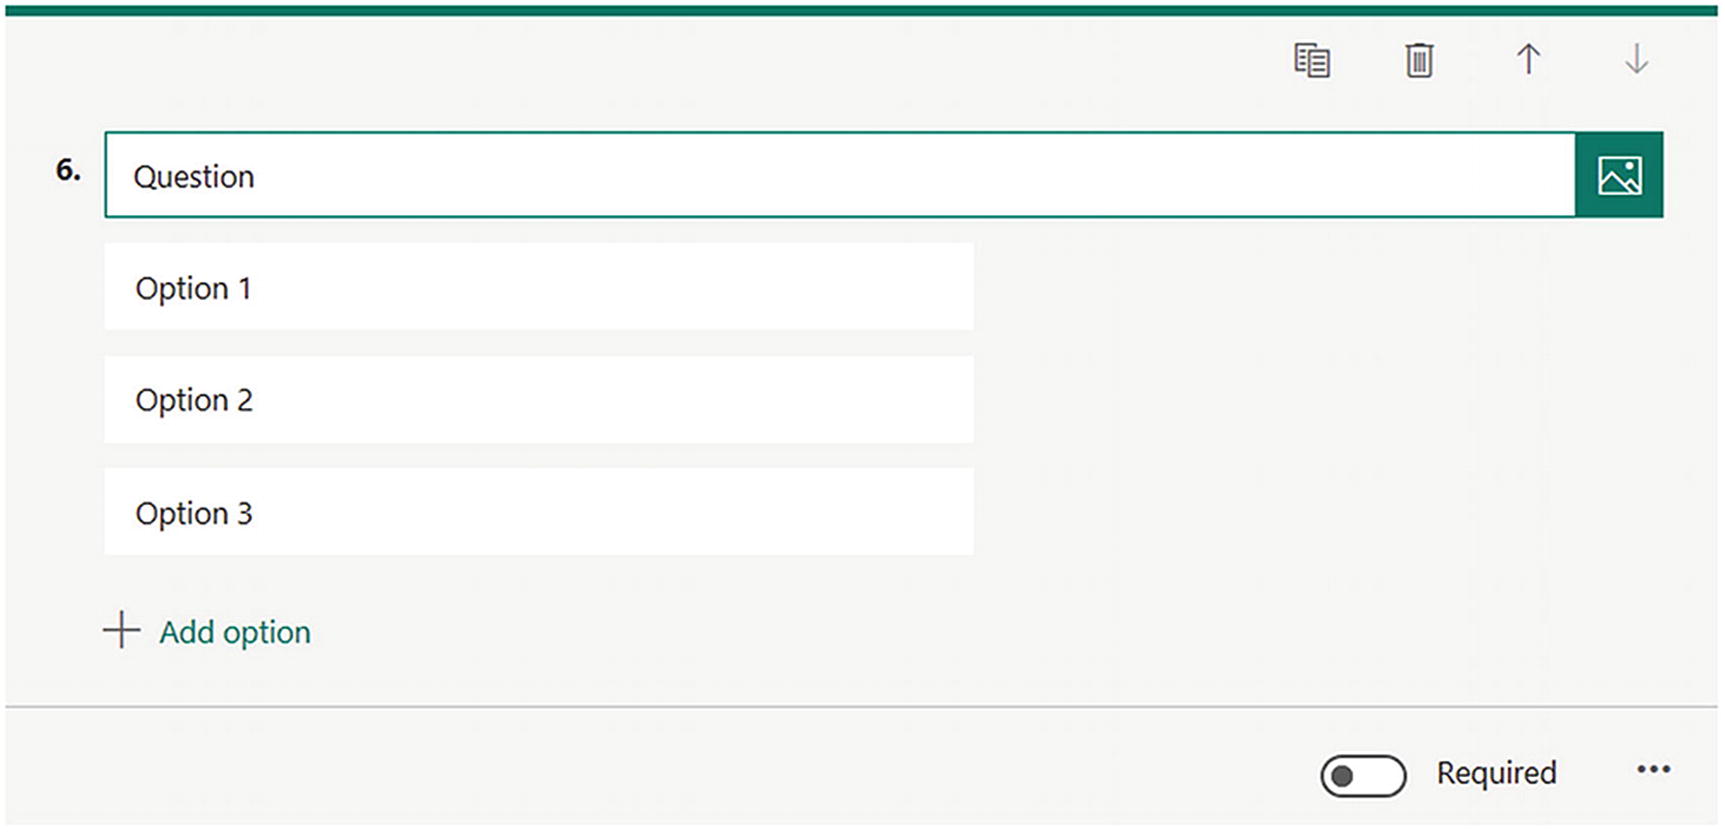
The ranking data type
The ranking data type does not contain any other configurable properties besides Required and Subtitle.
One issue with the ranking data type is that if the field is set to Required, the order must be changed and set back to the default if the submitter agrees to that ranking.
To complete the form, use the following values for Question 6:
Required: Yes
Options: Seafood, Barbeque, Vegan, Italian, Sandwiches
Likert
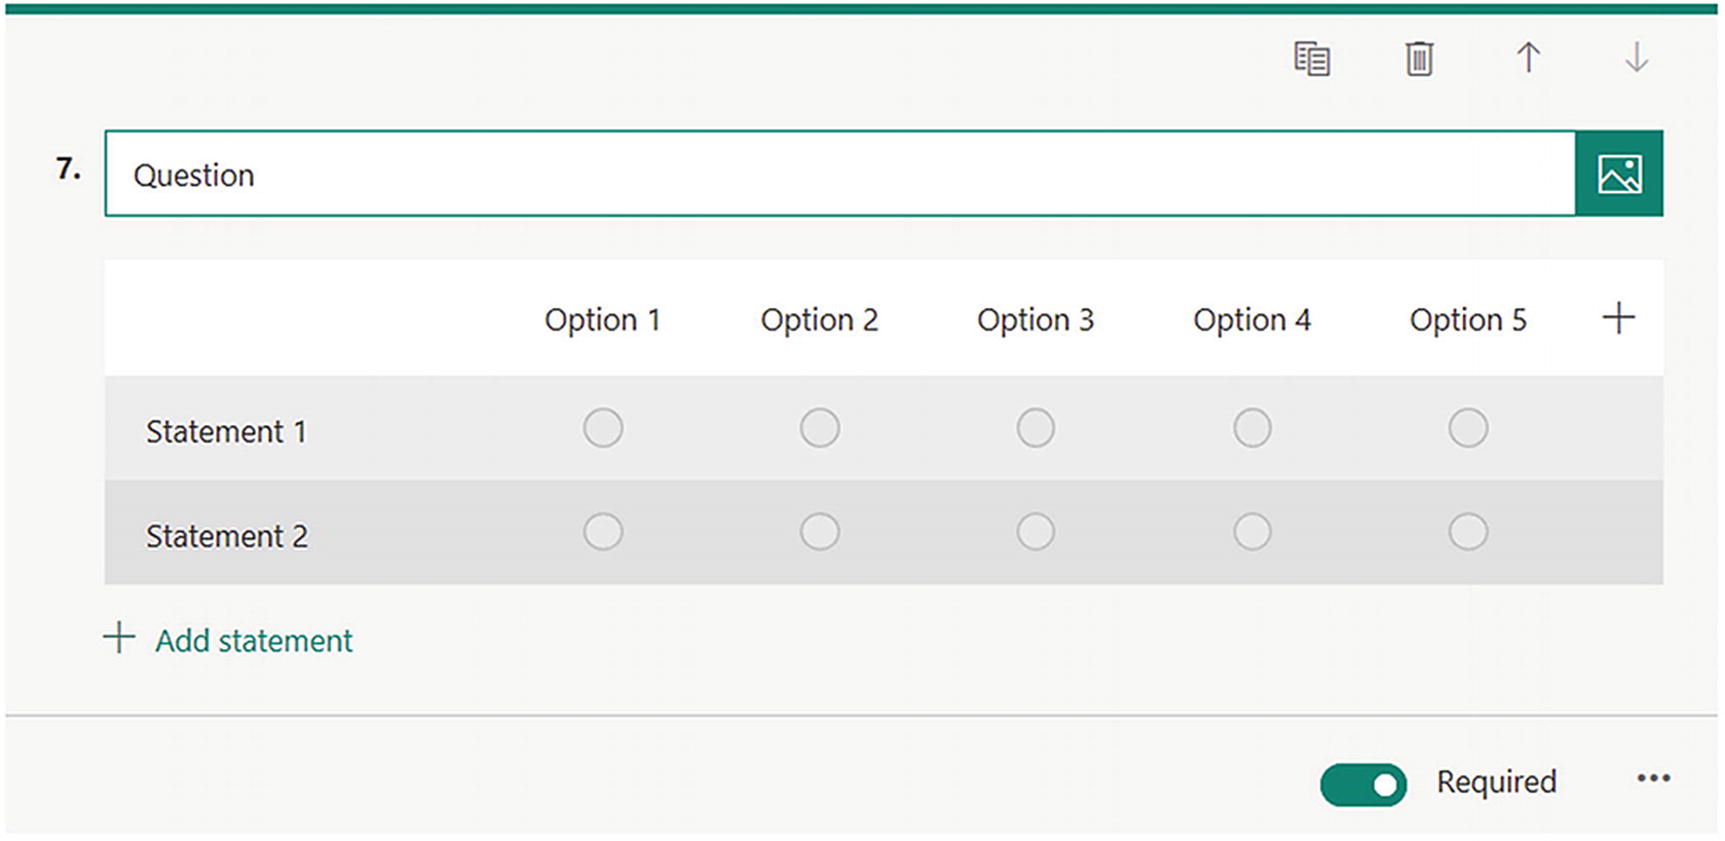
The Likert data type
You aren’t going to use the Likert data type in your survey, but let’s review the configuration of it. The keys to this data type are both the options and statements. The options are the gauge and are most commonly “Strongly Disagree,” “Disagree,” “Neutral,” “Agree,” and “Strongly Agree.” You can have more, but I think five is the perfect level of granularity and offers clear definitive lines between the options. The statements of the Likert data type are the statements that are gauged by the user.
We will discuss three new data types; they won’t be part of the form, but it’s good to be aware of these data types as they have specific uses and cases.
File Upload
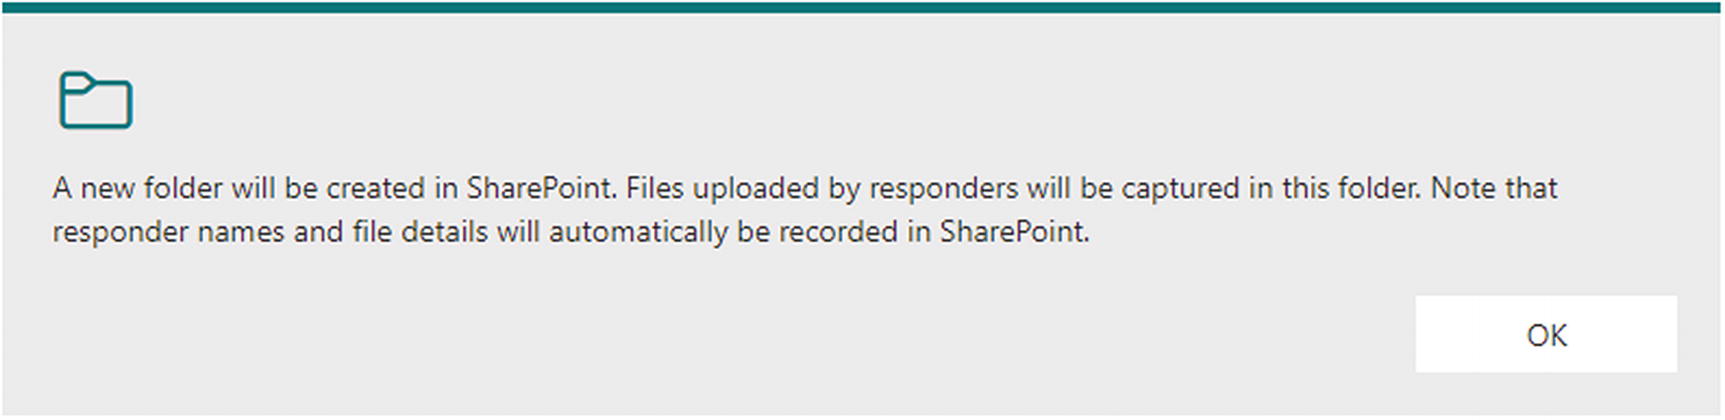
The file upload data type
There is a size limit, which is currently governed to 10 MB. The only allowed file types currently are Word, Excel, PowerPoint, Adobe PDF, image, video, and audio files.
Net Promoter Score
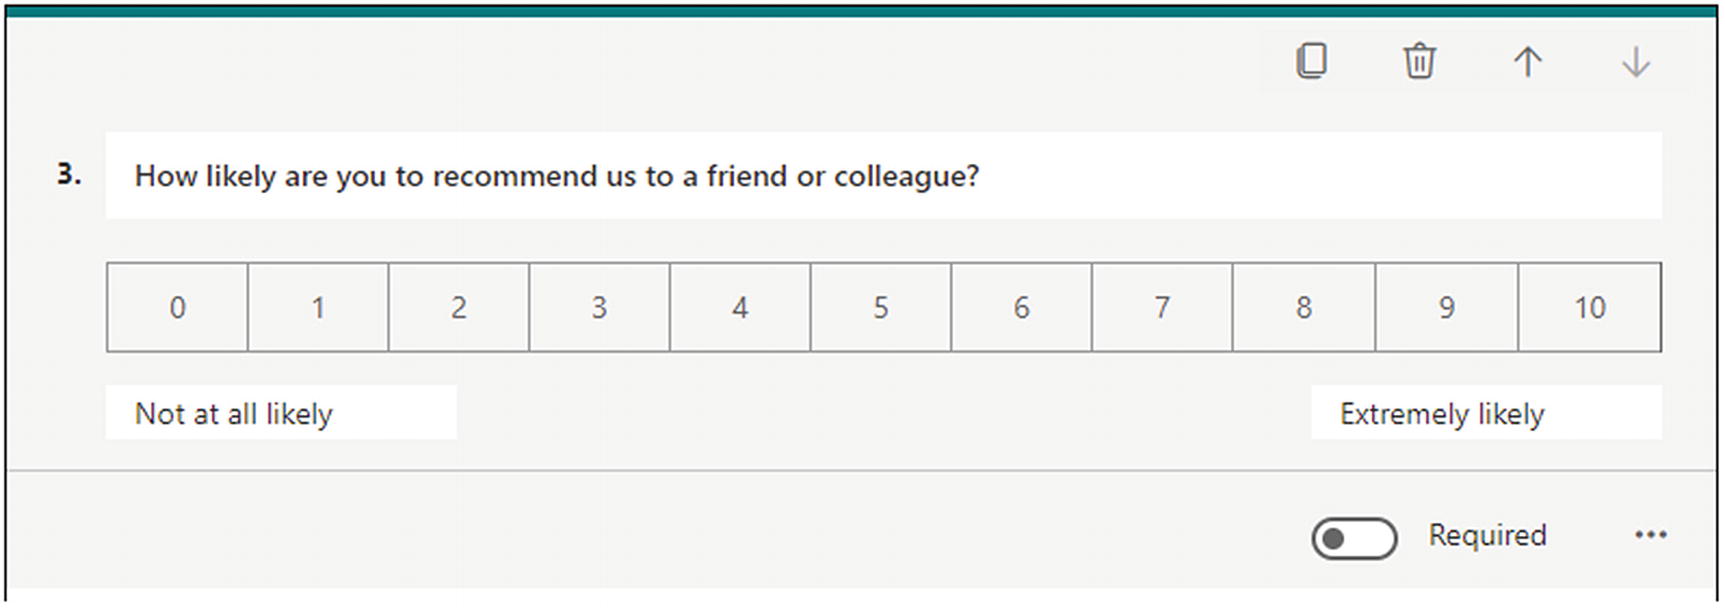
The Net Promoter Score data type
Section
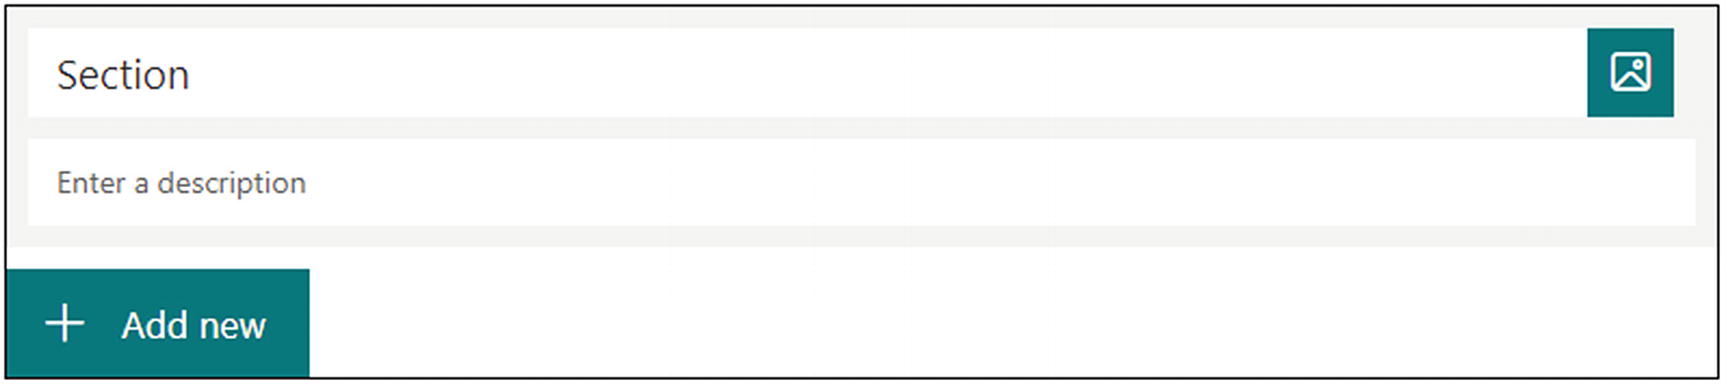
The section data type
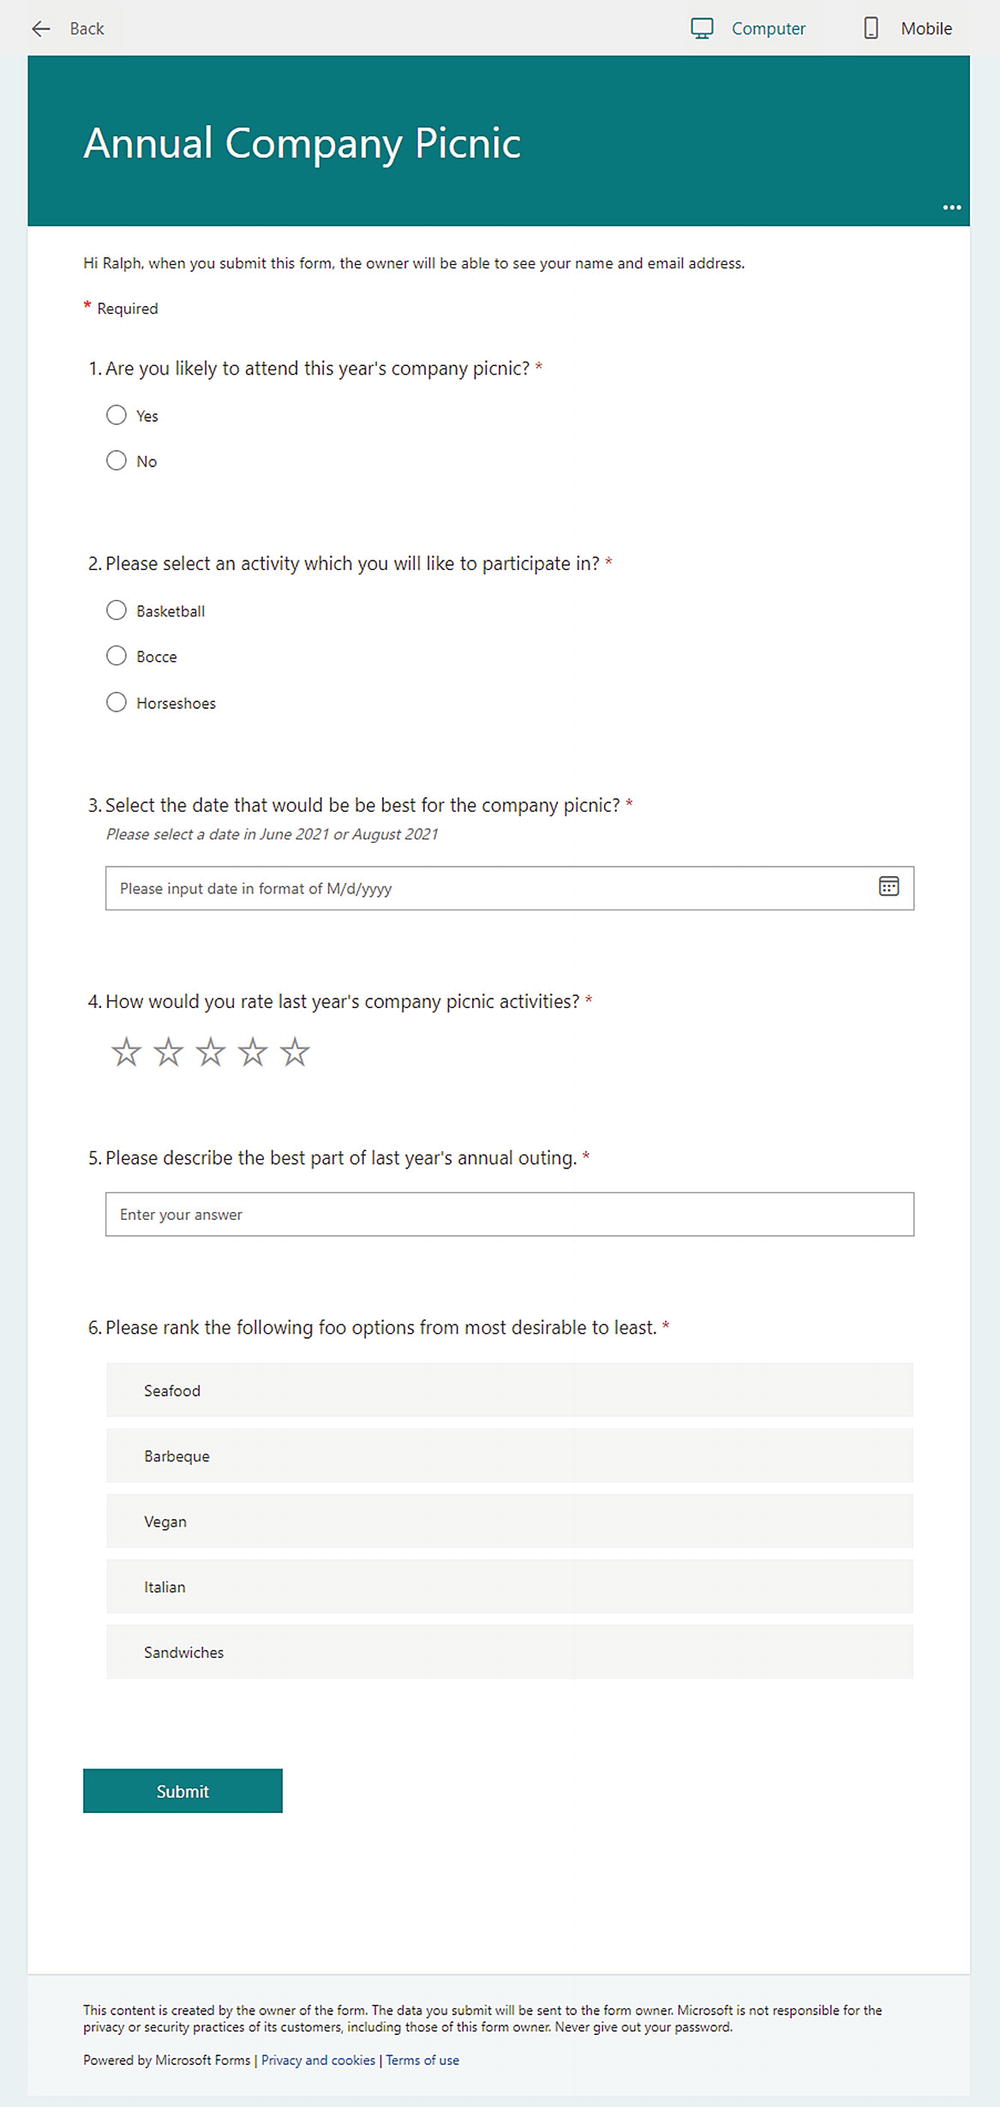
The completed Annual Company Picnic form
Branching
Microsoft Forms contains a feature called branching. This feature allows you to tailor the questions asked or to end the form based on an answer to a question. This feature can be used in forms, surveys, or quizzes.
In this example, let’s create a new form titled “Company Picnic Survey.” Create the following questions with the following details:
Data type: Choice
Choice options: Yes, No
Allow multiple choices: No
Required: No
Data type: Text
Long answer: Yes
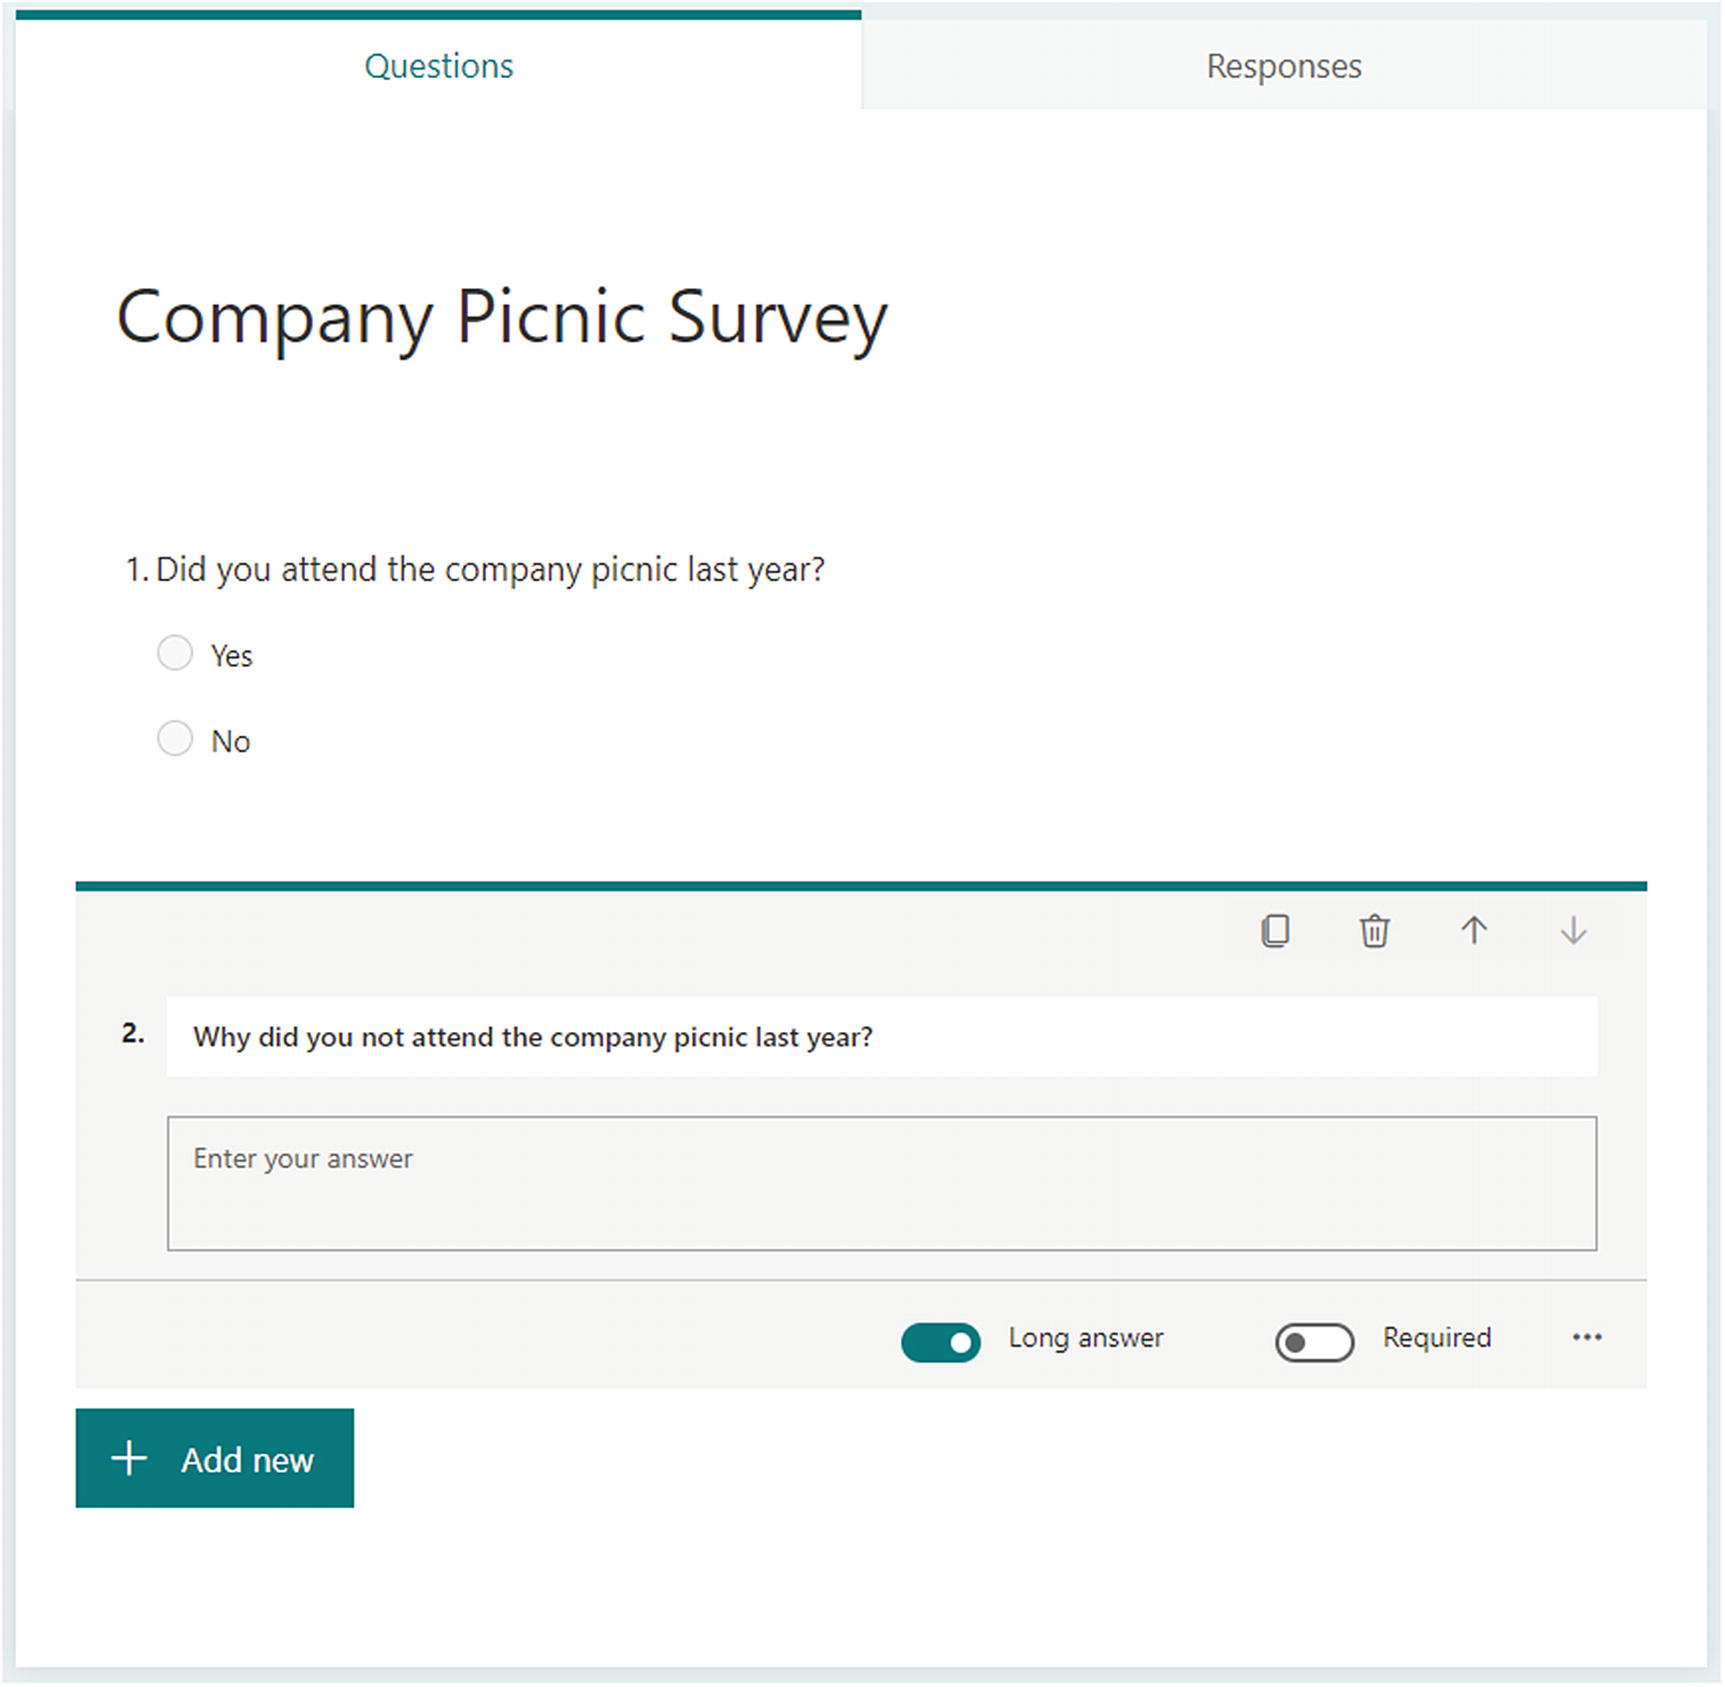
Company Picnic Survey with branching
Now that the form is created, let’s add branching logic to the form to end the survey for users who answer “Yes” to the first question. By doing so, users will not have to worry about answering the second question, which in this context means nothing to them.
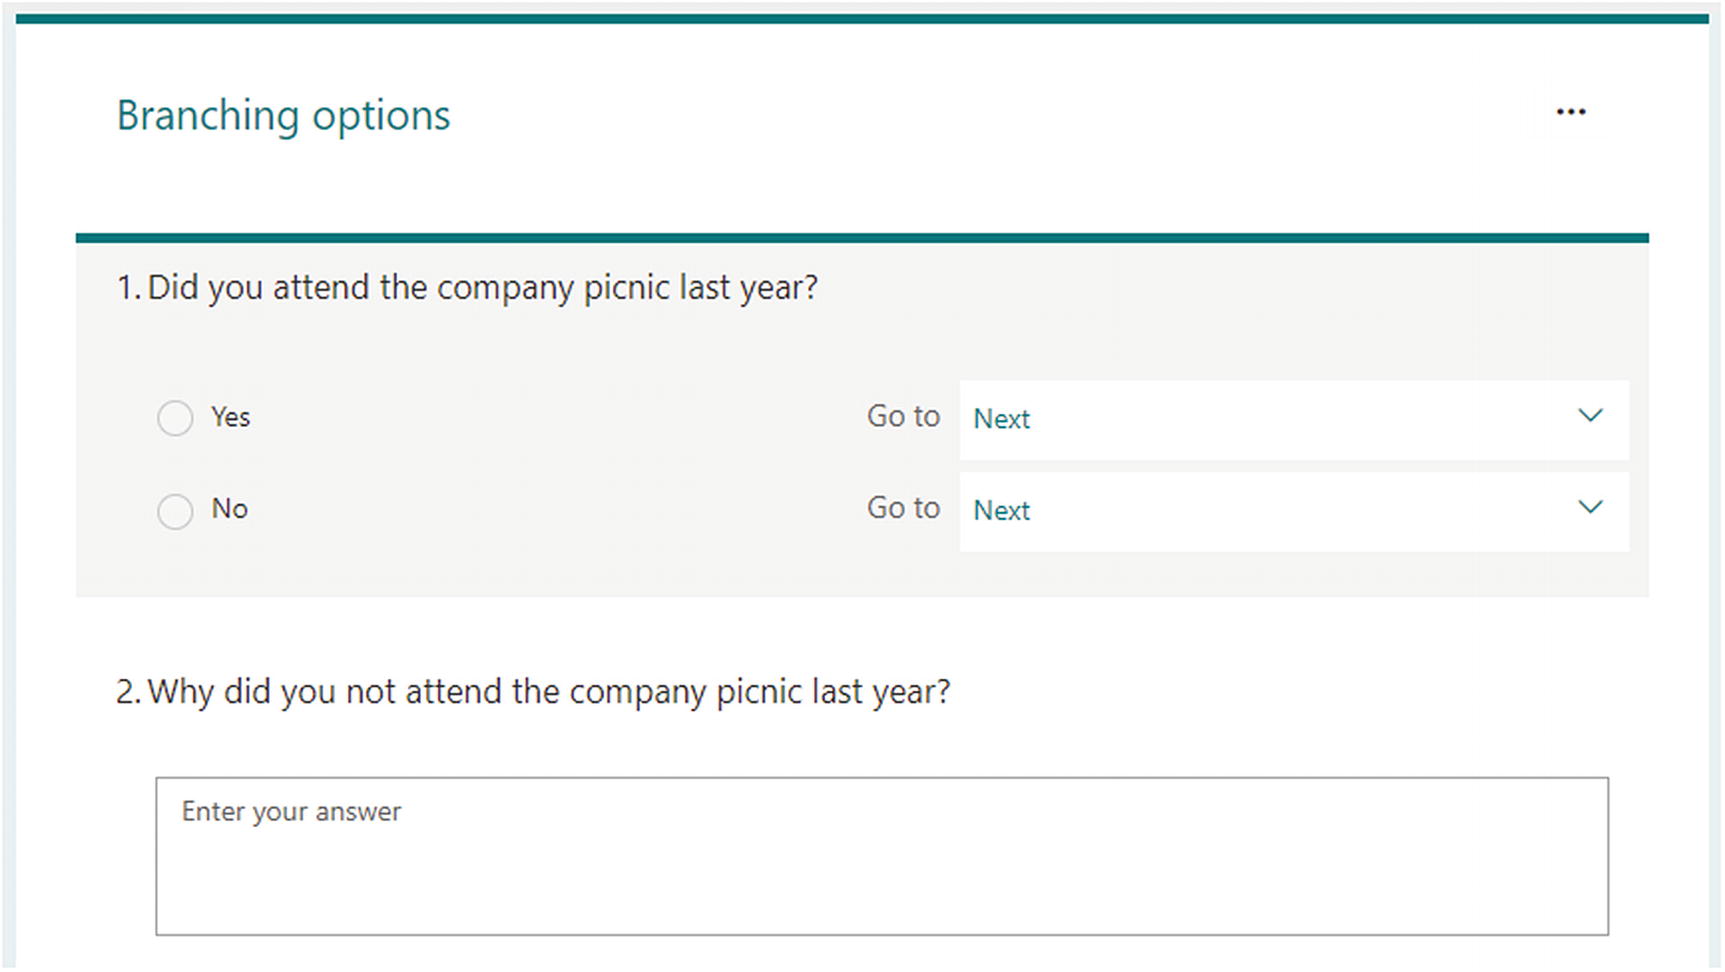
The branching interface
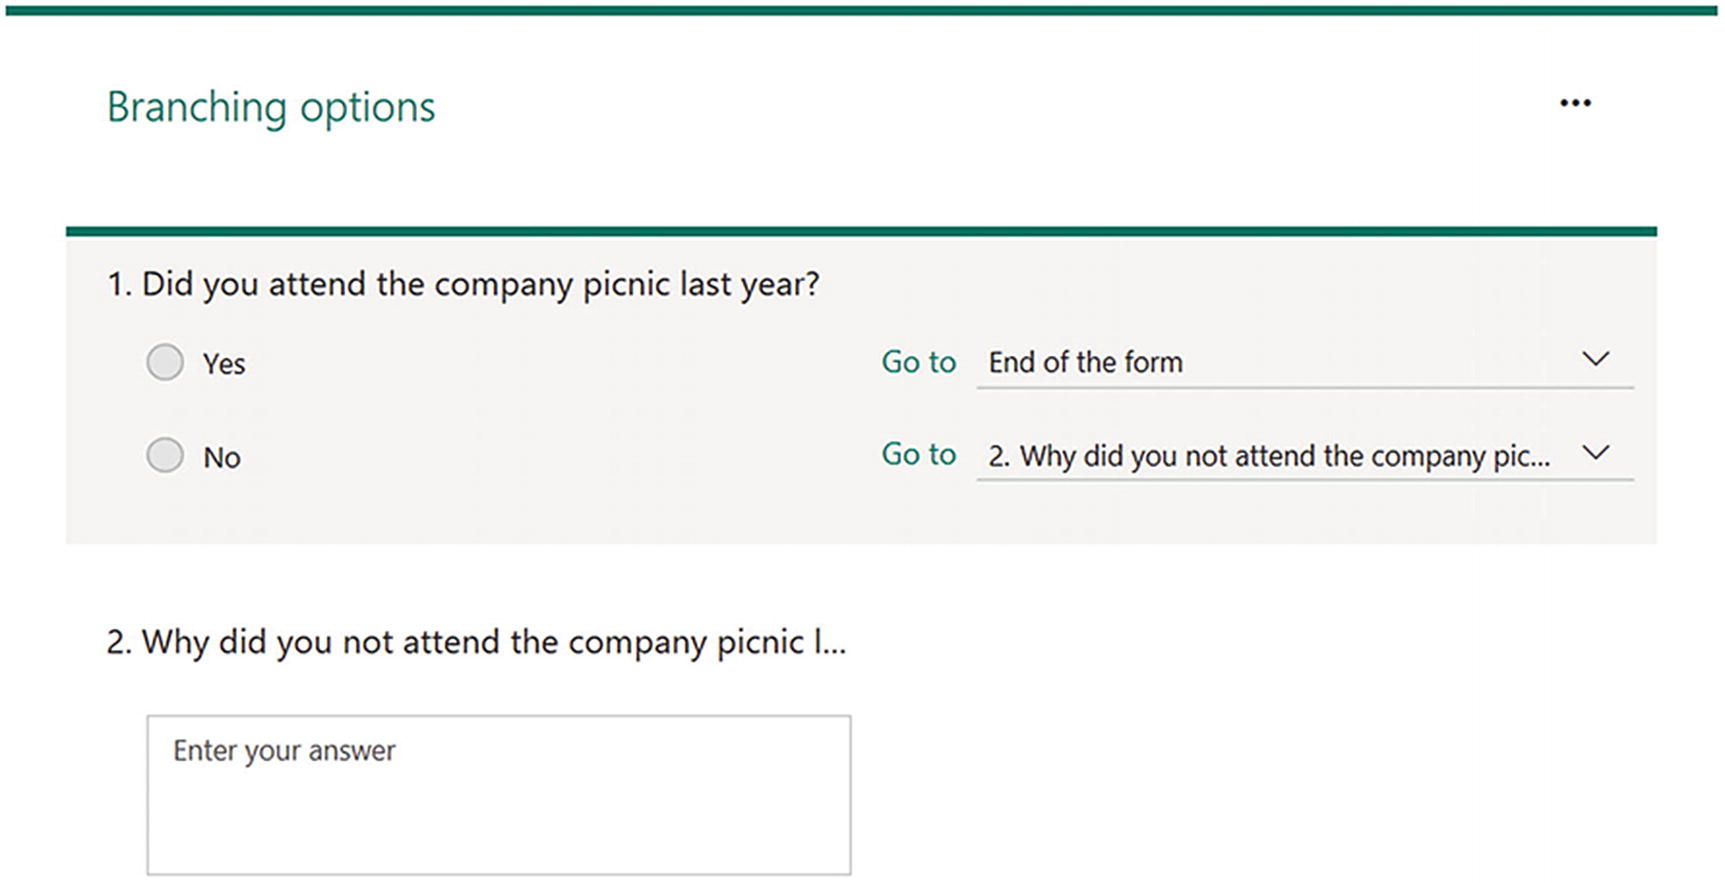
Branching logic added to a form
Once the logic is added, click the Back button in the interface, and it will reload the form in edit mode. Go ahead and preview the form; if done correctly, Question 2 will be hidden unless you select “No” for the first question.
If you make a mistake in the branching logic, you can reset all the branching logic by selecting the ellipsis (…) in the Branching options interface and selecting “Reset” in the upper corner.
Quizzes
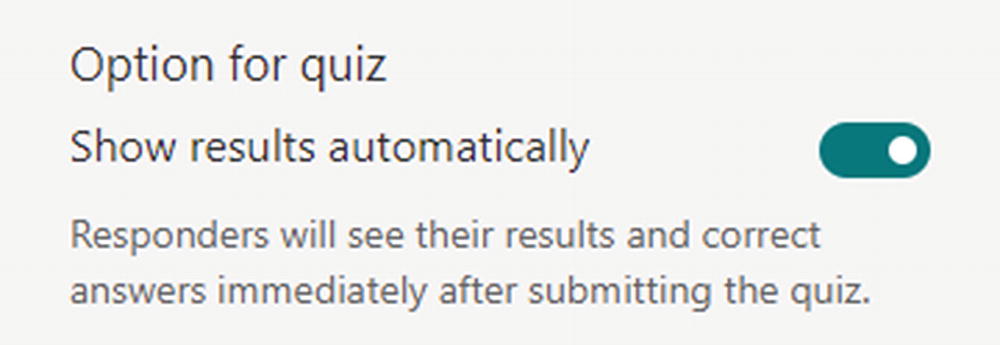
Grading options for a quiz
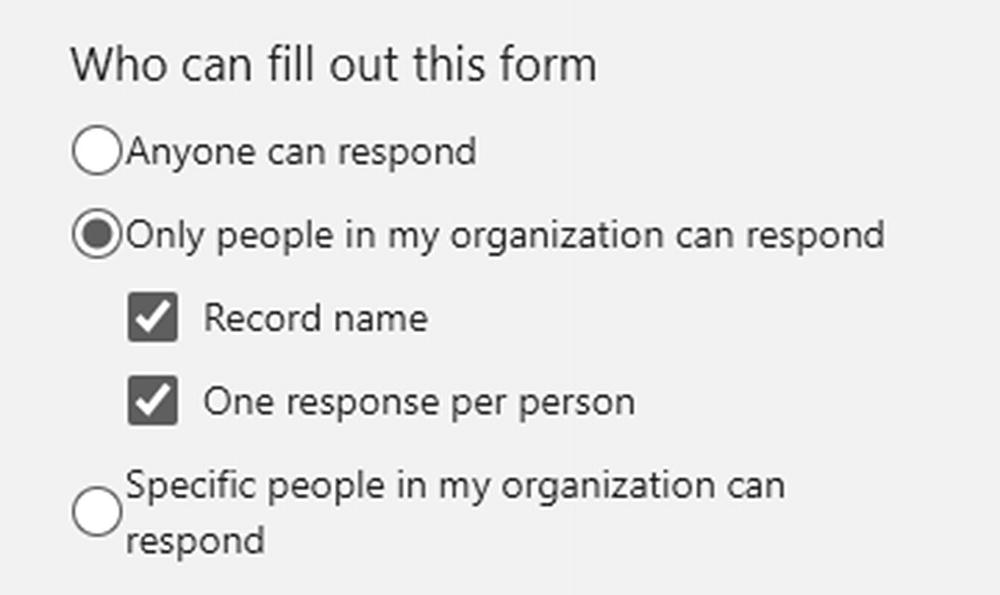
Who can take the quiz
The data types are the same as when creating a form: choice, text, rating, date, ranking, Likert, file upload, Net Promoter Score, and section. However, quizzes contain some special elements that you will explore further. To explore the full feature set of quizzes, you will construct a quiz that will be used in an educational setting.
Creating Your First Quiz
On the Microsoft Forms dashboard, select “New Quiz” from the drop-down menu in the upper-left corner. This creates an empty quiz where you can enter the questions and answers. Start by changing the title of “Untitled Quiz” to “Weekly Quiz” by clicking “Untitled Quiz” and entering the new title.
Add your first question. Click “Add question” and select the choice data type. Use the following data for the question:
Answers: 3,5,7,9,23
Required: Yes
Multiple answers: Yes
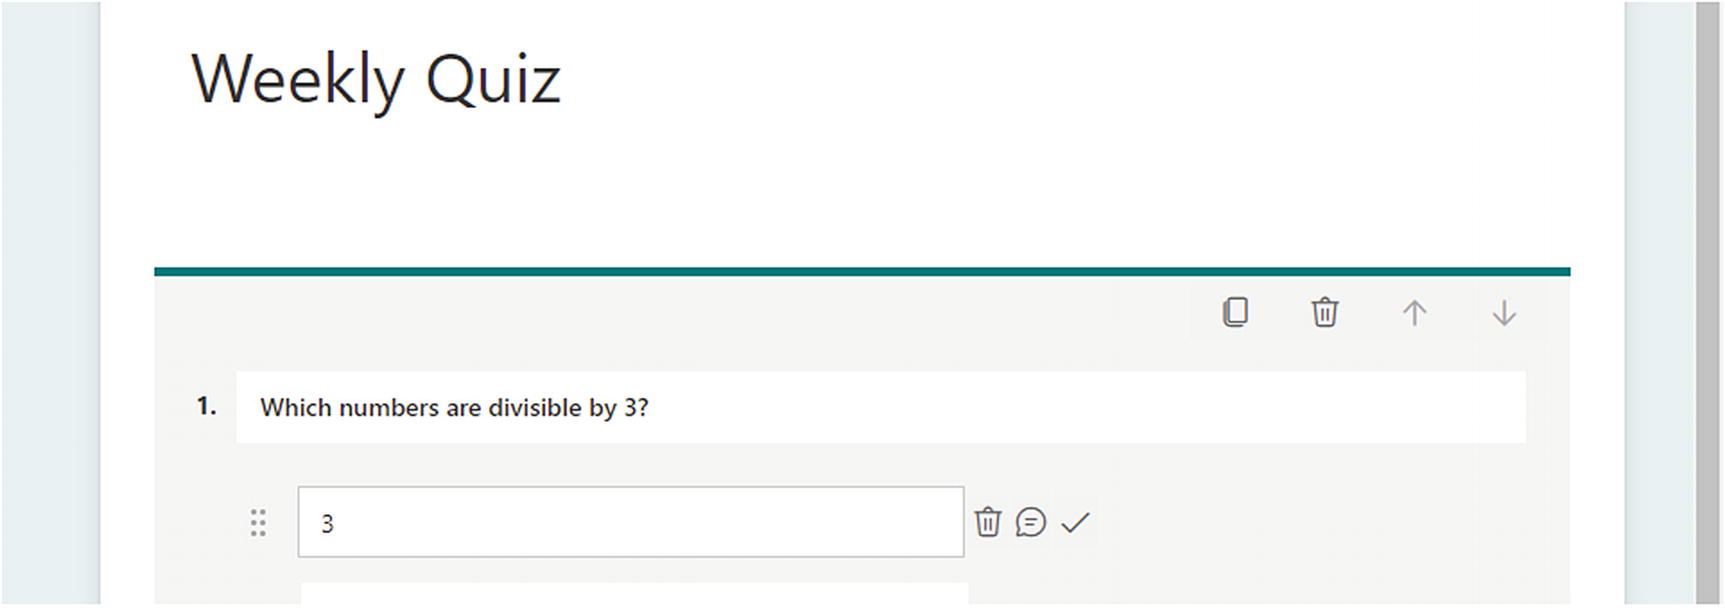
Answer options
The trash can, message box, and correct answer icons appear. If you click the trash can icon, the answer will be deleted. The next two options separate forms from quizzes. The message box allows the quiz author to display a message when the answer is selected, and the correct answer icon marks the answer correct if chosen. At the end of the quiz, the correct answers are tallied, and a score is displayed.

The finished first question
Add a second choice question by selecting the “Add new” box and choosing the choice data type. Use the following info to build the question:
- Answers: 7, 14, 18
Correct answer: 7
Required: Yes
Multiple answers: Yes
Click the ellipsis (…) in the lower-right of Question 2. Select the “Math” and “Subtitle” options, and an equation editor will appear where you can enter a math equation in the subtitle box. This formula editor offers a wide range of complex mathematical formulas. Currently you are only able to add mathematical formulas that are visible, but I could see where this could be extended to include chemistry, computer science, or physics formulas. For now, add the square root symbol with a value of 49.
Microsoft Forms contains a handy formula solver as well. If no answers are entered, Forms will suggest an appropriate answer. Perfect for late-night quiz building!

Question 2 with the correct answer marked and a point total assessed
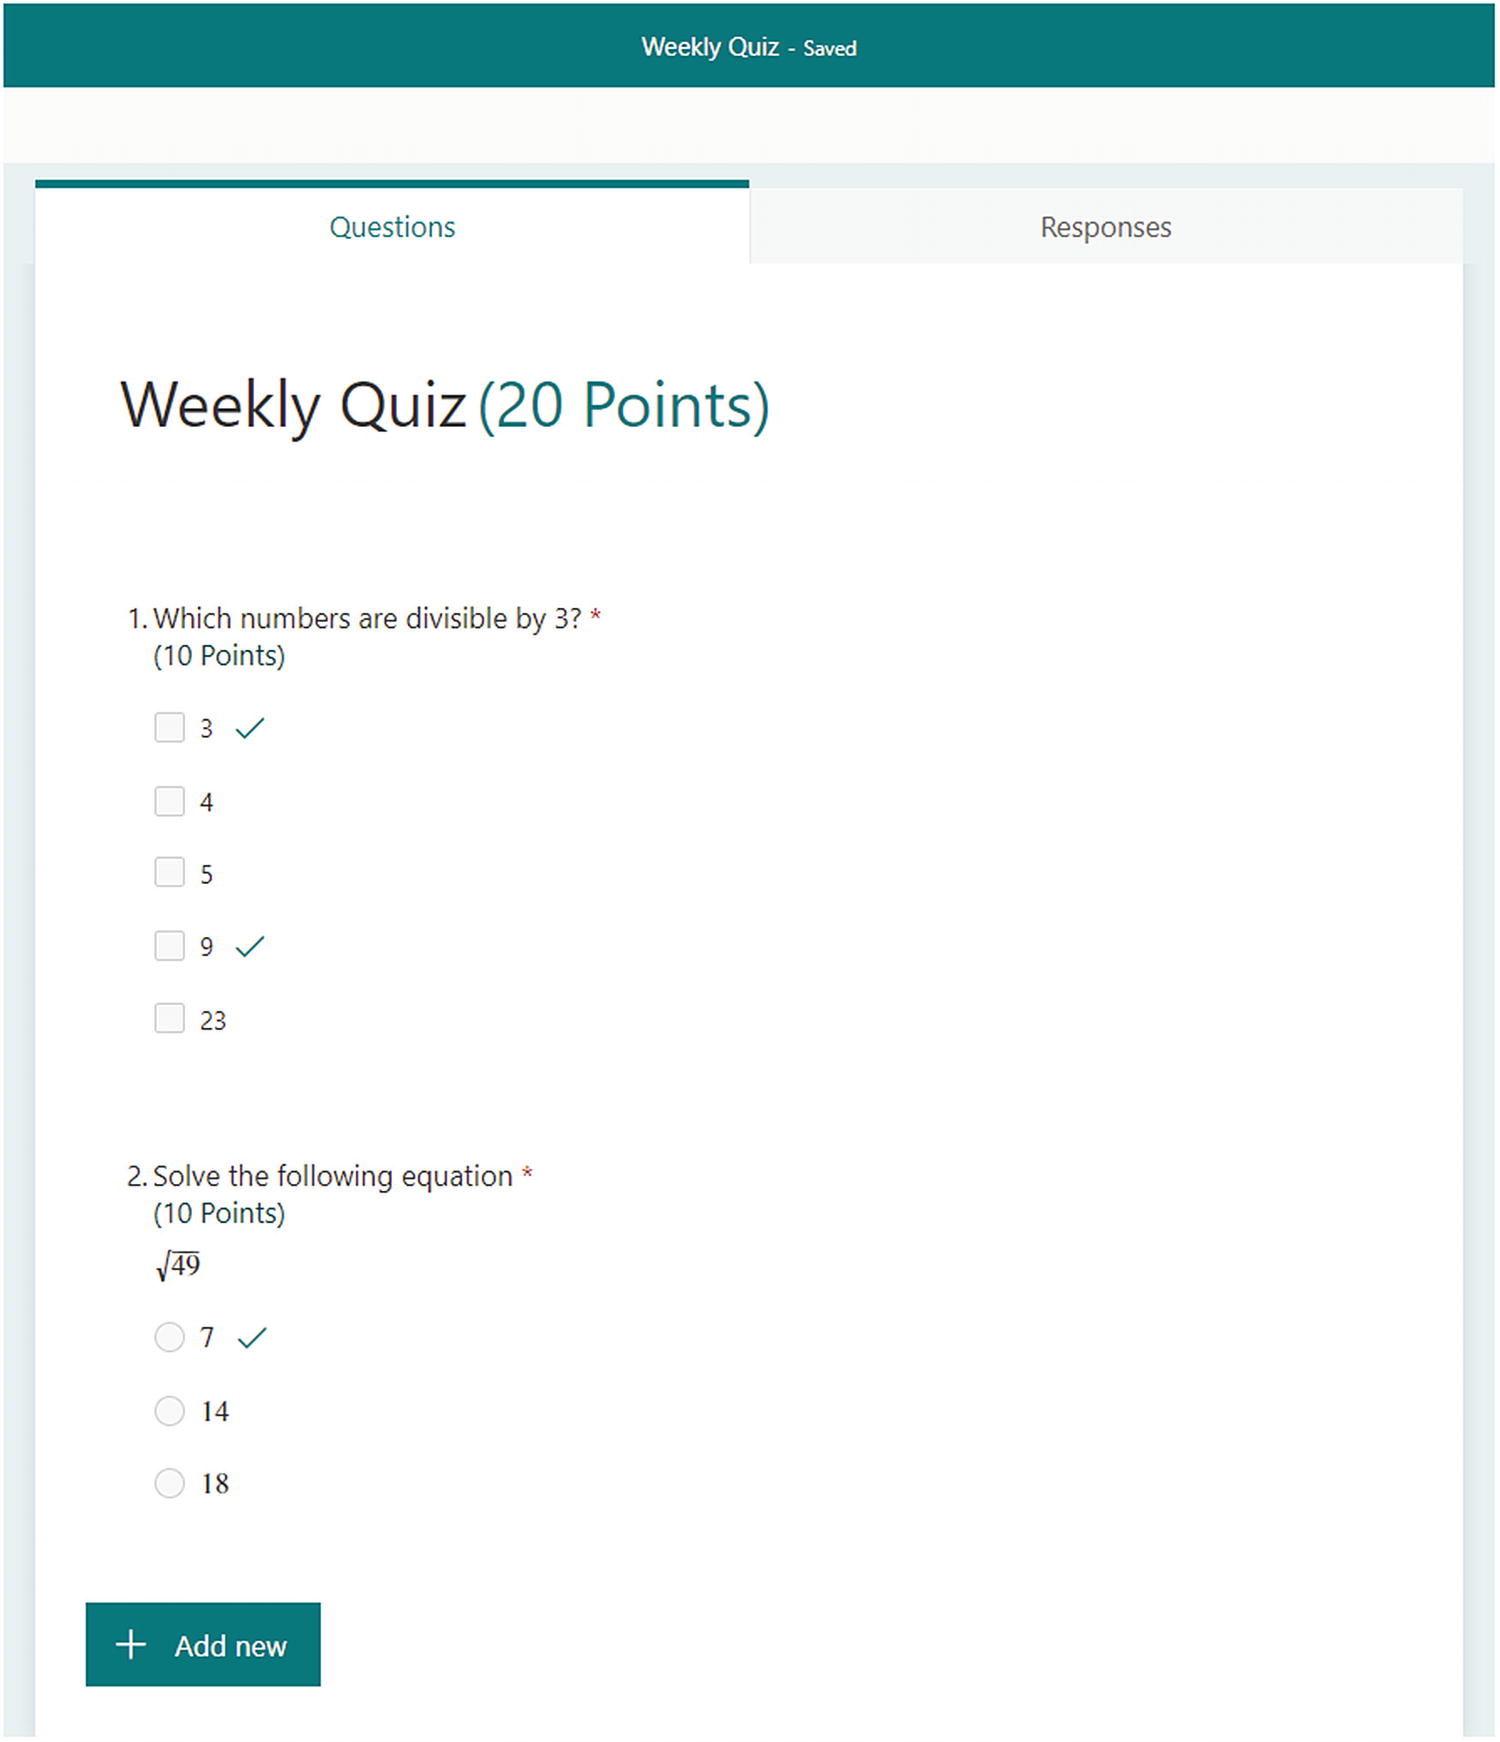
The completed quiz
Select the Preview button and go ahead and complete your first quiz. Once completed, you will see your score, and you can view the responses.
Only choice data types can be auto-graded. All other data types need to be graded by reviewing the answers, which is discussed in the next section.
Viewing Responses
In the previous sections, you explored forms and quizzes and the available data types that are allowed within Microsoft Forms. The next part is viewing and acting on the data collected or the quiz graded.
Forms
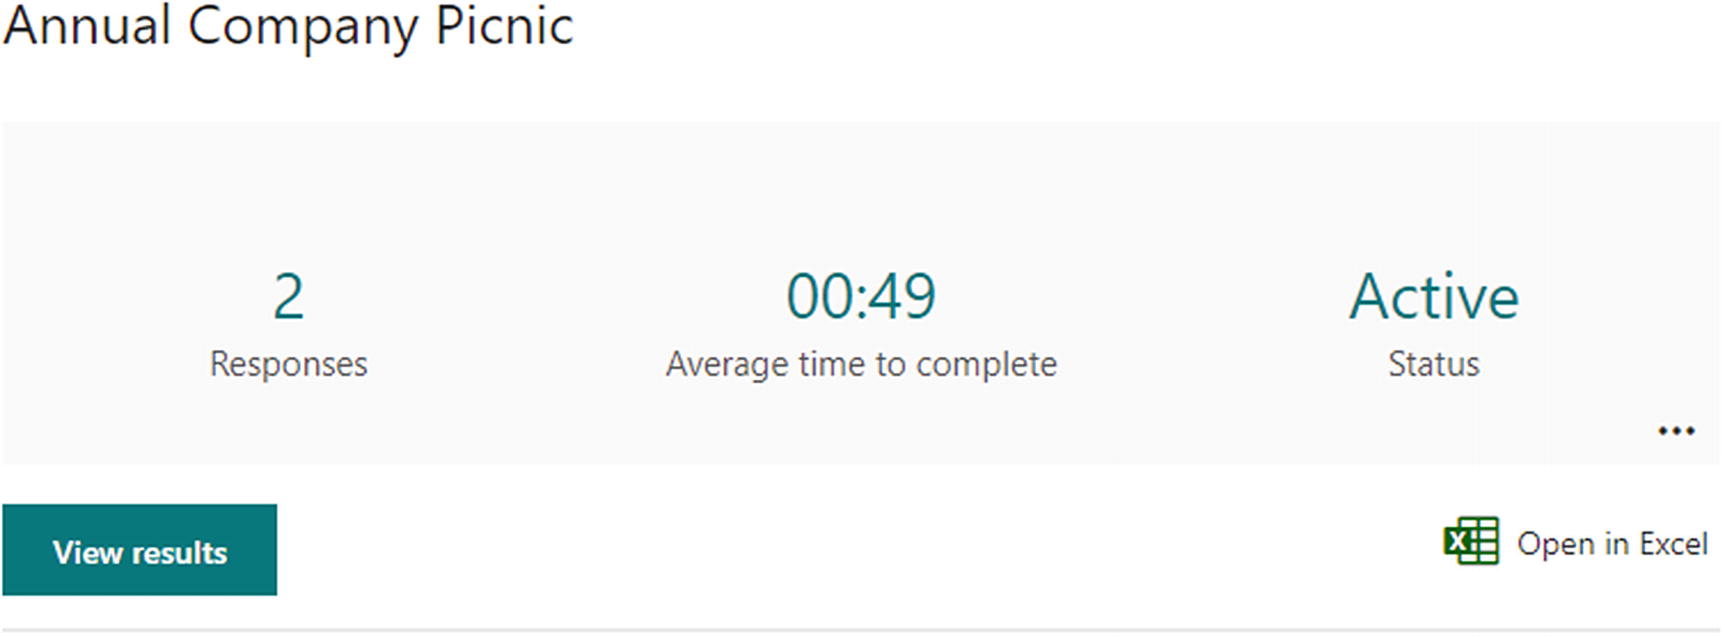
After creating your first form and distributing it through one of the share methods, it’s time to view the responses to your form. Microsoft has made this process extremely simple and consolidates the responses in an easy-to-read graphical dashboard.
Questions and Reponses tabs
In this example, you will view the responses for the Annual Company Picnic form. You need to fill out the form or share the link with your colleagues.
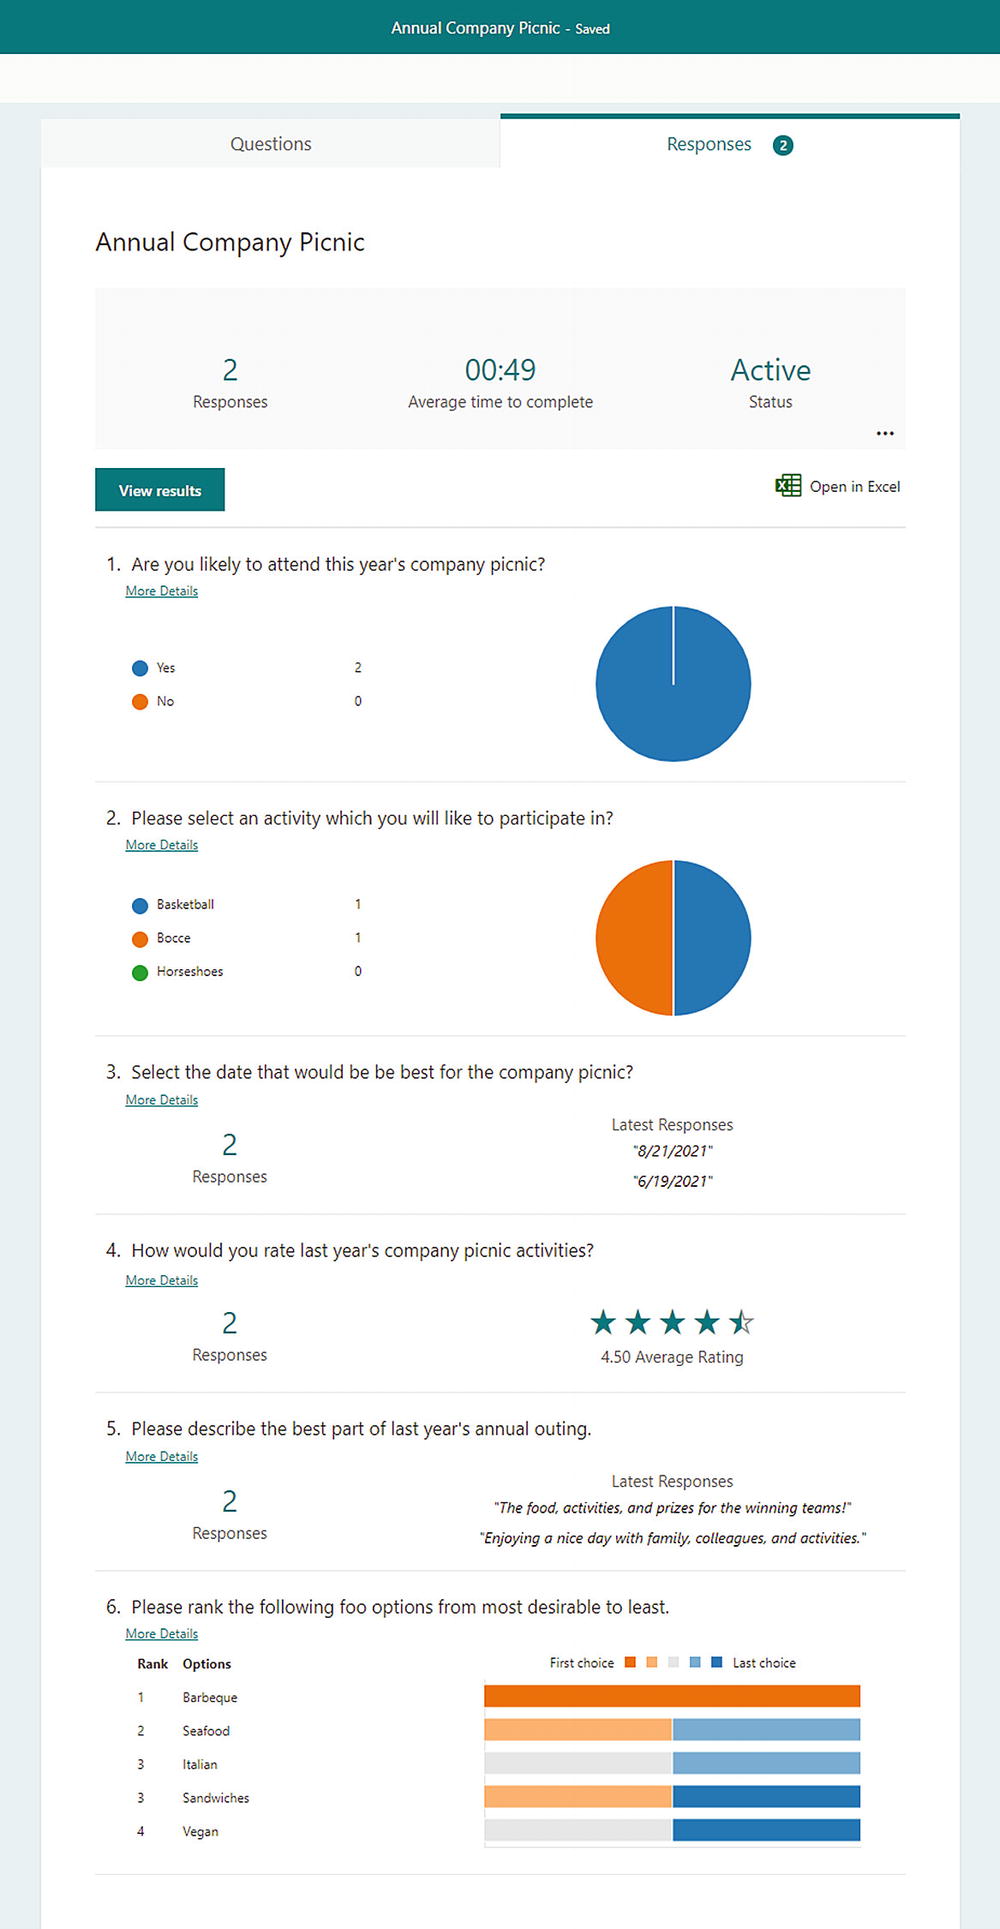
Form responses
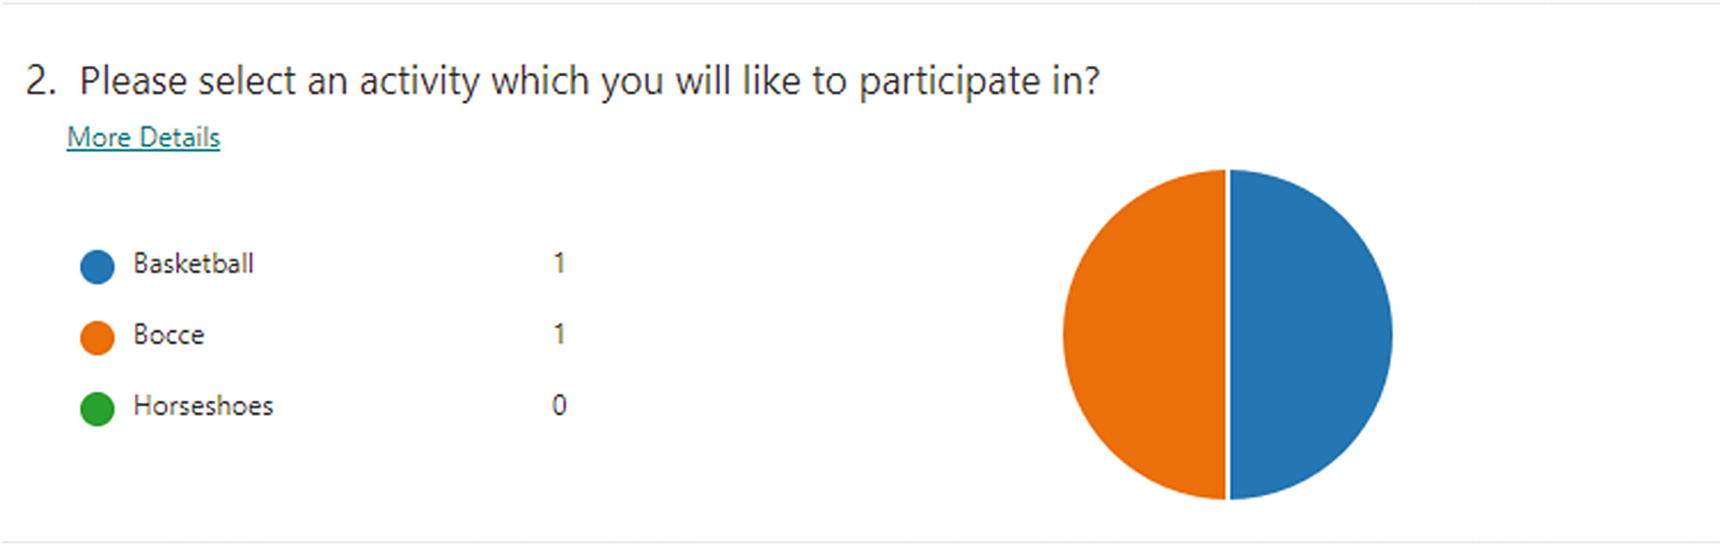
Interactive pie chart for Question 2
Clicking the ellipsis (…) in the form summary gives you the following options: “Delete all responses,” “Print summary,” and “Get a summary link.”
Quizzes
Quizzes share a lot of the same functionality as forms but offer a few different options. When viewing the responses for a quiz, you can review answers and post scores.

Review options by quiz taker
Under the Questions tab, the form author can review the questions or print all the answers for each question.
Back on the Responses tab of the quiz, select “Post scores.” Posting scores allows you to view the feedback, if any, and the correct questions. There currently is no portal, so you need to use the same link to view the completed graded quiz. To provide immediate feedback, set the “Option for quiz” to show results automatically. This option is located in the settings menu of the quiz.
Deleting Responses
There may come a time when you want to delete all the responses or a singular response from a form or a quiz. Perhaps you want to remove incorrectly filled-out forms so they don’t skew the dataset or delete quizzes that are not filled out.
To delete all responses, click the ellipsis (…) in the Responses tab. Simply select “Delete all responses,” and the responses will be deleted. To delete a single response, click “View results” on the Responses tab. Choose which response to delete by navigating with the left or right arrow. To delete a single response, select the ellipsis (…) and click “Delete response.” Agree with the deletion, and Forms will remove the response from the form.
Printing Form Responses
Printing the form responses is straightforward. On the Responses tab, select the ellipsis (…) and select the “Print summary” link. This will render the summary of the results in a printable format.
To print just a single response from all the responses, select the “View results” link. Navigate to the response you would like to print either with the left or right arrow. On the desired response to be printed, select the ellipsis (…) and chose “Print response.”
Creating a Summary Link
A summary link allows anyone to view the responses to the form. This link can be posted on an internal intranet (SharePoint), sent through email, or shared in Microsoft Teams. The summary link is created by Microsoft Forms and can be created by selecting the ellipsis (…) and choosing “Get a summary link.”
Summary
Microsoft Forms has the potential to be an innovative product in the Microsoft 365 application suite. In this chapter, you reviewed the Forms interfaces and available options, created your first form, shared the form with others, and viewed the responses.
This application can also be used to create online quizzes and have them graded automatically. This type of application can be used to streamline quiz taking in education environments, moving away from Scantron tests and moving to an interactive online experience for students.
This is a powerful application; and future updates should add more functionality, provide more data types, and add more equations. I am excited to see what Microsoft does with this product and how it can streamline surveys and quizzes and provide the analytical data we crave without using other Microsoft applications such as Excel.
In the next chapter, you will explore Microsoft Power Automate, which is designed to automate reparative actions in not only Microsoft 365 but also third-party services.