
In the last chapter, you created the Microsoft 365 environment to begin your journey through the collaboration apps. The first app I will discuss is SharePoint, which has gone through a few iterations and with each release gets better and better. SharePoint is Microsoft’s answer to document management, sites, and collaboration; it serves as an integration backbone for many of Microsoft’s other products, such as OneDrive, Teams, and Power Automate.
Microsoft offers two flavors of SharePoint: SharePoint Online and SharePoint on-premises. In this book, we will focus on SharePoint Online, which is included with a Microsoft 365 subscription. SharePoint Online differs from SharePoint on-premises with regard to capabilities, but the foundation of both products is nearly identical from an end user perspective.
The Starting Line
Accessing the SharePoint Online icon from the Microsoft 365 app launcher

SharePoint portal site
This web page contains sites that you are following, recently visited sites, and a rollup of news articles from all the sites you access. All of this requires very little intervention on your part because the Microsoft 365 service aggregates and catalogs the activity for you seamlessly.
This view also contains Microsoft 365 Groups, which is discussed in Chapter 4. SharePoint sites and Microsoft 365 groups are closely related and share many of the same features and functionality.
Sites
The building blocks of SharePoint Online are sites. Sites allow users to create workspaces, which are used to organize content, disseminate information, or track projects. Sites can be created from various templates, each with a slightly different purpose or a way to convey information.
Team Site
The most widely used template available is a team site, which contains default document libraries, default lists, and default page templates for users to use to collaborate and share information. Later in the chapter, I will discuss each of the site components more in-depth.

SharePoint classic team site
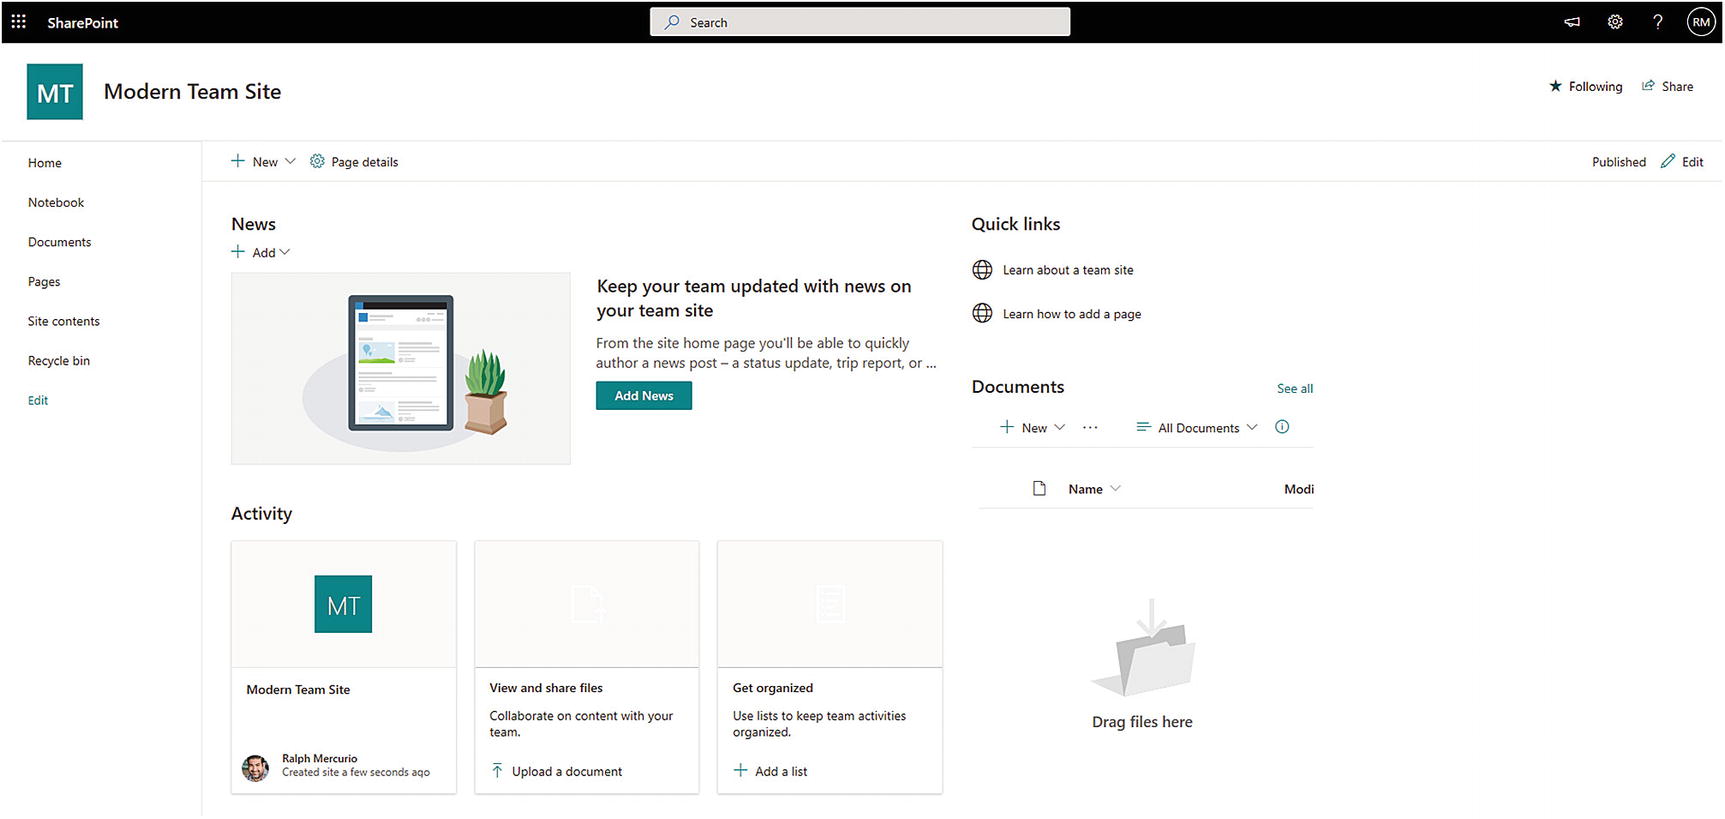
SharePoint modern team site
While the look is different, it shares the same set of lists and libraries but with a few added features. The first change from all previous versions of SharePoint is that a modern team site also will have a corresponding Microsoft 365 group (Chapter 4) created as well. With the addition of the Microsoft 365 group, modern team sites also gain the conversation stream as well as an updated calendar feature. The second change is that Microsoft 365 groups are accessible in two ways: either via Outlook 2019 or Microsoft 365 Outlook or the SharePoint portal site.
Now that I have addressed the two available team site templates (classic and modern), let’s discuss the rest of the available site templates before you create your first site. SharePoint Online includes the templates covered in the following sections.
Communication Site
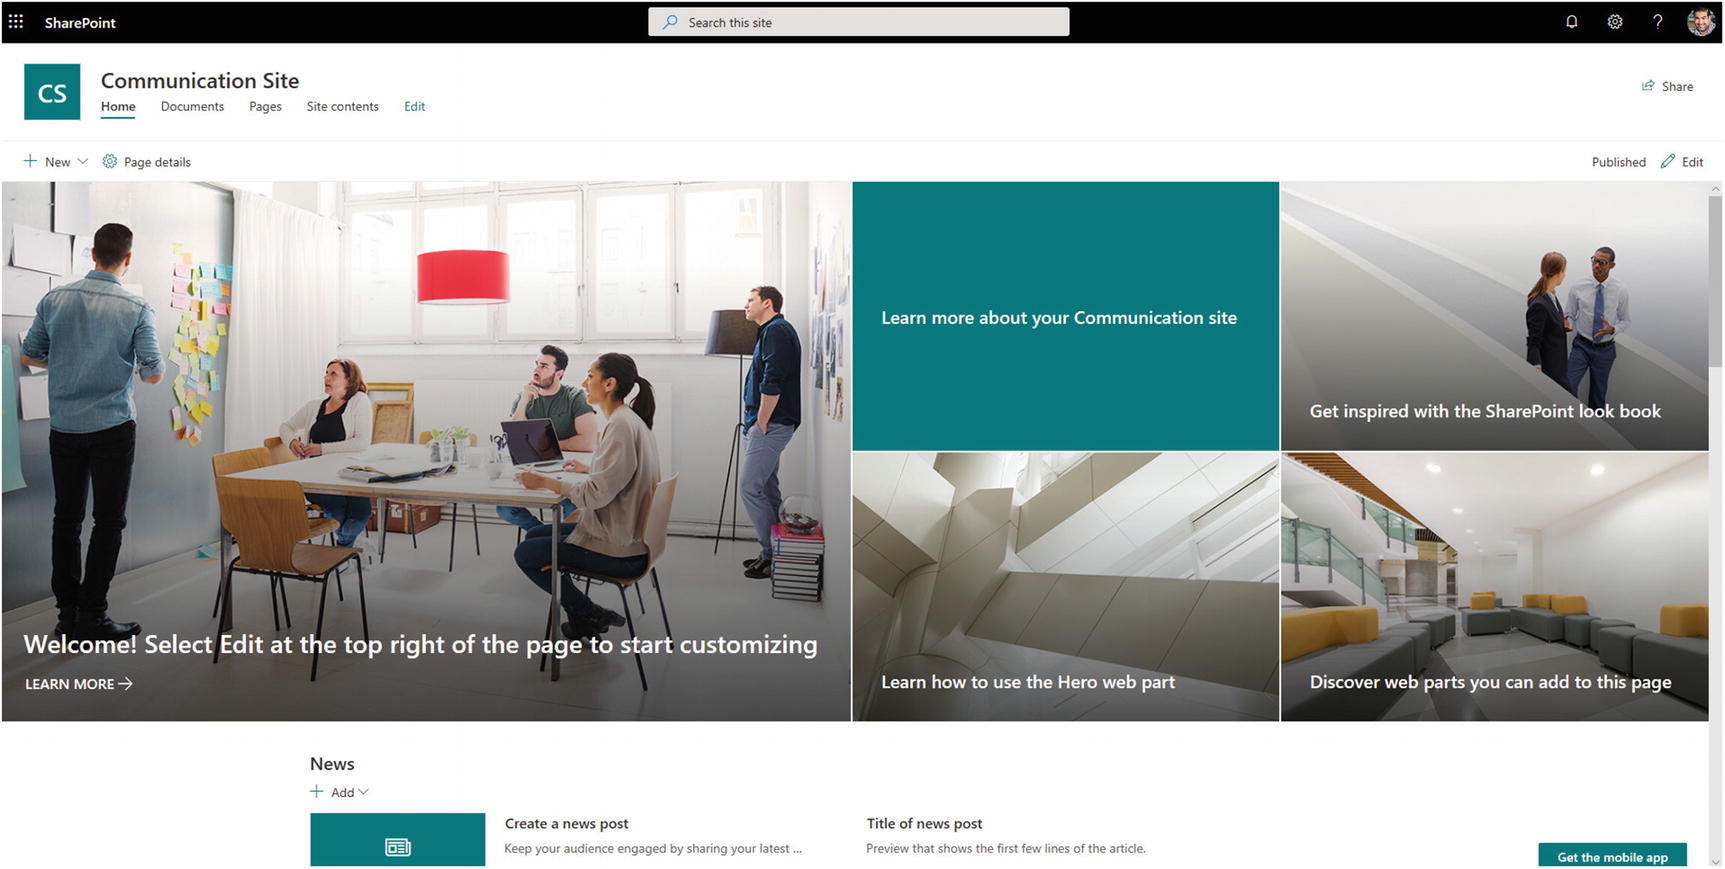
Communication site
Topic: Used primarily to share information
Showcase: Used to share information and highlight a product or company event
Blank: A blank site that can then be customized
Blog
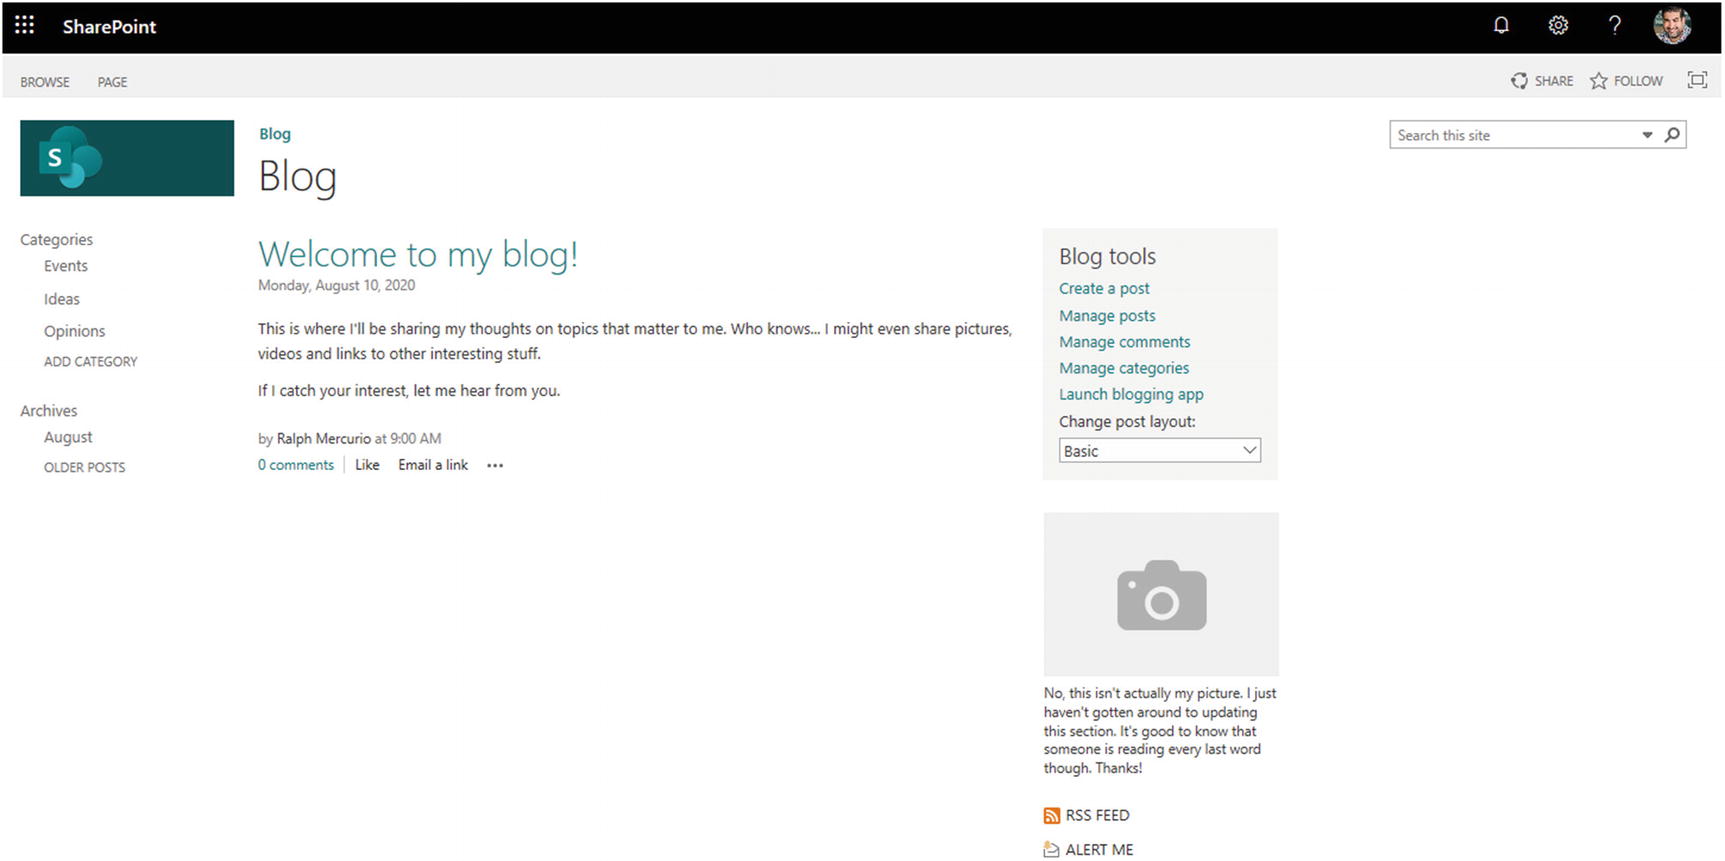
A blog site
The blog site can be selected under the Collaboration tab of the Template section when creating a new site.
Project Site
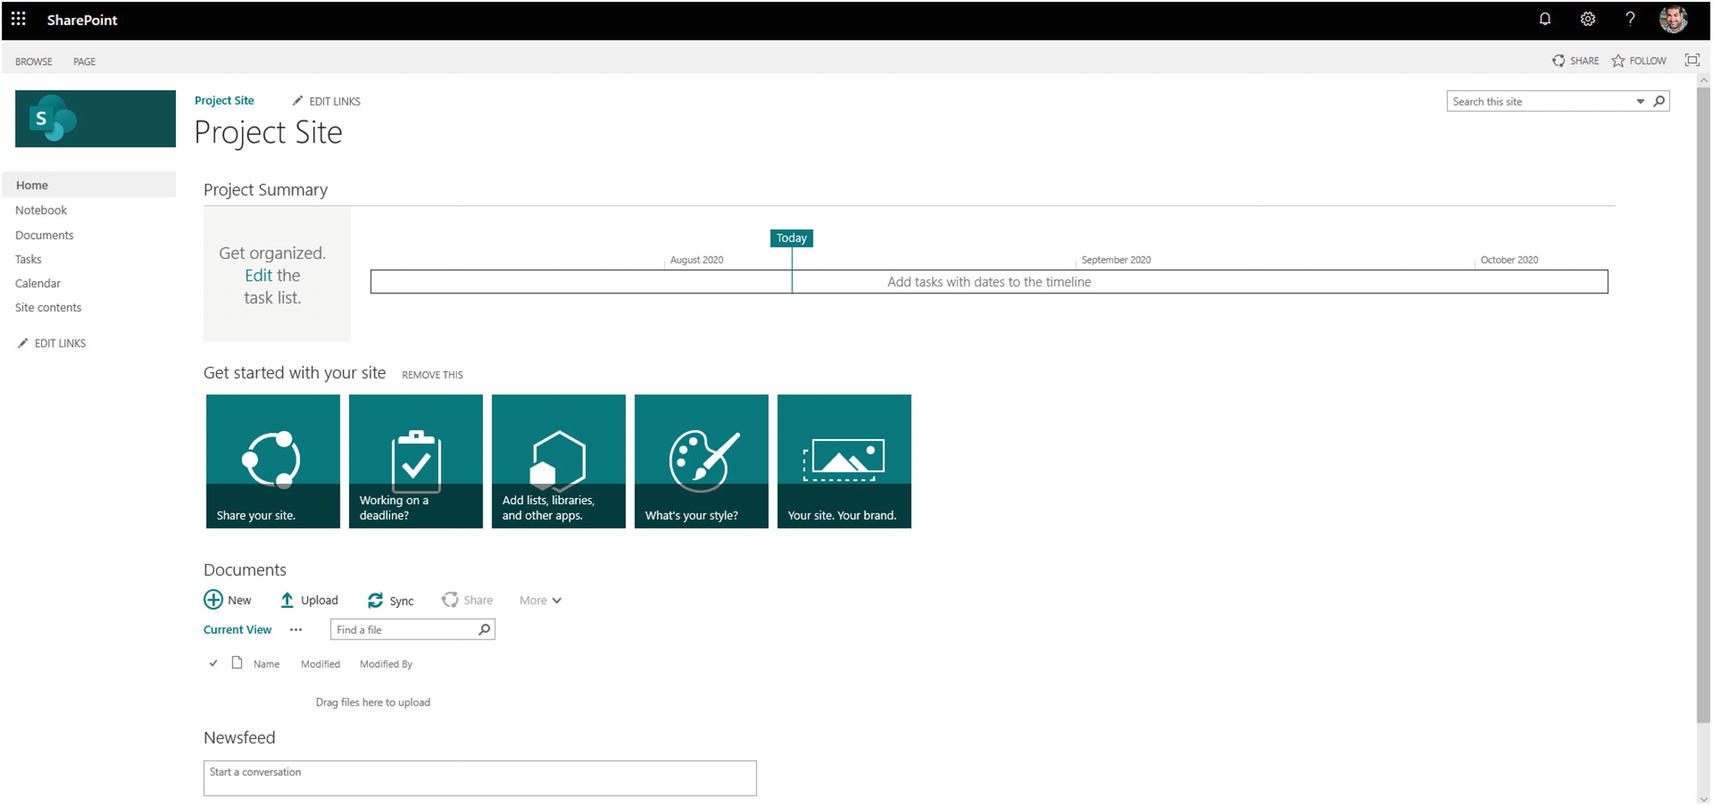
A project site
Community Site
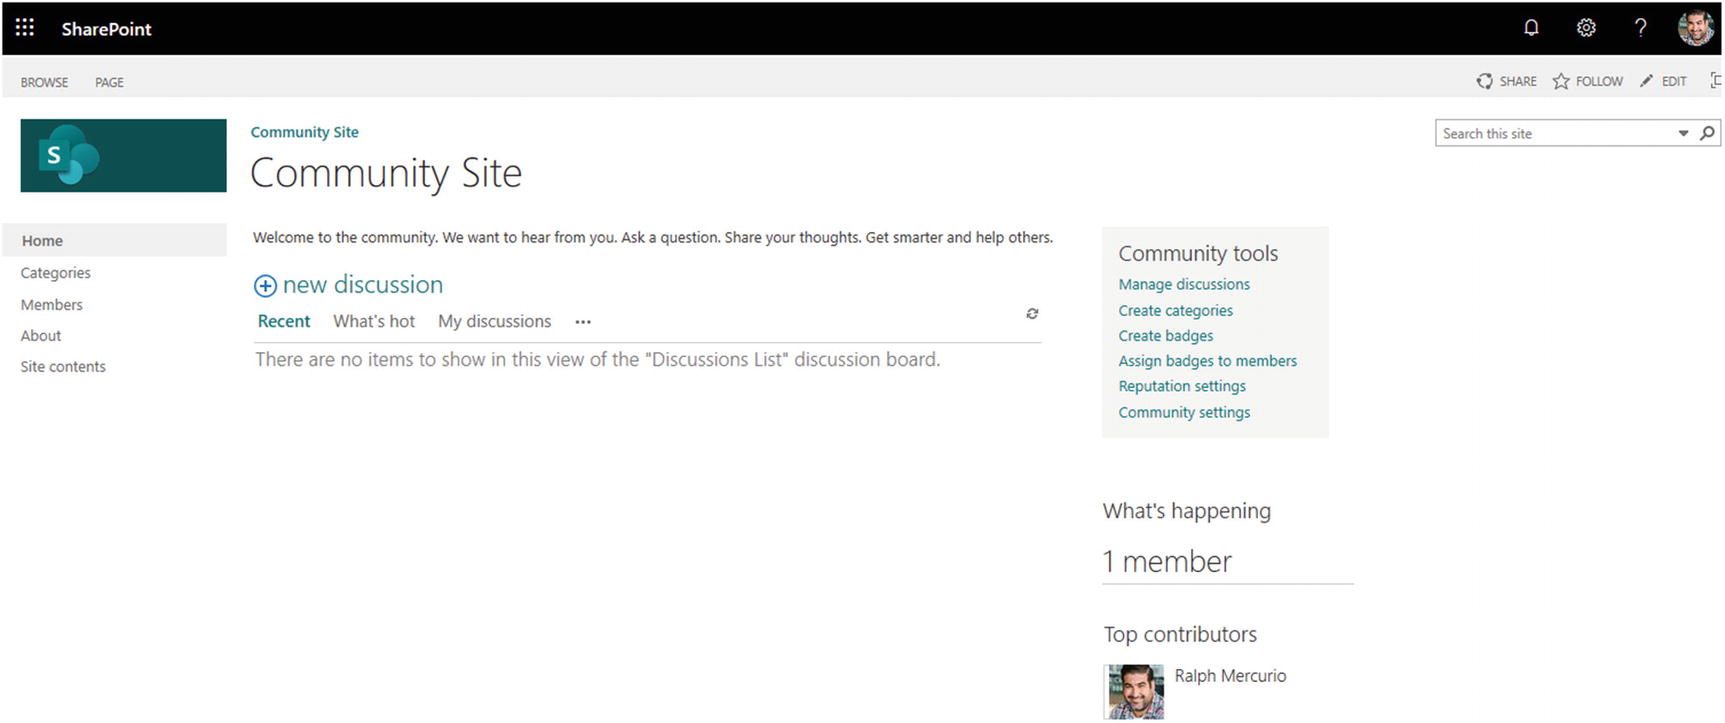
A community site
This site can only be created when the parent site is a classic team site. This template is not available for modern team sites.
Document Center

Document center site
Records Center

A Records Center site
Records Center sites also have specific rules that must be configured to ensure adherence to a specific record policy.
Business Intelligence Center
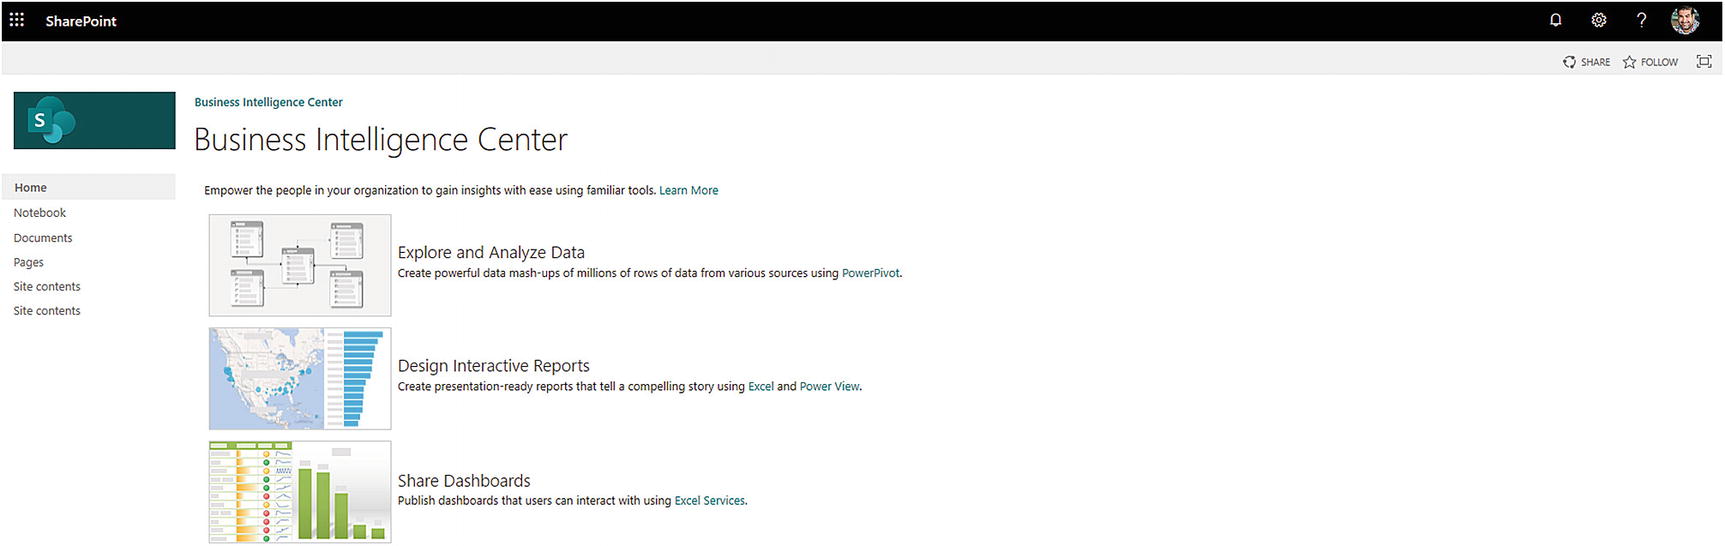
Business Intelligence Center site
This includes the ability to upload reports and leverage Excel services. This template does not provide BI dashboard capabilities.
Basic Search

Basic search site
This site does not have any associated lists and libraries with it because it is not meant for collaboration but rather to provide a basic search experience regardless of what SharePoint site the user is currently on.
Enterprise Search Center

Enterprise Search site

Enterprise search term refiners
This site does not have any associated lists and libraries with it because it is not meant for collaboration but rather to provide an enterprise search experience regardless of what SharePoint site the user is currently on. This site can only be created when the parent site is a classic team site. This template is not available for modern team sites.
Visio Process Repository

Visio Process Repository site
Publishing Site

A publishing site
This site can only be created when the parent site is a classic team site. This template is not available for modern team sites.
Publishing Site with Workflow

Publishing site with workflow
The site template can be selected from the Publishing tab within the Template section when creating a new site. This site can only be created when the parent site is a classic team site. This template is not available for modern team sites.
Enterprise Wiki
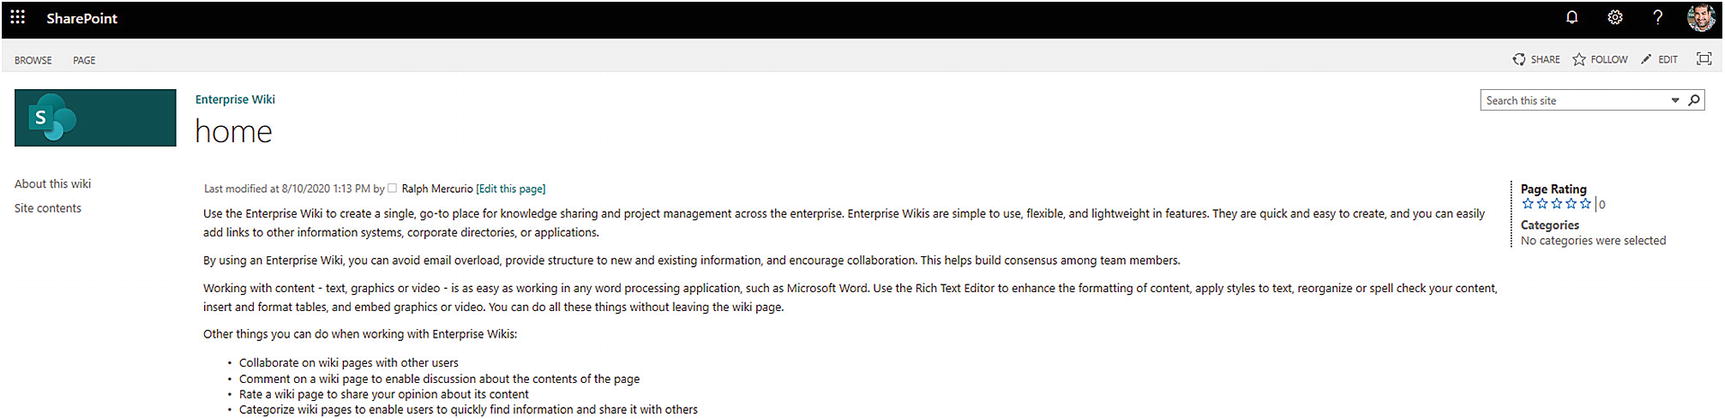
Enterprise wiki site
The site has limited lists and libraries because most of the content are pages. This site can only be created when the parent site is a classic team site. This template is not available for modern team sites.
SAP Workflow Site
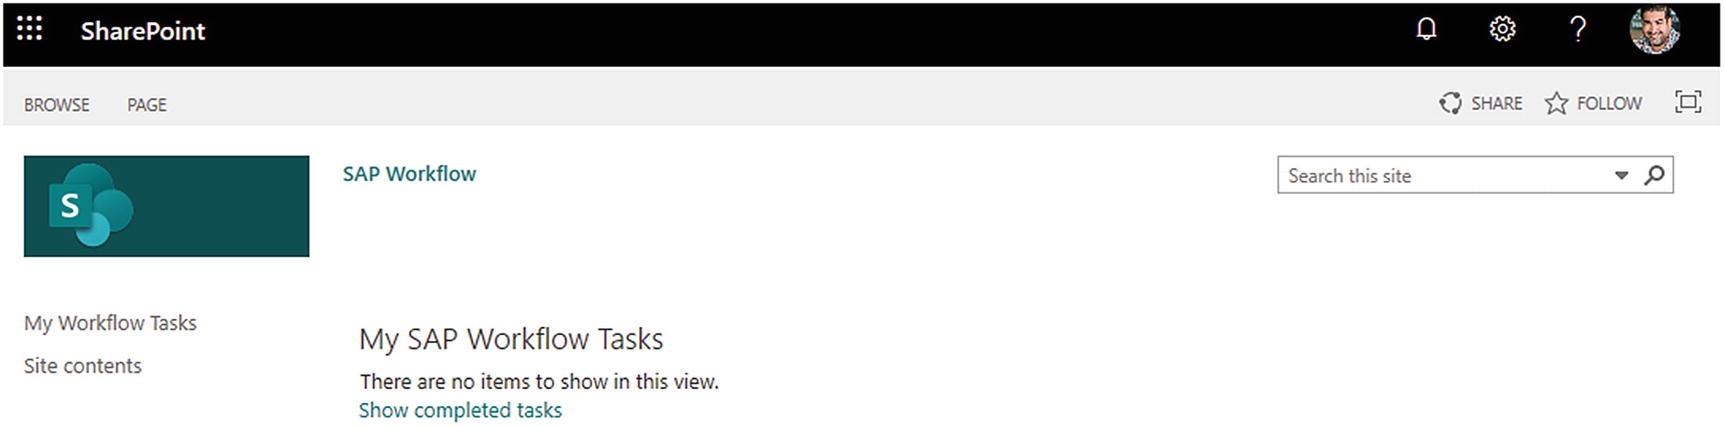
A SAP workflow site
The site template provides an interface for tasks through SharePoint, and the user works on the SharePoint site. This integration is useful if Duet and the associated business logic of documents that go along with the workflow tasks exist.
Creating a Site
Before creating any sites, try to envision what your site hierarchy will look like and how you want the site to function. A bit of planning around site structure will alleviate site sprawl, create a logical hierarchy, and allow for specific sites to be in particular site collections.
Creating sites is a simple process in SharePoint Online as long as the user has the correct rights assigned to create sites. As you progress through this book, you’ll create a modern team site, and a Microsoft 365 group (Chapter 4) will also be created. This means that, since Microsoft 365 groups are created within Outlook, they will also create a corresponding SharePoint site. I know it’s a little confusing, but remember that planning is the key to ensuring that sites are not duplicated.
Communication Site

SharePoint creation interface from the SharePoint portal site
- 1.
Choose a design based on your specific requirements. You can choose from the following layouts: Topic, Showcase, and Blank.
Enter a site name within the Site Name text box. As you type the site name, SharePoint will fill out the Site Address field, removing spaces or special characters. If you do not want the generated site address, click the pencil and edit accordingly.
- 2.
Enter a site description if desired; it is not a required field.
- 3.
Click the Finish button, and the site will be created in the background.
- 4.
Once the site is created, you will be automatically navigated to the site.
Modern Team Site
- 1.
Enter a site name within the Site Name text box.
- 2.
As you type the site name, SharePoint will fill out the Group email address field, removing spaces or special characters. If you do not want the generated group email address, click the pencil and edit accordingly.
- 3.
Enter a site description if desired; it is not a required field.
- 4.Choose a privacy setting, either public or private:
Public: Anyone in the organization can view the site.
Private: Only a select group of specified individuals can view the site.
- 5.
Click the Finish button, and the site will be created in the background.
During the creation process, you also can add additional owners and additional members. I will discuss basic permissions later in this chapter. Once the site is created, you will be automatically navigated to the site.
Classic Experience Team Site
Classic experience team sites are slowly being phased out of SharePoint Online. Classic experience team sites will slowly be transitioned to modern team sites, and eventually, only modern team sites will be able to be created. Classic experience team sites have been around for quite a while and hence have quite the following from the community and SharePoint users.
- 1.
Choose Site Contents from the cog menu.
- 2.
Select the “+ New” drop-down menu below the title of the site, as seen in Figure 2-21.

Creating a new subsite
- 3.The New SharePoint Site form will open. Fill out the details as needed:
- a.
Title and Description: Give your site a title and description.
- b.
Web Site Address: Unlike when creating modern or communication sites, you must specify the address here. You can’t change the beginning of the URL. Avoid spaces or special characters here.
- c.
Template Selection: Choose Team Site (Classic Experience).
- d.
Permissions: You can inherit permissions or create new permission groups for your users. I will discuss permissions later in this chapter.
- e.
Navigation Inheritance: You can choose to use the same global navigation as the parent site or not.
- 4.
Once you have filled out the form, click the Create button.
Creating Non-team Sites
- 1.
Choose Site Contents from the cog (gear) menu in the upper-right corner.
- 2.
Select the “+ New” drop-down menu below the title of the site, as shown in Figure 2-21.
- 3.The New SharePoint Site form will open, and you can proceed to fill out the details as needed:
- a.
Title and Description: Give your site a title and description.
- b.
Web Site Address: Unlike when creating modern or communication sites, you must specify the address here. You cannot change the beginning of the URL. Avoid spaces or special characters here.
- c.
Template Selection: Choose the site template you want to use. An explanation of each of the templates is included earlier in this chapter.
- d.
Permissions: You have the ability to inherit permissions or create new permission groups for your users. I will discuss permissions later in this chapter.
- e.
Navigation Inheritance: You can choose to use the same global navigation as the parent site or not.
- 4.
Once you have filled out the form, click the Create button.
Lists and Libraries
Now that I have covered the different kinds of sites, let’s discuss lists and libraries, which are the foundational building blocks of sites. Think of lists and libraries as the walls of a building and sites as the foundation upon which everything is built.
The following are only available by selecting “App” from the + New menu on a site.
Lists
SharePoint Online offers preconfigured lists or libraries. The following sections cover each of the available templates and a brief explanation of each list and library template.
Announcements
An announcement list is a predefined list that allows you to create an item and other types of news-related items. The announcement list is generally used to show announcements, which can be set to expire on a preselected date.
Calendar
The calendar list is a SharePoint calendar that can be used by the team to add events and schedule meetings within a SharePoint site. The calendar can also be connected to Outlook to enable seamless editing through Outlook.
Contacts
The contacts list is similar to an address book, and contacts can be added through Outlook. The contacts list can hold employees, vendors, or partners and keep their information centralized.
Custom List
A custom list is merely a list with minimal preconfigured columns. This is a blank list that can be configured in any way you see fit to support the business requirement.
List in Datasheet View
A custom list in a datasheet is the same as a custom list except you can edit the list in an Excel-like format, making data entry a lot easier.
Discussion Board
A discussion board is a preconfigured list template that supports discussions and conversations. The list can also be configured to require approval before any post becomes viewable by all.
External List
External lists are out of scope for this book but connect to external content types, which in turn connect to a SQL database, for example. They can present a SQL database view as a SharePoint list and allow data to be added, deleted, or modified in a SQL database.
Import Spreadsheet
The import spreadsheet list template allows you to upload an Excel spreadsheet and use the headers of the sheet as column types. It imports the data from Excel and creates nearly identical columns.
Issue Tracking
An issue tracking list allows you to track issues that can be assigned to be prioritized and completed; you can also assign statuses.
Links
The links list template allows a list of links to be created. The links list contains a URL column where the website address is stored.
Promoted Links
Similar to the preceding links list, the promoted links list will display the links in a graphical tile-based format.
Survey
You can create a list of questions in a survey format. I discuss Microsoft Forms in Chapter 10, which provides a much better interface to create surveys and view responses.
Tasks
A tasks list allows tasks to be created plus details like whom the task is assigned to, a due date, progress, and a few other fields.
Libraries
Libraries act and share a lot of the same features as lists such as columns, views, and the ability to organize the data. The significant difference between lists and libraries is that libraries are geared toward containing some sort of content such as documents, reports, or images. In the next few pages, I will list the available out-of-the-box library templates and provide a brief description of their purposes.
Asset Library
An asset library is similar to a picture library but is geared to manage assets such as images and audio or video files.
Document Library
A document library is a library with minimal preconfigured columns. This is a blank library that can be configured in any way you see fit to support the business requirement.
Form Library
A form library template is a library that is used to store InfoPath forms, which could be employee forms, status reports, or business forms. With InfoPath being deprecated and the industry moving to Microsoft Power Apps to create forms, this library is slowly being phased out.
Picture Library
The picture library template contains columns that correspond to images and provide different views into the library. I will discuss views later in this chapter.
Site Mailbox
The site mailbox is a deprecated library template; it was used to connect an Exchange mailbox to SharePoint. The recommendation is to use Microsoft 365 Groups going forward.
Wiki Page Library
This library supports wiki pages and the ability to create a wiki using text and images.
List and Library Columns
Every list or library contains columns. These columns can be a variety of types and are used to store information about the item or content. For example, many lists and libraries contain Modified, Modified By, Created, and Created By columns, which are used to store details about the user and date of modification. In fact, these types of columns have been around for years because Windows uses them to store information. The only real difference is now they are more visible and are used more frequently in SharePoint and in every other Microsoft 365 application such as OneDrive for Business.
SharePoint Columns by Type and Associated Data Type
Type | Data Type | Notes |
|---|---|---|
Single line of text | Text | Only accepts plain text |
Multiple lines of text | Text | Accepts either plain or enhanced rich text |
Choice (menu to choose from) | Text | Choose from drop-down, radio buttons, or checkboxes |
Number (1, 1.0, 100) | Numeric | |
Currency ($, ¥, €) | Currency | |
Date and time | Date and time | |
Lookup (information already on this site) | Text or numeric | Only available on the current site, cannot look up information on other sites |
Yes/no (checkbox) | Text | Can only be yes/no; no other entries are allowed |
Person or group | Person | Finds a person in Active Directory or a SharePoint group |
Hyperlink or picture | URL | |
Calculated (calculation based on other columns) | Formula based | |
Task outcome | Text | Can be a choice field or calculated value |
External data | External content types | |
Managed metadata | Term set |
Most of the columns also can be set to Required or enforce unique values. To set one of these settings within the column, make sure to mark the appropriate radio button when creating the column.
Creating Columns
To create a column in a list or library, open the list or library first. In this example, you are going to create a column in the document library of a modern team site. If you didn’t create a modern team site earlier in this chapter, please go ahead and do so now.
On the modern team site, click Documents in the left-hand navigation control (otherwise known as the quick launch). The window will refresh, and you will be presented with a view of the document library. In the main area, to the right of Modified By, click the + sign. You’ll be presented with 11 frequently used field types ranging from a single line of text to currency. If the field type you are interested in is not listed, click the More option.
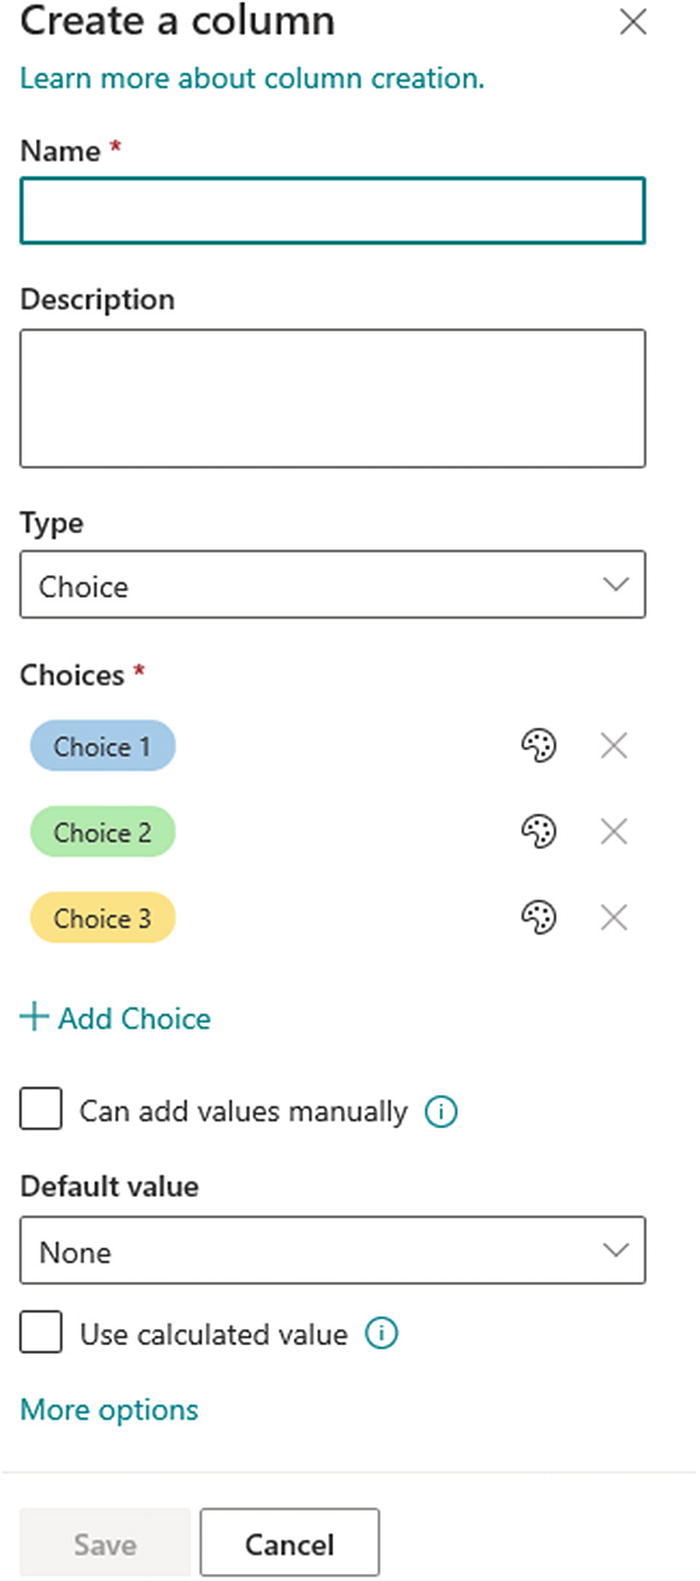
The “Create a column” form for a choice column
Name: Name of the column.
Description: Enter a description of the purpose of the column.
Type: Choice type selected; remaining fields are based on the Type field.
Choices: Enter the choices for the column. You can select the backfill color as well. The backfill color is used within the list as a visual indicator.
Can add values manually: Allows a user to add a choice to the choices drop-down menu manually.
Default value: Specify if you want the column to have a default value when a document is uploaded or created.
Use calculated value: Allows a formula to compute the value for the column.
Display choices using: Choose Drop-Down Menu or Radio Buttons.
- More options
Allow multiple selections: Toggle if you want the user to be able to select more than one choice.
Require that this column contains information: Toggle if the field must be filled out for the document to be created or uploaded.
Enforce unique values: Toggle if you do not want multiple items to have the same value.
Add to all content types: Toggle if you want to add the column to all content types. (It will be a column in any content type associated with the current list.)
- Column Validation
Formula: Validate the choice selected by using a formula.
User message: Based on the formula, show a message.
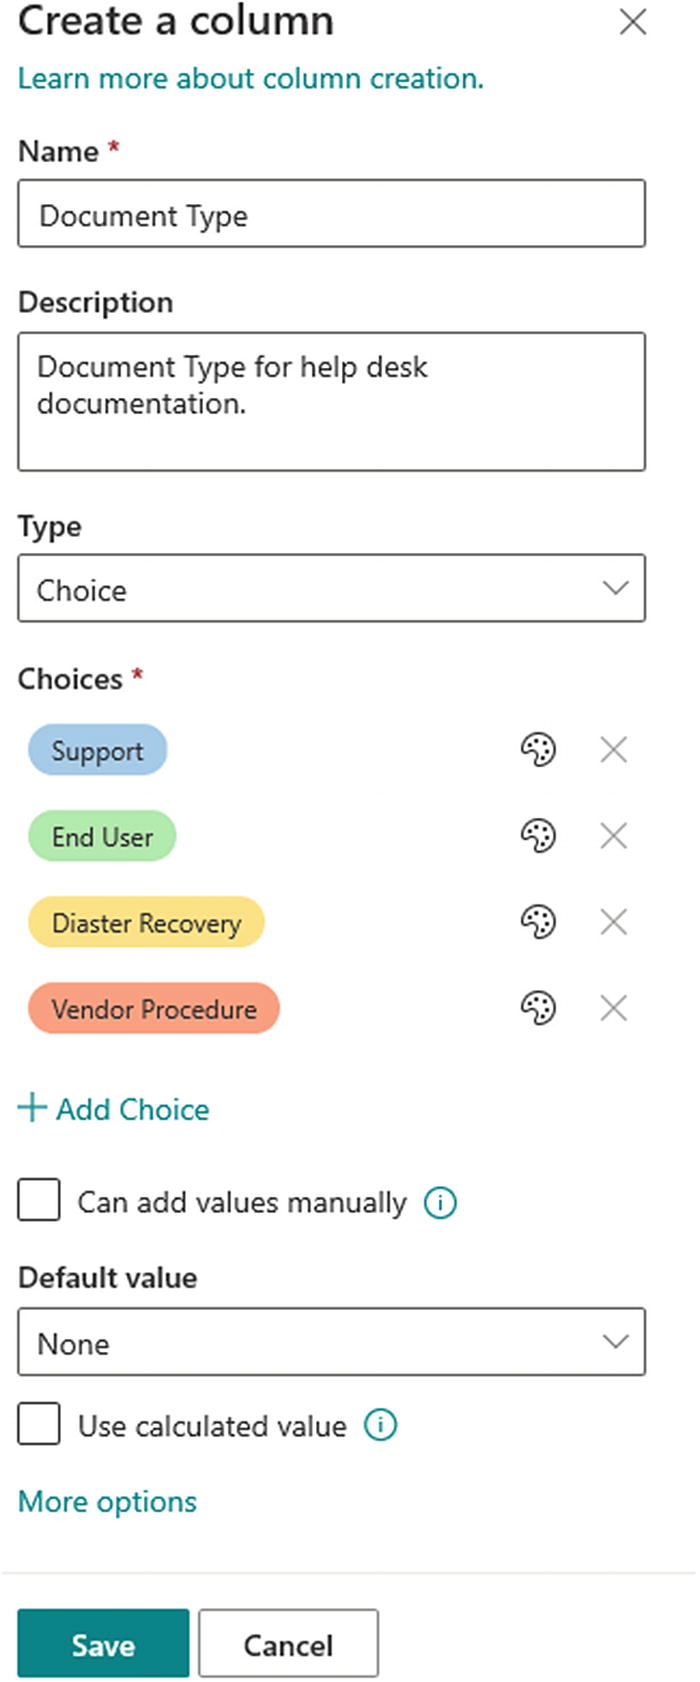
Choice column form populated with values
Click the Save button, and the column will be created and be added not only to the library but to the view as well. This process is the same for all column types regardless of if they are lists or libraries. The procedure is slightly different for classic experience team sites and is covered next.
- 1.
In the SharePoint ribbon, click the List or Library tab.
- 2.
Click the Library Settings icon.
- 3.
In the middle of the Settings page, click “Create column.”
- 4.
On the Create a column page, fill out the fields as needed. They are the same as when creating a column in the modern interface.
- 5.
Click the OK button to create the column.
Document Library Experience
As of now, I have covered the foundation elements of SharePoint Online: sites, lists, libraries, and columns. The next element is actual content (Office documents, images, and other files) and list items.
- 1.
On the modern team site, drag the file you want to upload directly onto the Documents web part, as depicted in Figure 2-24.
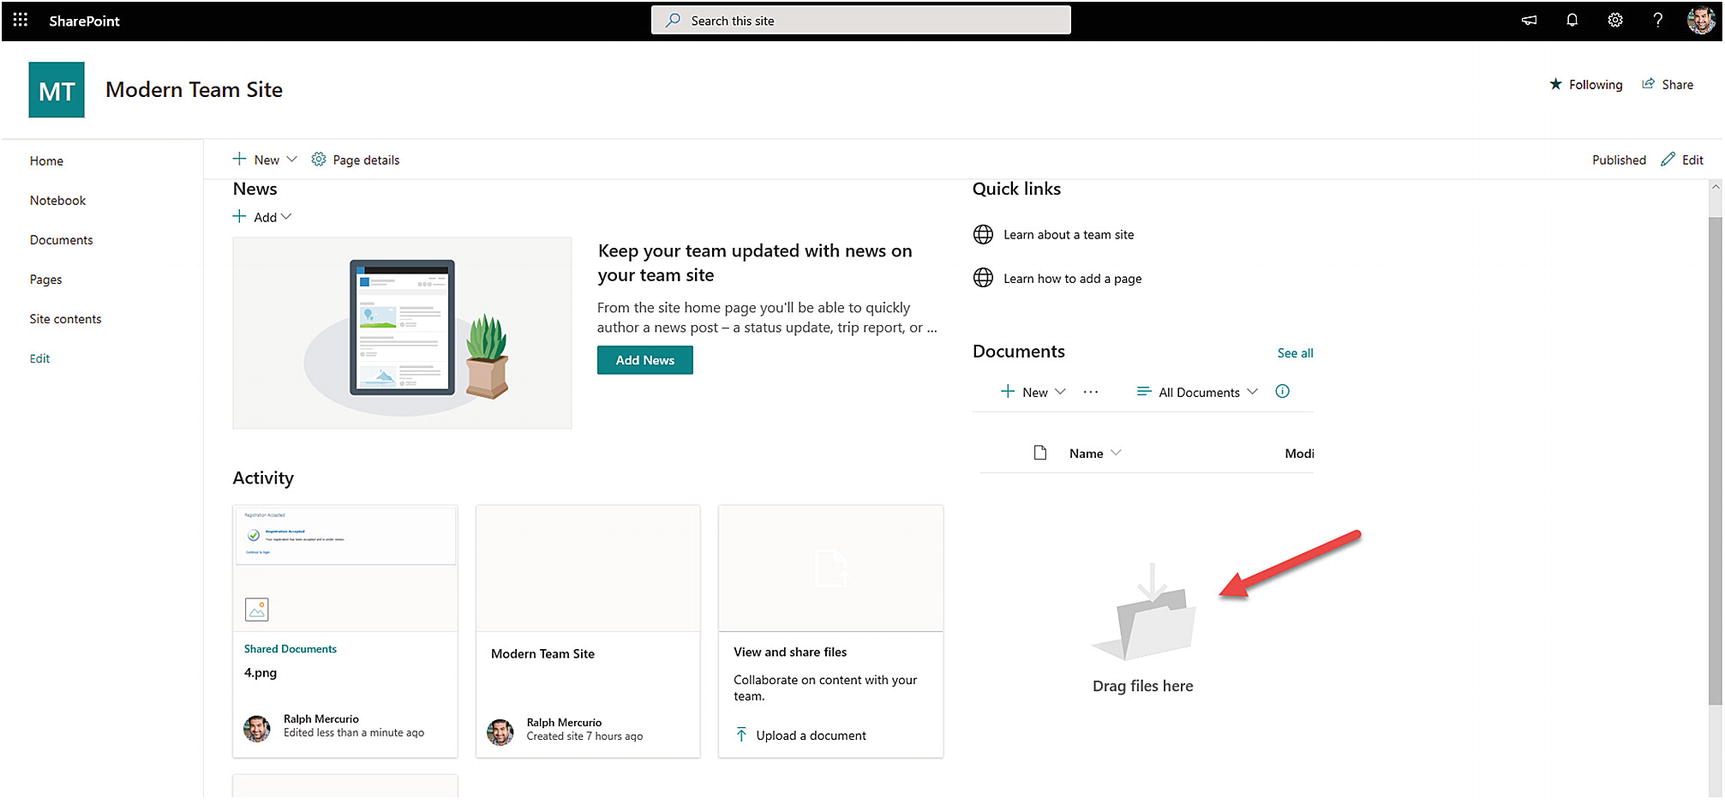
The drag file interface on a document library
- 2.
The file will upload directly to the library.
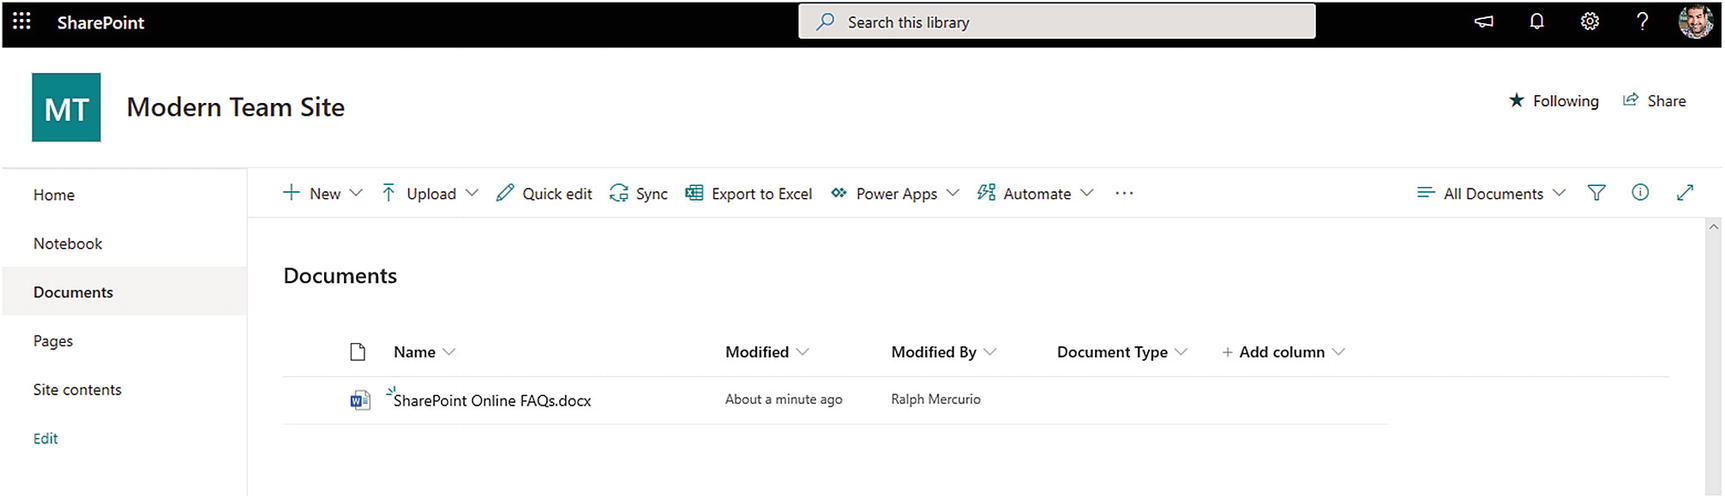
A document library
A document library contains a menu bar consisting of New, Upload, Quick edit, Sync, Export to Excel, Power Apps, Automate (formerly Flow), and the ability to switch views and filter. The central area where documents are stored contains columns that describe the attributes of the file (metadata). Another area offers item functions, which are accessible from the three dots next to the file. Let's explore each of these areas a little more in-depth because they form a foundation for a lot of other Microsoft 365 applications.
+ New: Creates a new document. It integrates with Office Online to create documents inside the browser. I discuss Office Online in further detail in Chapter 7.
Upload: Uploads an existing file, folder, or template to the document library from your device.
Quick edit: Allows you to edit the column values of documents to quickly change their metadata in bulk without having to edit each item individually.
Sync: Allows OneDrive for Business (Chapter 3) to sync the contents of the library with your device.
Export to Excel: Exports the library to Excel. This export does require Excel to be installed, and you can’t import it back. It also will not download the documents; it just links back to the document library via a URL.
Power Apps: Allows you to customize the form to align it with a business process. We will discuss Power Apps in a later chapter.
Automate: Power Automate allows workflows to be created and executed against content. I introduce Power Automate and the basic concepts in Chapter 11.
…: Refer to the three dots as an ellipsis.
Alert me: Sets up alerts on changes in the library. An email will be sent with the subscribed changes.
Manage my alerts: Allows you to add/edit/remove alerts that have been created by you.
All Documents: The standard and default view on all document libraries. This view shows all documents and created columns. In the next section, I will discuss creating and using your own specified views.
Filters: If filters are available on a view, you can filter the documents based on the parameters specified. The filters are denoted by the funnel icon.
Details: Clicking the icon (question mark) shows a stream of recent activity. If a document is selected and the icon is clicked, it shows details surrounding a file such as permissions and metadata.
The second area is where documents are stored. This area is where you create new columns, as described earlier in this chapter, and edit the associated metadata of documents by either selecting the item and editing the properties or using the Quick edit action in the document library menu bar.
Open: Opens the document. If it is a recognized file type, you will get the option to open in Office Online or locally installed Office.
Preview: Previews the document in Office Online.
Share: Allows sharing the document with users inside the organization, users with existing access, and specific people. You can also share the document with anonymous users if it has been configured by the SharePoint administrator to do so.
Copy link: You can copy the link, and then the link can be sent to a user via email or MS Teams.
Manage Access: Allows one to share the file or restrict access.
Download: Allows you to download the file to your local device. Once it is downloaded and you make changes to the item, it will not sync or be saved back.
Delete: The document will be deleted and sent to the recycle bin.
Power Automate: Allows you to start a Power Automate that has been already created. Power Automate can also integrate with other Microsoft 365 applications.
Pin to top: Pins the document to the top of the library, so it is always in the first position.
Move to: Moves the document to another library on the site.
Copy to: Makes a copy of the document and stores it in a different library on the site.
Version history: Shows a stream of changes in the document and can restore a previous version.
Alert me: Sends an alert when there is a change, someone else changes a document, someone else changes a document created by you, and someone else changes a document last modified by you. The alert can be sent immediately, daily, or weekly. These alerts will also apply to the entire library.
- More >
Properties: Shows the properties of the file, including the default columns and columns created to support different metadata.
Workflow: Power Automate a legacy workflow on the document. These workflows are slowly being replaced by Flow, but you can create workflows in SharePoint Designer 2013 until further notice. This is still available because Flow has not reached the same maturity as Workflow, which has been in existence for over 10 years.
Compliance details: Displays any compliance parameters around the document including if it is on legal hold or if it is in a different retention stage.
Check out: Sets the document to a status of checked out. While the document is in a checked-out status, no other user can edit the file until it is checked back in. You must check in the document once you are done with your changes.
Details: Shows a stream of recent activity and details surrounding a file such as permissions and metadata.
List Experience

A SharePoint Online list
Open: Opens the item in view mode. You are then able to edit the values of the columns by clicking the corresponding text box.
Edit: Opens the item in edit mode.
Share: Allows the sharing of the item with users inside the organization, users with existing access, and specific people. You can also share the item with anonymous users if it has been configured by the SharePoint administrator to do so.
Copy link: You can copy the link, and then the link can be sent to a user via email or MS Teams.
Copy field to clipboard: Copies the fields of the item to the clipboard so that you can paste them into another document or application.
Manage Access: Allows one to share the file or restrict access.
Delete: The item will be deleted and sent to the recycle bin.
Power Automate: Allows you to start a Power Automate that has been already created. Power Automate can also integrate with other Microsoft 365 applications.
Alert me: Sends an alert when there is a change, someone else changes an item, someone else changes an item created by you, and someone else changes an item last modified by you. The alert can be sent immediately, daily, or weekly. These alerts apply to the entire list.
- More >
Workflow: Allows you to start a legacy workflow on the item. These workflows are slowly being replaced by Flow, but you can create workflows in SharePoint Designer 2013 until further notice. This is still available because Flow has not reached the same maturity as Workflow, which has been in existence for over 10 years.
Compliance Details: Displays any compliance parameters around the item, including if it is on legal hold or if it is in a different retention stage.
Details: Shows a stream of recent activity and details surrounding a file such as permissions and metadata.
In summary, lists and libraries are very similar. The best way to gain an understanding of all the features, which are too many to cover in this introductory book, is to create them and explore them. If you have any questions, please feel free to email me. I can’t promise an immediate response, but I will try to respond in a timely manner.
Views
Views allow us to manipulate data, whether in lists or libraries, to show or hide data that does not fit the story we are trying to tell. If you look at any data, the data is rarely ever presented in a flat file. Usually, there is some grouping or filtering to show the data that we want to present. For example, if you have a list of orders for a product company, it might be best to show that data grouped by location and filtered above a certain order cost. In this next section, you will explore the standard views of SharePoint and learn how to customize a view in a way to suit your needs.
The standard view that comes with a list or library is titled “All Items or All Documents.” This view will render all items or documents in a single view with no data logic applied. These views are great for when there is a limited number of items or documents, but once the content grows, these views become very useless unless you filter.
You can always sort the column values and filter when applicable to show different data in the standard view. However, a better practice is to create a set of views that support the business need of the list, so they are always available and users do not need to spend time filtering a list manually.
Filtering on demand works well to quickly create a view of the data that you are interested in. Another approach is to create views that everyone is interested in. For example, for a help desk ticket list, the view could be open tickets, closed tickets, high-priority tickets, and tickets not started. This allows anyone using the application to quickly switch between different views to find the data they need.
In this example, let’s create a new list called “Project Contacts.” You will need to create the columns such as “Project Name” (rename title column), “Project Contact” (single line of text), and “Role” (choice).
Once the columns are created, populate the list with a few projects and create a view to show all projects grouped by Role.
- 1.
In the list, click the down arrow next to “All Items.”
- 2.
Click “Save view as.”
- 3.
Save it as “Grouped by Role” and click the Save button.
- 4.
Select the down arrow again, and the Grouped by Role view should have a checkmark next to it. If it doesn’t, select the view you created in Step 3.
- 5.
In the same drop-down menu, select “Edit current view.”
- 6.
The Edit view page allows you to configure the view on a variety of factors. In this example, scroll down to Group By and set First group by the column to Role.
- 7.
Scroll to the bottom of the Edit view page, and click the OK button.
When you look at the list again, you will notice that the items are grouped by Role, and you can easily see how many projects are assigned to each Role. When creating the view, you may have noticed that there are many other options that can be used to configure a view. The available options are as follows:
View Name: Specify the name of the view.
Web address of this view: Specify the URL. If needed, SharePoint will create a default value.
Make this the default view: Check the checkbox if you want this to be the default view that every user will see when they access the list. If not checked, the view will be available for a user to select.
Columns: Select or deselect any columns you do not want to show in the view. At a minimum, one column must be checked.
Sort: You can sort the list by two columns in either ascending or descending order. You cannot sort by more than two fields.
Filter: Set a filter or multiple filters and use and/or logic to create a sophisticated filter. You can also use different mathematical equations such as “is equal to” or “less than or equal to.”
Tabular View: By default, this checkbox is checked and allows an item to be checked so that multiple items can be selected for bulk actions.
Group By: Select at most two columns and group items by a column value. Each Group By field can also be sorted in either ascending or descending order. You can also set the groups to be collapsed or expanded when a user accesses the list and the associated view.
Totals: In views, you can sum all the values of a column and have it displayed in the view. You can choose from Count, Sum, Average, Maximum, Minimum, Std Deviation, and Variance. The available options are based on column type and only not the default columns such as Created or Modified By.
Style: With a view, you can apply a style to change the way the list or library looks. If there are a lot of columns in your view, the Shaded Style will make it easier to read.
Folders: You can specify whether to show folders or not to show folders at all. This pertains more to libraries than lists. Also, if you use folders within a library, it limits the ability to use grouping and filtering.
Item Limit: Specifies the number of items to show in the view and displays either in batches or within limit overall.
Mobile: Every list or library has mobile settings. The first setting allows you to limit the number of items returned and set a field that will allow you to edit the item.
With these settings, you can create straightforward views or complex views. A word of caution: Be careful with the filter rules because a wrong filter condition can render zero items returned and becomes quite frustrating to find and resolve.
Permissions
The SharePoint permissions model has always been a bit cumbersome because of the many places where permissions can be changed from sites, libraries, and items. With modern team sites, permissions management has been streamlined so adding users, whether they are a user of the organization or a guest, is now a lot easier.
Viewing members of a site
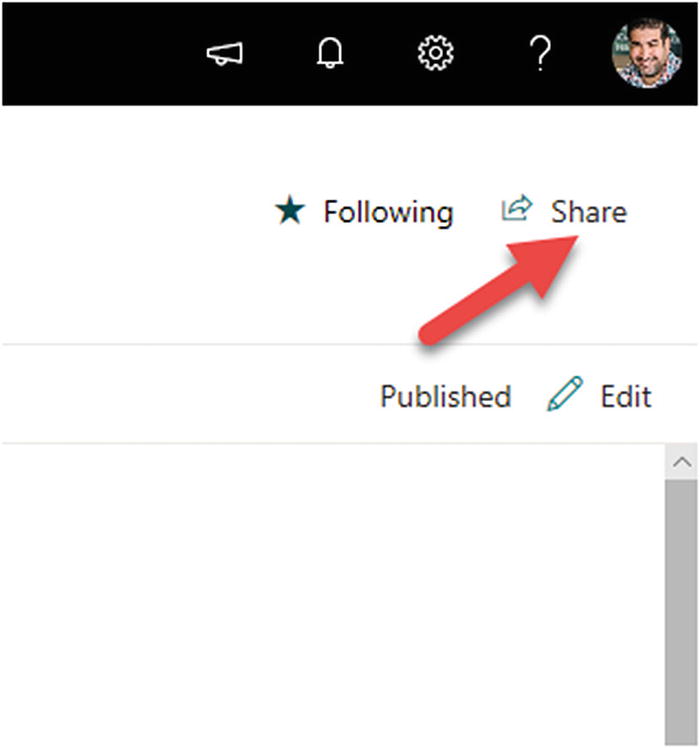
Add organizational users (coworkers) by clicking “Share” as described in the preceding. In the dialog, click “Share” and begin typing their name or email address. As you type the name or email address, the matches will begin to populate, and you can select the user from the list of suggestions. Click the Save button, and the user will be saved and given the permission level in the drop-down box (Read, Contribute, Edit, Full Control). The Read permission level allows the user to read only; they cannot add content or make any changes to the site. The Contribute permission allows a user to add/delete content to/from the site. The Edit permission allows not only all the permissions associated with Contribute but also the ability to add/delete lists and libraries. The final permission level of Full Control allows a user to make any changes on the entire site including permissions.
External users such as guests are governed by the external sharing policy of the tenant. The policy would need to be altered for the entire tenant to allow external users access when assigned.
In most cases, I would say to leave the permissions as is and not modify them because modifying them can indirectly cause users to lose access to the site or grant users too much permission. There are business cases where modifying the permissions is necessary, as in the case of employee reviews or a confidential site where permissions need to ensure that employees have the right level of access.

Site permissions dialog
This where most permission changes are done if needed. If the business requirements require that a different permissions scheme be created, that can be done by clicking the “Advanced permissions settings” link shown in Figure 2-28.

Advanced permissions settings
Part of the purpose of this book is to provide a solid introduction to all the Microsoft 365 collaboration applications and not to focus solely on one application more than another. Because of this, I decided not to include advanced permissions in this book because that is a topic that is best reserved for an advanced SharePoint Online publication.
For classic experience sites, permissions are modified through a slightly different procedure. This procedure is the same as it is in Microsoft’s SharePoint 2013, 2016, and 2019 on-premises products. Again, advanced permissions are best reserved for a non-introductory book.
As a best practice, in most scenarios, you manage the permissions through the Group membership dialog described at the beginning of this section. If advanced permission changes are needed, please consult with your Microsoft 365 administrator prior to doing so.
Pages and Web Parts
Now let’s explore pages. Pages hold all the sites together and give the user an interface to connect to. SharePoint pages can be customized to include specific web parts, which can be used to show a user a different presentation of data or specific lists or libraries.
I will focus on editing a modern team site instead of a classic experience site. This is partly because modern team sites will always have a different set of web parts and are becoming the standard site template for Microsoft 365.
Text: Adds text to the page. Allows for typical text formatting options.
Image: Adds an image to the page.
File viewer: Embeds a file onto the page. It can be a .pdf, .docx, .xlsx, or another supported file type.
Link: Adds a link to the page. Will show a preview of the website that the URL points to.
Embed: Allows for embedded code to be added to the page. For example, you can embed a YouTube video. YouTube will generate the embedded code automatically on the website.
Highlighted content: Shows content based on a variety of metadata.
Bing maps: Adds a Bing map to the page and shows a location.
Button: Graphical way to add a button for a user to click to navigate to other content.
Call to Action: Allows to quickly grab the attention of the user to perform some action or notify them of something important.
Code Snippet: Used to display programming code as text so it can be viewed in a noninteractive format.
Conversations: Able to display Yammer content.
Countdown Timer: Will display a countdown timer configured by the user.
Divider: Inserts a line (divider) between web parts.
Document Library: Displays the items of a selected document library.
Events: Displays upcoming events or calendar entries.
Group Calendar: Creates a calendar that all team members can add events to.
Hero: Adds the Hero web part to the page. The Hero web part allows content to be visually displayed and highlighted. This web part was introduced in the communication site.
Highlights: Displays dynamic content based on filters and/or content types.
Image Gallery: Shows a gallery of images.
Kindle Instant Preview: Allows the insertion of a Kindle book (preview only).
List: Displays the items of a selected document list.
List Properties: Connects to an existing list web part on the same page and displays the items of that list.
Markdown: Allows you to add text and format it using Markdown language. This language is used to create simple-to-read text files.
Microsoft Forms: Adds a survey to the site. Surveys are used to gather responses to a questionnaire. Microsoft Forms and surveys are discussed in Chapter 10.
Microsoft Power Apps: Allows you to embed a PowerApp into a page for consumption.
News: Allows one to post and configure a news center where news articles can be posted and consumed.
Microsoft (Office) 365 Video: This is being removed and replaced with the Microsoft Stream web part.
Page: Provides details about the page.
People: Allows one to display selected users and their basic information.
Power BI: Allows one to embed a Power BI report on the page.
Quick chart: Allows one to add simple charts (column or pie) to a page.
Quick links: List of links.
Recent Documents: Displays recently added/modified documents.
Saved for later: Is a new webpart which allows users to “pin” pages and documents for users to see.
Stream: Embeds a video from a Microsoft Stream channel. Microsoft Stream is a video sharing platform that is integrated into the Microsoft 365 suite.
Twitter: Allows one to embed a Twitter feed.
Weather: Allows one to embed the weather for a location.
World clock: Displays time zones.
YouTube: Allows the embedding of a YouTube video.
Editing Pages

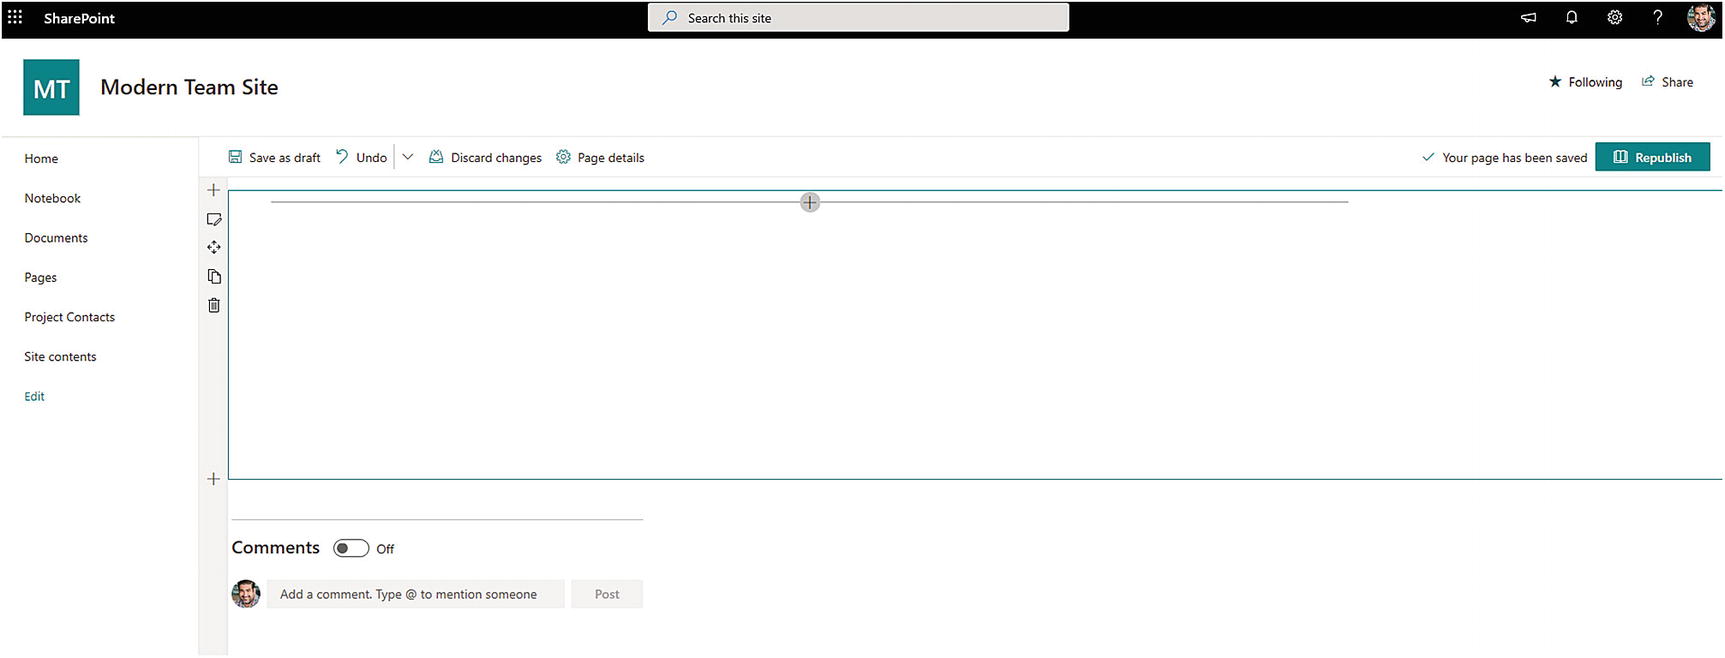
Putting the page into edit mode

The edit interface
At the top of the page layout beneath the Modern Team Site title, you will notice three buttons: “Save as draft,” “Discard changes,” and “Page details.” “Save as draft” saves all the changes you made but does not publish the page to be visible and allows you to work on the page over the course of time without having to make all the changes at once. If you made a mistake and just want to start fresh, clicking “Discard changes” closes the page and allows you to reopen the page and start anew. It doesn’t save any of your changes – even before you made a mistake in editing the page. The final button, “Publish/Republished,” located on the rightmost side publishes the page and makes it visible to all users.
In this edit mode, you can edit either sections or web parts. In Figure 2-31, News and Activity are web parts, while the section is the zone that contains both of the web parts. If you ever edited pages in other versions of SharePoint, the section is similar to the web part zone or the wiki zone on SharePoint pages.

Editing a section of a page
The first icon allows you to add a section. Each page can have different sections as listed in the next paragraph.
One column: One single column. Web parts will stack vertically on each other.
Two columns: Two equal columns. Web parts will stack vertically on each other.
Three columns: Three equal columns. Web parts will stack vertically on each other.
Vertical Section: This option will add a vertical column on the right side running the length of the page.
One-third left column: The section will be divided into two columns with the left column taking up one-third of the section.
One-third right column: The section will be divided into two columns with the right column taking up one-third of the section.
The third icon is the Move Section icon. This icon allows the section to be reordered on the page. When moving a section, the entire section moves, including the web parts within the section. To move a section, click and hold the Move Section icon with your right mouse button. While the right mouse button is held, move the section anywhere on the page.
The fourth icon is the Duplicate icon. This action allows you to duplicate the currently edited section where the icons appear.
- 1.
Click Page details in the edit bar below the title of the site.
- 2.
Select “Version history” from the menu.
- 3.
Select the three vertical dots (ellipsis) next to the version you want to restore. You can Compare the selected version, Delete, or Restore.
Manipulating Web Parts
The “Add web part” interface
Clicking the “Add web part” will load the available web parts that can be added to a page. I listed out the web parts in a prior section, and the choices presented now are quite exhaustive.

Text web part in edit mode
Because this is a Text web part, the familiar text styling tools appear. To add text, simply type your desired text and then style it with the available tools. Every web part also can be moved to another section or within the section by clicking the Move Section icon or can be deleted by clicking the trash can icon.
The other web parts all work in a similar manner: add them to a section, edit as needed, and save your changes. Go ahead and explore them all, see what works for your needs, and be sure to save your changes.
SharePoint Mobile App
Microsoft 365 is designed to work across a variety of browsers and devices. This includes mobile devices on the Android, Apple, and Microsoft platforms. Microsoft released a SharePoint mobile app that allows you to connect to SharePoint Online sites, document libraries, and resources all with your phone.
SharePoint mobile app in the Apple Store
Proceed to download and install the SharePoint mobile app. Once the app is installed, go ahead and open it. Upon opening the app, it will prompt you for your Microsoft 365 email address and password. By entering your credentials, it connects the mobile app to Microsoft 365 and will display the same information as the SharePoint portal site, which is accessible from the Microsoft 365 app launcher in the browser.

SharePoint mobile app interface

Modern team site in the SharePoint mobile app
The other aspects of the SharePoint mobile app pull information from Microsoft 365. For instance, clicking the Find icon in the app will allow you to search and find content and people within the organization.
Clicking the News icon gathers all the news articles that have been published within the modern team sites. I didn’t cover creating and maintaining news articles in this book, but go ahead and give it a try. You can create news articles on modern team sites or within the SharePoint portal site.
The last component of the SharePoint mobile app is Me. The Me icon within the SharePoint mobile app allows you to modify your Microsoft 365 profile as well as see an activity stream of your actions, files, and created content in Microsoft 365.
Summary
SharePoint Online is a workhorse application. It can help with document management and be the company’s intranet, a place to search and find content, or a project management site with user tasks and documentation. SharePoint can be really whatever you need it to be and does so with elegance and ease.
Using lists and libraries to organize content with appropriate columns and views allows for data to be stored in a single location and provides business views into the data; by specifying metadata, you make the search experience even better. The metadata of an item gives the SharePoint Online search engine the ability to categorize an item and create a robust index, which ultimately gives you the best search experience possible.
Modern team sites and communication sites are modern templates that have been redesigned completely and allow for a mobile experience as well as new integrations with other products to bring information into a single site. This robust integration is only going to get stronger in the future.
OneDrive for Business, which is discussed in the next chapter, is built on the backbone of SharePoint Online document libraries, and you will notice that OneDrive functions in a similar manner and is centered around the document experience.