
Chapter 6: Utilizing and Integrating Apps
With the majority of your course now up and running, and having explored many of the special features of Canvas in the last chapter, we will now learn about the mobile apps available for Canvas, along with integrating external apps and services into your Canvas course.
In this chapter, we will learn how to do the following:
- Use Canvas on your mobile devices
- Integrate external apps into your Canvas course
By the end of this chapter, you will be ready to utilize the functionality of Canvas within the mobile app and incorporate external apps into your course to enhance the functionality and efficacy of your Canvas experience.
Technical requirements
To complete this chapter, you will need the following:
- A computer with internet access
- A smartphone with internet access and app store capabilities
- A Canvas account (see Chapter 1, Getting Started with Canvas)
- A Canvas course with course content created (see Chapter 2, Building Your Canvas Course, and Chapter 3, Getting Ready to Launch Your Course)
Using Canvas on your mobile devices
For easy access and use in an increasingly mobile world, Canvas has developed individualized apps for teachers, students, and parents that enable streamlined and consistent engagement with course content and features. After you have finished building your course on a computer, the Canvas Teacher mobile app is a great way to keep up with your course from your smartphone, tablet, or other mobile device. As mentioned, there are also Canvas apps for students and for parents, so our focus in this chapter will be on using the Canvas Teacher app. Let's start by downloading the app, logging in, and then familiarizing yourself with the layout of the Canvas Teacher mobile app.
Note
You can also access Canvas using the internet browser on your smartphone, which provides access to most of the regular features of Canvas that you would see when using a computer. The app streamlines access to features and settings for teachers on the go, so you can choose to use the mobile app discussed here or log in to Canvas using the internet browser on your phone instead. For our discussion of the mobile app here, the following screenshots are captured from an iPhone 11 Pro that has iOS 14.3. The app is the Canvas Teacher app, Version 1.11.10. The exact procedures and layout of the app may be different if you are using a different device, operating system, or app version.
Downloading and configuring the mobile app
To download the mobile app to your device, complete the following steps:
- Open the app store on your device. Search for Canvas within the search field in the app store.
- If multiple apps appear in your search results, make sure to select the Canvas Teacher app, as shown in the following screenshot:
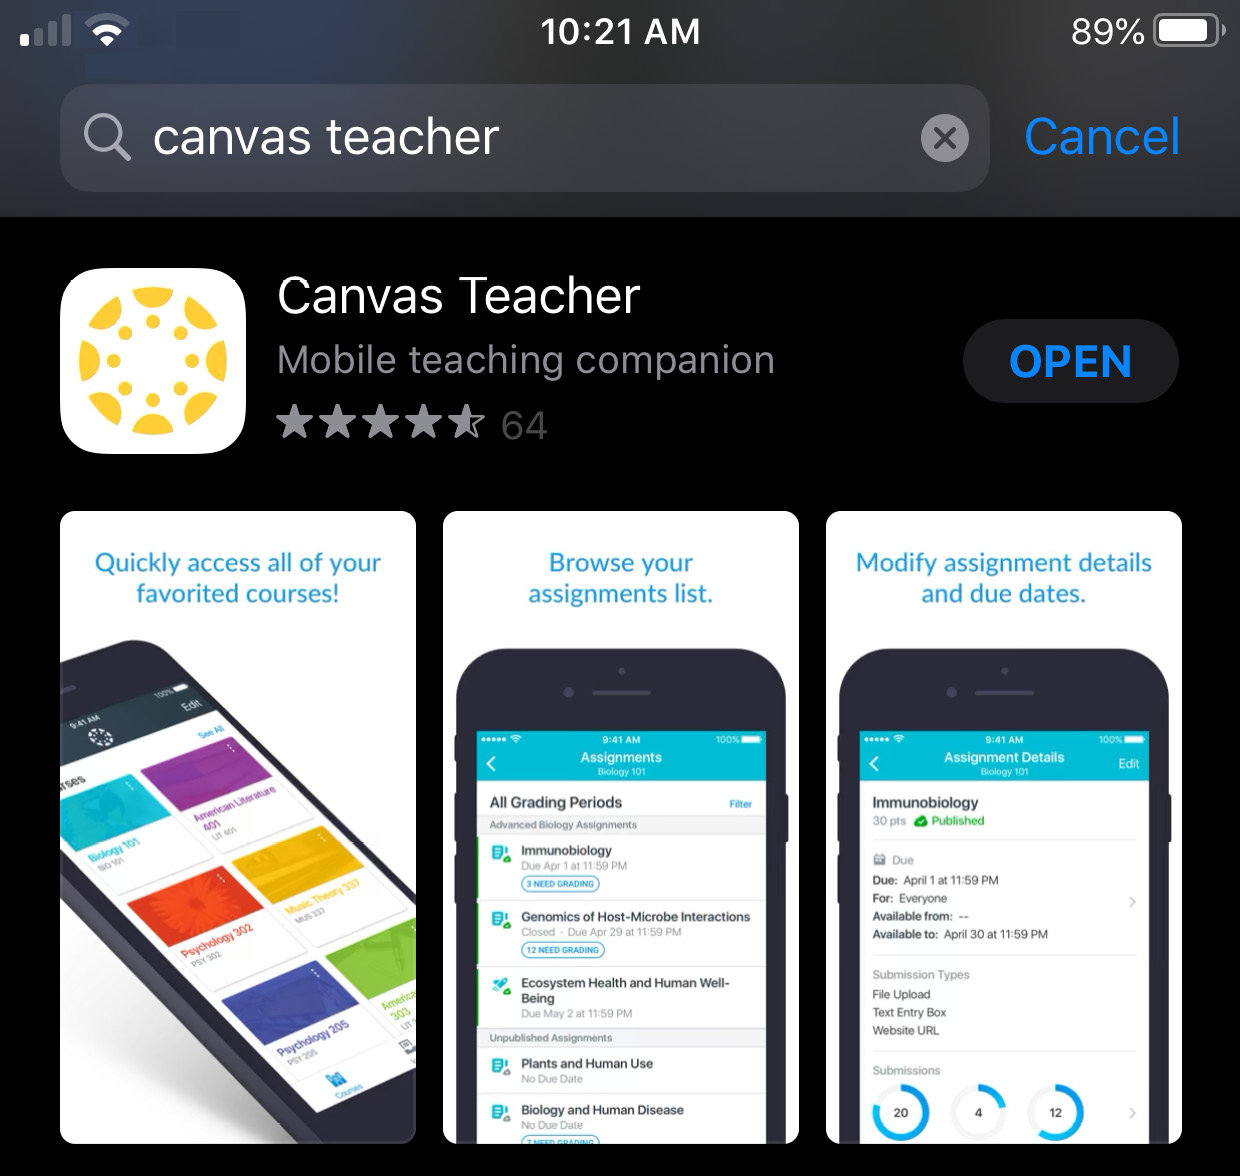
Figure 6.1 – Canvas Teacher app in store
- Once you have found the app, follow the standard procedure to download apps from the app store on your device. For the Apple Store, tap on GET, which will ask you to approve the download with your Apple ID credentials. Once you enter your Apple ID credentials, the app will begin downloading to your device.
- When the app download is complete, locate the app on your phone and tap on the icon to open it. The app icon is pictured in the following screenshot:
Figure 6.2 – Canvas Teacher app icon
- On the screen that opens, tap the button that says Find my school. If your institution has provided a QR code to access your mobile app, you can tap the QR Login button. The Find my school and QR Login options are shown in the following screenshot:

Figure 6.3 – Find my school button
- Tap the Find my school button to search for your school's name and select your school from the options that appear. If you are using a Free for Teachers account, search for Free and select Free Canvas Accounts from the options that appear. Next, you will need to enter the login credentials that you usually use to log in to Canvas on a computer. When you have entered your login credentials, tap Log In. The login screen for a Free for Teachers account is shown in the following screenshot:
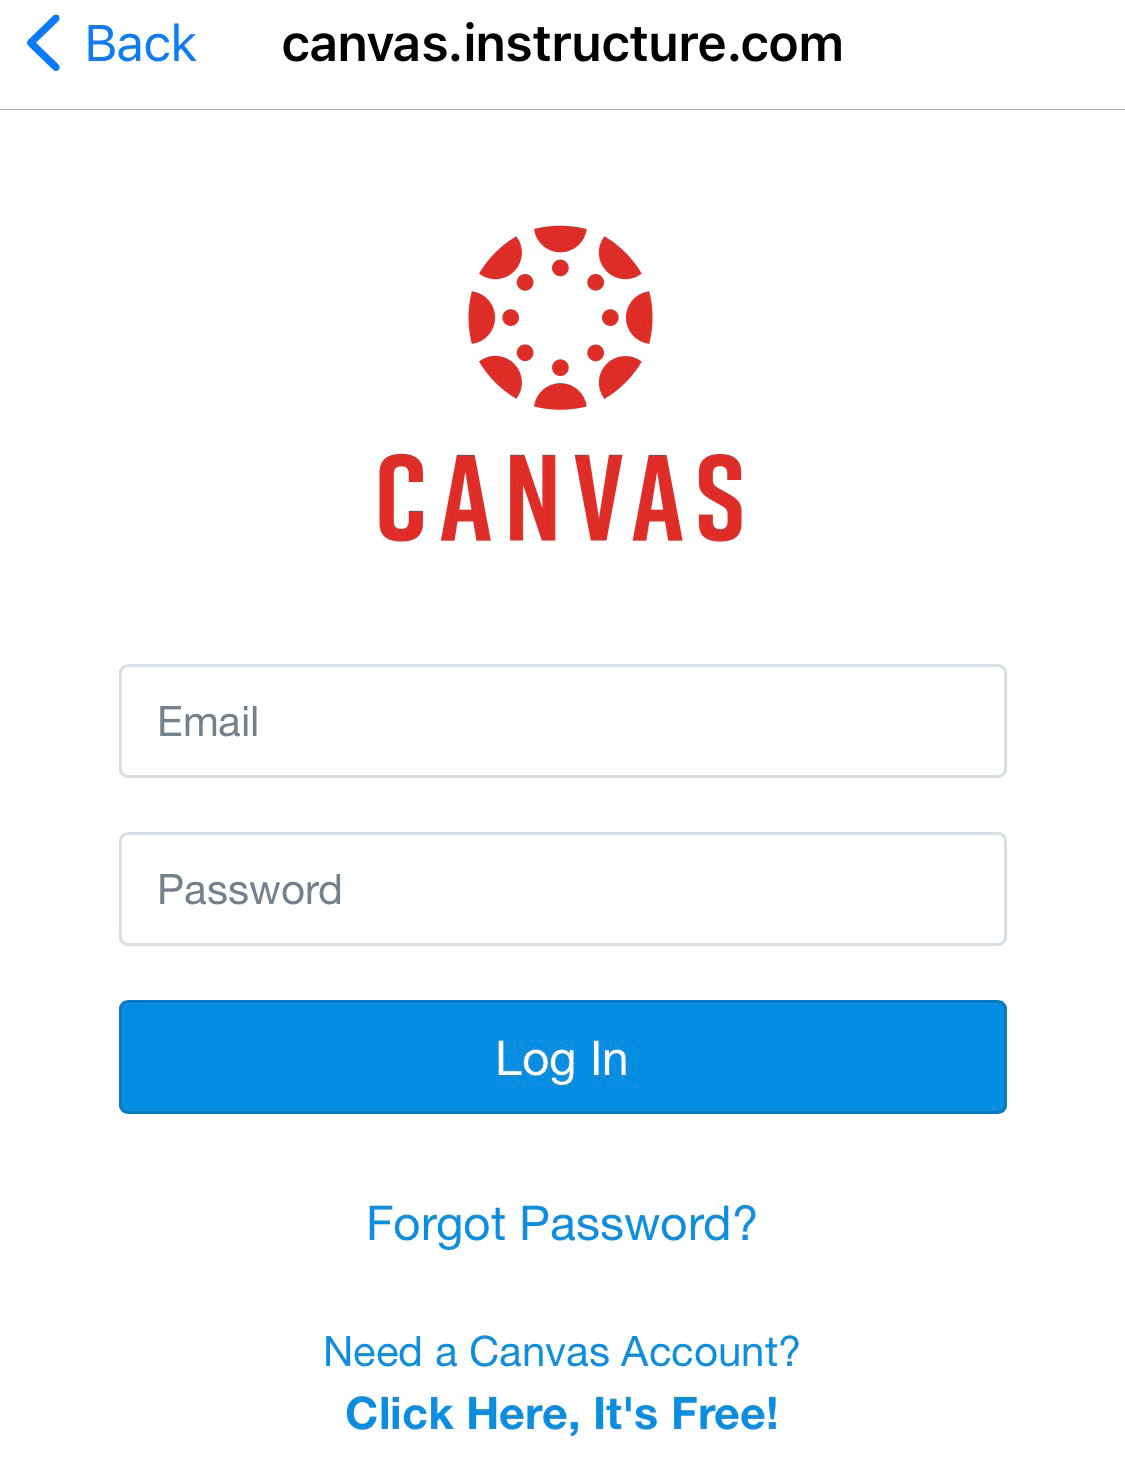
Figure 6.4 – Mobile app login screen
- You will likely see a message asking whether you would like to enable notifications on your device from the Canvas Teacher app, and your institution may have additional login requirements enabled. Follow the instructions that appear, and you can choose your preferred option on the screen, as shown in the following screenshot:
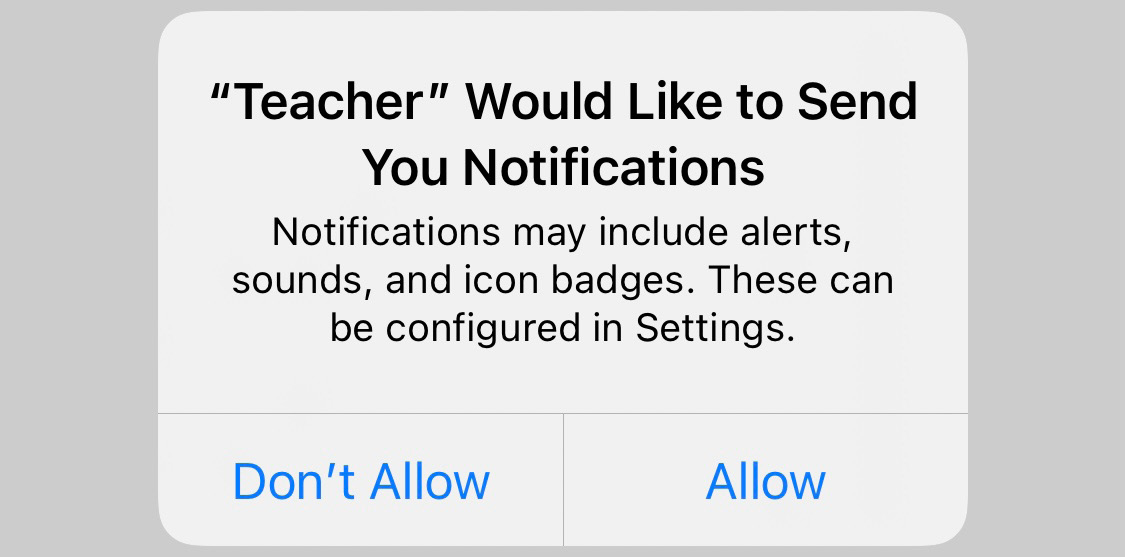
Figure 6.5 – Notifications configuration
- From here, the Courses screen will open on the dashboard within the app and you can begin to use the app.
Now that we have covered how to download and configure the Canvas app on your mobile device, let's move along to actually using the app to interact with content and users within your Canvas course.
Using the features of the mobile app
When your app first opens, you will see the mobile app Dashboard displaying the Courses screen. The Courses screen displays a list of the courses with which you are involved, as pictured in the following screenshot:

Figure 6.6 – Courses screen
On the Courses screen, notice the tab option to view All Courses—right now, you most likely only have one course listed, but when you have many courses within Canvas, you can find your courses using this option. You can also select which courses display on the Courses screen by tapping the Edit button in the top-right corner and selecting which courses you want to display on the Courses screen.
Looking at the bottom menu, you will see icons that allow you to view overviews of your Courses, To Do items, and Inbox options within the app quickly and easily.
Let's now work our way through navigating and using the three main sections of the app that are shown along the bottom menu.
Navigating your course within the mobile app
The Canvas mobile app allows you to see and do most of the same things you are able to do within your course using a computer. To view and interact with the various sections and content of your course, complete the following steps:
- Tap on your course to select it from the list of courses on the Courses screen that appears when you first open the mobile app.
- When the course screen opens, you will see the course navigation links for your course listed, as shown in the following screenshot:
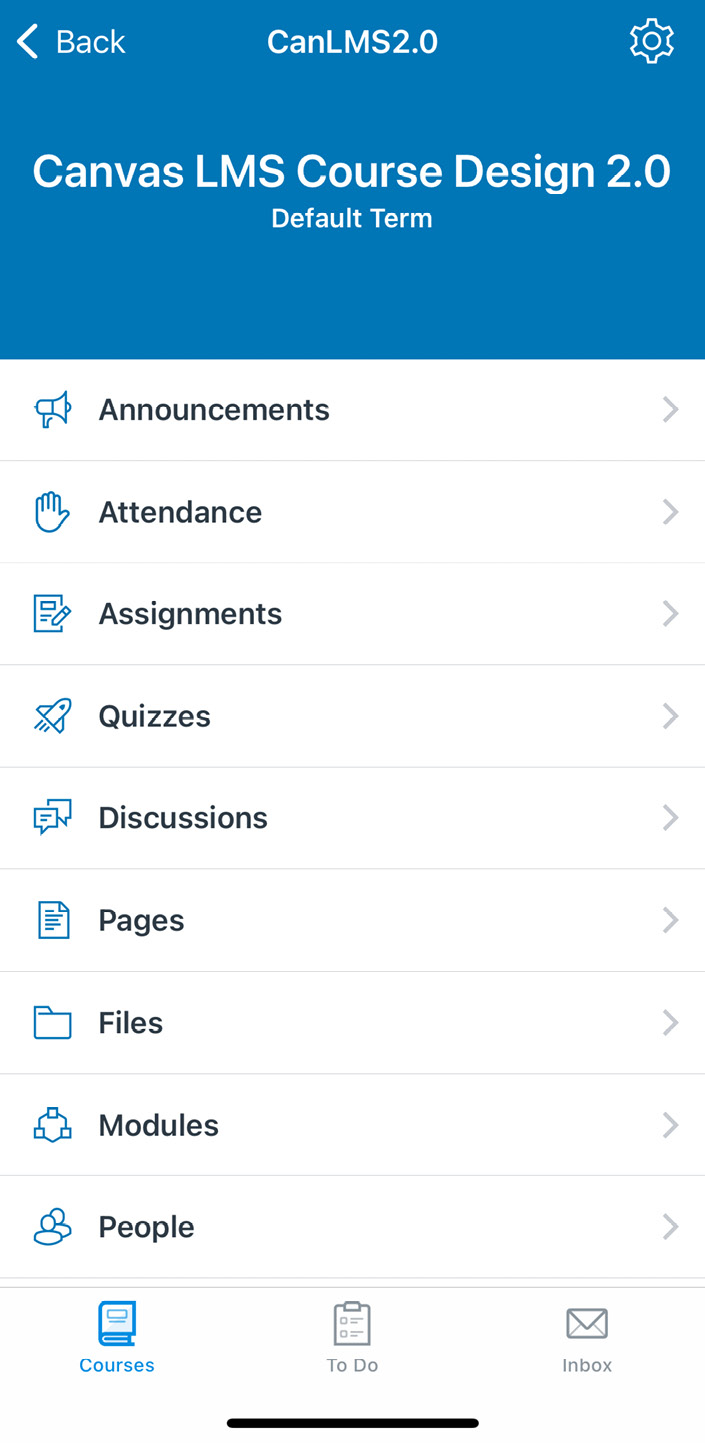
Figure 6.7 – Course Navigation links in the mobile app
- You can tap through these options and explore the mobile version of each of these pages and features.
- While the Grades page does not appear on the list of options in the mobile app, you can still view and grade activities by tapping the Assignments, Quizzes, or Discussions options from this list. When you open the activity you wish to view or grade, you will see an overview of the activity showing how many submissions are Graded, if anything Needs Grading, or how many are Not Submitted. This overview screen is shown in the following screenshot:

Figure 6.8 – Sample discussion overview screen
- If you tap Graded or Needs Grading, you will see a list of student names for the activity. You can tap on any student's name to view their submission. At the bottom of their submission, you can tap the Grades, Comments, or Files tabs to post grades with annotations or rubrics, leave comments, or view files the student has uploaded, just as you would on the desktop version of Canvas. An example of a student submission with the Grades tab open is displayed in the following screenshot:
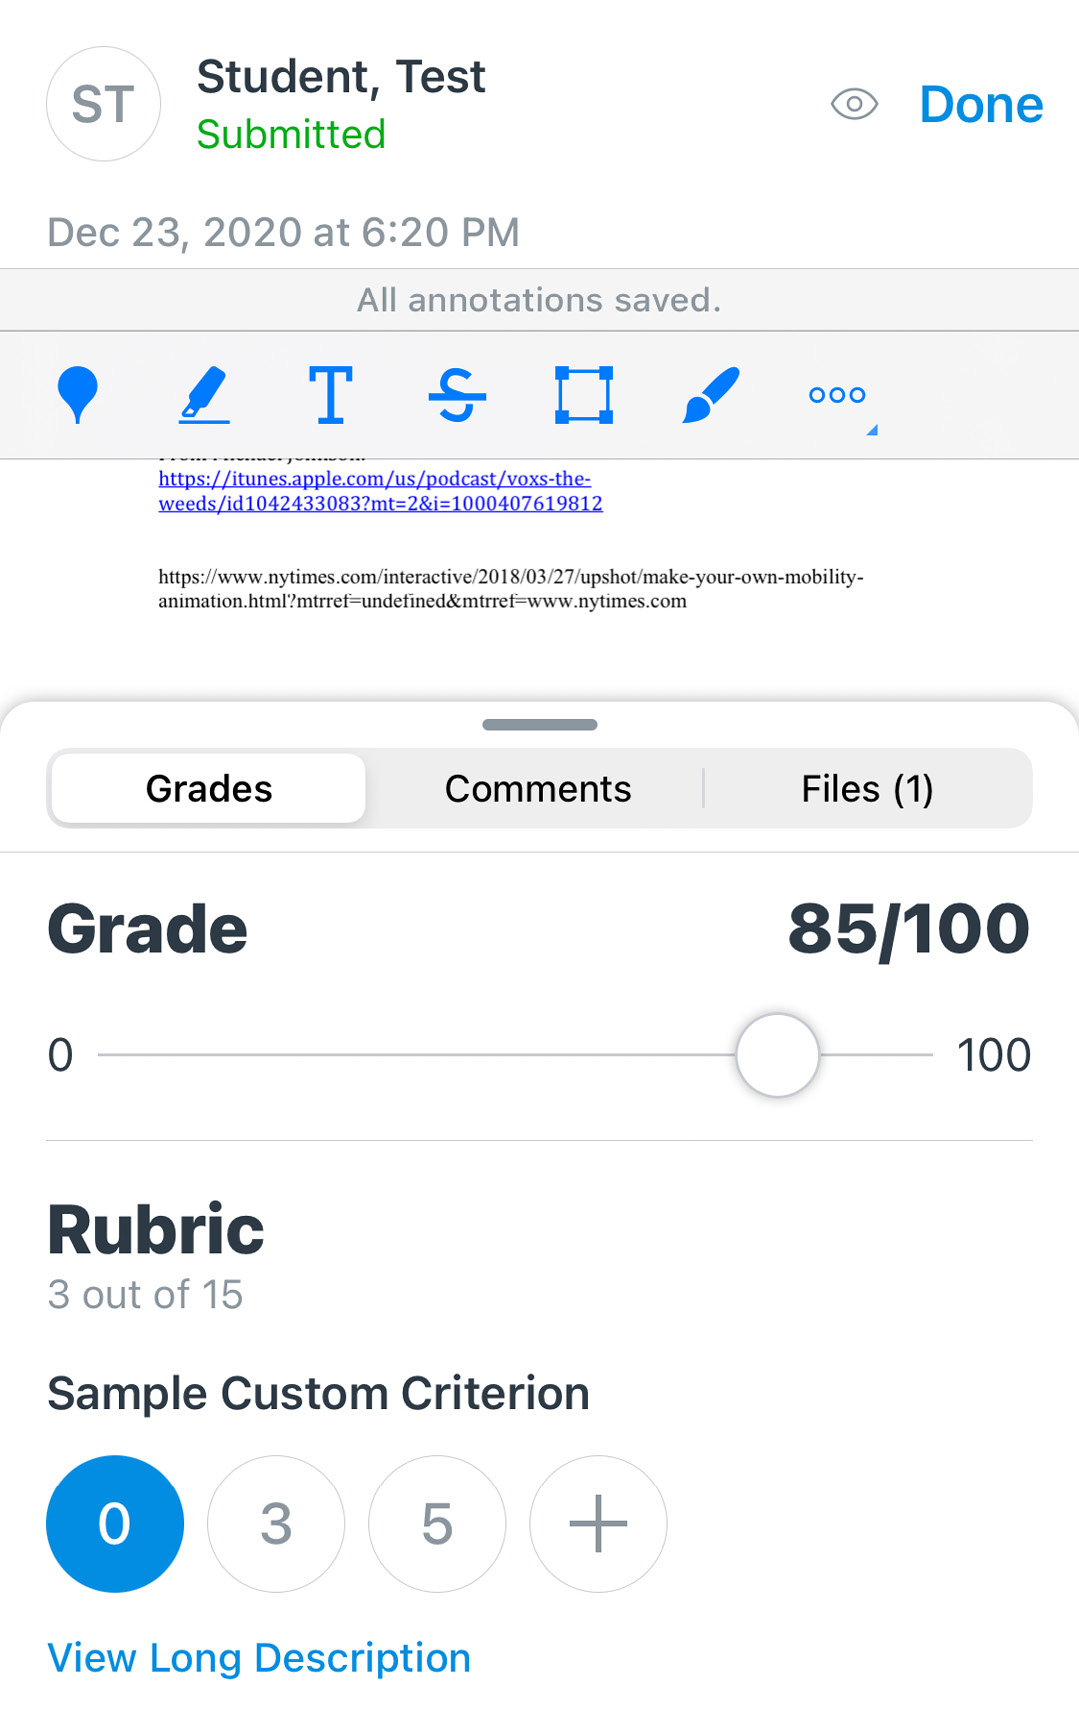
Figure 6.9 – Sample student submission with the Grades tab open
As we discussed in previous chapters, taking time to explore the various features of Canvas allows you to gain personal insight into the inner workings of each feature through trial and error. Do not hesitate to use the same approach to learning the Canvas mobile app—take some time to explore and experiment with each feature. You might find that some of the features from the desktop site appear in a different place or a different format in the mobile device, but nearly all of the functionality for instruction found in the desktop site is available within the mobile app.
Let's now look at the next icon over on the dashboard — the To Do feature.
Using the To Do feature of the mobile app
The mobile app is helpful to easily view what you need to do for your course while you are away from your computer. As various tasks arise for you to complete for your course, such as grading student submissions, you will see a notification appear on the To Do tab showing how many items you need to complete. To utilize the To Do feature of the mobile app, complete the following steps:
- Tap on the To Do option on the bottom menu of the mobile app. You will see a list appear that identifies each task you need to complete for your course, as pictured in the following screenshot:
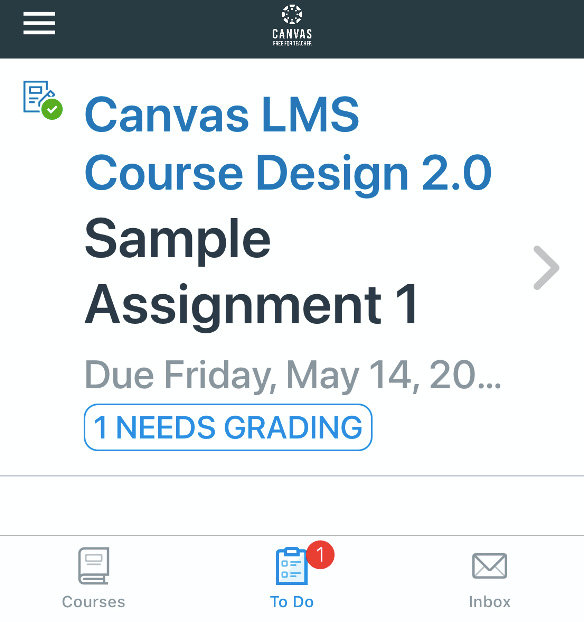
Figure 6.10 – To Do tab with notification
- You can tap on each item in the To Do list to complete each task. For example, if an assignment needs to be graded as shown in the previous screenshot, tapping on the To Do item will open the relevant assignment and show you the newly submitted work to grade directly within the mobile app.
Most To Do items for instructors involve grading, and the To Do feature of the mobile app is a wonderful, straightforward, and easy way to keep track of what feedback and grading you need to provide for your students.
Let's now move on to discuss the final option along the bottom menu of the mobile app – the Inbox feature.
Viewing and sending messages within the mobile app
Within the Canvas mobile app, it is easy to communicate with other Canvas users through the Inbox feature, which functions in the same way as the Inbox feature of the desktop version of Canvas. To access and use the Inbox feature of the mobile app, complete the following steps:
- Tap on Inbox on the bottom menu of the app. Your inbox will open, and you will see options along the top to view All messages in your Inbox, your Unread messages, your Starred messages, your Sent messages, and your Archived messages, as outlined in the following screenshot:
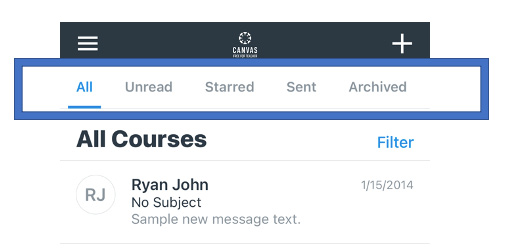
Figure 6.11 – Inbox options in the mobile app
- Within your inbox, you will see the list of messages in your account, with the most recent messages listed at the top of the screen.
- To open an existing message, tap on the message preview that includes the name of the sender and the beginning of the message. Once you have read the selected message, you can tap the Reply link that appears underneath the message, as pictured in the following screenshot:
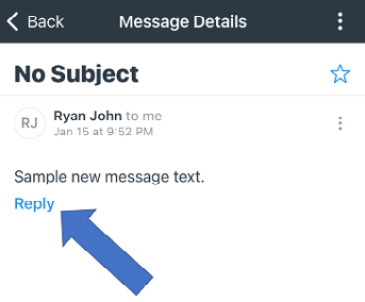
Figure 6.12 – Replying to a message
- After you tap Reply on an existing message, a new screen will appear with a textbox to type your message.
- If you would like to add an attachment to your message, tap on the icon that looks like a paperclip at the top of the message window. On the screen that opens, tap the + sign in the top-right corner, and then select whether you want to Record Audio, Use Camera, Upload File, or Choose from Library. Choose the appropriate option and follow the onscreen instructions to attach your desired media or file. The following screenshot displays the options that appear when you tap the attachment icon:
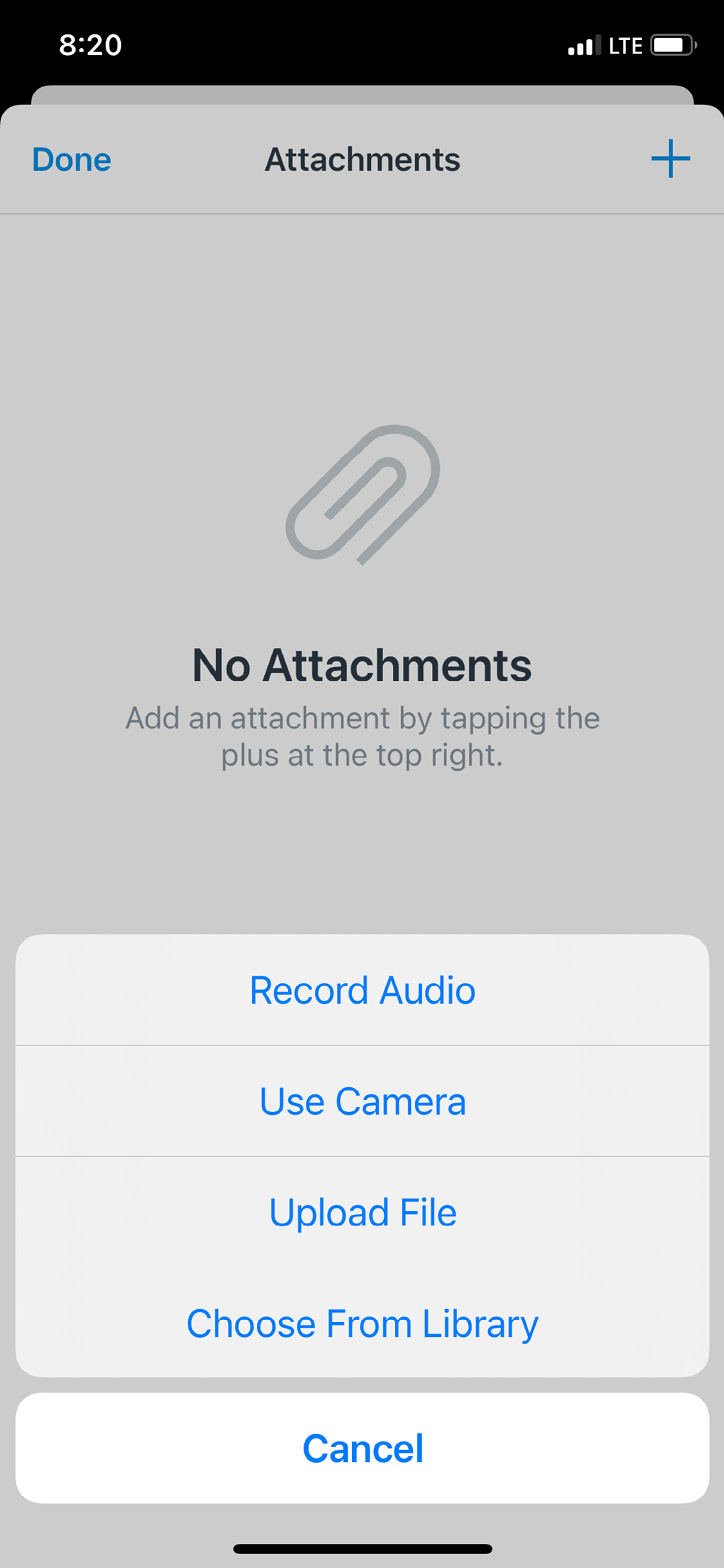
Figure 6.13 – Attachment options
- When you are satisfied with your message, tap Send in the top-right corner and your message will be sent.
Within the messaging feature of the mobile app, you can also compose new messages to other Canvas users. To compose a new message, complete the following steps:
- Click on the + icon in the top-right corner of the Inbox screen, as shown in the following screenshot:

Figure 6.14 – Composing a new message
- The first step in composing a new message is to select the course that your recipient or recipients are taking. Tap on Select a Course, and then choose the course in which your recipient or recipients are enrolled.
- Next, tap on the + icon in the To field, which will open a window allowing you to Search for the recipient or to select All participants, certain Teachers, certain Students, or certain Student Groups in the course as recipients of your message. These options are shown in the following screenshot:

Figure 6.15 – Recipient options for a new message
- If you select multiple recipients, you can select the Send individual message to each recipient option instead of including them all on the same message if you would prefer, which essentially functions like the BCC function for sending an email.
- Once you have selected your recipient or recipients, you can type your message in the textbox that appears under the recipient list in the same way we replied to a message.
- You can add an attachment in the same way we discussed when replying to a message.
- When you are finished composing your message and attaching any items, tap the Send option in the top-right corner to send your message.
Now that we have covered the main features of the mobile app along the bottom menu, let's examine some other helpful features to customize your experience using the mobile app. We will start with customizing your notifications.
Accessing your settings within the mobile app
While you are on the go, you can use the mobile app to view and adjust your Canvas settings as well as settings specific to your mobile app. To access Settings, complete the following steps:
- Tap the app options icon with three horizontal lines in the top-left corner of the app, as shown in the following screenshot:
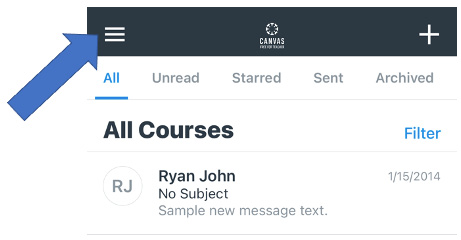
Figure 6.16 – App options icon
- Tap on Settings from the menu that appears, which is shown in the following screenshot:
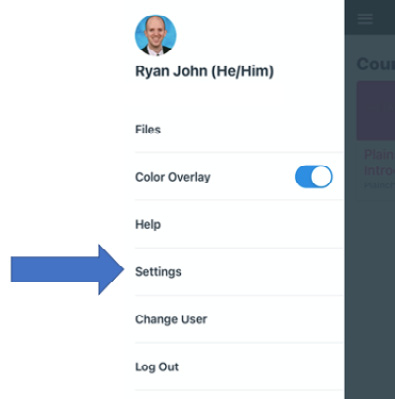
Figure 6.17 – App options menu
- Tap any of the headings that appear on the Settings screen to view the options available. The Settings options are shown in the following screenshot:

- One useful heading that allows you to adjust settings specific to the mobile app is the Push Notifications heading. If you tap on Push Notifications, you can select which types of items you receive push notifications for on your mobile device.
- When you are finished updating or viewing your settings, tap Done in the top-left corner of the Settings window.
Having explored most options and features within the mobile app, the final feature we will discuss for the Canvas mobile app is the Help feature.
Finding help within the Canvas mobile app
If you need help with the mobile app, Canvas has built in a feature to find assistance. To access the help feature, open the app options menu by tapping the same icon in the top-left corner that we used to access the app settings. On the options menu that appears, tap on the Help option and a menu will appear with a number of options from which you can choose. This screen is pictured in the following screenshot:

Figure 6.19 – Help options
The following points describe the main options for support available to you when you tap each option:
- Search the Canvas Guides: This option allows you to browse and search some of the Frequently Asked Questions (FAQs) regarding the mobile app within the Canvas Guides. We will discuss the Canvas Guides in much more depth in Chapter 7, Where to Go for Help.
- Community Website options: The Video Conferencing Guides for Remote Classrooms, Ask the Community, and Submit a Feature Idea options are all available at the https://community.canvaslms.com/ website. This site provides information directly from Canvas as well as from other Canvas users and allows you to engage with the Canvas community to improve your practice and support the development of Canvas as a Learning Management System.
- Report a Problem: This option will open a new message that will allow you to tell Canvas about any problems you might be encountering with the mobile app. This option works with the Inbox feature of the app.
- Other options: The remaining options on the Help menu allow you to request services and access resources related to Canvas and education.
Now that we have covered how to configure and navigate the Canvas mobile app, let's move back to your computer to discuss integrating apps from external services into your course.
Integrating external apps into your course
Canvas has partnered with a number of online resources to allow you to integrate external applications into your courses. These app integrations are called Learning Tool Interoperability (LTI) and allow you to enhance the functionality of your course by sending and receiving data with outside services. There are many apps available to integrate into your course. To view the list of available apps, perform the following steps:
- Click on the Settings tab at the bottom of the left side menu on your course home page.
- Across the top of the Settings page and you will see tabs for various settings and options. The fourth tab, as shown in the following screenshot, is the Apps tab—click on it:
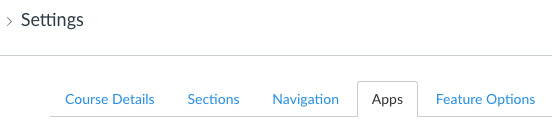
Figure 6.20 – Apps tab
- When you open the Apps tab, you will see brief instructions at the top of the page with a large list of available apps displayed below, as pictured in the following screenshot:

Figure 6.21 – Apps feature description
- Take some time to scroll or search through the available apps to find options that you might wish to integrate into your course. If you hover your mouse over the icon for an app, a description will appear over the icon that will explain what integrating that app will allow you to do. For example, if you use a McGraw-Hill textbook in your course, check to see whether the textbook has any interactive online resources listed; if it does, you can integrate the McGraw-Hill app directly into your course so that your students can take advantage of the online resources directly through Canvas.
You may wish to connect the Khan Academy app to your course to open the door for your students to explore the myriad of free learning resources offered by Khan Academy. If you know you are going to be using lots of videos during your course, consider integrating the YouTube and Vimeo apps to more easily access and embed content from these sites into your course. Select the app you would like to integrate into your course by clicking on the app icon in the main list.
- On the app page that opens, click + Add App underneath the icon and then follow any onscreen instructions that appear. Once you have followed all the instructions, the app will be integrated into your course. You may need to obtain additional information from your institution for certain apps, such as apps that require payment or access codes to use. Check in with your institution's IT or administrative team to obtain additional information you may need for integrating apps that your institution supports.
Note
If you are using an institutional instance of Canvas, your school has control over which apps may be integrated and how LTIs function within your instance of Canvas. Apps integrated by your institution should be fair game for use. However, if you are integrating an app at the account or course level as described in this section, it is important to ensure that you are abiding by your institution's privacy and data usage policies since LTIs facilitate the exchange of user data between Canvas and outside services. For example, some apps may use user data for marketing purposes, which may be prohibited by your institution, so it is always best to check with your IT department or administrators when integrating external apps.
As an example of how to integrate an app into your course, let's walk through the steps of installing the YouTube app for your course. Each app will function slightly differently after you have installed it into your course, but the following section will show you exactly how to install and use the YouTube app as an example.
To install the YouTube App, complete the following steps:
- Click on the Settings page of your Course Navigation menu, and then click on the Apps tab.
- From the list of available apps, find the YouTube app. Hover your mouse over the app to see a description of what the app will allow you to do. You will see that installing the app will add a YouTube icon to your Rich Content Editor that will allow you to search for and embed videos from YouTube directly to Canvas.
- Click on the YouTube app. You will see a page open with more details about the YouTube app and what it will allow you to do within Canvas.
- To install the app, click the blue + Add App button that appears directly below the YouTube logo, as pictured in the following screenshot:
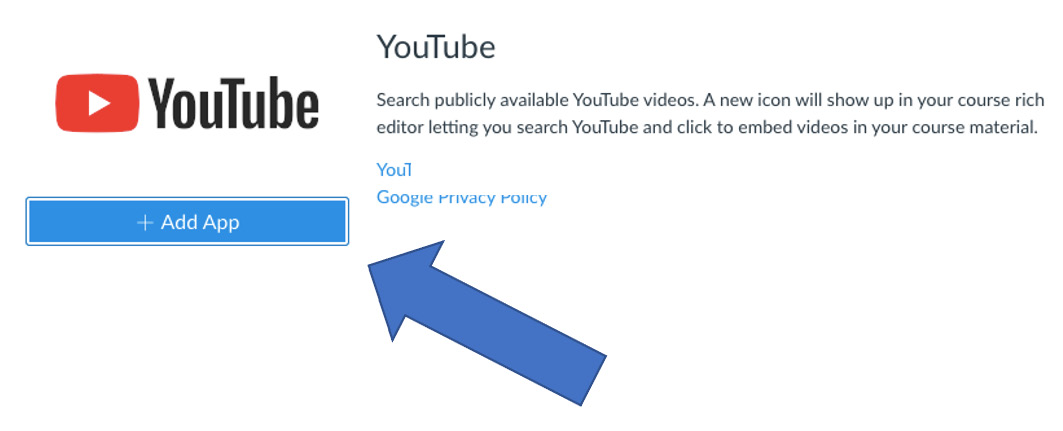
Figure 6.22 – The + Add App button
- When you click on the + Add App button, the installation will begin automatically. You will see a pop-up window appear momentarily with the name of the app and an option to add a Channel Name under which to organize the app in your account. Click on + Add App, and the pop-up window will close. The app page will display an icon indicating that the installation is loading, and then you will see a pop-up notification that the app installation was successful, and YouTube will appear on your list of installed apps. As shown in the following screenshot, your list will only include one app once you have finished installing YouTube:
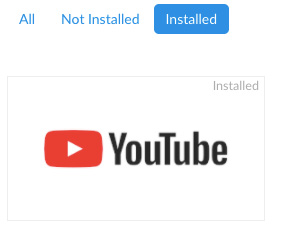
Figure 6.23 – Installed app list
- When your installation has finished, you will be able to utilize the YouTube icon that will appear within the Rich Content Editor when you post or edit content, including assignments, content pages, discussion posts, and announcements. You will also be able to insert YouTube videos directly into course modules after integrating the app. To use the app within the Rich Content Editor, click on the YouTube icon, as highlighted in the following screenshot:
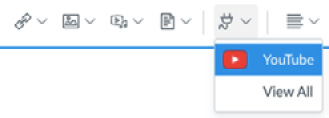
Figure 6.24 – App option shown in Rich Content Editor
- When you click on YouTube under the Apps icon in the Rich Content Editor, a pop-up window will appear with a search bar that allows you to search for videos on YouTube. Type in your search terms and then click on Search.
- From the results that appear, click on the name of the video you would like to embed, and the pop-up window will close. The selected video will appear within the Rich Content Editor textbox and will be playable once you save the item you are editing, such as a discussion post, assignment, or content page.
By utilizing the wide variety of apps available to you for installation and integration within your Canvas account, you have the opportunity to create an engaging, unique, and transformative learning experience for your students online. With the combination of your teaching expertise, easy access to your course through the mobile app, and the integration of cutting-edge apps, you have the tools to increase student engagement and achievement.
Summary
In this chapter, we focused on utilizing and integrating apps for your Canvas experience. We started with a discussion of the Canvas Teacher mobile app. We learned how to download and configure the app, view Courses, complete To Do list items, and communicate through the Inbox of the mobile app. We also discussed how to access your mobile app Settings and how to find Help within the app. Next, we discussed how to integrate external apps into your Canvas course to enhance your use of Canvas as well as your students' experience with Canvas. We learned how to install the YouTube app as an example of one of the myriad apps available for integration.
At this point, we have covered all of the basics of Canvas course design. As we move into the next chapter, we will cover the options you have to find help with questions or problems you may encounter while using Canvas. We will look specifically at the range of options found within Canvas, as well as help options available to you outside of Canvas.