
This chapter provides a step-by-step guide on setting up an Oracle Enterprise Linux 6.0 guest virtual machine in VirtualBox. It also gives an overview of sharing folders in Windows and Linux, and the memory management techniques used in VirtualBox.
A wizard pops up the first time you start the VM. This wizard helps you to either select the installation medium (CD or DVD) where the operating system image is mounted, or directly select an ISO image.
The ISO image of Oracle Enterprise Linux 6.0 is used for this guide. You can download the ISO at https://edelivery.oracle.com/linux.
Prior to downloading you need to register on an eDelivery site. Once the user is created and confirmed, you can use the same credentials to log in to this site to download the ISO.
The steps for installation are as follows:
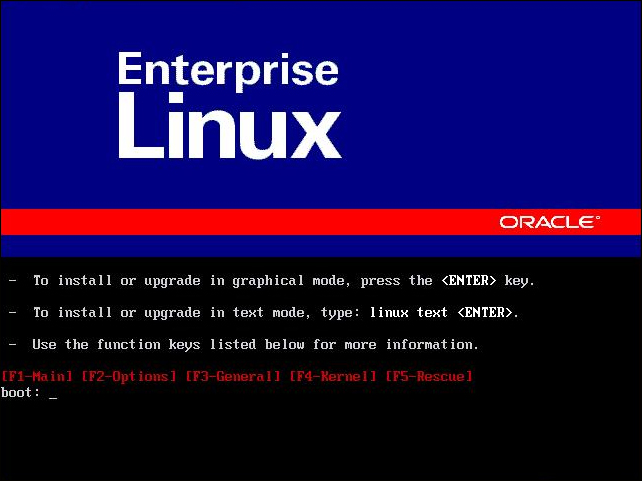
- Once you select the ISO image, the following screen appears. On the boot screen, press the Enter key.
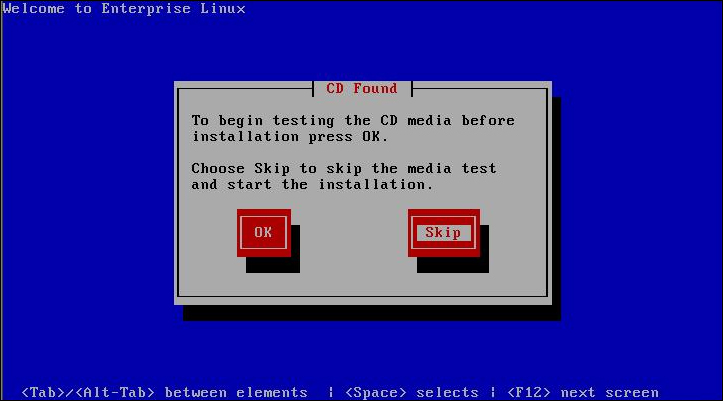
- In the following screenshot, if you select ok, the media will be tested and it will take a bit of time to complete the testing. If you are sure that your media is fine, select Skip and press Enter.
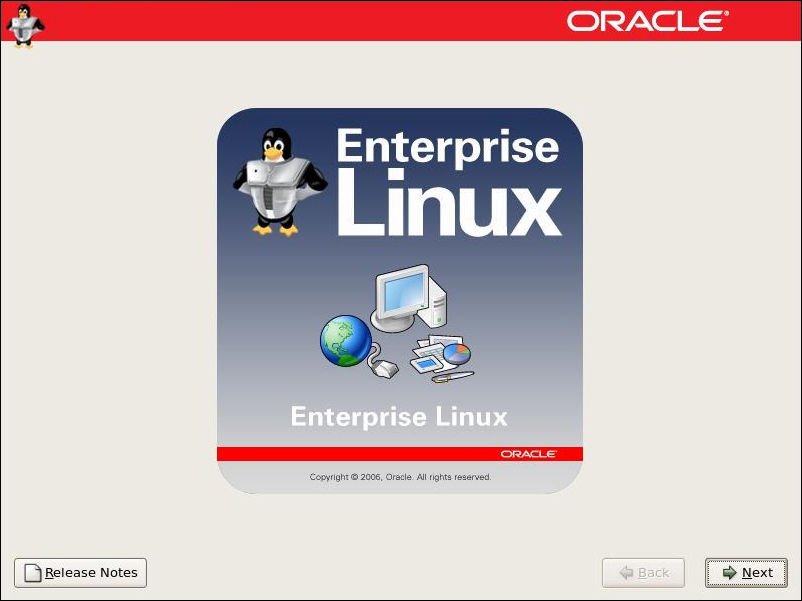
- As shown in the following screenshot, the installation starts with a welcome screen; select Next to continue.
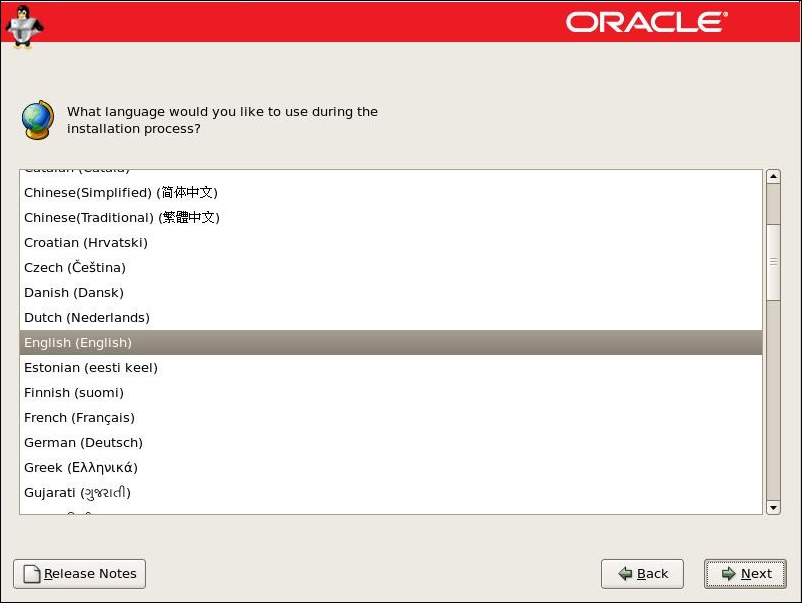
- As shown in the following screenshot, select the appropriate language, in this case English, and press Next.
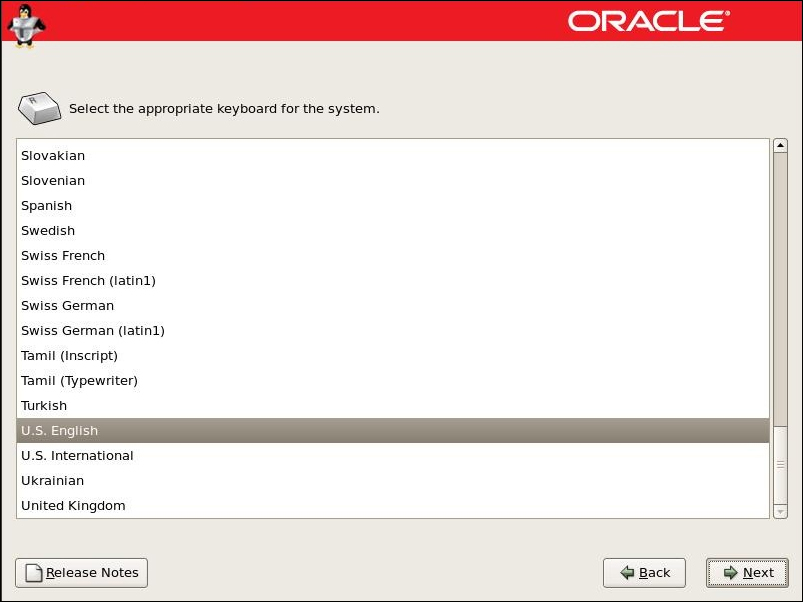
- As shown in the following screenshot select the keyboard layout appropriate to your location in this case, U.S. English, then click on Next.
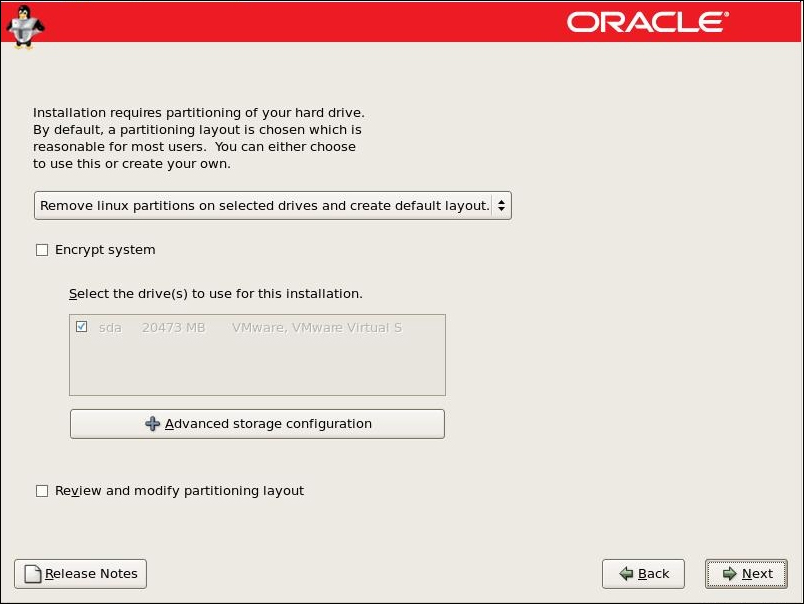
- Considering the virtual machine is the first one and is new, as shown in the following screenshot, accept the default options to remove the Linux partitions and then click on Next.
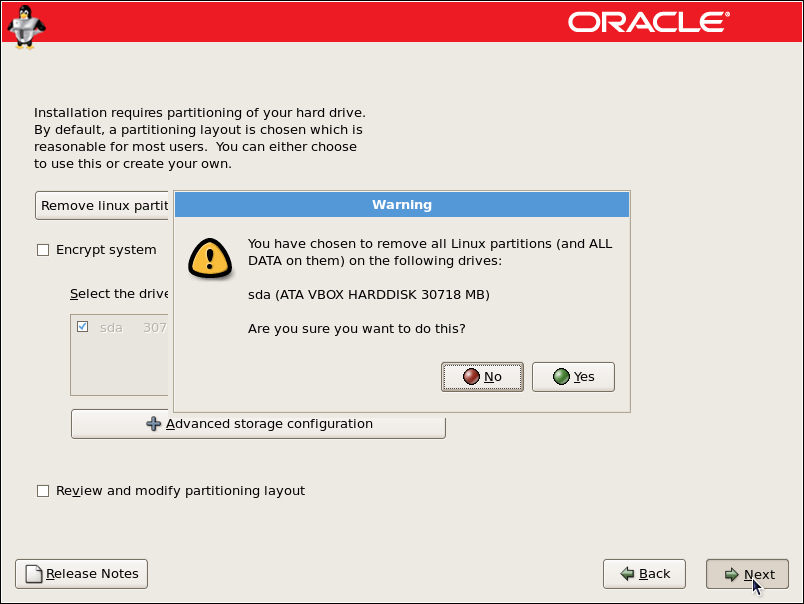
- As shown in the following screenshot, Oracle Enterprise Linux will warn you about losing all data on the virtual disk. Click on Yes in the pop up that appears.
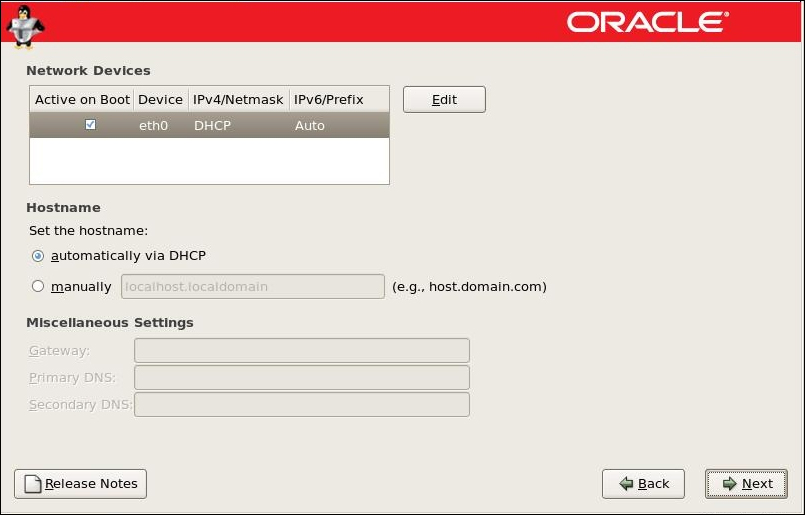
- As shown in the following screenshot, enter the hostname manually and give your machine a name. If you want to specify an IP manually, select Edit and provide the IP-related details. For guidance, the DHCP configuration is enabled.
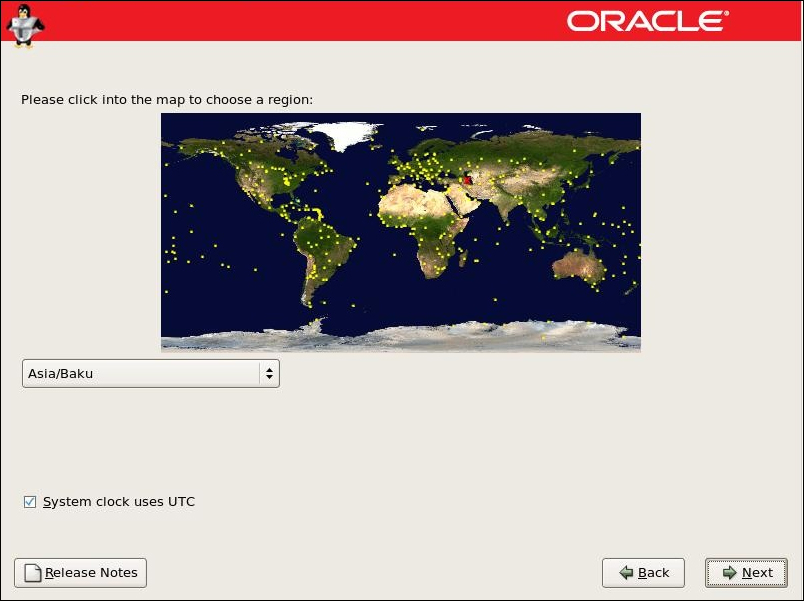
- As shown in the following screenshot, select your geographical region and time zone. Leave the system clock set to UTC.
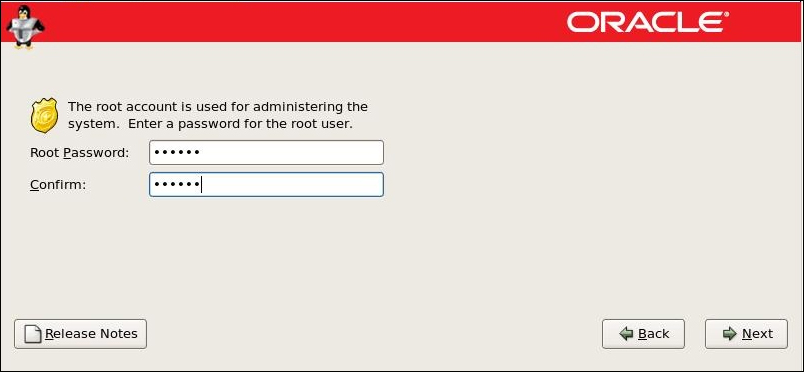
- As shown in the following screenshot, provide a password for the root user. Choose a secure password.
- As shown in the following screenshot, depending on your need, select Software Development and then click on Next. You can install the software post installation either manually or by YUM (Yellowdog Updater, Modified (YUM) is a program which manages installation, updates and removal for Red Hat package manager (RPM) systems. YUM allows the user to update groups of machines without having to update each RPM separately).
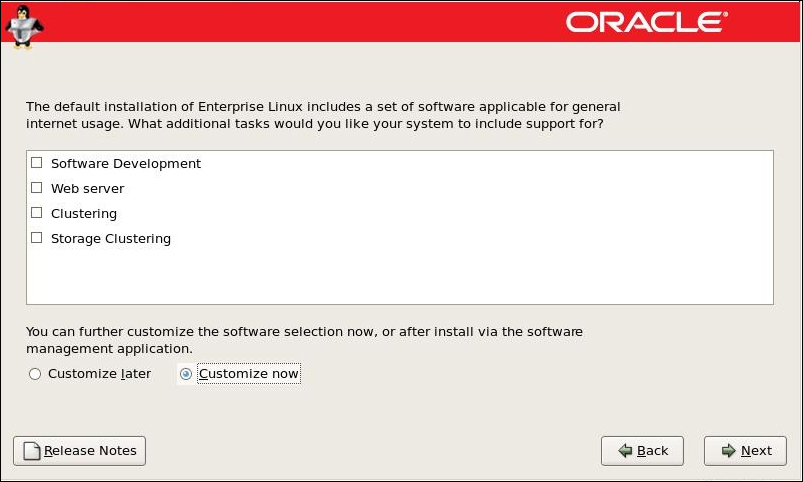
- As shown in the following screenshot, click on Customize now if you want to select the required packages during installation.
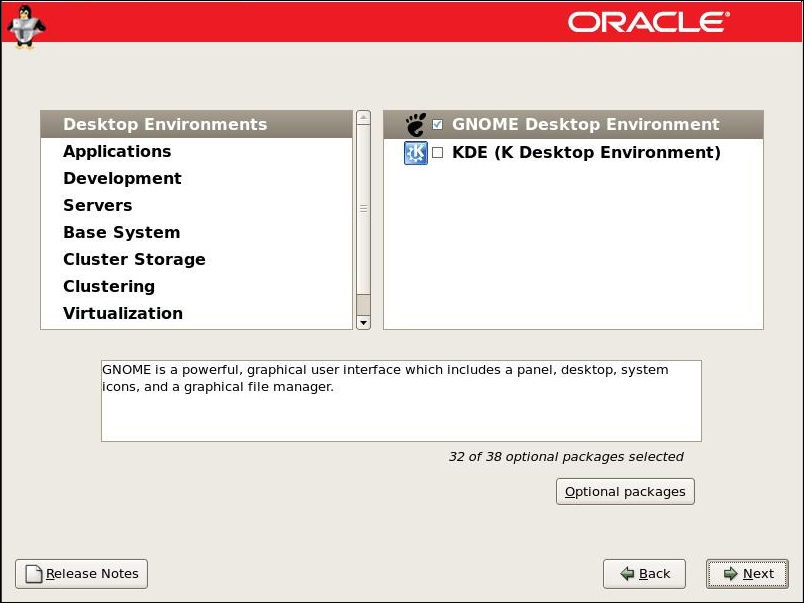
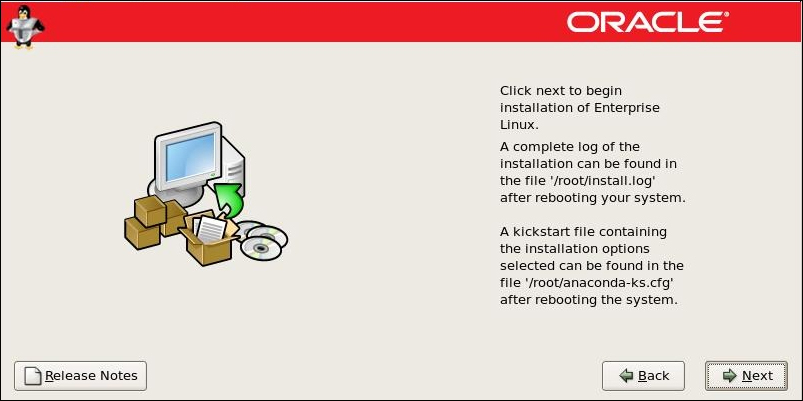
- As shown in the following screenshot, click on Next.
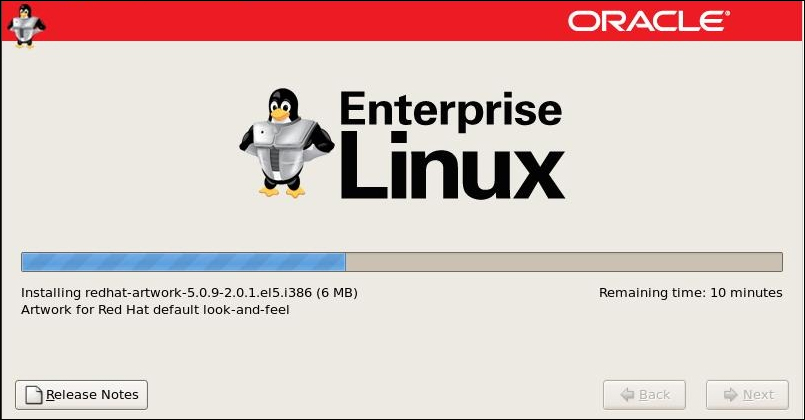
- As shown in the following screenshot, the installation will take some time.
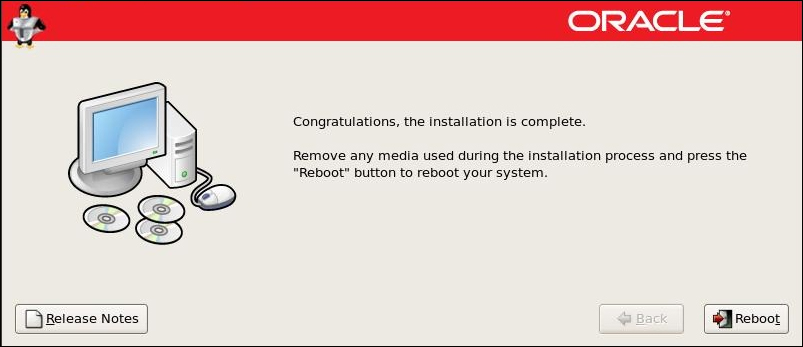
- Once the installation is complete, click on Reboot and wait for the system to restart.
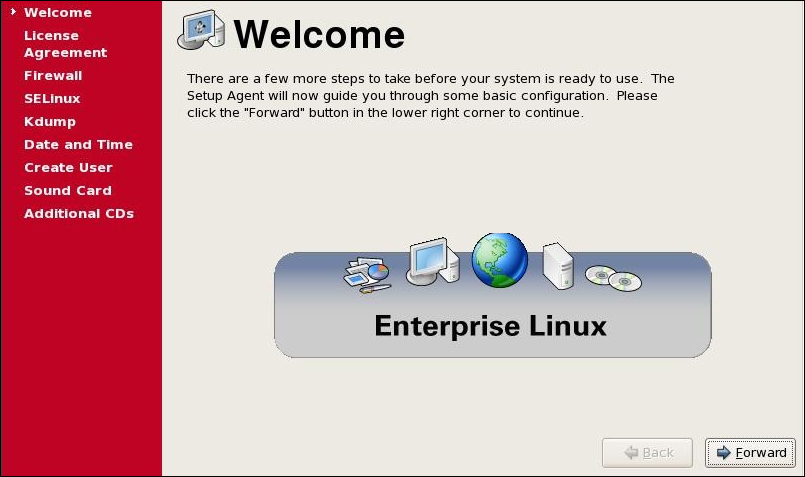
- As shown in the following screenshot, click on Forward.
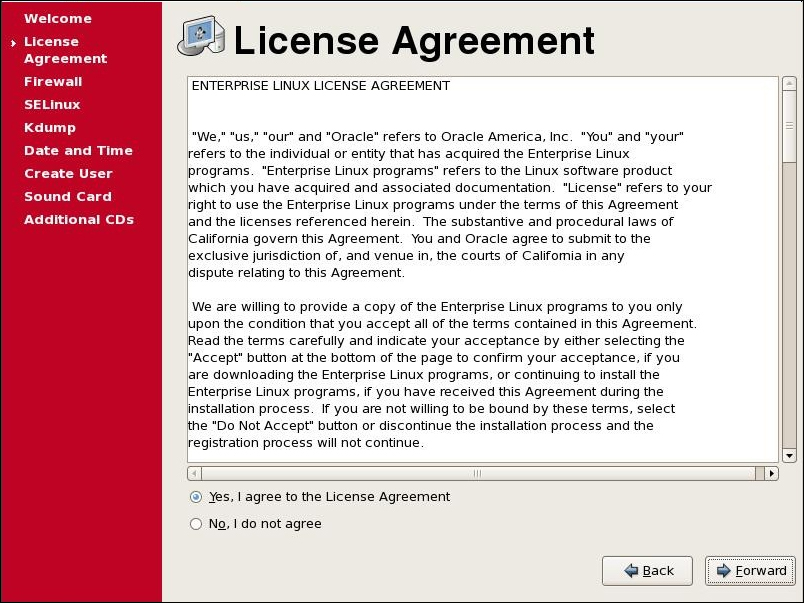
- As shown in the following screenshot, agree to the license agreement and click on Forward.
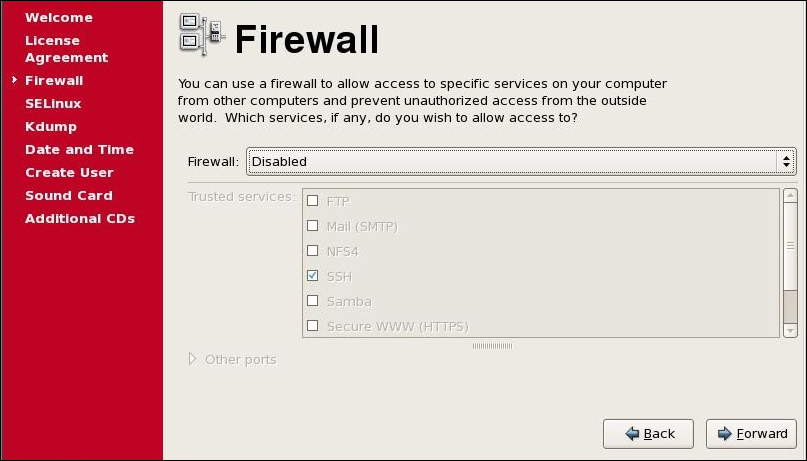
- We leave the firewall Disabled, assuming that the installation is used for testing purposes, as shown in the following screenshot:
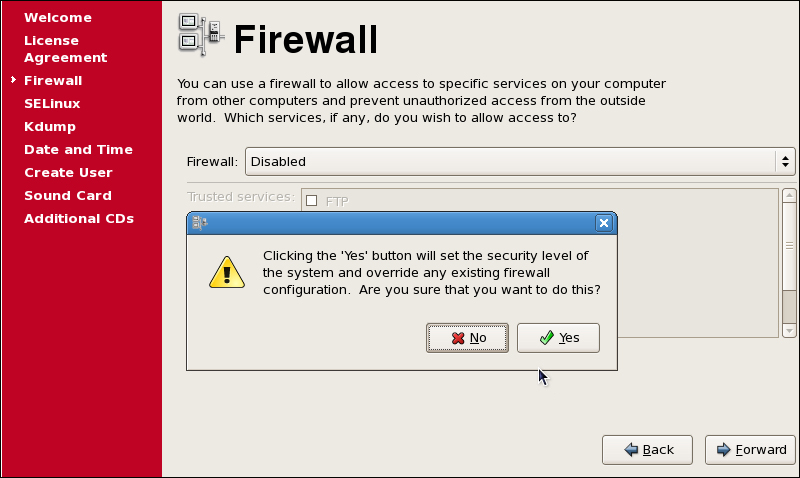
- Select Yes, as shown in the following screenshot:
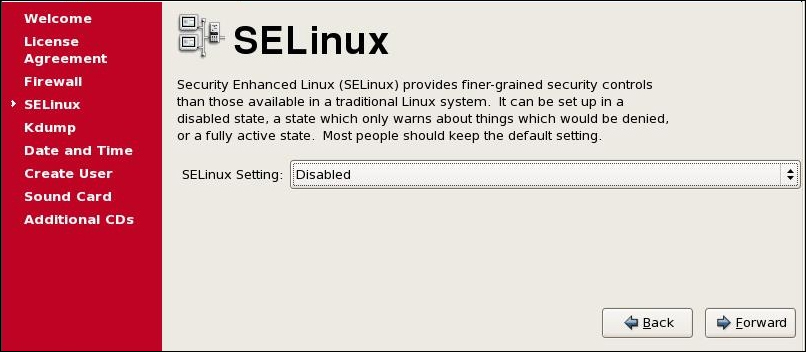
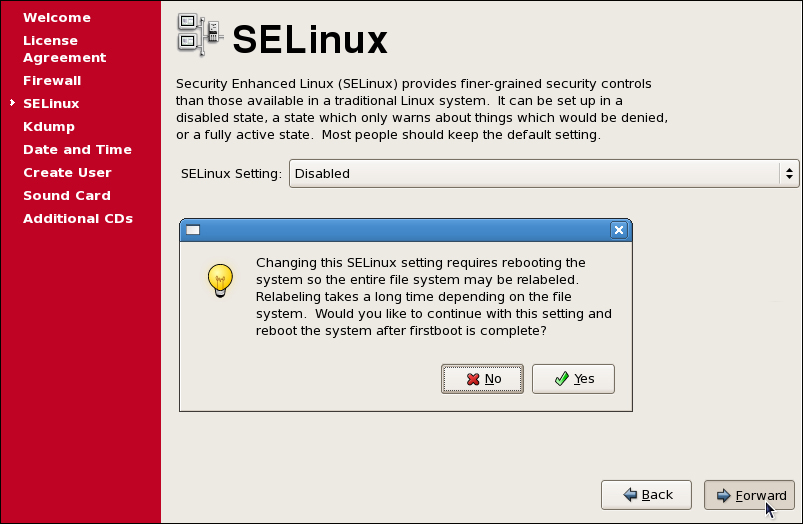
- We leave SELinux Disabled, assuming that the installation is used for testing purposes, as shown in the following screenshot:
- As shown in the following screenshot, select Yes.
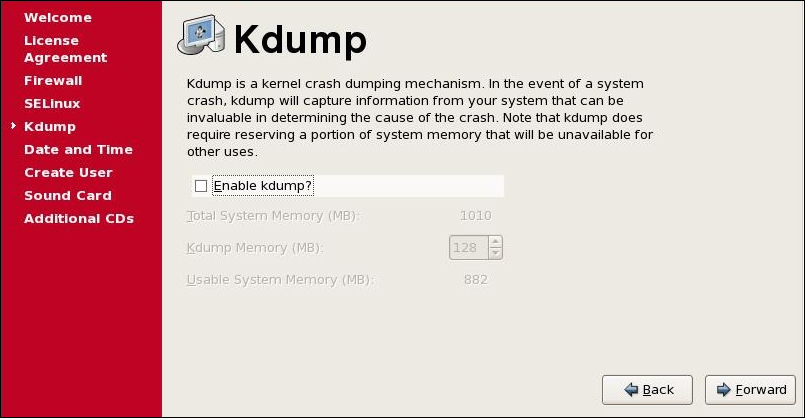
- As shown in the following screenshot, leave Kdump disabled and click on Forward.
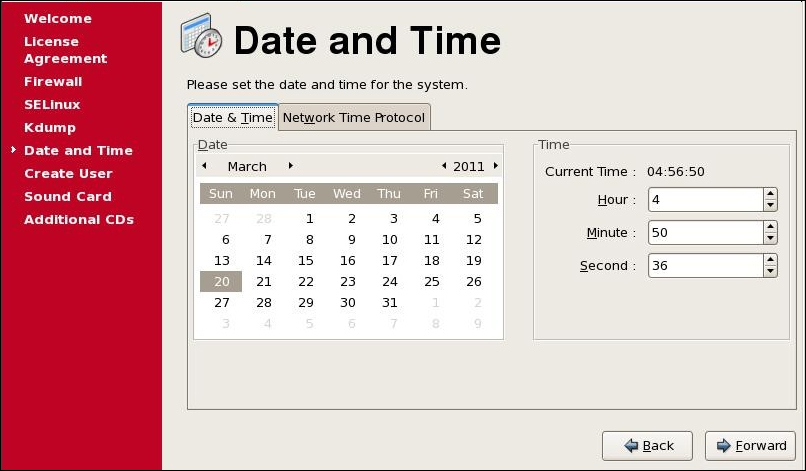
- As this is a VM, the date and time should be automatically picked up from the host machine, as shown in the following screenshot:
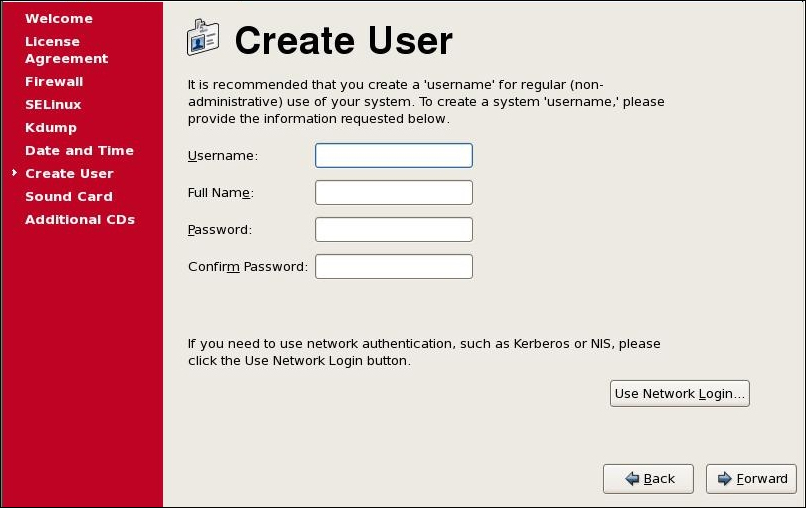
- As shown in the following screenshot, click on Forward in case you want to create additional users.
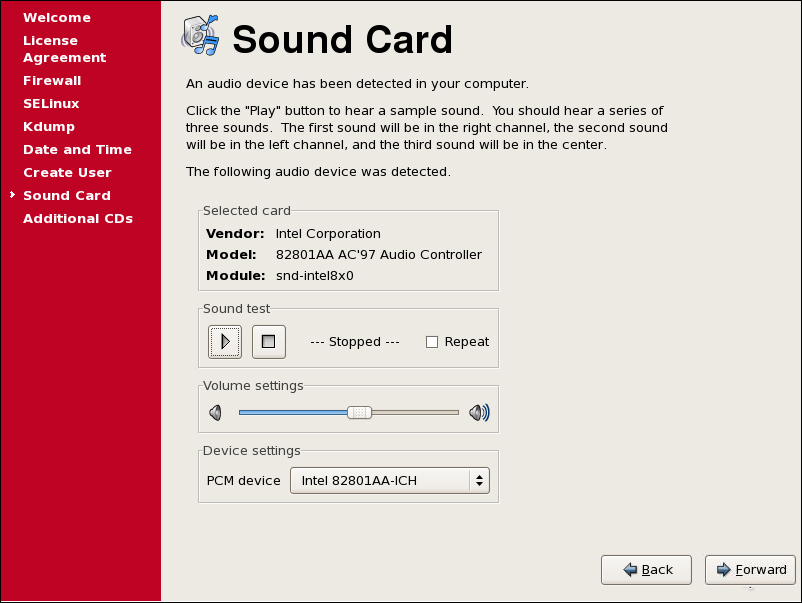
- As shown in the following screenshot, accept the default settings and click on Forward.
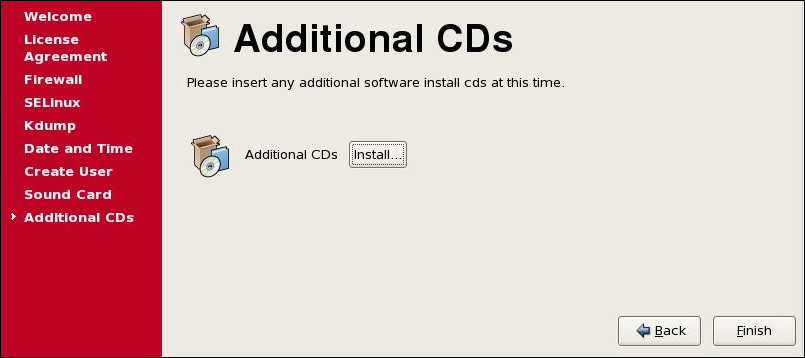
- On the following screenshot, no additional CD is required, so click on Finish.
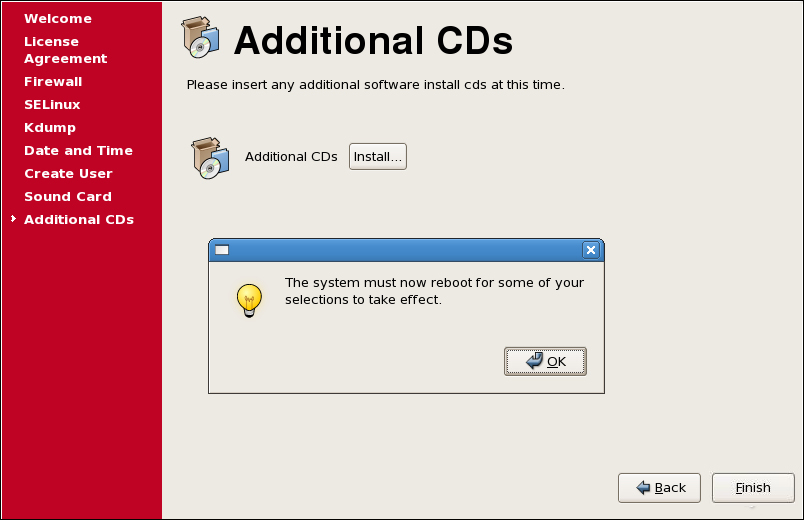
- As shown in the following screenshot, installation is now complete. Clicking on OK will reboot the system and you will be prompted to log in after restart.
Once the VM is installed, it can use the virtualized hardware provided by its configuration.
The VM uses the following hardware:
- Input devices
- Graphics
- Storage
- Networking
- Audio
You can change the preceding settings by selecting any of the following tabs from the VM settings. Please refer to the following screenshot:
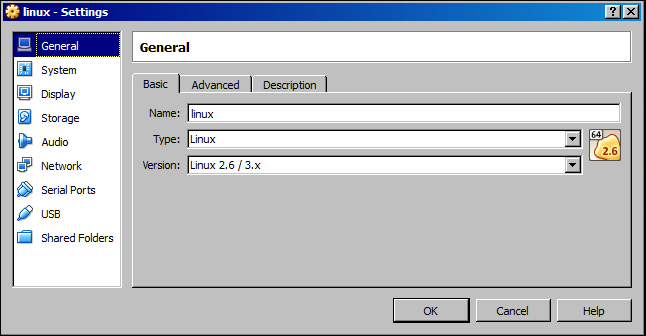
The different settings are as follows:
- General settings
- System settings
- Display settings
- Storage setting
- Audio settings
- Network settings
- Serial Ports
- USB
- Shared Folders
A detailed explanation of each of the settings is out of the scope of this book.