SETTING UP A WORMERY
Wormeries are available in a range of styles, including stainless steel models that would not look out of place in a modern kitchen or utility room. These stylish units do not come cheap, but they are durable and should last for many years. If you plan to site your wormery in the garden, look out for kits with a planter at the top. While plants in the pot will not immediately benefit from the composting going on below, you can use it for flowers to attract pollinators, herbs, or vegetable plants such as zucchini or bush tomatoes. You can also feed the plants with worm tea or the compost when it is ready.
Getting started
Red worms prefer warm temperatures, so locate your wormery in a sheltered spot outside, close to the kitchen door to make filling it easier, or in a shed or garage. Alternatively, install one in a kitchen or utility room, but check that the model you buy is suitable for indoor composting. Collect your scraps in a separate small caddy in the kitchen and feed the worms about twice a week, adding the food in layers of no more than 2in (5cm)—too much food may result in the scraps decomposing into a wet soup, which will kill them. As a rough guide, 18oz (500g) of worms will consume about 9oz (250g) of kitchen waste each day, but remember that after a few weeks they will start to breed and you will have more to feed.
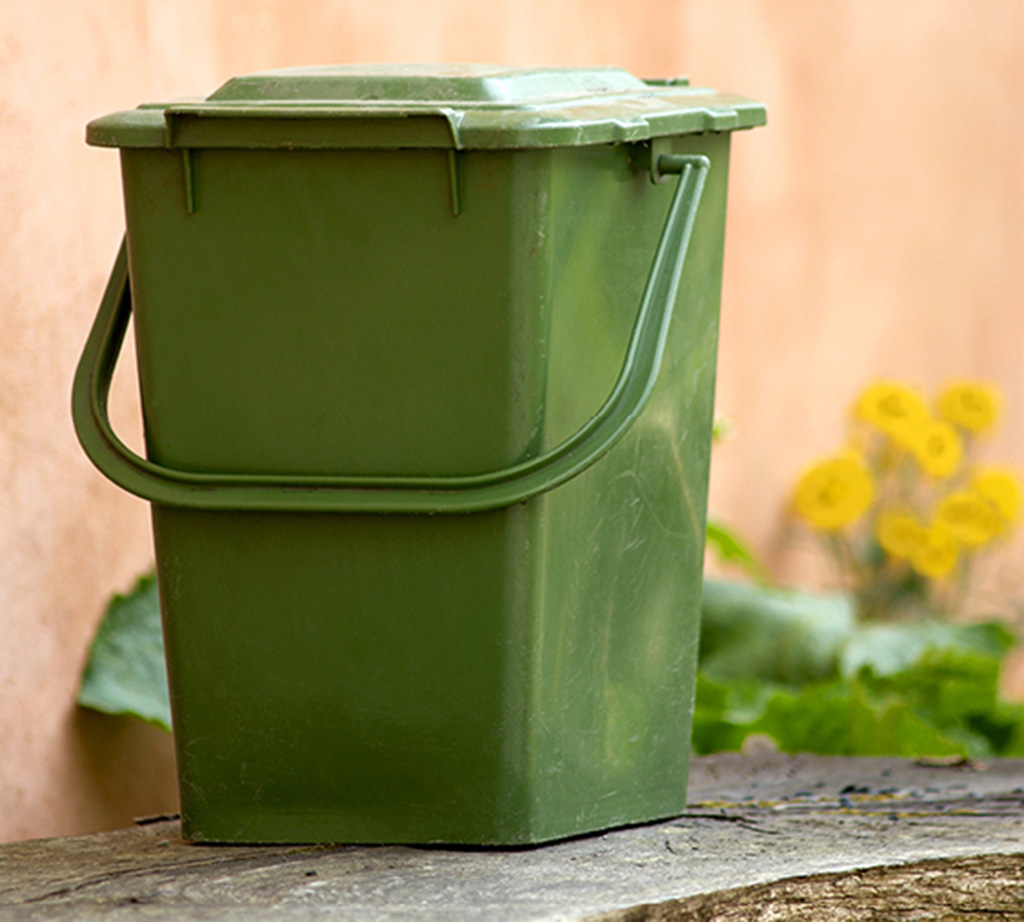
Collect kitchen scraps in a caddy fitted with a lid that will reduce odors.
Harvesting the compost
When the third or fourth tray in your wormery is full of worms and composting scraps, the lowest tray should be ready for harvesting. This may take up to six months or longer. The compost should be dark brown, with a woodland scent. Lift off the upper trays to remove the lowest one containing the finished compost. Set the second tray over the sump and use the emptied lower tray on top of the others when it is needed again.
In addition, drain the compost tea from the tap at the bottom every week to prevent the wormery from becoming waterlogged and airless.

Return any worms in your harvested compost to their home in the wormery to continue their work.
How to set up a wormery
YOU WILL NEED Stackable wormery • Bedding • Shredded paper or card • Compost and plants (optional)
Making Compost | SETTING UP A WORMERY

1 Stand the base unit (sump) with the tap on level ground. You may need to raise it up on bricks or legs to make space under the tap for a container that will hold the liquid when it is drained off. This unit has corrugated rings that fit into each tray and prevent the worms from escaping, but not all models have these.
Making Compost | SETTING UP A WORMERY

2 Stack the second tray on top of the base unit and add the bedding mix to it—you may have to soak a coir block first and leave it to expand. Add the worms and a couple of handfuls of slightly rotting food scraps from the bottom of your kitchen caddy in one corner. Cover and leave the worms to settle in.
Making Compost | SETTING UP A WORMERY

3 After a week, add a 2in (5cm) layer of fresh kitchen scraps. Chop up any large stems such as those of broccoli or corn cobs before including them.
Making Compost | SETTING UP A WORMERY

4 Cover the scraps with a layer of shredded paper and then add the lid or planted-up pot. A few days later, lift up the shredded paper to check that the worms are coping with the waste you are giving them. Once the worms start to breed, you may be able to add scraps more frequently. Continue to add layers of kitchen scraps and shredded paper until the first tray is full.
Making Compost | SETTING UP A WORMERY

5 Add another corrugated ring and composter unit on top of the first, plus a layer of food waste. The worms will migrate up to the new tray to feed. Continue to add trays when the one below is full.
Making Compost | SETTING UP A WORMERY

6 If your wormery has a plant pot as a lid, fill it with potting mix and add flowers, herbs, or vegetables such as the zucchini used here.
Making Compost | SETTING UP A WORMERY
NEED TO KNOW
- If the top of the wormery feels wet rather than damp, drain excess liquid from the tap at the bottom and add more shredded paper and card to the feeding tray.
- If the wormery is too dry in summer, lightly water the contents.
- When using a plant pot on top, remove it to water the plant and do not use chemical fertilizers which may harm the worms if they seep down into the wormery.
- In winter, worm activity slows down and you may need to feed them less often. Move your bin to a garage or shed or wrap it in bubble wrap for insulation if it is to remain outside.