
In this chapter, you will learn how to configure and manage connections and gateways.
Manage Connections
Connectors provide a way for users to connect to underlying services using their accounts in order to create automated workflows. Examples of popular services include SharePoint, Office 365 Outlook, OneDrive, Twitter, and more. There are more than 150 connectors. You will learn how to add and delete a connection.
Create a New Connection
Perform the following steps to create a new connection:
Navigate to the Flow site at https://flow.microsoft.com .
In the top navigation, click the Settings icon and then click Connections, as shown in Figure 5-1.

Figure 5-1 Connections
You’ll see a list of connections, as shown in Figure 5-2.
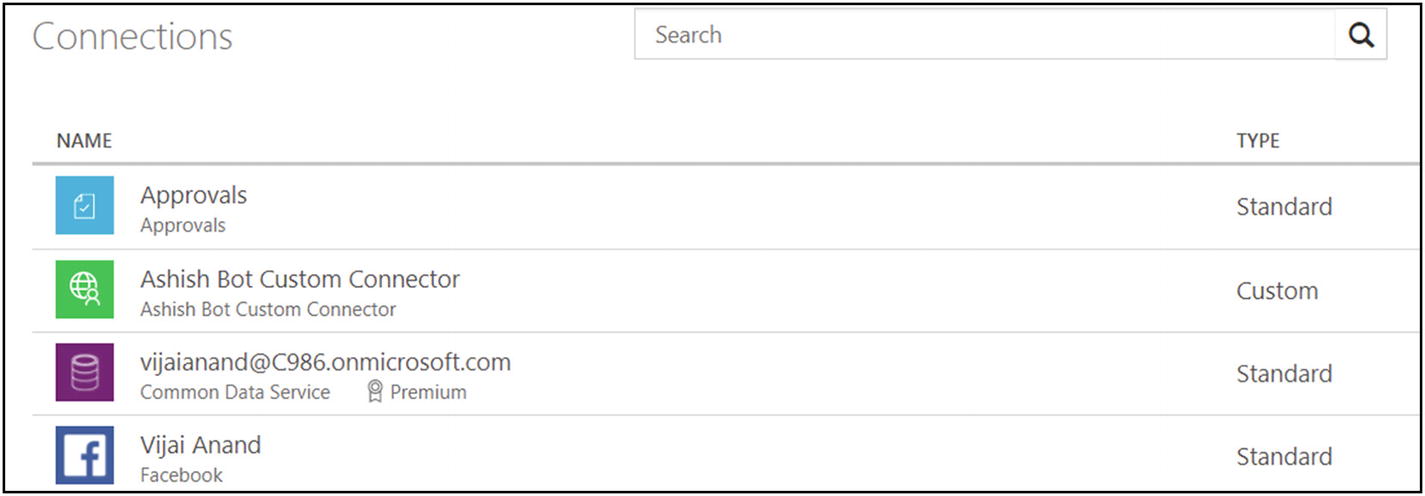
Figure 5-2 List of connections
Click New connection, as shown in Figure 5-3.
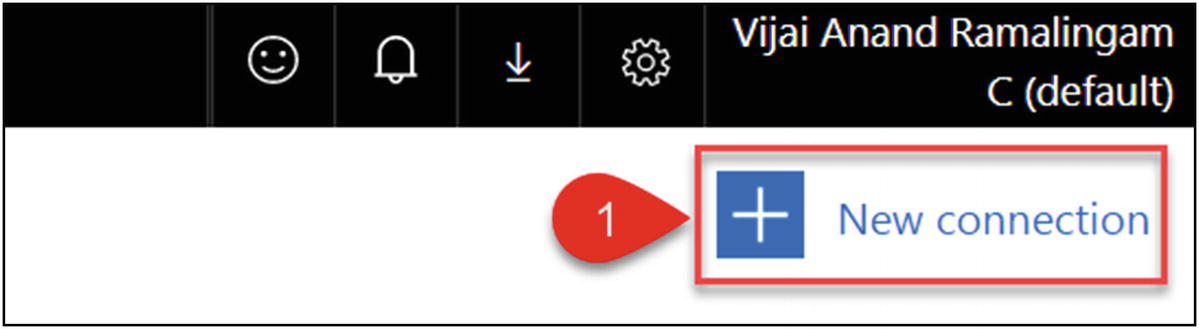
Figure 5-3 New connection
Enter the keyword twitter in the search text box and click Enter. Then click the + sign shown in Figure 5-4.

Figure 5-4 Search for the twitter keyword
Click Create, as shown in Figure 5-5.

Figure 5-5 Connect to Twitter
Authorize the flow to use the Twitter account, as shown in Figure 5-6.
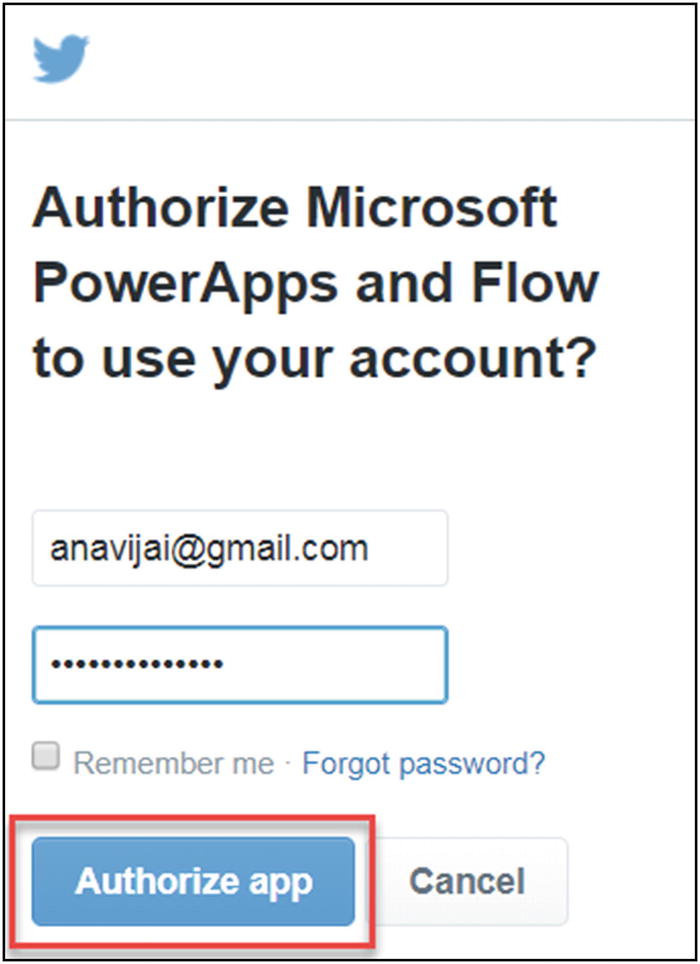
Figure 5-6 Authorize the app
Figure 5-7 shows that the connection was added successfully.

Figure 5-7 New connection added
Create a Connection to SharePoint’s On-Premises Data
Perform the following steps to create a connection to SharePoint’s on-premises data:
Navigate to the Flow site at https://flow.microsoft.com .
In the top navigation, click the Settings icon and then click Connections, as shown in Figure 5-8.

Figure 5-8 Connections
You’ll see a list of connections, as shown in Figure 5-9.

Figure 5-9 List of connections
Click New connection, as shown in Figure 5-10.

Figure 5-10 New connection
Enter the keyword SharePoint in the search text box and click Enter. Then click the + sign shown in Figure 5-11.

Figure 5-11 Search for the SharePoint keyword
Select the Connect using on-premises data gateway option and then select the Authentication Type as Windows, as shown in Figure 5-12.
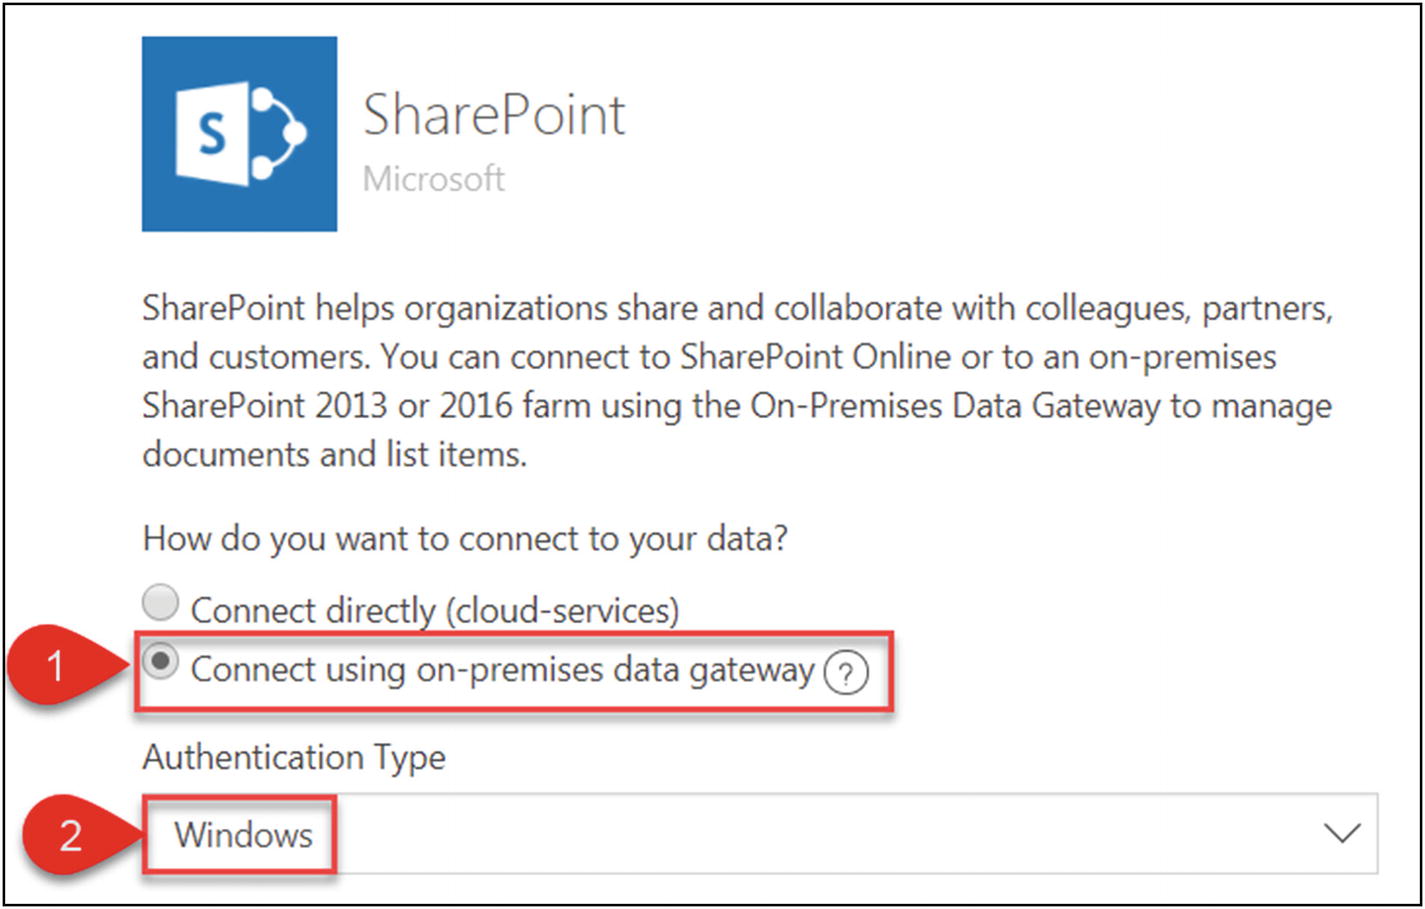
Figure 5-12 Connection options
Enter the username and password, and then choose a gateway, as shown in Figure 5-13. Click Create. (Note that installing the on-premises data gateway is covered in the upcoming “Install a Gateway” section. The username and password will be the same.)
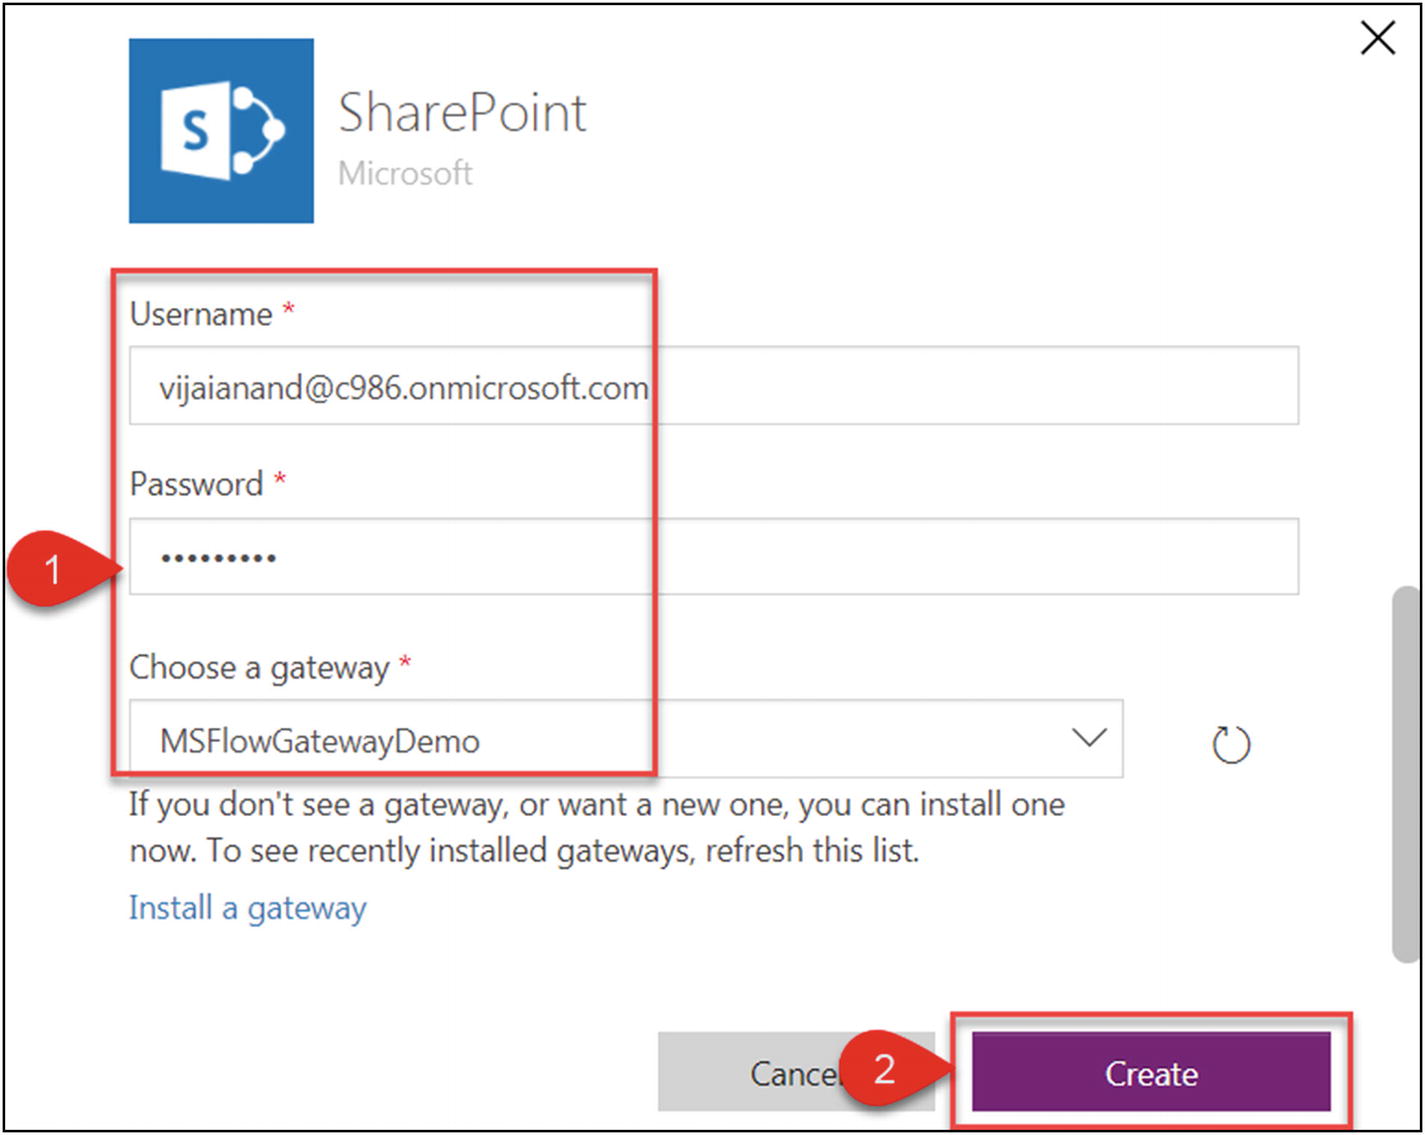
Figure 5-13 Connect to your data
You are now connected to SharePoint’s on-premises data, as shown in Figure 5-14.

Figure 5-14 Connection added
Delete a Connection
Perform the following steps to delete a connection:
Navigate to the Flow site at https://flow.microsoft.com .
Click the Settings icon and then click Connections, as shown in Figure 5-15.
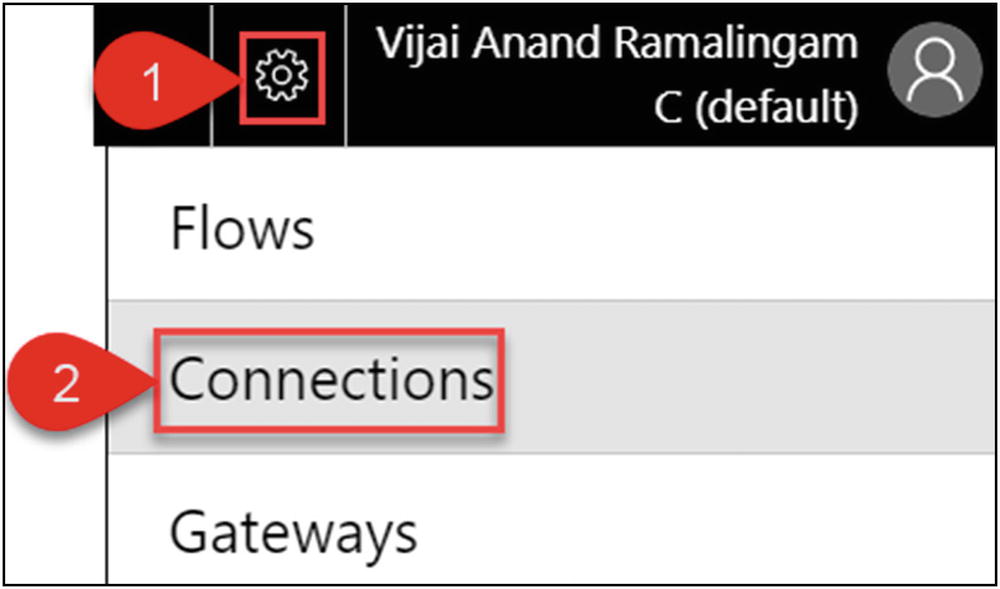
Figure 5-15 Connections
You’ll see a list of connections, as shown in Figure 5-16.
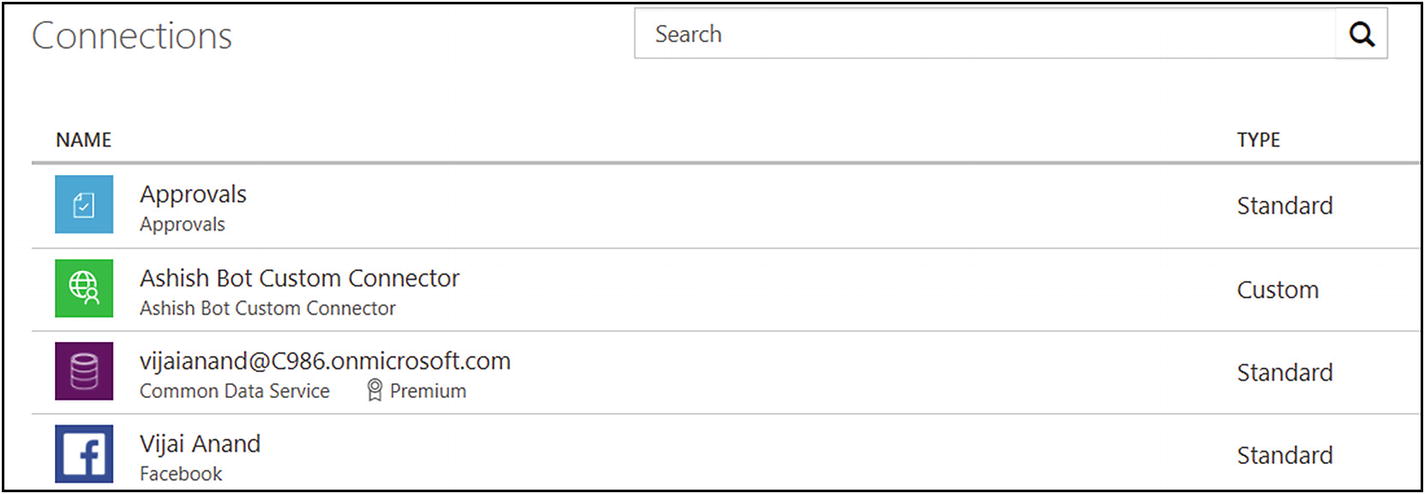
Figure 5-16 List of connections
Select the connection that must be deleted. Click the three dots in the upper right corner (…) and then click Delete, as shown in Figure 5-17.

Figure 5-17 Delete a connection, part 1
Click Delete to delete the connection, as shown in Figure 5-18.
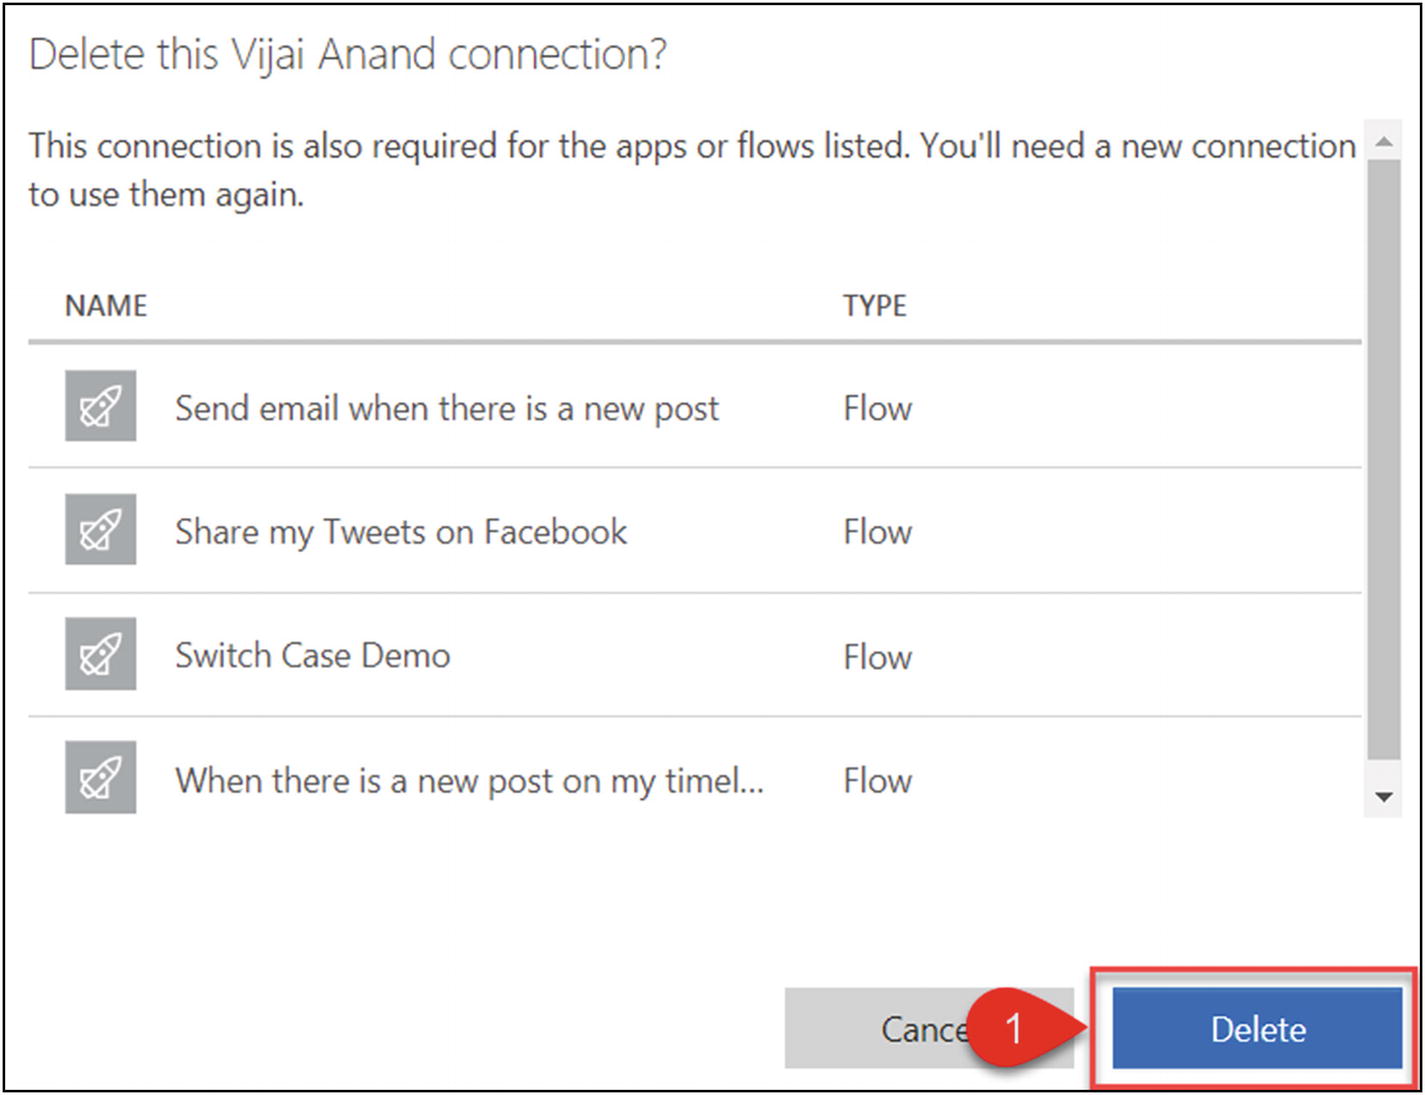
Figure 5-18 Delete a connection, part 2
Install a Gateway
An on-premises data gateway allows you to establish secure connections to integrate Microsoft Flow with on-premises data sources such as SharePoint, SQL Server, Oracle, and more. If the data gateway machine is switched off, then the flow will fail. You will learn how to install an on-premises data gateway in the SharePoint 2016 on-premises virtual machine, which allows you to connect to SharePoint 2016 on-premises data.
Perform the following steps to install an on-premises data gateway:
Connect to the SharePoint 2016 on-premises virtual machine and navigate to the Flow site at https://flow.microsoft.com .
In the top navigation, click the Settings icon and then click Gateways, as shown in Figure 5-19.
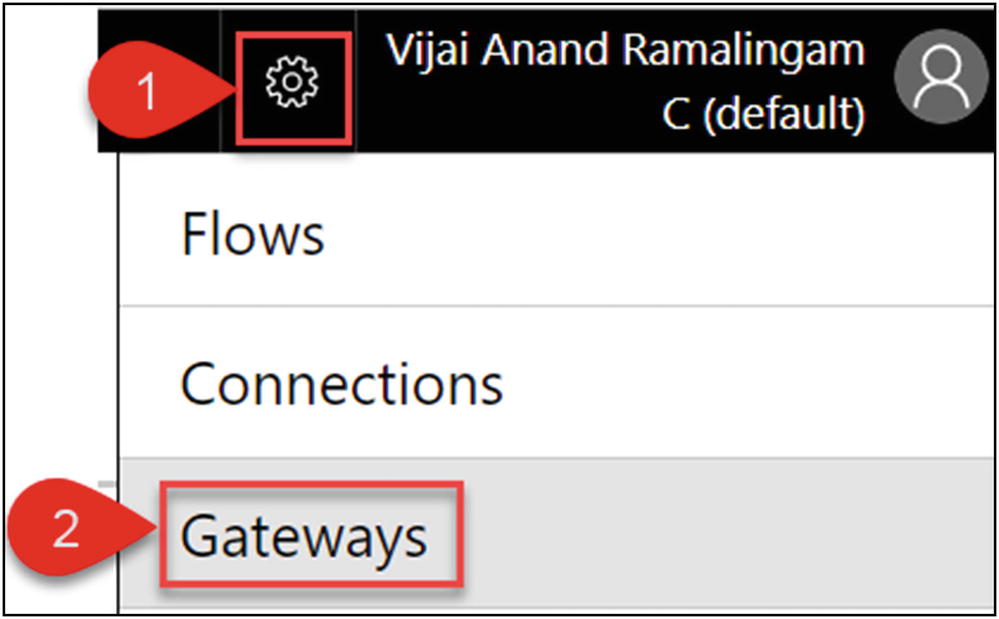
Figure 5-19 Gateways
You’ll see a list of gateways, as shown in Figure 5-20. Click New gateway.
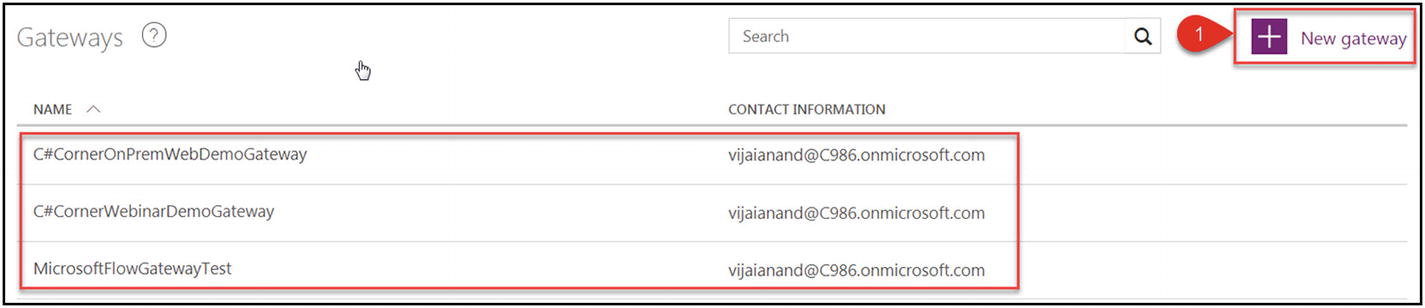
Figure 5-20 List of gateways
Download the on-premises data gateway shown in Figure 5-21 and run the .exe file.
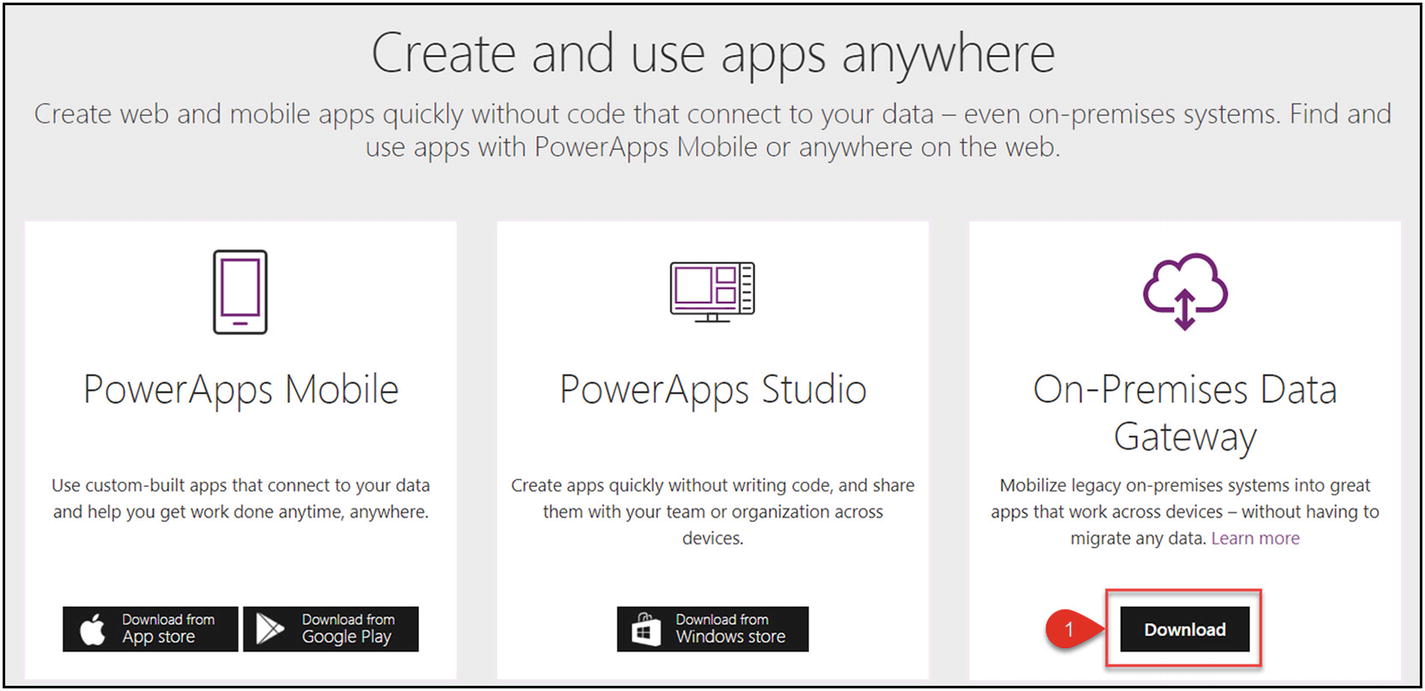
Figure 5-21 Download and run the on-premises data gateway
Read the reminders and click Next, as shown in Figure 5-22.
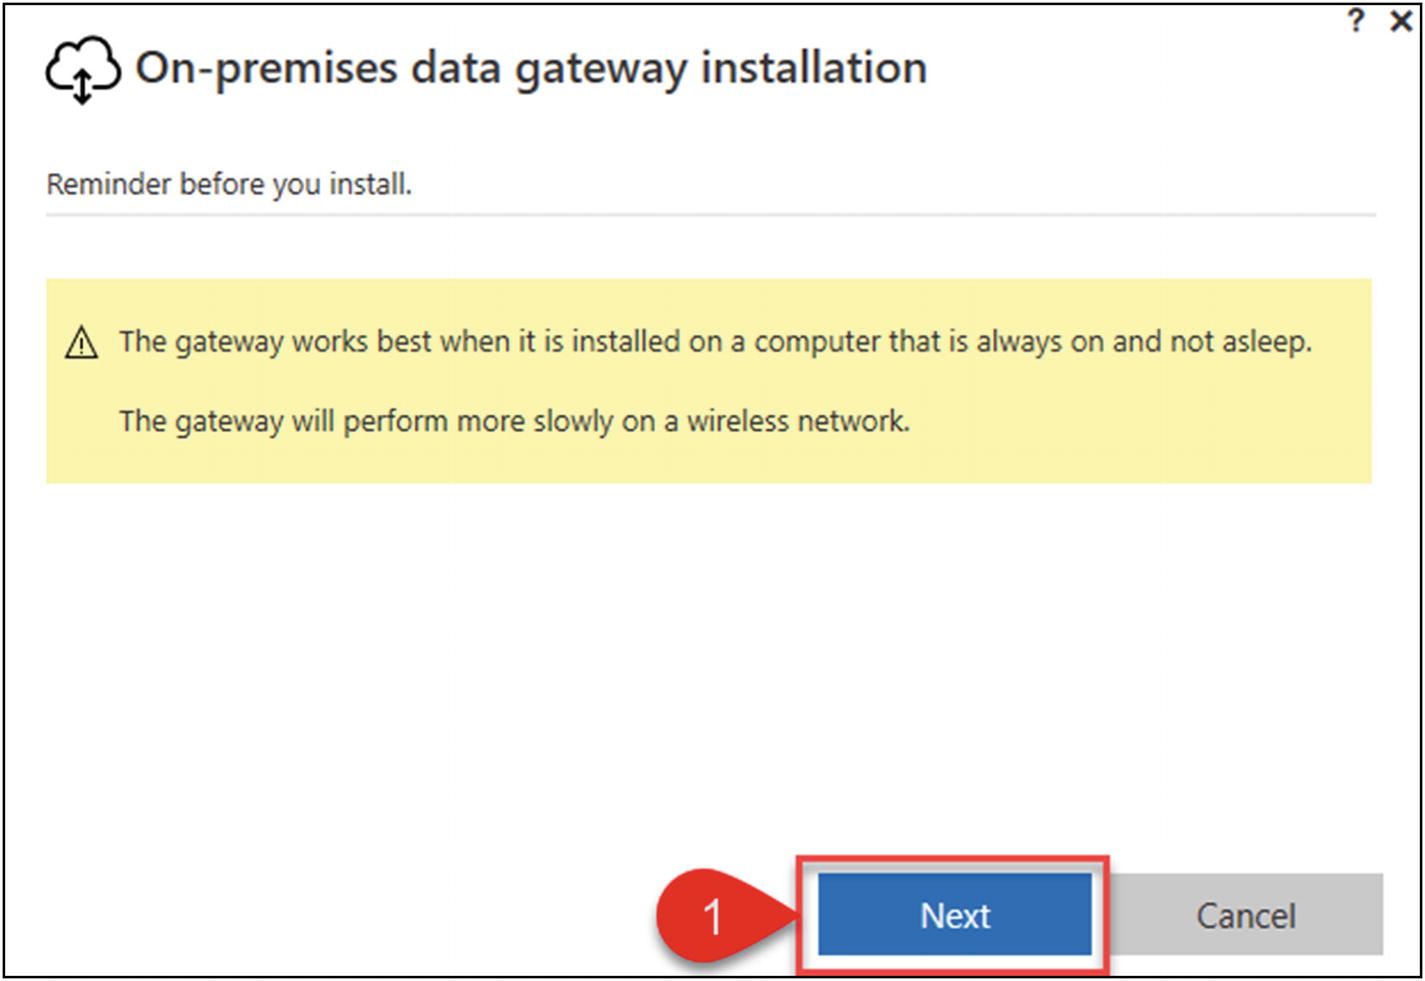
Figure 5-22 Reminders
Accept the terms and conditions, and then click Install, as shown in Figure 5-23.
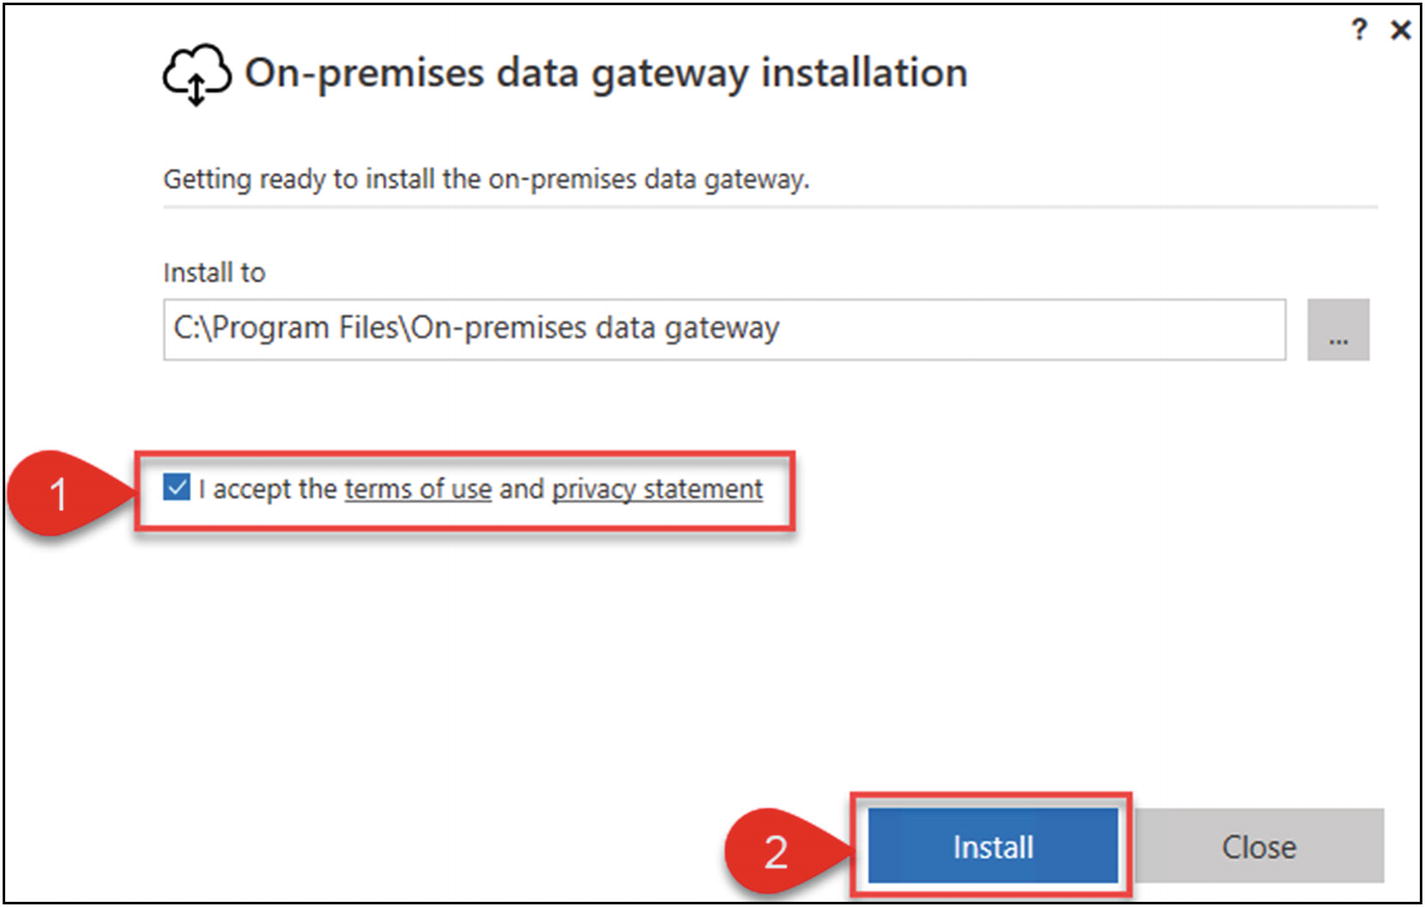
Figure 5-23 Install the data gateway
Enter an email address to use this gateway and click Sign in, as shown in Figure 5-24.
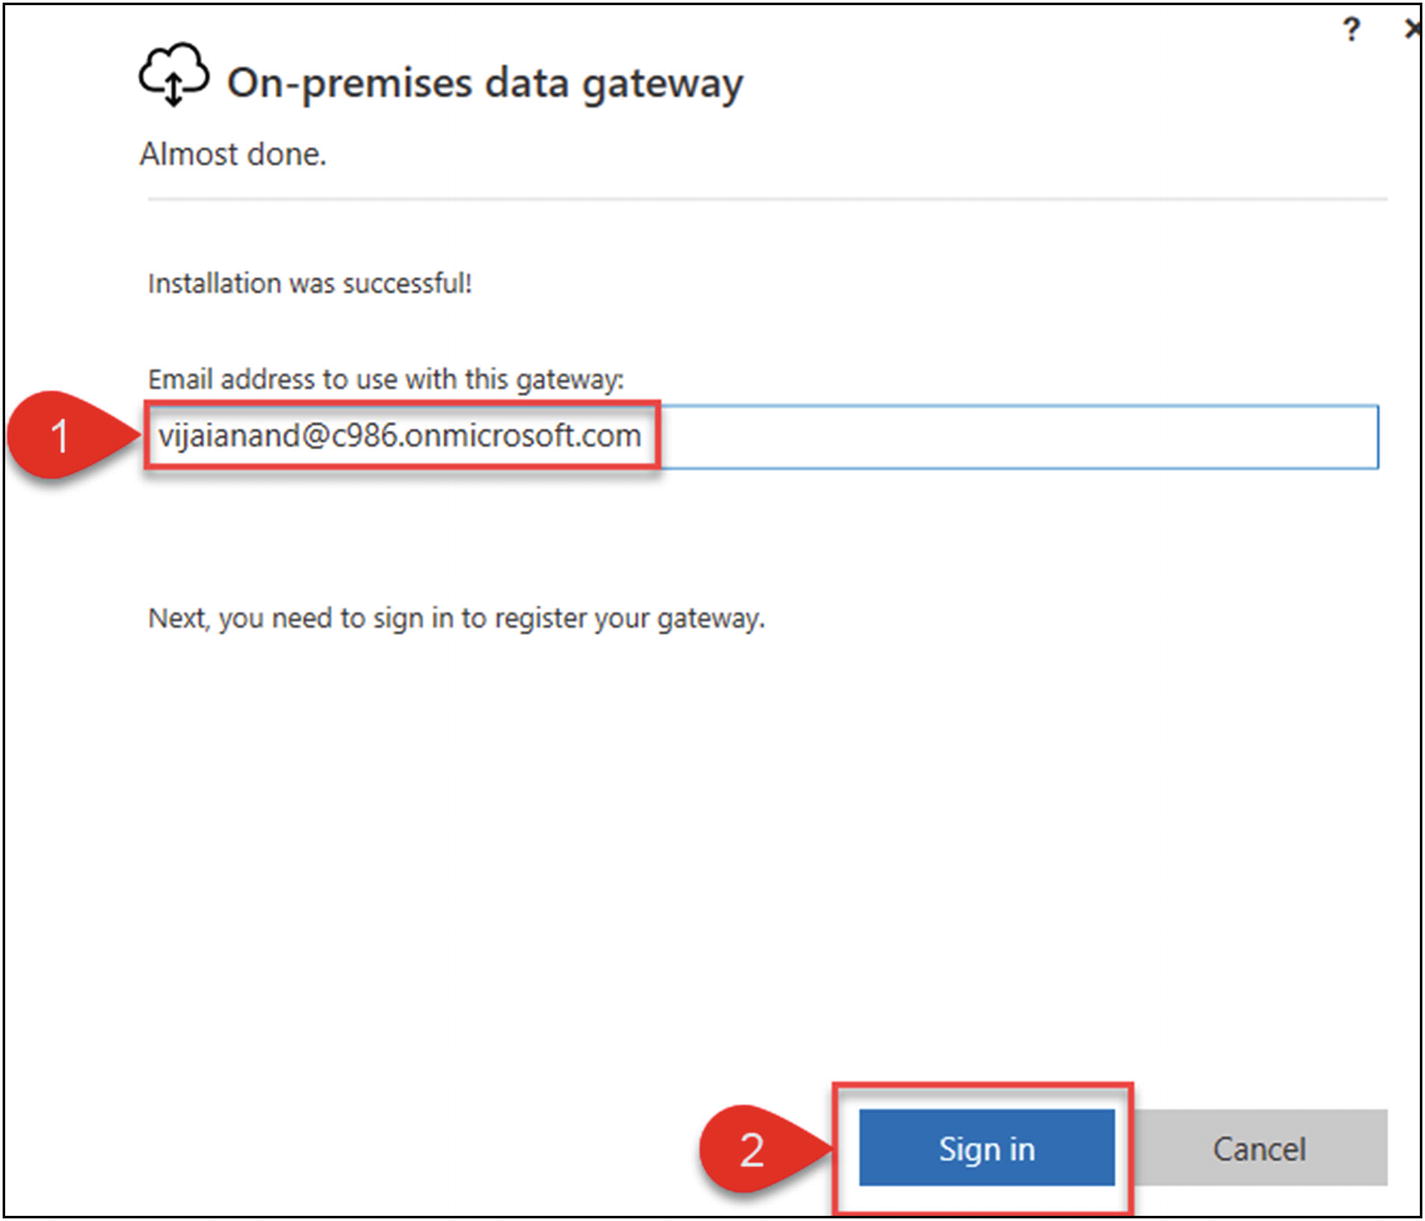
Figure 5-24 Sign in, part 1
Enter a password and then click Sign in, as shown in Figure 5-25.
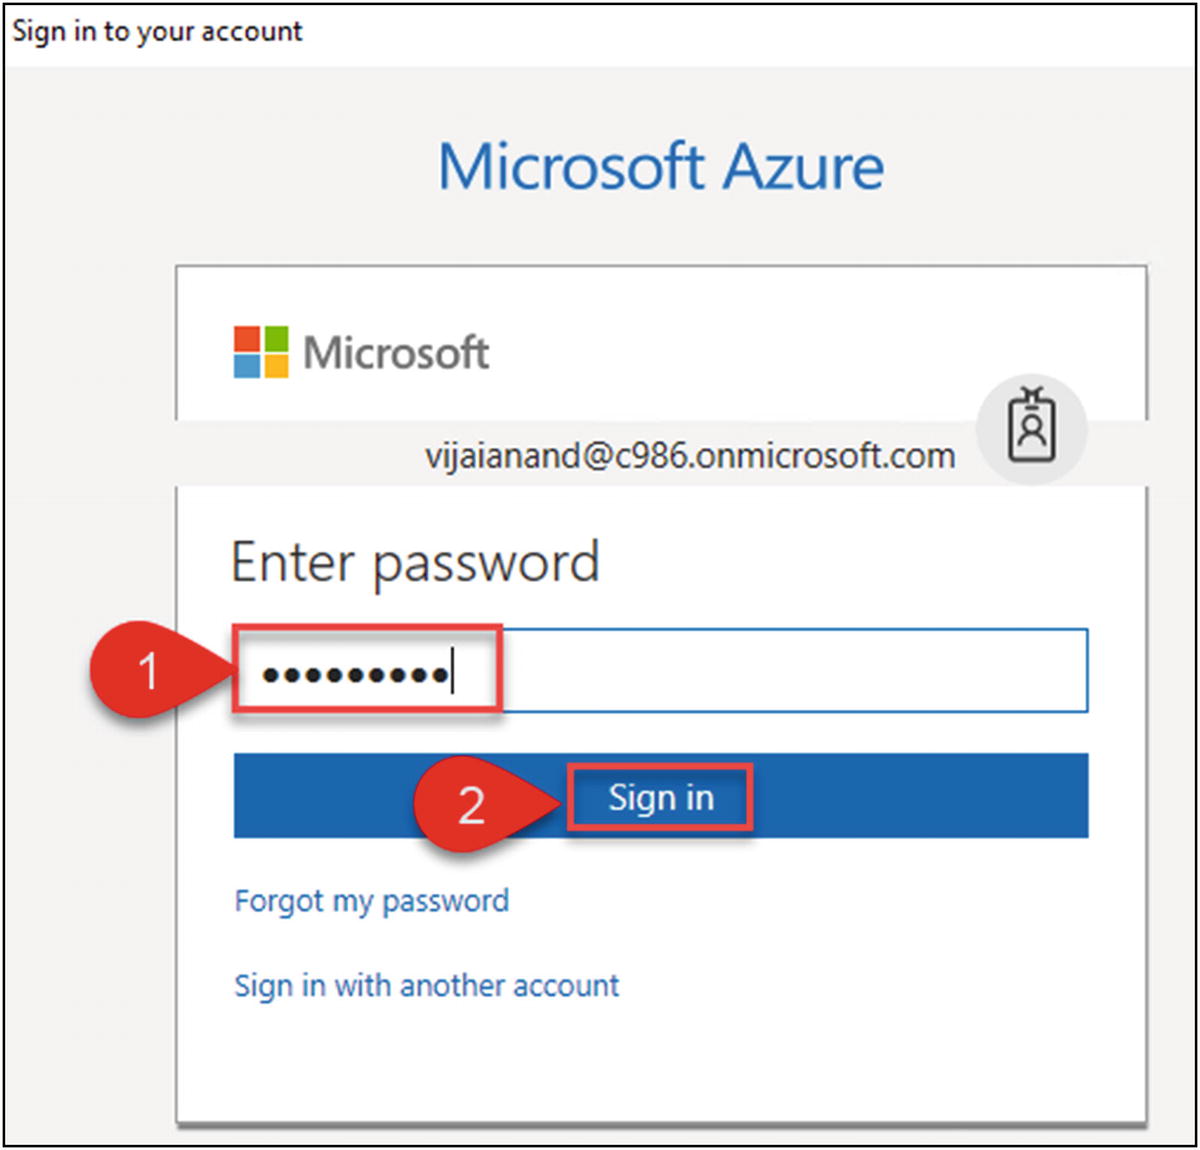
Figure 5-25 Sign in, part 2
Select Register a new gateway on this computer and click Next, as shown in Figure 5-26.

Figure 5-26 Register a new gateway
Enter the gateway name and recovery key, and then confirm the recovery key. Click Configure, as shown in Figure 5-27.
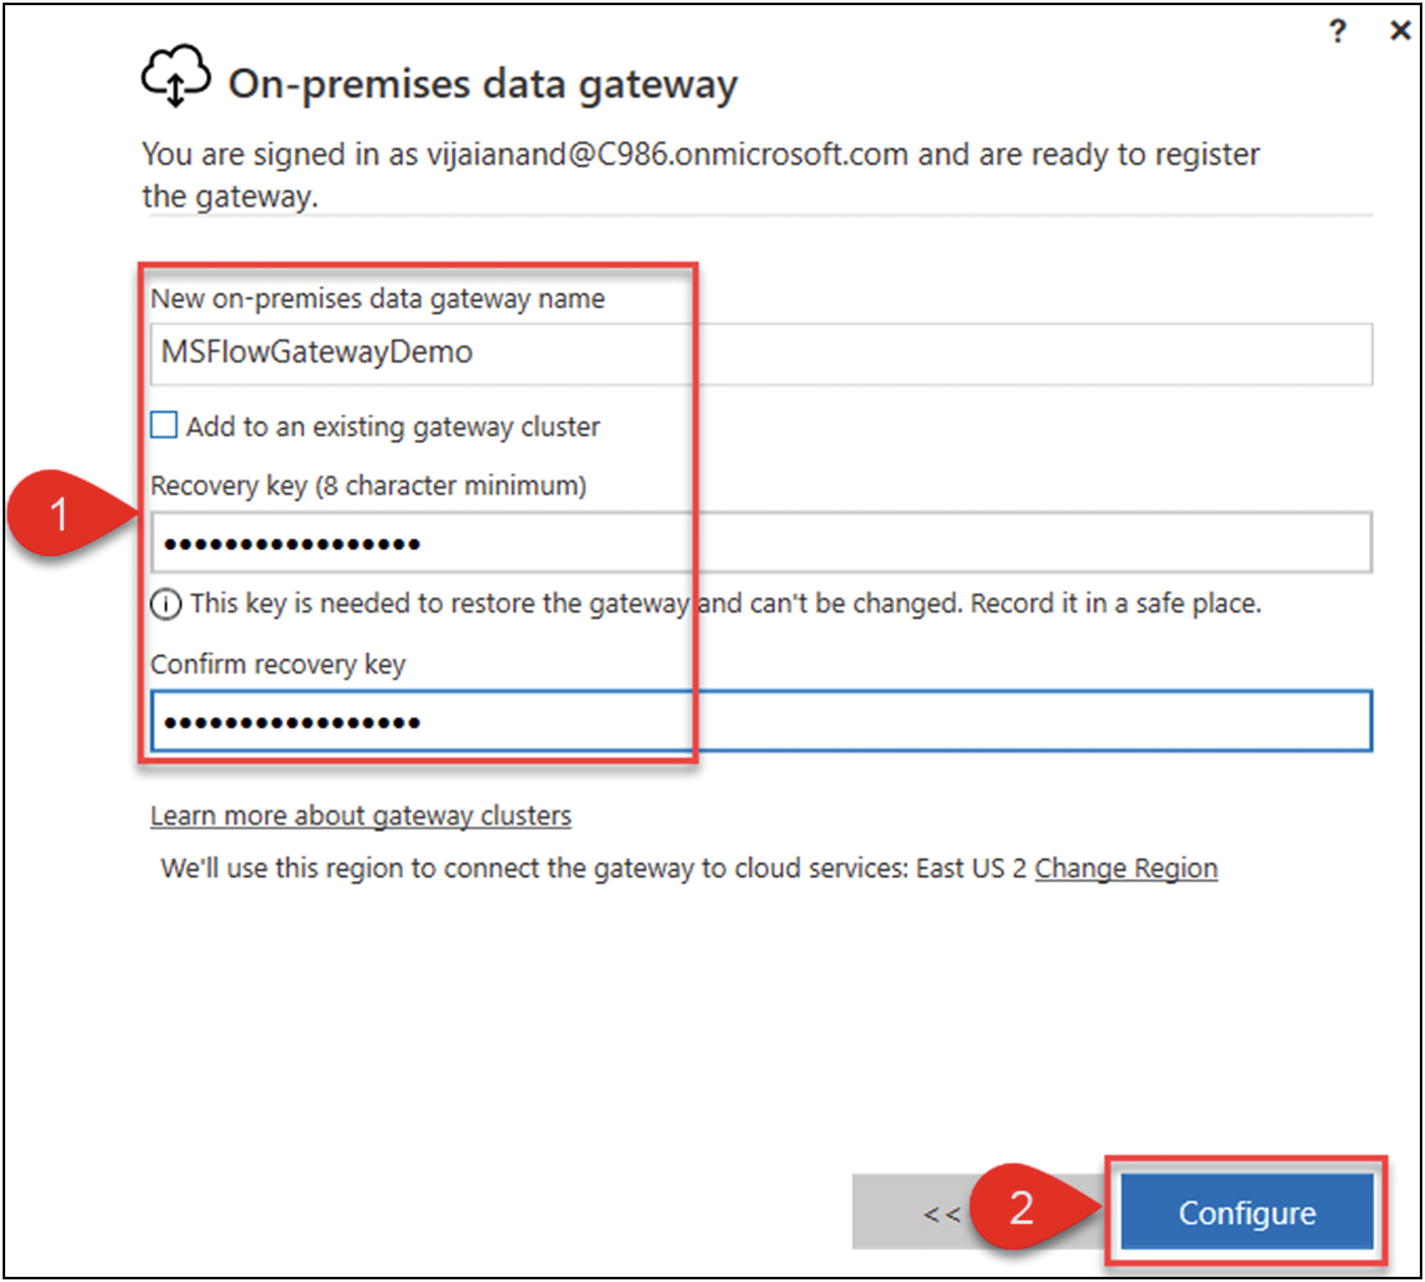
Figure 5-27 Configure the data gateway
The gateway should be online and ready to use, as shown in Figure 5-28. Click Close.
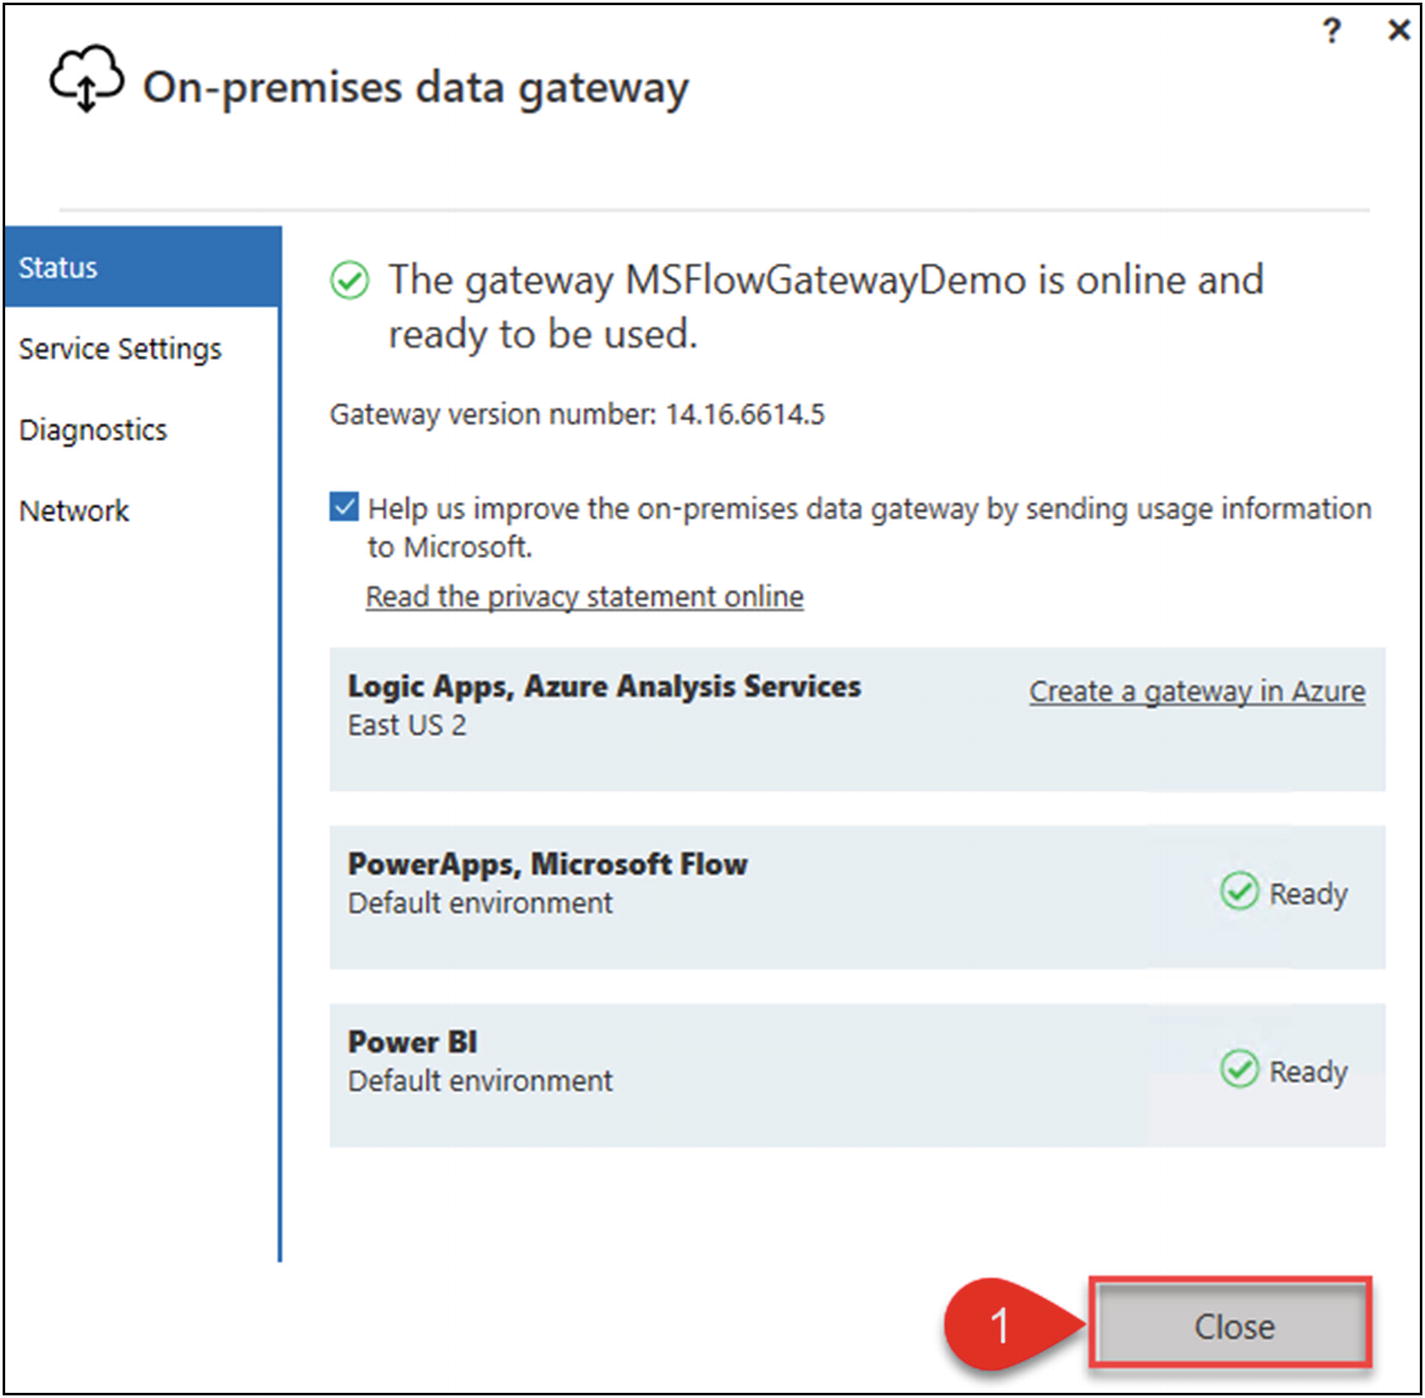
Figure 5-28 Gateway installed
The Windows service should be running, as shown in Figure 5-29.

Figure 5-29 The Windows service
The gateway was created successfully, as shown in Figure 5-30.
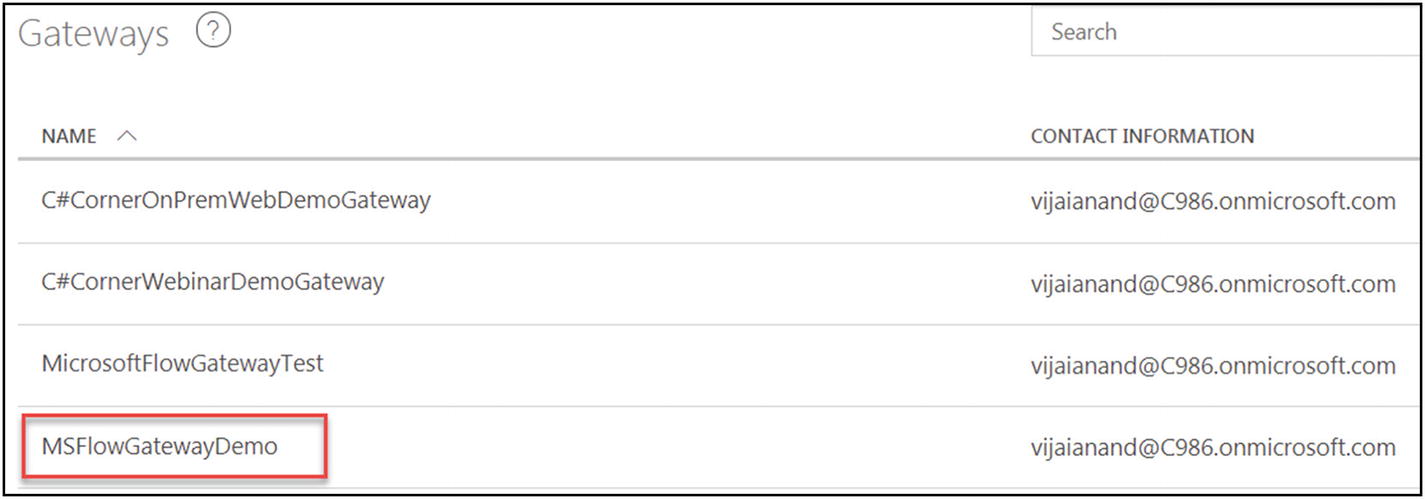
Figure 5-30 Creation success
Try It Yourself
Create a new connection to connect with an on-premises SQL Server and then create a flow to update a row in SQL when an item is modified in a SharePoint list.