
WAMP5 is a complete package of PHP5, Apache, and MySQL for Windows that allows you to run a website from your “local” desktop/laptop computer running the Windows operating system.
WAMP5 is free to use (GPL license), but you can make a donation on the developer’s site. You can obtain a copy of WAMP5 from http://www.wampserver.com/en/.
This page is shown in Figure D.1.
Clicking the download link takes you to the download page (http://www.wampserver.com/en/download.php), which has the latest version of WAMP5.
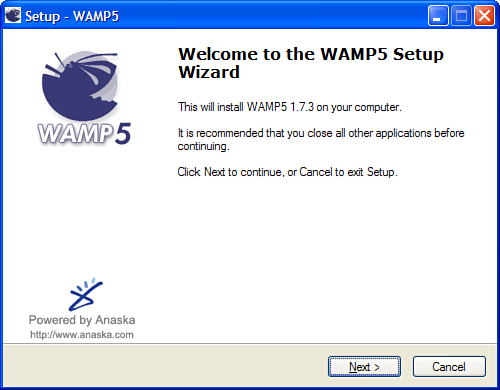
After downloading, run the download package, and you start the Setup Wizard (Figure D.2).
The next step (Figure D.3) is to accept the license.

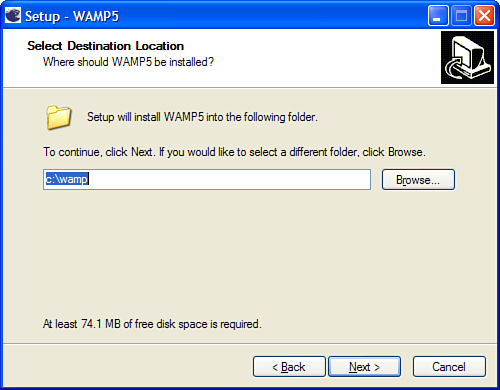
You now need to select the installation folder (Figure D.4).
Next you must choose the Start Menu link name (Figure D.5).

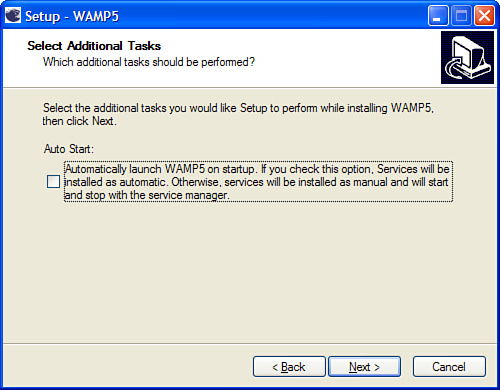
You now have an option to have WAMP5 start automatically (Figure D.6). I usually don’t enable this and run it manually.
The Wizard now shows you the settings you have chosen (Figure D.7), and you’re ready to install.

You now need to choose a folder that will be the location for all the sites you want to work on (Figure D.8). I usually just accept the default: www.

WAMP5 is now installed on your computer. Next, you are taken through a series of screens that set up WAMP5. First (Figure D.9) is what to call the SMTP server for email. On a test Joomla site, this really doesn’t matter, so you can leave it as is.

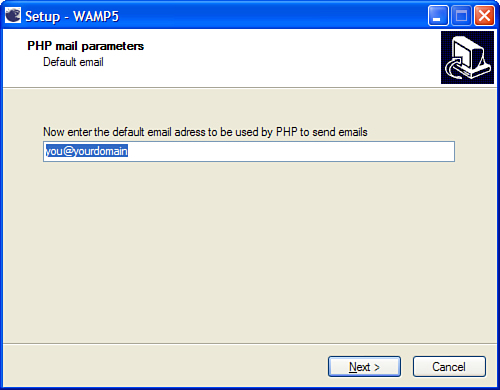
The default email address is next (Figure D.10). Again, for local test Joomla sites, this isn’t used, so we can leave as default.
You should now see a dialog box asking what browser you wish to use. In Figure D.11, I am accepting my default browser, Firefox.

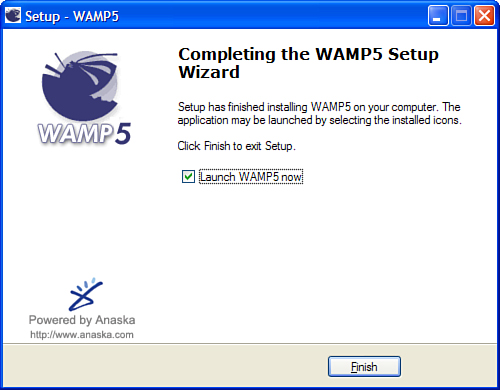
You should now see the Installation Completion screen (Figure D.12).
When you run WAMP5, you see a small icon in your system tray. This is the row of small icons at the lower right portion of your screen.
If you left-click the icon, you see an option to Start All Services, as shown in Figure D.13.

You will now see the icon go red, then yellow, and then white, indicating that the two services, Apache and PHP, are starting. This is shown in Figure D.14.

If the icon does not go all the way to white, it means there has been an error. The most common problem is a conflict with Skype. If you use Skype (and who doesn’t?!), you will need to quit it first, then start WAMP5, and then start Skype back up.
After you have it running, you will have a folder (I used c:wampwww in this example) that is your web folder. Anything you put here, like a Joomla installation, will be accessible as a website. It’s best to put a site into a new folder, like c:wamp5wwwmysite or something similar.
If you left-click the WAMP5 icon, you open the main WAMP5 server as a web page, shown in Figure D.15.
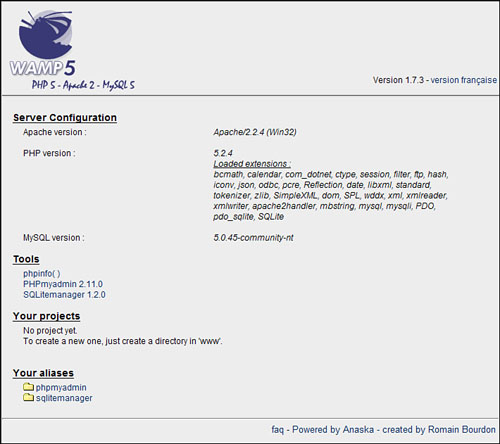
In the section, “Your projects,” you see any folders/websites you have created. If you click one, you go to that site.
When installing Joomla, on the Installation Wizard page about the database configuration (see Chapter 2, “Downloading and Installing Joomla”), you need to provide the SQL details for WAMP5, which are
Host name = localhost
User name = root
Password = [none/blank]
Database name = [Put anything you like here]
WAMP5 will then be able to create a database for the Joomla site you are installing.