Now we have the cluster launched, we need to install the OpenFaaS components. We are going to be using Helm for this. If you didn't install Helm during the previous chapter please refer to the installation instructions there. As with a Helm installation, we need to initialize it, which installs the server-side component Tiller. To do this, run the following command:
$ helm init
Now that we have Helm configured on our local, single-node Kubernetes cluster, we need to download a copy of the faas-netes code repository from GitHub. To do this, run either of the following commands:
$ git clone https://github.com/openfaas/faas-netes
$ cd faas-netes
You can also download a copy as a ZIP file from https://github.com/openfaas/faas-netes.
Once downloaded, we can install OpenFaaS with Helm using the following command:
$ helm upgrade --install --debug --reset-values --set async=false --set rbac=false openfaas openfaas/
This will return quite a bit of output, but the only part that you really to need to pay attention to is the last line, which should contain something similar to the following:
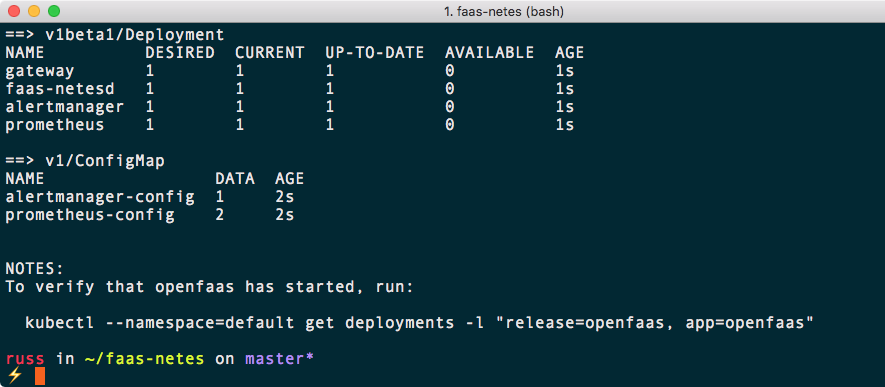
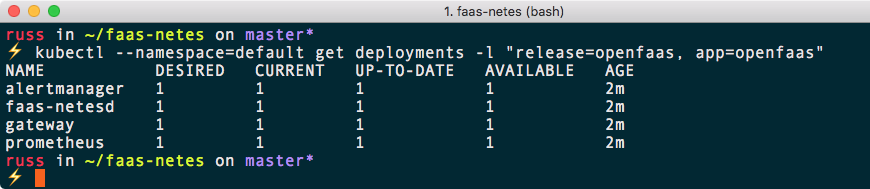
After a minute or two, you can check the status of the installation by running the command at the end of the output:
$ kubectl --namespace=default get deployments -l "release=openfaas, app=openfaas"
You should see something like the following Terminal output:
Now that we have OpenFaaS installed and available, we can look at launching a hello world example.