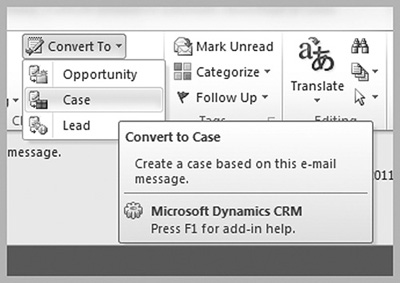
If you run CRM in Internet Explorer, then you don’t need to install any files on your computer. If you want to run CRM in Outlook, however, you will need to install the Outlook plugin.
Installing the CRM for Outlook plugin follows a pretty straightforward process. Simply run the install file and follow the steps. You can download the installation file in the Resource Center within CRM, or ask your administrator.
Installing the plugin:
Locate the CRM for Outlook plugin install file and double-click it.
Follow the steps to install the plugin.
Eventually you will be prompted to configure CRM for Outlook. This is where you will type in your server URL and authentication info.
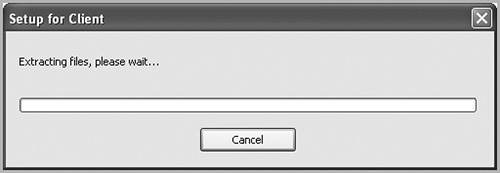
Regardless of whether you are using CRM online or on-premise, you have the option to work with CRM data within Outlook while you are offline. If you are unsure about whether this feature is configured, check with your administrator. Offline data is only available if you chose to make data available offline during the plugin installation.
When you are online, Microsoft Dynamics CRM displays live data from your server. In the background, though, a separate copy of the data is kept in a Microsoft SQL Express database on your local computer. When you go offline, Outlook displays data from your local copy of the database. Once you go back online, Microsoft Dynamics CRM will synchronize your local copy with the data on the server.
Outlook 2010:
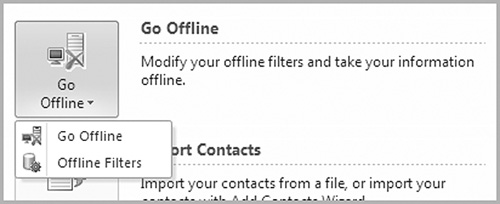
Click the File tab, select the CRM option, and then click the Go Offline button.
You can tell that you are offline when the button you just clicked changes to Go Online.
Outlook 2003/2007:
To manually go offline, click the Go Offline button on the CRM toolbar in Outlook.
You can tell that you are offline when the button on the toolbar reads Go Online.
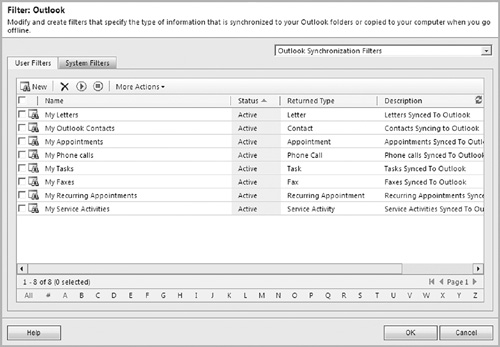
If you have a large number of records, it’s unlikely that you’ll want access to your entire company’s database on your phone. In the synchronization options, you can configure Outlook filters. Only records that are included in your Outlook filters will sync from CRM to Outlook. So, for example, if your Outlook filter was set to bring all contacts in Texas down to Outlook, then any contact in Texas from the CRM database would show up in your local Outlook contacts list.
Outlook 2010/Internet Explorer:
In Outlook, on the File tab, select the CRM option, then click the Synchronization drop-down. Then select the Outlook Filters option.
A list of filters will appear.
Double-click the My Outlook Contacts filter to edit the query that sends contacts from CRM into Outlook.
Outlook 2003/2007:
In Outlook, Click CRM | Outlook Filters. (After installing Microsoft Dynamics CRM, you should get a CRM menu on the Outlook menu bar.)
A list of local data groups will appear.
Double-click the My Outlook Contacts filter to edit the query that sends contacts from CRM into Outlook.
In the Navigation Pane, click Mail and then Microsoft Dynamics CRM. In this area, you will have access to every function available in the CRM web client. Beyond this integration, though, many of the native Outlook features—like appointments and contacts—will synchronize seamlessly with your Microsoft Dynamics CRM data.
Especially if you are first starting out with Microsoft Dynamics CRM, chances are good that you have a few contacts in Outlook. With the Microsoft Dynamics CRM Outlook client installed, you can continue to use these contacts. With a single click, you can promote one (or many of them) to Microsoft Dynamics CRM. From that point forward, the contact in your local Outlook contacts list will appear in CRM, and changes made in either CRM or Outlook will sync.
Outlook 2003/2007/2010:
Go to your list of contacts in Outlook. Note that this is not your list of contacts in Microsoft Dynamics CRM. The easiest way to get to your list of Outlook contacts is to click Contacts on the Navigation Pane on the left.
Double-click an Outlook contact to edit it.
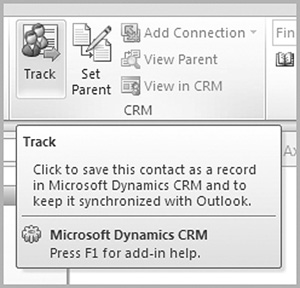
At the top of the Contact form, click the Track button.
Click the Set Parent button to specify the parent account (company) in CRM for this contact.
Click the Save and Close button. This contact will now be bi-directionally synchronized between Outlook and Microsoft Dynamics CRM.
To see only your CRM contacts within Outlook, choose the CRM option on the menu. Select Go To | Sales | Contacts. This will bring up a list of only the CRM contacts and Outlook contacts that are tracked in CRM. Regular Outlook contacts not tracked in CRM will not show in this list.
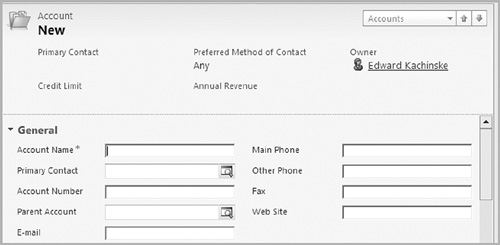
Without Microsoft Dynamics CRM installed, Outlook doesn’t have a feature to store account data. Because all of your Microsoft Dynamics CRM data is available in Outlook, though, you can easily create CRM accounts from within the Outlook interface.
Outlook 2010:
From the CRM Record drop-down on the CRM tab of the ribbon, choose the Account option.
The New Account dialog box will appear. Enter field information for your new account.
Click the Save and Close button.
Outlook 2003/2007:
From the New Record drop-down on the CRM toolbar, choose the Account option.
The New Account dialog box will appear. Enter field information for your new account.
Click the Save and Close button.
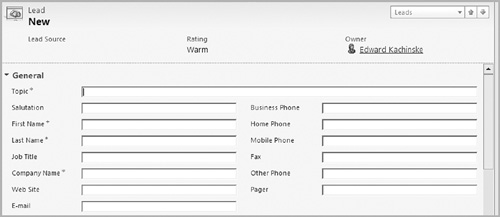
In Chapter 1, we covered the process of adding new leads to Microsoft Dynamics CRM. We included this task to illustrate how you can perform the same actions from within the Outlook interface. After completing this task, take a moment to read through Chapter 1. All of the tasks in that chapter can be done within Outlook as well. Outlook e-mails can be tracked in CRM and then converted to leads from the CRM e-mail activity.
Outlook 2010/Internet Explorer:
From the CRM Record drop-down on the CRM tab, choose the Lead option.
The New Lead dialog box will appear. Enter field information for your new lead.
Click the Save and Close button.
To see your leads within Outlook, choose the CRM option on the menu. Select Go To | Sales | Leads.
Outlook 2003/2007:
From the New Record drop-down on the CRM toolbar, choose the Lead option.
The New Lead dialog box will appear. Enter field information for your new lead.
Click the Save and Close button.
To see your leads within Outlook, choose the CRM option on the menu. Select Go To | Sales | Leads.
The Microsoft Dynamics CRM calendar synchronizes with Outlook’s calendar. When you schedule activities in Outlook, you can track those activities in Microsoft Dynamics CRM. Then, when you are looking at a record in CRM, you’ll see all of the activities relevant to that record.
Anytime you are editing a task in Outlook, you should see a Track button on the toolbar or ribbon. Clicking this button will automatically track the Outlook task in your corporate Microsoft Dynamics CRM system.
Outlook 2003/2007/2010/Internet Explorer:
In the Navigation Pane on the left, click the Tasks option.
Your Outlook To-Do List will appear.
Locate the Type a new task field. In this field, type the subject of your task and press Enter to add the task to your To-Do List for today.
Double-click the task to edit its properties.
In the CRM area of the ribbon, click the Track button.
Click the Set Regarding button and choose a record for this task. In Microsoft Dynamics CRM, the task will now be associated with the regarding record.
Click the Save & Close button.
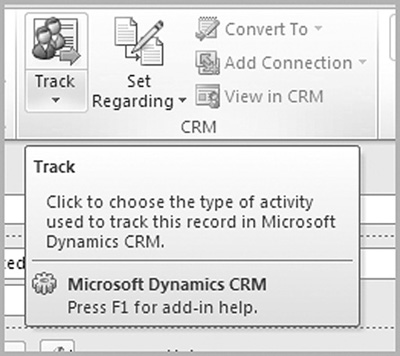
You have an appointment scheduled with Jane Doe. Jane is a contact in Microsoft Dynamics CRM. When you send the meeting invitation to Jane, click the Set Regarding button to track this appointment on Jane’s contact record in CRM. When you do this, the appointment will be available in the Activities section of Jane’s contact record.
Outlook 2003/2007/2010/Internet Explorer:
In the Navigation Pane on the left, click the Calendar option.
Your Outlook calendar will appear.
Create a new activity on the calendar. There are many ways to do this, but the easiest is to click on a timeslot or day and just start typing.
Double-click the activity to bring up its properties.
Click the Track button, or click the Set Regarding button and choose a record for this activity. In Microsoft Dynamics CRM, the activity will now be associated with the regarding record.
Click the Save & Close button.
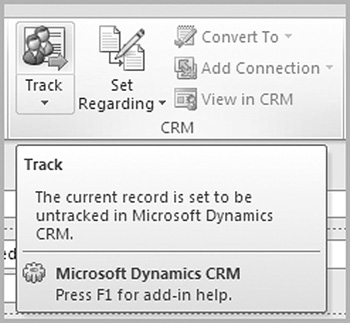
If you use Outlook to send e-mail, you can track relevant e-mails in Microsoft Dynamics CRM. Then, when you are looking at a record in CRM, a copy of the e-mails will display in the History section of the record.
When you are creating a new message in Outlook, you can click the Set Regarding button on the ribbon or toolbar to associate the e-mail with a record in CRM. There’s also a Track button on the ribbon or toolbar. If the e-mail address for the e-mail matches with a customer in CRM, you may also be able to click the Track button to attach the e-mail back to a record in CRM.
Outlook 2003/2007/2010:
Click the New button on the Outlook toolbar and create a new e-mail message.
Enter the e-mail address for your recipient. Add a subject and message body as well, just as you would do with any normal e-mail.
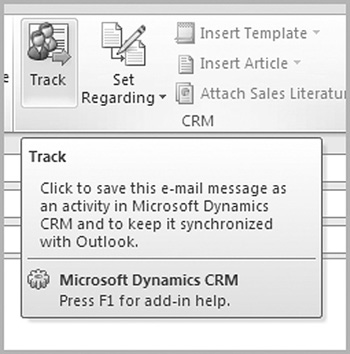
Click the Track button.
If you want to associate the e-mail with a specific record, you can click the Set Regarding button and manually associate the e-mail with someone other than the email recipient or any CRM entity.
In Microsoft Dynamics CRM, go to your contact record for the recipient of the e-mail. Double-click the contact to bring up details for the record.
On the left, click the History option. You should see a record of the e-mail. Double-click it to bring up a saved copy of the e-mail.
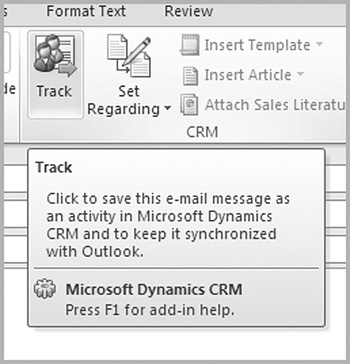
If you highlight a message in your Outlook Inbox, clicking the Track button in the ribbon or toolbar will copy the message to the History section of the sending contact’s record in Microsoft Dynamics CRM. This is a great way to share important e-mails with your colleagues without actually giving them full access to your inbox.
Outlook 2003/2007/2010/Internet Explorer:
In your Inbox or other mail folder, go to a message that you’d like to track in Microsoft Dynamics CRM.
Click the Track button. The message will be promoted to Microsoft Dynamics CRM, and you will now see a copy of the message in the Completed Activities section of the contact that sent the e-mail.
If you want to associate the e-mail with another contact or other type of record, click the Set Regarding button and choose a different record.
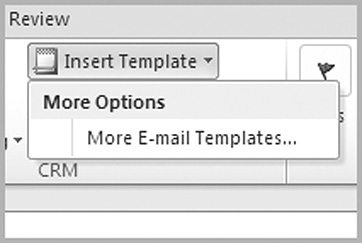
If you want to use a CRM template but are sending the e-mail from within Outlook, then you can insert a CRM direct e-mail template into the message. Before you insert a template into an e-mail message, make sure you’ve tracked it back to a CRM record first.
Outlook 2010/Internet Explorer:
Create a new e-mail message in Outlook.
Enter your recipient’s e-mail address into the To field, and select a regarding record (by clicking Track or Set Regarding on the CRM tab of the ribbon) for the e-mail.
Click the Insert Template drop-down and select the More E-mail Templates option.
Select an e-mail template and click OK.
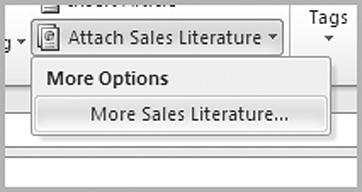
A marketing team might want to send out a sales literature document to promote a new product. In CRM, you can attach sales literature to an e-mail just like any other attachment.
Outlook 2010:
Create a new e-mail message in Outlook.
Click the Attach Sales Literature button.
Select a sales literature document and click OK.
A new customer sends you an e-mail message. This customer isn’t in CRM yet. With just a couple of clicks, you can convert that e-mail message into an opportunity, contact, and more within CRM.
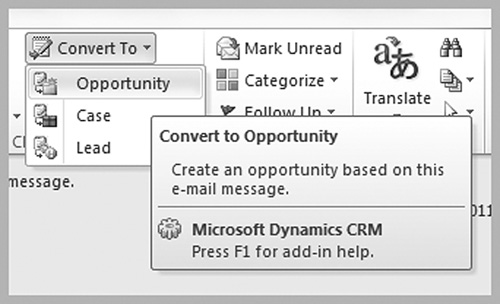
Many opportunities will come to you through e-mail. An existing customer might send you a message with a request for more work. A new prospect might first contact you by e-mail. It’s pretty common for an e-mail message to be the first place where you learn about an opportunity, and when that happens, you should convert the e-mail to an opportunity in CRM.
Outlook 2010:
In your Inbox (or other folder), highlight an e-mail message.
In the CRM group of the ribbon, click the Convert To drop-down.
Choose Opportunity.
A customer might send you an e-mail message about a problem he or she is having with something that your company sells. You want the customer service department to deal with the issue, so you convert the e-mail message to a case.
Outlook 2010:
In your Inbox (or other folder), highlight an e-mail message.
In the CRM group of the ribbon, click the Convert To drop-down.
Choose Opportunity.
