Jakarta EE (formerly Java Enterprise Edition) is a set of specifications that help developers implement enterprise software with Java. We have already used Jakarta Servlet, Jakarta Bean Validation, and Jakarta Persistence in previous chapters. All these specifications are part of Jakarta EE. To get a better perspective, take a quick look at all the specifications at https://jakarta.ee/specifications.
Jakarta EE offers a runtime environment for your Java applications with a programming model based on the concept of container. A container envelops your code to add functionality to it by intercepting calls to or from methods in your classes. Examples of this kind of functionality are securing a method call according to user roles, executing code in a transactional context to treat the execution as a unit, asynchronous invocation of methods, and injection of dependencies required by a class.
The Jakarta EE environment is available as an application server in which you deploy your application. You can package the runtime alongside your application code in the same artifact (Uber JAR) or separate the application code from the runtime in a WAR file.
Creating a New Jakarta EE Project
There are several compatible implementations of Jakarta EE:
Eclipse GlassFish
Apache Tomcat
Apache TomEE
Jetty
Payara Platform
Open Liberty
WildFly
Piranha Micro
Eclipse Jersey
At the time of writing this book, Vaadin supports Jakarta EE 8 (version 9 being the latest), so this limits our choices a bit. We’ll use Apache TomEE as a Maven plugin to ease the development cycle, but you can deploy the example application to any Jakarta EE 8–compliant server.
We can take an existing Vaadin project and add the following dependencies to start using the APIs provided by Jakarta EE:
<dependency>
<groupId>jakarta.platform</groupId>
<artifactId>jakarta.jakartaee-api</artifactId>
<version>8.0.0</version>
<scope>provided</scope>
</dependency>
<dependency>
<groupId>com.vaadin</groupId>
<artifactId>vaadin-cdi</artifactId>
</dependency>
We need a new beans.xmlfile in the src/main/webapp/WEB-INF/ directory. This file is required to activate Contexts and Dependency Injection (more on this later). Create it with the following content:
Instead of installing a Jakarta EE server, we can run the application with Maven adding the Apache TomEE plugin as follows (this is equivalent to installing an application server, only that the server is managed via Maven):
Now we can add a Vaadin view to check that everything works:
@Route("hello-jakarta-ee")
public class HelloJakartaEEView extends Composite<Component> {
@Override
protected Component initContent() {
return new VerticalLayout(new Text("Hello Jakarta EE!"));
}
}
You can build the application using mvn package and deploy the WAR file to any Jakarta EE runtime or simply run the application using mvn tomee:run. Figure 13-1 shows the result.
Figure 13-1
A Jakarta EE Vaadin application running on Apache TomEE
Creating a New Database
As in the previous chapter, before establishing a connection, we need the database server running. Make sure you have MySQL installed and connect to the server with a username and a password.
If you remember from the previous chapter, Java applications connect to specific database systems through JDBC drivers. A database connection is something that depends on the environment in which the application runs. For example, when you are developing an application, you probably have a database server running in the same development machine. When you deploy the application to a production server, the application doesn’t connect to your development machine but to a production-ready machine. For this reason, database connections are better configured in the environment in which the application runs rather than in the application code.
A Jakarta EE environment allows you to define resources such as database connections in configuration files. Since we are using the Apache TomEE Maven plugin, our runtime environment resides in the same machine we are working and even in the project we are coding. In this case, we can define the details of the connection in files that are inside the project. However, when you deploy the application to a production environment, you won’t use the Maven plugin. Instead, you have to define the database connection in the production environment. The application code can reference the database connection resource by a name that we can establish. For now, we’ll skip production setups and configure the database connection resource for the Apache TomEE Maven plugin.
First, we need to add the JDBC driver, again, to the runtime (Apache TomEE) defined in the pom.xml file. All we need to do is update the Apache TomEE plugin declaration to include the MySQL JDBC driver:
<plugin>
<groupId>org.apache.tomee.maven</groupId>
<artifactId>tomee-maven-plugin</artifactId>
<version>8.0.7</version>
<configuration>
<context>ROOT</context>
<libs>
<lib>mysql:mysql-connector-java:8.0.25</lib>
</libs>
</configuration>
</plugin>
Now the JAR file containing the JDBC driver is available during runtime. If you want to deploy the application to an external standalone server, you’ll have to add the JAR file there as well.
Now we can configure the database connection details. We can set this up in a new file called tomee.xml placed in the src/main/tomee/conf/ directory:
Pay atttention to the id we used (mysqlDatasource). We’ll be referencing this data source from the application code using this name. This allows us to decouple the connection details from the runtime environment. A production server could define the data source as a connection to an Oracle database, for example, and we wouldn’t have to make any changes to the application code.
Jakarta EE will set up a connection pool to connect to the configured database.
Note
A connection pool is a set of connections to the database that are available by the application. Instead of creating connections as transactions happen, the connections in the pool are reused to avoid wasting computing resources. This happens automatically, and you don’t need to worry about it for now.
Implementing an Entity
Jakarta EE includes JPA, so we can add the same Entity we coded in the previous chapter, this time using explicit column names in all of the properties and adding Jakarta Bean Validation annotations:
Apache TomEE uses Apache OpenJPA as the JPA implementation. The way OpenJPA matches the names of the properties with SQL columns is different than with Hibernate. OpenJPA uses the exact names of the classes and properties to look for the corresponding tables and columns in the database.
When using JPA in Jakarta EE applications, we need to define a persistence unit. A persistence unit defines the Entities and the data source to use with them. To define a persistence unit, we need to create a new file named persistence.xml in the src/main/resources/META-INF/ directory:
As you can see, we are using the name of the data source we defined in the Jakarta EE runtime (Apache TomEE). This file is part of the application code, but it doesn’t contain any database connection details. As pointed out before, the connection details live in the runtime. Notice also how we added the User class as a managed Entity. If we need more Entities, we can list them there. If we have more than one database, we can define more persistence units and add the corresponding Entities to it.
Adding a Repository
Jakarta EE doesn’t itself include functionality for declarative repository implementation. However, it does include mechanisms for extension, and the Apache DeltaSpike (https://deltaspike.apache.org) project includes a library to create this kind of repository classes. We need to add the Apache DeltaSpike Bill of Materials (BOM) in the <dependencyManagement> section of the pom.xmlfile:
Apache DeltaSpike Data requires an EntityManager. The way the library looks for this object is through a CDI producer. Don’t worry too much about these terms for now, and think of the EntityManager class as a helper class that serves as the interface to JPA and that Apache DeltaSpike Data uses internally. The CDI producer is simply a factory that produces instances of EntityManager:
The Jakarta EE runtime will automatically create a single instance of this class that Apache DeltaSpike can use later to communicate with the database via JPA. We are declaring the name of the persistence unit to use in the @PersistenceUnit annotation. Now we see how the persistence logic is connected to the data source through this persistence unit and the data source defined in the application server.
With this in place, we can define a repository interface:
@Repository
public interface UserRepository
extends EntityRepository<User, Integer> {
}
As with Spring, we don’t need to implement this interface.
Contexts and Dependency Injection
Jakarta EE and Vaadin are integrated through a Contexts and Dependency Injection (CDI) library that we already added as a dependency when we were configuring the project. CDI is a Jakarta EE specification that allows to decouple instances of your classes. To understand how it works, let’s review the EntityManagerProducer class that we implemented in the previous section:
The CDI runtime will see that the EntityManagerProducer class is annotated with @ApplicationScoped and creates a new instance of this class. This instance is going to be shared by all possible clients of the class in the application. Before creating the instance, however, the CDI runtime sees that an EntityManagerFactory is required since there’s a property of this type annotated with @PersistenceUnit. CDI asks JPA to prepare an instance of this class. JPA uses the name of the persistence unit (jakarta-ee-example-pu) to locate the configuration and create the appropriate object. CDI takes this object and “injects” it into the EntityManagerProducer instance that it is creating. This is dependency injection in action!
We can use this mechanism to inject instances of classes or interfaces that we added to the application code. In fact, Vaadin views are created via CDI, which means that we can inject CDI beans (other objects created and managed by the CDI runtime) into Vaadin views. For example, we can inject an instance of type UserRepository and call its methods as follows:
@Route("user-count")
public class UserCountView extends Composite<Component> {
private final UserRepository userRepository;
@Inject
public UserCountView(UserRepository userRepository) {
this.userRepository = userRepository;
}
@Override
protected Component initContent() {
long count = userRepository.count();
return new VerticalLayout(new H1("How many users?"),
new Text(count + " users found."));
}
}
As you can see, we are marking the constructor with @Inject. This marks an injection point that CDI detects before creating an instance of the Vaadin view.
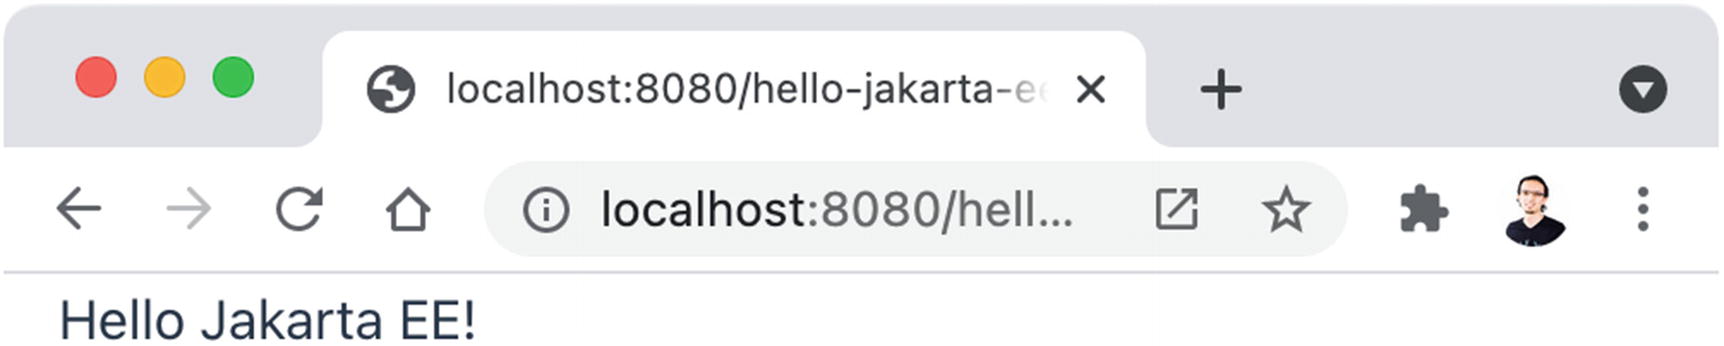
With a Vaadin view in place, we can run the application using the tomee:run Maven goal to test that everything works as expected. Figure 13-2 shows a screenshot of the view.
Figure 13-2
A Vaadin view that consumes an SQL database
Implementing a CRUD
Once again, you should have a clear idea of how to combine the knowledge you have acquired throughout the book to connect Vaadin UI components with repository classes using the Binder class. In this section, we’ll implement a fully functional CRUD using my Crud-UI add-on for Vaadin available at https://vaadin.com/directory/component/crud-ui-add-on.
To start, let’s add the Crud-UI add-on to the pom.xml file:
<repositories>
<repository>
<id>vaadin-addons</id>
<url>https://maven.vaadin.com/vaadin-addons</url>
</repository>
</repositories>
<dependencies>
...
<dependency>
<groupId>org.vaadin.crudui</groupId>
<artifactId>crudui</artifactId>
<version>4.4.1</version>
</dependency>
<dependencies>
In the previous chapter, you saw how to use this add-on. This time, let’s configure the CRUD component in a different way to support Jakarta Bean Validation and make the UX a bit better. Here’s the full implementation of the view:
@Route("user-crud")
public class UserCrudView extends Composite<Component> {
private final UserRepository userRepository;
@Inject
public UserCrudView(UserRepository userRepository) {
This implementation is similar to the one we used in the previous chapter, but it includes several differences:
We are using a VerticalCrudLayout to visualize the form on the bottom of the page instead of to the right.
We are setting the CRUD and the layout that contains it to be full size.
We are configuring the Grid to use as much space vertically to visualize all the contained rows by calling the setHeightByRows(true) method.
We are activating Jakarta Bean Validation in the add and update forms.
We are activating an option to make the form editable when the user clicks a row in the Grid by calling the setClickRowToUpdate(boolean) method.
We are hiding the update button from the UI since it’s not required anymore (due to the previous point).
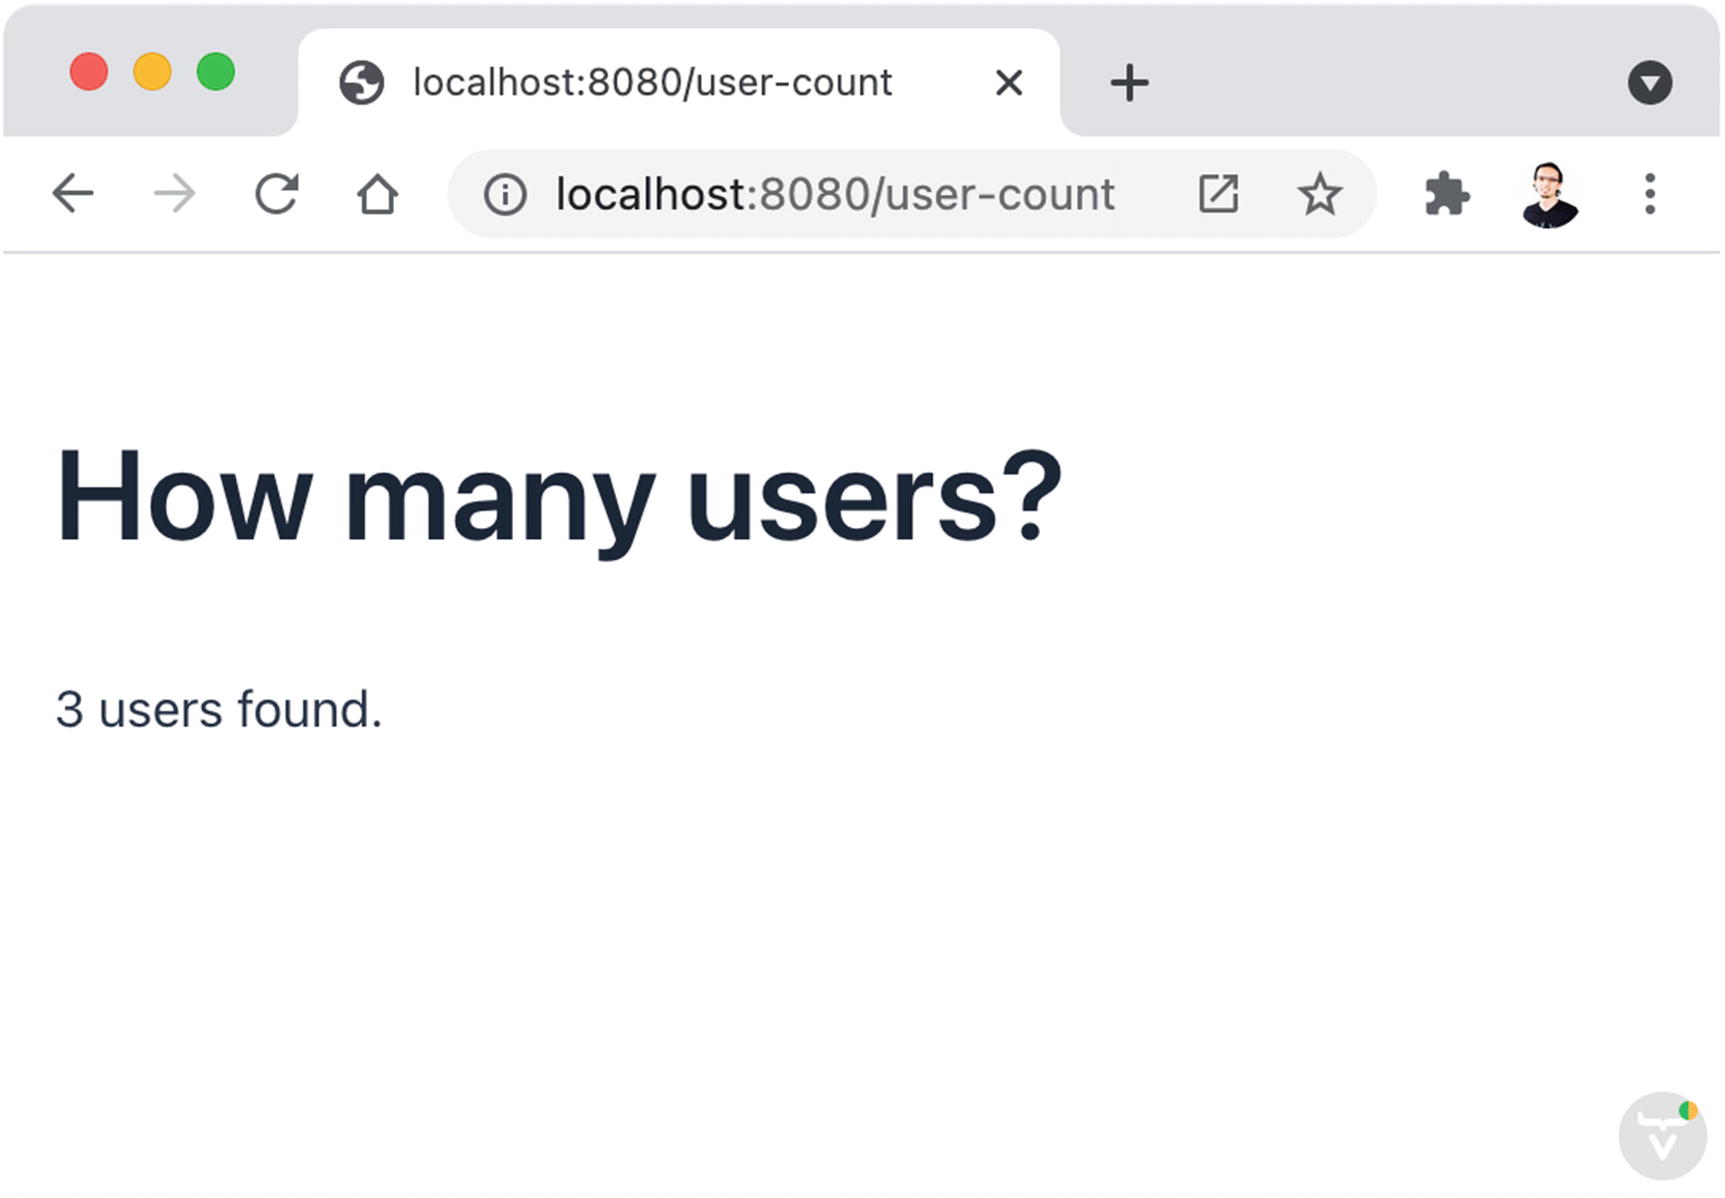
You can see a screenshot of the application in Figure 13-3.
Figure 13-3
A CRUD with database connectivity
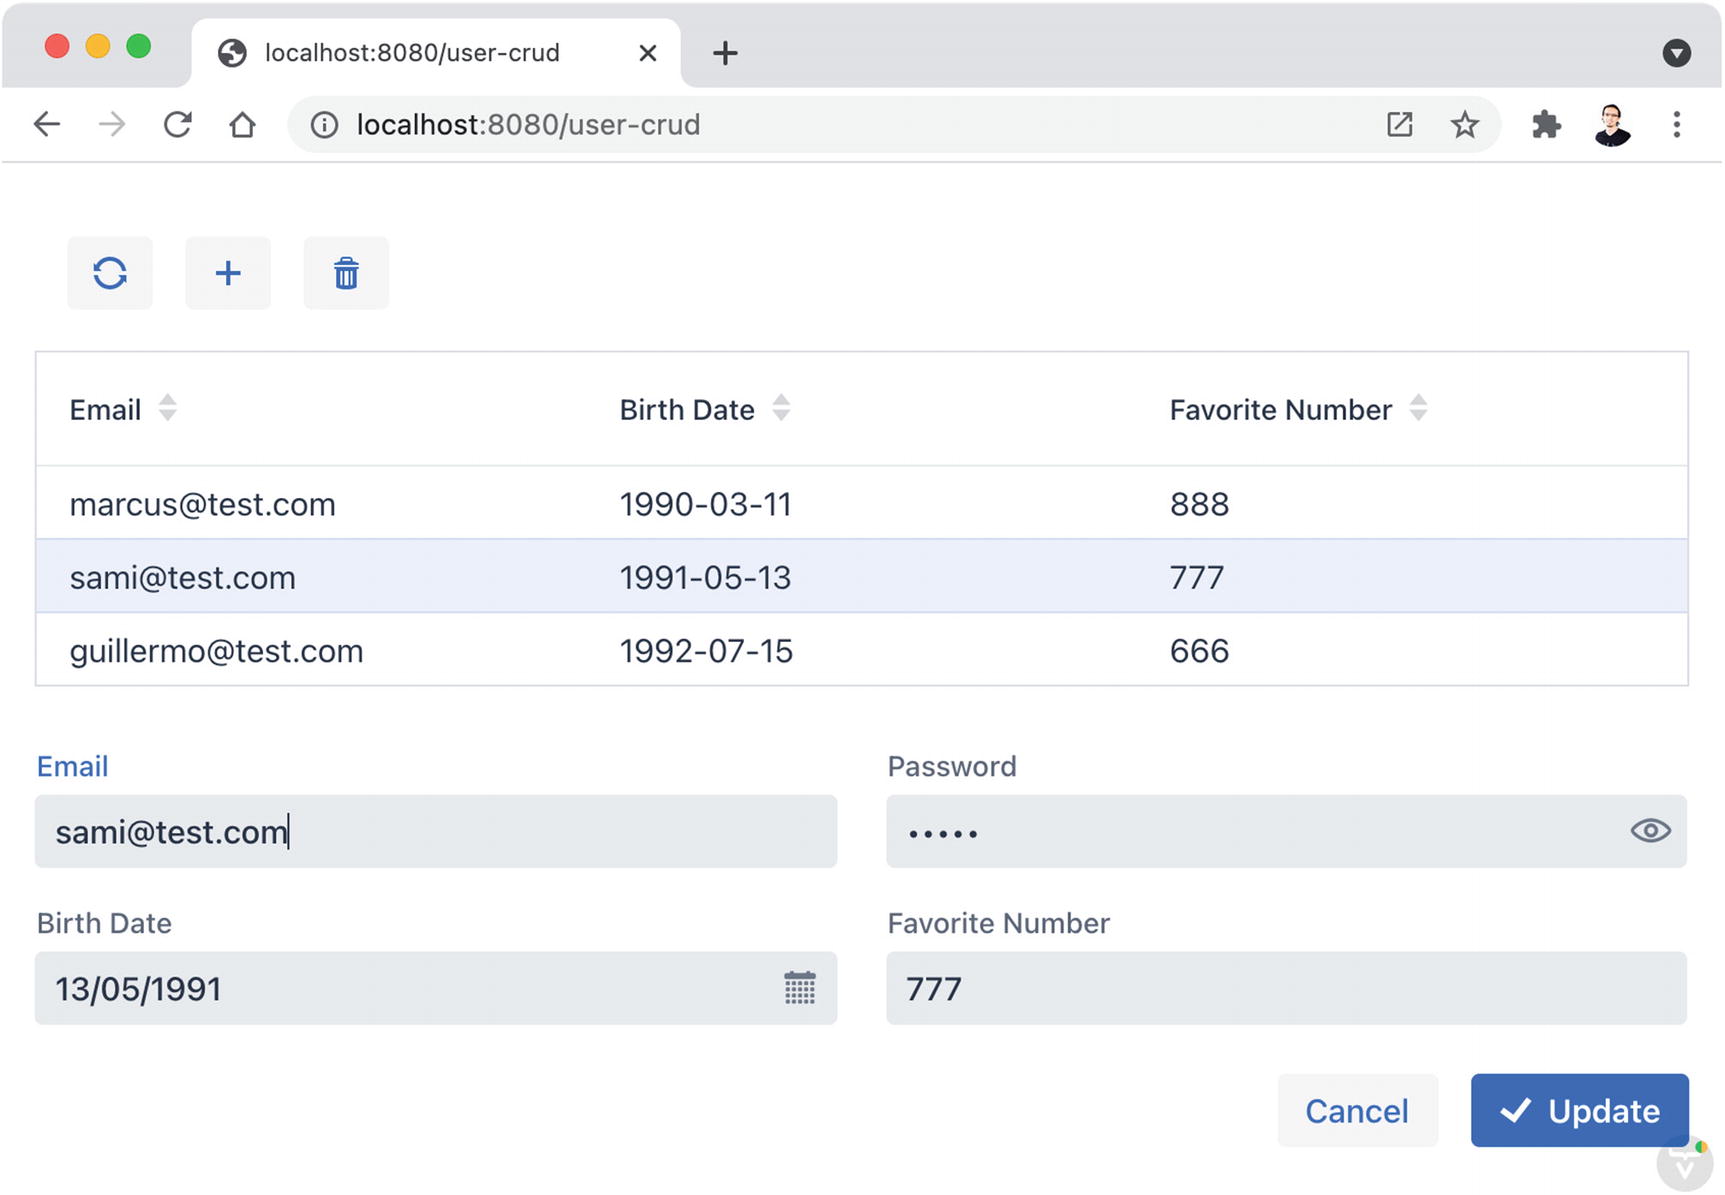
The CRUD shows error messages if you introduce invalid values in the input fields. Figure 13-4 shows an example.
Figure 13-4
A CRUD view showing Jakarta Bean Validation error messages
Summary
This chapter got you started with Jakarta EE and database connectivity using Apache DeltaSpike Data. You saw how to configure a database connection using JDBC and JPA. You learned how easy it is to create a repository class to read and write data and how to use dependency injection to connect objects in a Jakarta EE application. Finally, you saw how simple it could be to create Vaadin applications when you use the add-ons available in the Vaadin Directory.
This book ends where it started. The Crud-UI add-on has always been the perfect reminder of why Vaadin is so powerful and fun to use. Implementing graphical web user interfaces using the power of the Java programming language, the Java virtual machine, and the Java ecosystem is luxurious. I hope you continue your journey through modern web development with Vaadin and Java. Happy coding!