
Having the dependencies in the package.json file and all the initial files in place, we can run the following command (in the root folder of our project) to finish the installation:
npm install
Then, all the dependencies should be installed in our project. Once npm finishes installing all dependencies, we can start our app in the iOS simulator:
react-native run-ios
Or in the Android emulator using the following command:
react-native run-android
When React Native detects the app is running in a simulator, it enables a developer toolset available through a hidden menu, which can be accessed through the shortcuts command + D on iOS or command + M on Android (on Windows Ctrl should be used instead of command). This is how the developer menu looks like in iOS:

And this is how it looks like in the Android simulator:
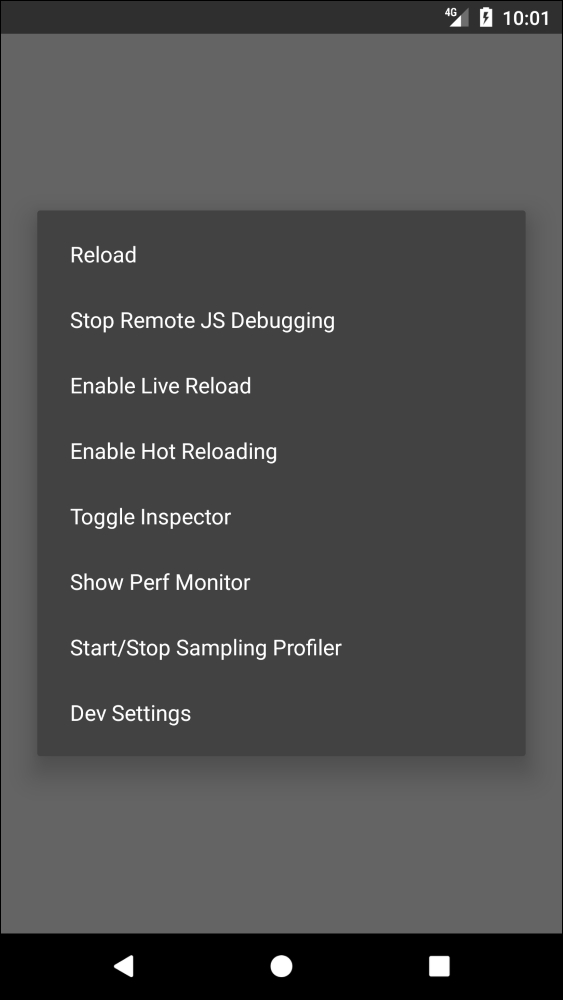
In the process of building an app in React Native, the developer will have debugging needs. React Native fulfills these needs with the ability to remotely debug our apps in Chrome developer's tools or external applications such as React Native Debugger. Errors, logs, and even React components can be debugged easily as in a normal web environment.
On top of that, React Native provides a way to automatically reload our app each time a change is done saving the developers the task of manually reloading the app (which can be achieved by pressing command + R or Ctrl + R). There are two options when we set our app for automatic reloading:
- Live reload detects any changes we make in the app's code and resets the app to its initial state after reloading.
- Hot reload also detects changes and reloads the app, but keeps the current state of the app. This is really useful when we are implementing user flows to save the developer to repeat each step in the flow (for example, logging in or registering test users)
- Finally, we can start the performance monitor to detect possible performance issues when performing complex operations such as animations or mathematical calculations.