© Felipe Gutierrez 2021
F. GutierrezSpring Cloud Data Flowhttps://doi.org/10.1007/978-1-4842-1239-4_7

7. Spring Cloud Stream Binders

Felipe Gutierrez1  
(1)
Albuquerque, NM, USA
 

In the previous chapter, I showed you how Spring Cloud Stream Application Starters work as stand-alone apps that can deliver an enterprise-ready solution with ease. I showed you the Spring Cloud Stream model application and how the main core is based on Spring Integration and Spring Boot for its easy configuration. You saw how to use Spring Cloud Functions and Spring Integration to create streams very easily. I also showed you a feature (the best, in my opinion) called a binder that allows your solution to use any physical destination or any middleware messaging broker. This chapter covers how to create a custom binder.

You will use the NATS server (https://nats.io), a broker for building distributed applications to provide real-time streaming and big data use-cases (see Figure 7-1). Are wondering why did I chose NATS over other technologies? I used to work on Cloud Foundry (www.​cloudfoundry.​org) projects, and one of the main components to keep alive some of the VMs are to use NATS, a fast and reliable messaging broker, that is easy to use. As an experiment, I decided to create a prototype as a binder implementation. It took me a few hours. Yes, it is very easy to create a custom binder.

Let’s get started by discussing what’s behind the NATS technology and how to implement it.
../images/337978_1_En_7_Chapter/337978_1_En_7_Fig1_HTML.jpg
Figure 7-1.

https://nats.io

Binder

A binder uses the Service Provider Interface (SPI) pattern, which allows you to extend or add extra functionality to your system by enabling features or replacing components. This pattern has been around since the first iterations of the Java programming language and adds plugin functionality.

Spring Cloud Stream exposes several interfaces and abstract and utility classes; it also provides discovery strategies that allow you to plug in external middleware. These interfaces and classes help you create binders very easily. A typical scenario features a producer and consumer using a binder to produce and consume messages. The binder takes care of the connection, retries, sessions, or anything that allows the publisher and consumer to use the broker with knowing how it is done. It hides boilerplate coding and avoids the need to learn a specific API.

Let’s start by reviewing the main interface: org.springframework.cloud.stream.binder.Binder<T,C,P>. This interface provides input and output bind targets. It adds properties to both the producer and the consumer; these properties offer support to the required broker-specific properties (if any) in a type-safe manner (see Listing 7-1).
public interface Binder<T, C extends ConsumerProperties, P extends ProducerProperties> {
    Binding<T> bindConsumer(
                                 String bindingName, String group, T inboundBindTarget, C consumerProperties);
    Binding<T> bindProducer(String bindingName, T outboundBindTarget, P producerProperties);
}
Listing 7-1.

org.springframework.cloud.stream.binder.Binder Interface

Let’s review Listing 7-1.
  • binderConsumer. This method’s first parameter is the destination name that internally creates the necessary channels and whatever purpose object is needed in the broker, such as queue, topic, and so forth. The next parameter is a group in which the consumers accept messages (a worker style or publish/subscribe patterns). The third parameter is the destination/channel instance where the consumer listens/subscribes to new incoming messages. The fourth parameter is a broker (specific) and business properties that belongs to the message.

  • binderProducer. This method’s first parameter is the destination name that creates the necessary channels and whatever purpose object is needed in the broker, like a topic, exchange, and so forth. The next parameter is the destination/channel instance where the producer sends the messages. The last parameter is any property that contains broker-specific and business properties.

I think these signatures are very straightforward to follow. Figure 7-2 shows an example of a binder.
../images/337978_1_En_7_Chapter/337978_1_En_7_Fig2_HTML.jpg
Figure 7-2.

Binder abstraction

Implementing a Binder

If you want to implement a binder, you must follow these simple rules.
  • A class must implement the Binder interface.

  • A @Configuration marked class defines a binder bean and the steps for creating the middleware broker infrastructure; it may be a connection, or session, some credentials, and so forth.

  • It is necessary to create a META-INF/spring.binders file that is found in the classpath and contains one or more binder definitions.

As you can see, it is very simple to implement a binder, so let’s start creating a custom binder using the NATS brokers.

NATS Binder

Creating a custom binder helps developers speed up development; as a binder developer, you need to know how this broker works.

Before you start implementing the binder, I think it is necessary to create a library that allows you to produce and consume messages so you can reuse it later. At the end of the chapter, you create a nats-binder project with three modules: nats-messaging (NATS client), nats-messaging-binder (NAT binder implementation), and nats-messaging-test (NATS binder test).

Download the NATS server (https://nats.io/) and install it. This chapter uses a NATS Docker image. You can pull it using the following command.
$ docker pull nats

This command downloads a 10 MB image.

Project: nats-binder

To make development easier, let’s create a directory structure for the main pom.xml file and its modules. Create a folder called nats-binder and add the pom.xml file in Listing 7-2.
<?xml version="1.0" encoding="UTF-8"?>
<project xmlns:="http://maven.apache.org/POM/4.0.0" xmlns:xsi="http://www.w3.org/2001/XMLSchema-instance"
    xsi:schemaLocation="http://maven.apache.org/POM/4.0.0 https://maven.apache.org/xsd/maven-4.0.0.xsd">
    <modelVersion>4.0.0</modelVersion>
    <groupId>com.apress.nats</groupId>
    <artifactId>nats-binder</artifactId>
    <version>0.0.1</version>
    <packaging>pom</packaging>
    <properties>
        <java.version>1.8</java.version>
        <maven.compiler.target>1.8</maven.compiler.target>
        <maven.compiler.source>1.8</maven.compiler.source>
        <project.build.sourceEncoding>UTF-8</project.build.sourceEncoding>
        <project.reporting.outputEncoding>UTF-8</project.reporting.outputEncoding>
    </properties>
    <modules>
        <module>nats-messaging-binder</module>
        <module>nats-messaging</module>
        <module>nats-messaging-test</module>
    </modules>
    <dependencies>
        <dependency>
            <groupId>org.springframework.boot</groupId>
            <artifactId>spring-boot-starter</artifactId>
        </dependency>
        <dependency>
            <groupId>org.springframework</groupId>
            <artifactId>spring-messaging</artifactId>
        </dependency>
        <dependency>
            <groupId>org.projectlombok</groupId>
            <artifactId>lombok</artifactId>
            <optional>true</optional>
        </dependency>
        <dependency>
            <groupId>org.springframework.boot</groupId>
            <artifactId>spring-boot-configuration-processor</artifactId>
            <optional>true</optional>
        </dependency>
        <dependency>
            <groupId>org.springframework.boot</groupId>
            <artifactId>spring-boot-starter-test</artifactId>
            <scope>test</scope>
            <exclusions>
                <exclusion>
                    <groupId>org.junit.vintage</groupId>
                    <artifactId>junit-vintage-engine</artifactId>
                </exclusion>
            </exclusions>
        </dependency>
    </dependencies>
    <dependencyManagement>
        <dependencies>
            <dependency>
                <groupId>org.springframework.boot</groupId>
                <artifactId>spring-boot-dependencies</artifactId>
                <version>2.2.6.RELEASE</version>
                <type>pom</type>
                <scope>import</scope>
            </dependency>
        </dependencies>
    </dependencyManagement>
    <build>
        <plugins>
            <plugin>
                <groupId>org.apache.maven.plugins</groupId>
                <artifactId>maven-compiler-plugin</artifactId>
                <configuration>
                    <source>8</source>
                    <target>8</target>
                </configuration>
            </plugin>
        </plugins>
    </build>
</project>
Listing 7-2.

nats-binder/pom.xml

Analyze pom.xml and the dependencies.

Next, create the modules, and because you are using Spring Initializr, you can uncompress the ZIP file in the nats-binder folder.

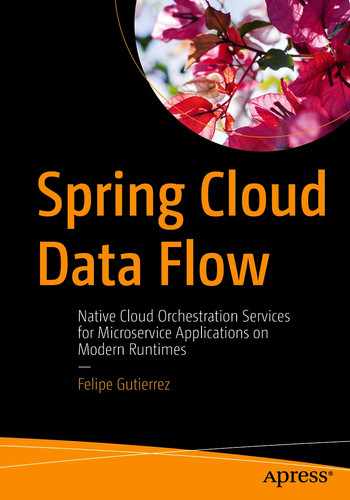
NATS Client: nats-messaging

Open a browser and point to https://start.spring.io. Use the following metadata.
  • Group: com.apress.nats

  • Artifact: nats-messaging

  • Package: com.apress.nats

  • Dependencies: Lombok

Press the Generate button to download a ZIP file. Uncompress it into the nats-binder directory and import it into your favorite IDE (see Figure 7-3).
../images/337978_1_En_7_Chapter/337978_1_En_7_Fig3_HTML.jpg
Figure 7-3.

Spring Initializr nats-messaging

Next, let’s add the dependencies needed to use the NATS server. One of the benefits of using open source technology is that it is open to the community. This case requires the NAT Java client (https://nats.io/download/nats-io/nats.java/ and https://github.com/nats-io/nats.java).

Open pom.xml and replace it with the content in Listing 7-3.
<?xml version="1.0" encoding="UTF-8"?>
<project xmlns:="http://maven.apache.org/POM/4.0.0" xmlns:xsi="http://www.w3.org/2001/XMLSchema-instance"
        xsi:schemaLocation="http://maven.apache.org/POM/4.0.0 https://maven.apache.org/xsd/maven-4.0.0.xsd">
        <modelVersion>4.0.0</modelVersion>
        <parent>
                <groupId>com.apress.nats</groupId>
                <artifactId>nats-binder</artifactId>
                <version>0.0.1</version>
                <relativePath>..</relativePath>
        </parent>
        <packaging>jar</packaging>
        <groupId>com.apress.nats</groupId>
        <artifactId>nats-messaging</artifactId>
        <version>0.0.1-SNAPSHOT</version>
        <name>nats-messaging</name>
        <description>Demo project for Spring Boot</description>
        <dependencies>
                <dependency>
                        <groupId>io.nats</groupId>
                        <artifactId>jnats</artifactId>
                        <version>2.6.6</version>
                </dependency>
                <dependency>
                        <groupId>com.fasterxml.jackson.core</groupId>
                        <artifactId>jackson-databind</artifactId>
                </dependency>
        </dependencies>
</project>
Listing 7-3.

nats-binder/nats-messaging/pom.xml

Take a look at pom.xml and note that the parent is declaring the nats-binder main project. Remember, the nats-messaging library is a module. Review it, and let’s continue.

At the time of this writing, the Java NATS client version was 2.6.6. Let’s start by creating the NatsProperties class. This class holds all the information about the server, port, and so forth (see Listing 7-4).
package com.apress.nats;
import lombok.Data;
import org.springframework.boot.context.properties.ConfigurationProperties;
@Data
@ConfigurationProperties("spring.nats")
public class NatsProperties {
    private String host = "localhost";
    private Integer port = 4222;
}
Listing 7-4.

src/main/java/com/apress/nats/NatsProperties.java

Listing 7-4 shows the NatsProperties class; as you can see, it is very simple and has default values. Remember that you can override these properties in the application.properties/yml file, command line or environment variables, and so forth.

Next, create the NatsConnection class (see Listing 7-5).
package com.apress.nats;
import io.nats.client.Connection;
import io.nats.client.Nats;
import lombok.Data;
import java.io.IOException;
@Data
public class NatsConnection {
    private Connection connection;
    private NatsProperties natsProperties;
    private NatsConnection(){}
    public NatsConnection(NatsProperties natsProperties) throws IOException, InterruptedException {
        this.natsProperties = natsProperties;
        this.connection =
Nats.connect("nats://" + natsProperties.getHost() + ":" + natsProperties.getPort().toString());
    }
}
Listing 17-5.

src/main/java/com/apress/nats/NatsConnection.java

Listing 7-5 shows the NatsConnection class. This class has the NATS Connection instance. Here you are calling NatProperties to use the default values or those provided by the developer when using spring.nats.* properties. As you can see, the Nats class is static. You can call the connect method passing the schemed (nats://), the host, and the port, which is a very simple way to connect to the NATS server.

Next, let’s create the NatsTemplate class (see Listing 7-6).
package com.apress.nats;
import lombok.AllArgsConstructor;
import lombok.Data;
import lombok.extern.log4j.Log4j2;
import org.springframework.messaging.Message;
import org.springframework.util.SerializationUtils;
import java.nio.charset.StandardCharsets;
@Log4j2
@AllArgsConstructor
@Data
public class NatsTemplate {
    private NatsConnection natsConnection;
    public void send(String subject, String message){
        assert this.natsConnection != null && subject != null && !subject.isEmpty() && message != null && !message.isEmpty();
        log.debug("Sending: {}", message);
        this.natsConnection.getConnection().publish(subject, message.getBytes(StandardCharsets.UTF_8));
    }
    public void send(String subject,Message<?> message){
        assert this.natsConnection != null && subject != null && !subject.isEmpty() && message != null;
        log.debug("Sending: {}", message);
        this.natsConnection.getConnection().publish(subject, SerializationUtils.serialize(message));
    }
}
Listing 7-6.

src/main/java/com/apress/nats/NatsTemplate.java

Listing 7-6 shows the NatsTemplate class. This class removes all the boilerplate and provides all the operations that deal with the NATS server. This is an implementation of the template design pattern; if you are using the Spring Framework, you can find several of these, including JmsTemplate, RabbitTemplate, KafkaTemplate, and JdbcTemplate.

You are declaring only two overload methods, where you always receive the subject (similar to a topic) and the message. You are using the org.springframework.messaging.Message interface. Also note that you need the NatsConnection instance. To publish a message, you use the connection (with the getConnection() method call) and invoke the publish method. In the send(String subject, Message<?> message) method, you use a Spring serialization utils to serialize your message into a byte array. The NATS protocol requires that messages are the byte[] type.

Next, let’s create the NatMessageListener interface (see Listing 7-7).
package com.apress.nats;
public interface NatsMessageListener  {
    void onMessage(byte[] message);
}
Listing 7-7.

src/main/java/com/apress/nats/NatsMessageListener.java

Listing 7-7 shows the NatsMessageListener interface, which has the onMessage method with a byte[] type as a parameter.

Next, let’s create at least one implementation to delegate the listener. This class subscribes to the subject (the same a topic) in the NATS server.

Create the NatsMessageListenerAdapter class (see Listing 7-8).
package com.apress.nats;
import io.nats.client.Dispatcher;
import io.nats.client.Subscription;
import lombok.Data;
import lombok.extern.log4j.Log4j2;
@Log4j2
@Data
public class NatsMessageListenerAdapter {
    private NatsConnection natsConnection;
    private String subject;
    private NatsMessageListener adapter;
    private Subscription subscription;
    private Dispatcher dispatcher;
    public void start(){
        assert natsConnection != null && natsConnection.getConnection() != null && subject != null && adapter != null;
        log.debug("Creating Message Listener...");
        dispatcher = this.natsConnection.getConnection().createDispatcher((msg) -> {});
        subscription = dispatcher.subscribe(this.subject, (msg) -> {
            adapter.onMessage(msg.getData());
        });
        log.debug("Subscribed to: {}",this.subject);
    }
    public void stop(){
        assert dispatcher != null && subject != null;
        log.debug("Unsubscribing from: {}", subject);
        dispatcher.unsubscribe(subject,300);
    }
}
Listing 7-8.

src/main/java/com/apress/nats/NatsMessageListenerAdapter.java

Listing 7-8 shows the NatMessageListenerAdapter class that implements NatsMessageListener. Analyze this class before continuing. In the Java NATS client, there are two ways to get messages: synchronous and asynchronous. You are implementing the asynchronous way. To use it, you need to create a Dispatcher instance (based on the connection) and subscribe to the subject (the same as a topic). When you need to remove the subscription, you only need to call the unsubscribe method from the Dispatcher instance.

Note

The code uses the @Log4j2 annotation from Lombok to inject the logging. Normally, you don’t use it like that. You need to use AOP to create your cross-cutting concern for logging.

Now that you have the producer (NatsTemplate) and the consumer (NatsMessageListener), let’s create the configuration. Create the NatsConfiguration class (see Listing 7-9).
package com.apress.nats;
import org.springframework.boot.autoconfigure.condition.ConditionalOnMissingBean;
import org.springframework.boot.context.properties.EnableConfigurationProperties;
import org.springframework.context.annotation.Bean;
import org.springframework.context.annotation.Configuration;
import java.io.IOException;
@EnableConfigurationProperties(NatsProperties.class)
@Configuration
public class NatsConfiguration {
    @Bean
    @ConditionalOnMissingBean
    public NatsConnection natsConnection(NatsProperties natsProperties) throws IOException, InterruptedException {
        return new NatsConnection(natsProperties);
    }
    @Bean
    @ConditionalOnMissingBean
    public NatsTemplate natsTemplate(NatsConnection natsConnection){
        return new NatsTemplate(natsConnection);
    }
}
Listing 7-9.

src/main/java/com/apress/nats/NatsConfiguration.java

Listing 7-9 shows the NatsConfiguration class, which creates NatsConnection and NatsTemplate Spring beans. Note that you are using the @ConditionalOnMissingBean, which is useful when another class that uses this library creates its own beans with different implementations or values, so you avoid having several beans with the same type.

So that’s it. This is the nats-messaging library that connects, produces, and consumes messages. Now, you can test it with the code in Listing 7-10. You can create the NatsProducerConsumer class, or you can add this code to the NatsMessagingApplicationTest class .
package com.apress.nats;
import lombok.extern.log4j.Log4j2;
import org.springframework.boot.ApplicationRunner;
import org.springframework.context.annotation.Bean;
import org.springframework.context.annotation.Configuration;
import java.nio.charset.StandardCharsets;
@Log4j2
@Configuration
public class NatsProducerConsumer {
    @Bean(initMethod = "start",destroyMethod = "stop")
    public NatsMessageListenerAdapter natsMessageListenerAdapter(NatsConnection natsConnection){
        NatsMessageListenerAdapter adapter = new NatsMessageListenerAdapter();
        adapter.setNatsConnection(natsConnection);
        adapter.setSubject("test");
        adapter.setAdapter( message -> {
            log.info("Received: {}", new String(message, StandardCharsets.UTF_8));
        });
        return adapter;
    }
    @Bean
    public ApplicationRunner sendMessage(NatsTemplate natsTemplate){
        return args -> {
            natsTemplate.send("test","Hello There!");
        };
    }
}
Listing 7-10.

src/main/java/com/apress/nats/NatsProducerConsumer.java

To run this app, you need to have the NATS server up and running. You can run it with the following command (I used Docker).
$ docker run -d --rm --name nats -p 4222:4222 nats
Now you can execute the app in your IDE or by using the following command line.
$ ./mvnw spring-boot:run
You should see the following in your logs.
                NatsTemplate     : Sending: Hello There!
NatsProducerConsumer     : Received: Hello There!
Congratulations! You have created your nats-messaging library that is used in the next module. Now, you can stop your NATS server with the following.
$ docker stop nats

Stop your app.

Warning

Before continuing, comment out all the code of the NatProducerConsumer.java class.

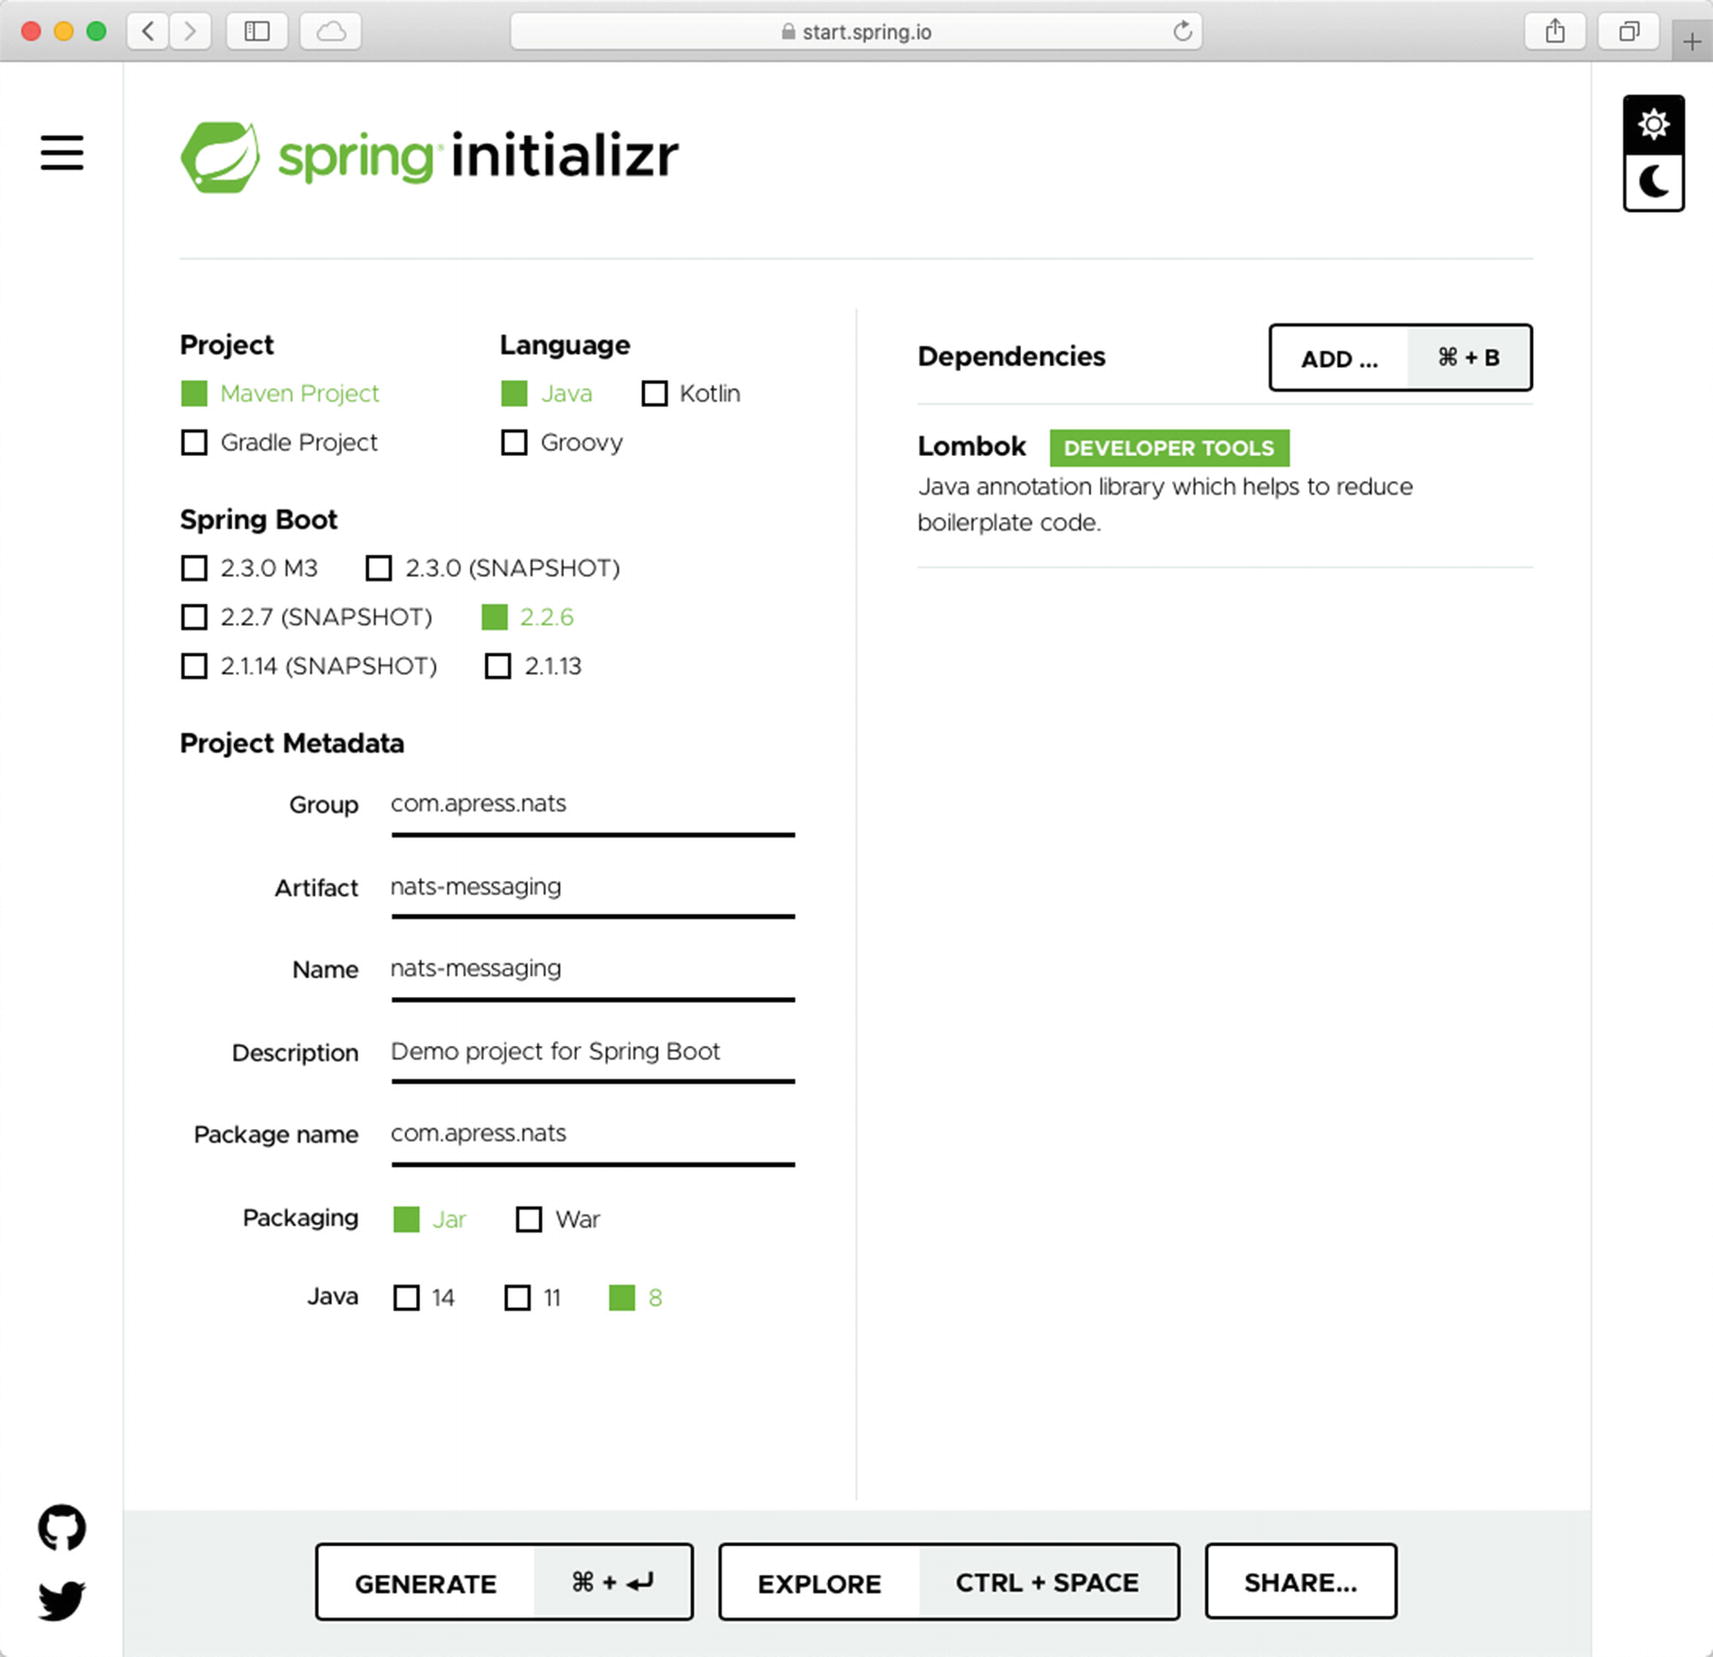
NATS Binder Implementation: nats-messaging-binder

Let’s start with the binder implementation. Open a browser and point to https://start.spring.io. Use the following metadata.
  • Group: com.apress.nats

  • Artifact: nats-messaging-binder

  • Package: com.apress.nats

  • Dependencies: Lombok

Press the Generate button to download a ZIP file. Uncompress it into the nats-binder directory and import it into your favorite IDE (see Figure 7-4).
../images/337978_1_En_7_Chapter/337978_1_En_7_Fig4_HTML.jpg
Figure 7-4.

Spring Initializr nats-messaging-binder

Let’s start by opening the pom.xml file replacing it with the content in Listing 7-11.
<?xml version="1.0" encoding="UTF-8"?>
<project xmlns:="http://maven.apache.org/POM/4.0.0" xmlns:xsi="http://www.w3.org/2001/XMLSchema-instance"
        xsi:schemaLocation="http://maven.apache.org/POM/4.0.0 https://maven.apache.org/xsd/maven-4.0.0.xsd">
        <modelVersion>4.0.0</modelVersion>
        <parent>
                <groupId>com.apress.nats</groupId>
                <artifactId>nats-binder</artifactId>
                <version>0.0.1</version>
                <relativePath>..</relativePath>
        </parent>
        <packaging>jar</packaging>
        <groupId>com.apress.nats</groupId>
        <artifactId>nats-messaging-binder</artifactId>
        <version>0.0.1-SNAPSHOT</version>
        <name>nats-messaging-binder</name>
        <description>Demo project for Spring Boot</description>
        <properties>
                <spring-cloud.version>Hoxton.SR3</spring-cloud.version>
        </properties>
        <dependencies>
                <dependency>
                        <groupId>org.springframework.cloud</groupId>
                        <artifactId>spring-cloud-stream</artifactId>
                </dependency>
                <dependency>
                        <groupId>com.apress.nats</groupId>
                        <artifactId>nats-messaging</artifactId>
                        <version>0.0.1-SNAPSHOT</version>
                </dependency>
                <dependency>
                        <groupId>org.projectlombok</groupId>
                        <artifactId>lombok</artifactId>
                </dependency>
                <dependency>
                        <groupId>org.springframework.cloud</groupId>
                        <artifactId>spring-cloud-stream-test-support</artifactId>
                        <scope>test</scope>
                </dependency>
        </dependencies>
        <dependencyManagement>
                <dependencies>
                        <dependency>
                                <groupId>org.springframework.cloud</groupId>
                                <artifactId>spring-cloud-dependencies</artifactId>
                                <version>${spring-cloud.version}</version>
                                <type>pom</type>
                                <scope>import</scope>
                        </dependency>
                </dependencies>
        </dependencyManagement>
</project>
Listing 7-11.

nats-binder/nats-messaging-binder/pom.xml

Listing 7-11 shows the pom.xml file for the nats-messaging-binder module. Note that you are declaring the nats-messaging module as a dependency.

Next, let’s follow the steps to create a new binder

Implement the Binder Interface

If you review the Binder interface , you see that you need several classes before you can implement it (see Listing 7-1). One of the parameters that you need to pass is the inbound and outbound binding targets for the consumer and producer methods, respectively. You can create all the logic for that and follow the practices for creating the different types of channels, messaging support, message converters, and so forth, but that takes too long. What if you rely on some of the abstract implementations that already takes out the underlying infrastructure that needs to be done with channels and so forth.

You can use the org.springframework.cloud.stream.binder.AbstractMessageChannelBinder class, which extends org.springframework.cloud.stream.binder.AbstractBinder class that implements the org.springframework.cloud.stream.binder.Binder interface. The AbstractMessageChannelBinder class brings all the logic needed to create the infrastructure for channels, connections, retry logic, destination creation, and so forth. So, that’s the main class to extend. If you look at its signature, you see the code in Listing 7-12.
public abstract class AbstractMessageChannelBinder<C extends ConsumerProperties, P extends ProducerProperties, PP extends ProvisioningProvider<C, P>>
                extends AbstractBinder<MessageChannel, C, P> implements
                PollableConsumerBinder<MessageHandler, C>, ApplicationEventPublisherAware
{
        // ...
}
Listing 7-12.

org.springframeworl.cloud.stream.binder.AbstractMessageChannelBinder.java

Listing 7-12 is a snippet of the AbstractMessageChannelBinder class, which requires ConsumerProperties, ProducerProperties, and ProvisioningProvider classes. Let’s start by creating the ProvisionProvider implementation. Create the NatsMessageBinderProvisioningProvider class (see Listing 7-13).
package com.apress.nats;
import org.springframework.cloud.stream.binder.ConsumerProperties;
import org.springframework.cloud.stream.binder.ProducerProperties;
import org.springframework.cloud.stream.provisioning.ConsumerDestination;
import org.springframework.cloud.stream.provisioning.ProducerDestination;
import org.springframework.cloud.stream.provisioning.ProvisioningException;
import org.springframework.cloud.stream.provisioning.ProvisioningProvider;
public class NatsMessageBinderProvisioningProvider implements ProvisioningProvider<ConsumerProperties, ProducerProperties> {
    @Override
    public ProducerDestination provisionProducerDestination(String name, ProducerProperties properties) throws ProvisioningException {
        return new NatsMessageBinderDestination(name);
    }
    @Override
    public ConsumerDestination provisionConsumerDestination(String name, String group, ConsumerProperties properties) throws ProvisioningException {
        return new NatsMessageBinderDestination(name);
    }
}
Listing 7-13.

src/main/java/com/apress/nats/NatsMessageBinderProvisioningProvider.java

Listing 7-13 shows the NatsMessageBinderProvisioningProvider class that implements ProvisioningProvider with ConsumerProperties and ProducerProperties concrete classes as parameters. These classes help all the spring.cloud.stream.bindings.[destinationName].[consumer|producer] properties. Note that in the implementation, you are sending a new instance of the NatsMessageBinderDestination class. So, let’s create it (see Listing 7-14).
package com.apress.nats;
import lombok.AllArgsConstructor;
import lombok.Data;
import org.springframework.cloud.stream.provisioning.ConsumerDestination;
import org.springframework.cloud.stream.provisioning.ProducerDestination;
@AllArgsConstructor
@Data
public class NatsMessageBinderDestination implements ProducerDestination, ConsumerDestination {
    private final String destination;
    @Override
    public String getName() {
        return this.destination.trim();
    }
    @Override
    public String getNameForPartition(int partition) {
        throw new UnsupportedOperationException("Partition not yet implemented for Nats Binder");
    }
}
Listing 7-14.

src/main/java/com/apress/nats/NatsMessageBinderDestination.java

Listing 7-14 shows the NatsMessageBinderDestination that implements both the ProducerDestination and the ConsumerDestination interfaces. The ProducerDestination interface declares getName() and getNameForPartition, and the ConsumerDestination interface declares getName(). This creates the destination and all the wiring for the underlying channel and integration infrastructure. Note that you are not implementing the partition feature for now.

Now that you have the ProvisioningProvider interface implementation, you must take care of consuming the incoming messages from the NATS server by creating a consumer endpoint and listeners. This means that you override the createConsumerEndpoint method in AbstractMessageChannelBinder, and this method needs to return MessageProducer. Let’s use a class that implements all the necessary logic and overrides the methods needed. One of these classes is MessageProducerSupport, which is a support class for producer endpoints that creates the output channels; it has a method for sending messages. So, let’s create the NatsMessageBinderProducer class (see Listing 7-15).
package com.apress.nats;
import lombok.extern.log4j.Log4j2;
import org.springframework.cloud.stream.provisioning.ConsumerDestination;
import org.springframework.integration.endpoint.MessageProducerSupport;
import org.springframework.messaging.Message;
import org.springframework.messaging.support.MessageBuilder;
import org.springframework.util.SerializationUtils;
import java.nio.charset.StandardCharsets;
@Log4j2
public class NatsMessageBinderProducer extends MessageProducerSupport {
    private ConsumerDestination destination;
    private NatsMessageListenerAdapter adapter = new NatsMessageListenerAdapter();
    public NatsMessageBinderProducer(ConsumerDestination destination, NatsConnection natsConnection){
        assert destination != null && natsConnection != null;
        adapter.setSubject(destination.getName());
        adapter.setNatsConnection(natsConnection);
        adapter.setAdapter(messageListener);
    }
    @Override
    protected void doStart() {
        adapter.start();
    }
    @Override
    protected void doStop() {
        adapter.stop();
        super.doStop();
    }
    private NatsMessageListener messageListener = message -> {
        log.debug("[BINDER] Message received from NATS: {}",message);
        log.debug("[BINDER] Message Type received from NATS: {}",message.getClass().getName());
        this.sendMessage((Message<?>)SerializationUtils.deserialize(message));
    };
}
Listing 7-15.

src/main/java/com/apress/nats/NatsMessageBinderProducer.java

Listing 7-15 shows the NatsMessageBinderProducer class that is extending the MessageProducerSupport class. The only methods that you override are doStart() and doStop(). Let the class business logic handle the rest. In this class, you need to set up the listener that is connected to the NATS server. Look at the constructor where you need a NatsConnection instance. You start listening when the underlying bootstrap calls the doStart() method. When you receive the message, use the sendMessage method that deserializes it into a Messager<?> type, which is a wrapper class containing headers and the payload.

Now it’s time to extend the AbstractMessageChannelBinder class (binder implementation). Create the NatsMessageBinder class (see Listing 7-16).
package com.apress.nats;
import lombok.extern.log4j.Log4j2;
import org.springframework.cloud.stream.binder.AbstractMessageChannelBinder;
import org.springframework.cloud.stream.binder.ConsumerProperties;
import org.springframework.cloud.stream.binder.ProducerProperties;
import org.springframework.cloud.stream.provisioning.ConsumerDestination;
import org.springframework.cloud.stream.provisioning.ProducerDestination;
import org.springframework.integration.core.MessageProducer;
import org.springframework.messaging.MessageChannel;
import org.springframework.messaging.MessageHandler;
@Log4j2
public class NatsMessageBinder extends AbstractMessageChannelBinder<ConsumerProperties, ProducerProperties,NatsMessageBinderProvisioningProvider> {
    private NatsTemplate natsTemplate;
    public NatsMessageBinder(String[] headersToEmbed, NatsMessageBinderProvisioningProvider provisioningProvider, NatsTemplate natsTemplate) {
        super(headersToEmbed, provisioningProvider);
        this.natsTemplate = natsTemplate;
    }
    @Override
    protected MessageHandler createProducerMessageHandler(ProducerDestination destination, ProducerProperties producerProperties, MessageChannel errorChannel) throws Exception {
        return message -> {
            assert natsTemplate != null;
            log.debug("[BINDER] Sending to NATS: {}",message);
            natsTemplate.send(destination.getName(),message);
        };
    }
    @Override
    protected MessageProducer createConsumerEndpoint(ConsumerDestination destination, String group, ConsumerProperties properties) throws Exception {
        assert natsTemplate != null;
        return new NatsMessageBinderProducer(destination, this.natsTemplate.getNatsConnection());
    }
}
Listing 7-16.

src/main/java/com/apress/nats/NatsMessageBinder.java

Listing 7-16 shows the NatsMessageBinder class, our main binder implementation. Take a look at the constructor, where it is necessary to call the base class (AbstractMessageChannelBinder) passing the headers of the message (e.g., custom headers or the broker-related headers), the ProvisioningProvider (NatsMessageBinderProvisioningProvider class), and the NatsTemplate that sends the messages.

We override createProducerMessageHandler, which returns MessageHandler. It has the message to send to the NATS server. That’s why the NatsTemplate instance is used to get the destination name and the message. Also, we override createConsumerEndPoint, which returns an instance of the NatMessageBinderProducer class. Remember that this class starts with the listener for incoming messages.

Create the @Configuration Beans

Now that we have our binder implementation, it is time to create the configuration and the Spring beans that do the binder’s autoconfiguration. Create the NatsMessageBinderConfiguration class (see Listing 7-17).
package com.apress.nats;
import org.springframework.boot.context.properties.EnableConfigurationProperties;
import org.springframework.context.annotation.Bean;
import org.springframework.context.annotation.Configuration;
import org.springframework.context.annotation.Import;
@EnableConfigurationProperties(NatsProperties.class)
@Import(NatsConfiguration.class)
@Configuration
public class NatsMessageBinderConfiguration {
    @Bean
    public NatsMessageBinderProvisioningProvider natsMessageBinderProvisioningProvider(){
        return new NatsMessageBinderProvisioningProvider();
    }
    @Bean
    public NatsMessageBinder natsMessageBinder(NatsMessageBinderProvisioningProvider natsMessageBinderProvisioningProvider, NatsTemplate natsTemplate){
        return new NatsMessageBinder(null,natsMessageBinderProvisioningProvider, natsTemplate);
    }
}
Listing 7-17.

src/main/java/com/apress/nats/NatsMessageBinderConfiguration.java

Listing 7-17 shows the NatsMessageBinderConfiguration class. This class is importing the NatsConfiguration class that contains NatsTemplate and NatsConnection (see Listing 7-9). Here we are defining the binder, the natsMessageBinderProvisioningProvider, and the natsMessageBinder that the Spring beans need to wire up everything for the binder to work. In the natsMessageBinder method, we return a new instance of the NatsMessageBinder class that has several parameters. For now, you are passing null to the headers. You can deal with them later.

Create the META-INF/spring.binders

Next, you need to add the configuration to the spring.binders file. Create the META-INF folder in the src/main/resources path and create the spring.binders file with the content in Listing 7-18.
nats:
com.apress.nats.NatsMessageBinderConfiguration
Listing 7-18.

src/main/resources/META-INF/spring.binders

Listing 7-18 shows the spring.binders file, which is required for the autoconfiguration to work. This means that if you add this module as a dependency, it uses spring.binders to find every class with the @Configuration annotated class and executes the autoconfiguration logic to set up the binder or any other configuration.

Note that you are naming this binder nats, which is important when using multiple binders in one stream, which is discussed in later sections.
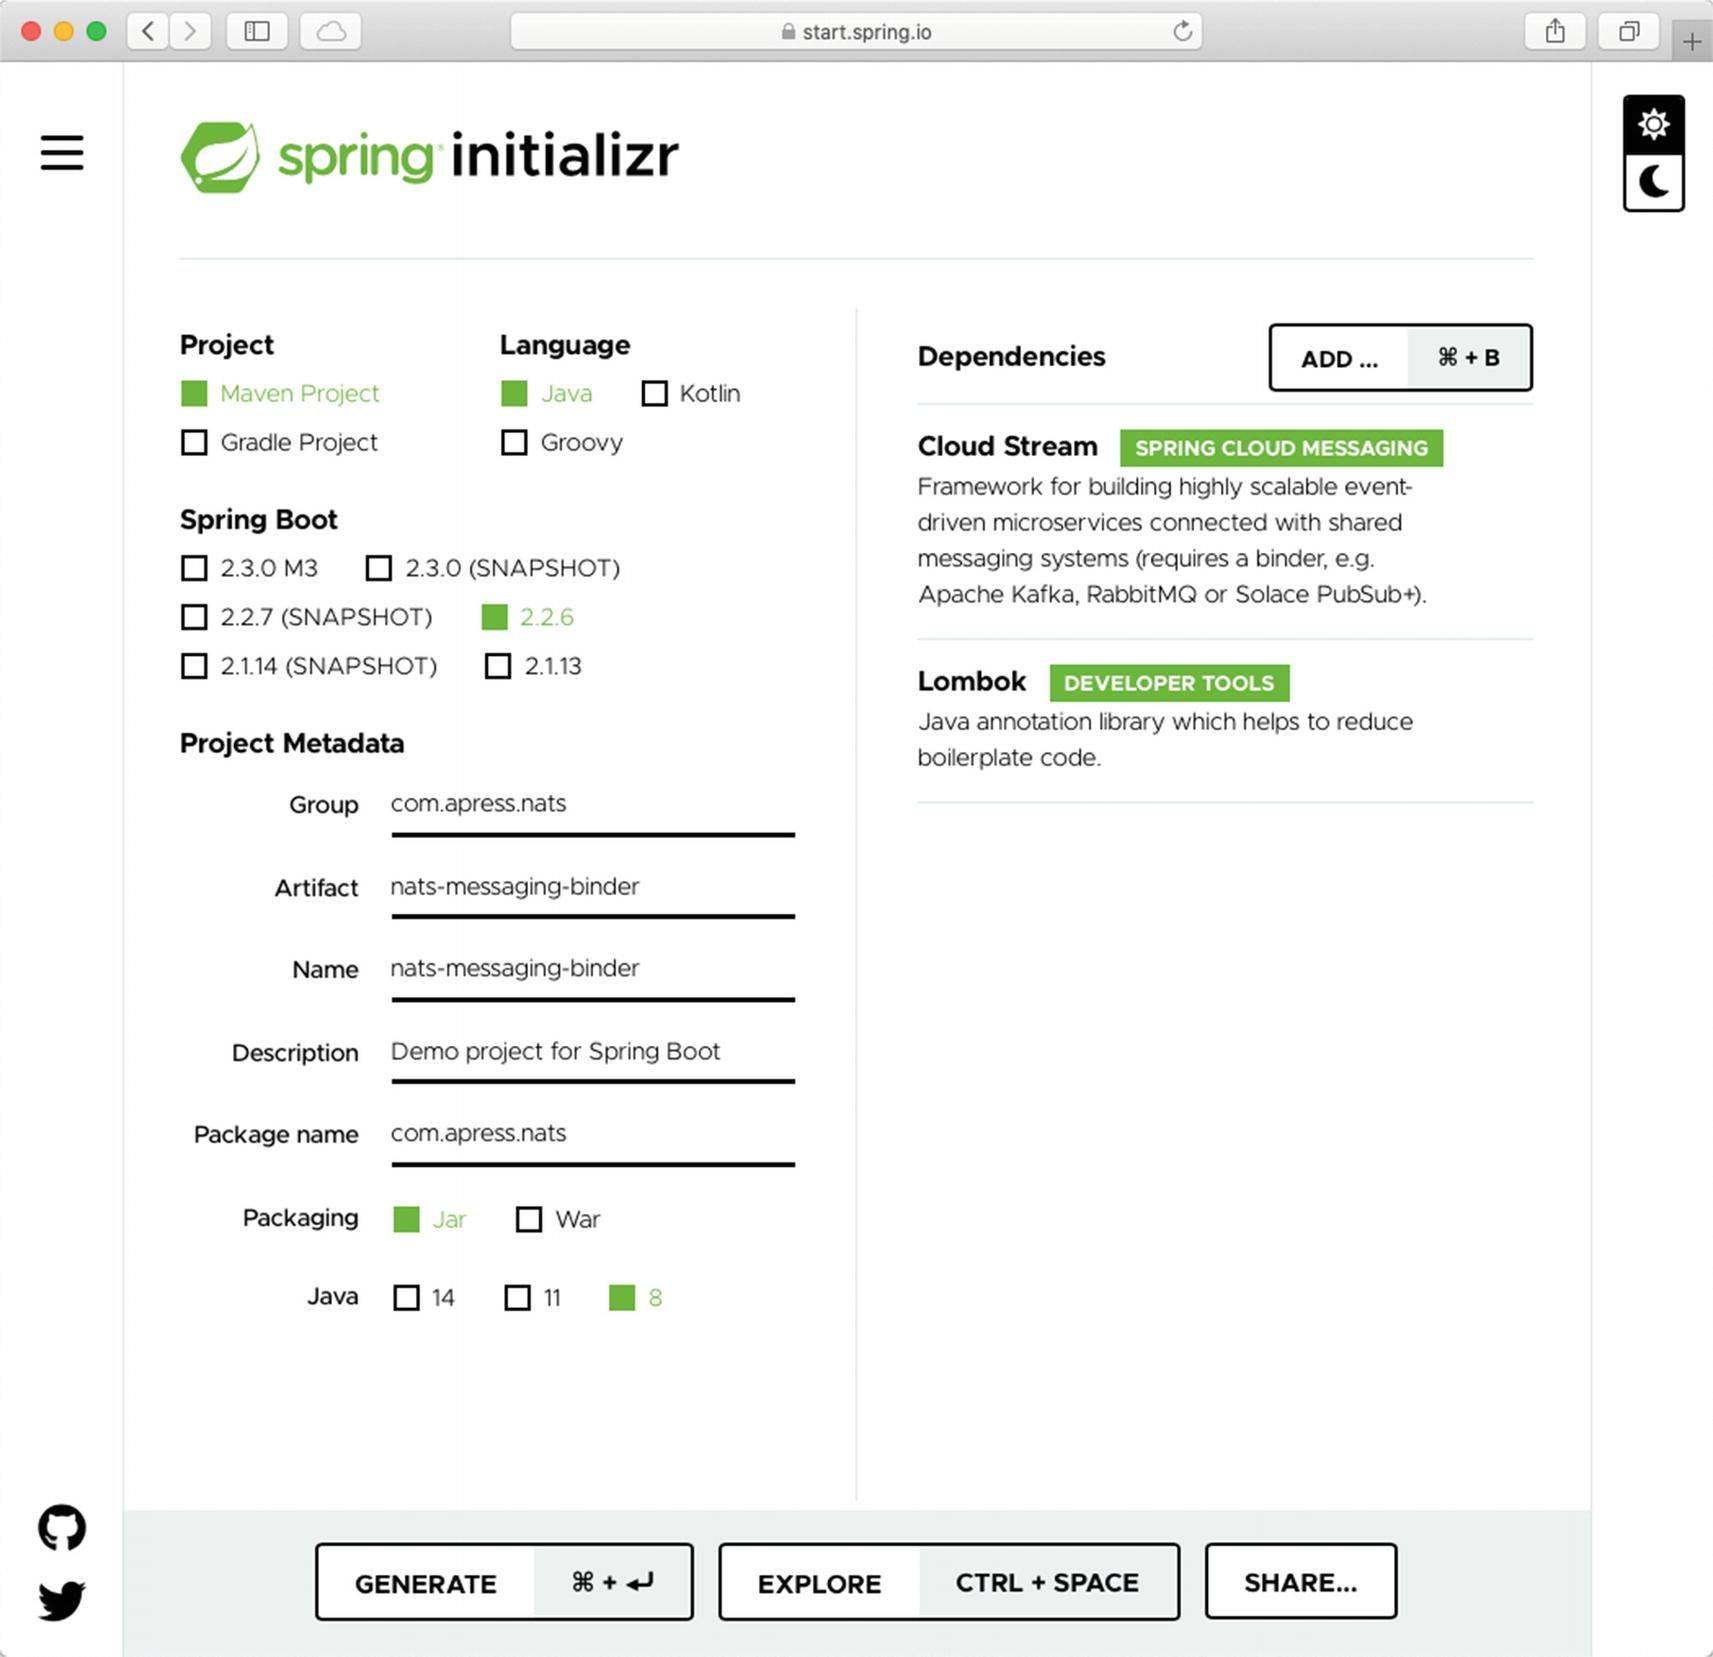
NATS Binder Test

Now that you have the nats-messaging and the nats-messaging-binder modules, it’s time to test it. Of course, there are specialized test classes for that, but I want to show you how easy it is to use this binder and save the unit/integration testing for later.

Open a browser and point to https://start.spring.io. Use the following metadata.
  • Group: com.apress.nats

  • Artifact: nats-messaging-test

  • Package: com.apress.nats

Press the Generate button to download a ZIP file. Uncompress it into the nats-binder directory and import it into your favorite IDE (see Figure 7-5).
../images/337978_1_En_7_Chapter/337978_1_En_7_Fig5_HTML.jpg
Figure 7-5

Spring Initializr nats-messaging-test

Open pom.xml and replace it with the content in Listing 7-19.
<?xml version="1.0" encoding="UTF-8"?>
<project xmlns:="http://maven.apache.org/POM/4.0.0" xmlns:xsi="http://www.w3.org/2001/XMLSchema-instance"
        xsi:schemaLocation="http://maven.apache.org/POM/4.0.0 https://maven.apache.org/xsd/maven-4.0.0.xsd">
        <modelVersion>4.0.0</modelVersion>
        <parent>
                <groupId>com.apress.nats</groupId>
                <artifactId>nats-binder</artifactId>
                <version>0.0.1</version>
                <relativePath>..</relativePath><!-- lookup parent from repository -->
        </parent>
        <groupId>com.apress.nats</groupId>
        <artifactId>nats-messaging-test</artifactId>
        <version>0.0.1-SNAPSHOT</version>
        <name>nats-messaging-test</name>
        <description>Demo project for Spring Boot</description>
        <dependencies>
                <dependency>
                        <groupId>com.apress.nats</groupId>
                        <artifactId>nats-messaging-binder</artifactId>
                        <version>0.0.1-SNAPSHOT</version>
                </dependency>
        </dependencies>
        <build>
                <plugins>
                        <plugin>
                                <groupId>org.springframework.boot</groupId>
                                <artifactId>spring-boot-maven-plugin</artifactId>
                        </plugin>
                </plugins>
        </build>
</project>
Listing 7-19.

nats-messaging-test/pom.xml

Listing 7-19 shows pom.xml. Note that you are only using nats-messaging-binder and no other dependency because nats-messaging-binder provides everything that you need, including the nats-messaging module.

Next, let’s create the streams that send and receive the messages. Create the NatsStream class (see Listing 7-20).
package com.apress.nats;
import lombok.extern.log4j.Log4j2;
import org.springframework.cloud.stream.annotation.EnableBinding;
import org.springframework.cloud.stream.annotation.StreamListener;
import org.springframework.cloud.stream.messaging.Sink;
import org.springframework.cloud.stream.messaging.Source;
import org.springframework.context.annotation.Bean;
import org.springframework.integration.annotation.InboundChannelAdapter;
import org.springframework.integration.annotation.Poller;
import org.springframework.integration.core.MessageSource;
import org.springframework.messaging.support.GenericMessage;
@Log4j2
@EnableBinding({Source.class, Sink.class})
public class NatsStream {
    @Bean
    @InboundChannelAdapter(value = Source.OUTPUT, poller = @Poller(fixedRate = "10000", maxMessagesPerPoll = "1"))
    public MessageSource<String> timerMessageSource() {
        return () -> new GenericMessage<>("Hello Spring Cloud Stream");
    }
    @StreamListener(Sink.INPUT)
    public void process(Object message){
        log.info("Received and ProcessedClass: {}", message.getClass().getName());
        log.info("Received and Processed: {}", message);
    }
}
Listing 7-20.

src/main/java/com/apress/nats/NatsStream.java

Listing 7-20 shows the NatsStream class. Take a look at the @EnableBinding declaration. We are using a 2.x programming style with the Source and Sink interfaces. To produce messages, you use the Spring Integration @InboundChannelAdapter annotation adapter. The underlying implementation of this adapter contains a pollable logic that calls and executes the method every 10 seconds based on the fixedRated parameter from the @Poller annotation. Note that this adapter uses the output channel to send a message; in this case, a GenericMessage<> type (a String). If you are curious, this is the same logic used for the Time Source Application Starter. It uses @InboundChannelAdapter to send a message every T seconds.

The @StreamListener annotation marks a method that receives all the incoming messages from the input channel.

Next, let’s help the binder name the channels/destinations and connect them. If this isn’t done, input and output channels/destinations are created but won’t be connected.

Open application.properties and use the content in Listing 7-21.
# Nats Bindings
spring.cloud.stream.bindings.output.destination=movie
spring.cloud.stream.bindings.input.destination=movie
# Debugging
logging.level.org.springframework.cloud.stream.messaging=DEBUG
logging.level.com.apress.nats=DEBUG
Listing 7-21.

src/main/resources/application.properties

Listing 7-21 shows application.properties. Note that we are using the 2.x programming model, and the naming convention is based on input/output channels/destinations. So, the input and output channels must have the same name to produce (source) and consume (sink); in this case, you are calling the channels/destinations movie. Note that you use the debug logging level to get insight into what is happening.

Before you run the test, make sure you have the Docker NATS server image container up and running. If it’s not running, you can run it with the following.
$ docker run -d --rm --name nats -p 4222:4222 nats
Now you can run it from your IDE. If your IDE is smart, it already knows about the configuration. But if you want to run it from the command line, you need to add the following files in the root project (nats-binder).
$ cp -r nats-messaging/.mvn .
$ cp nats-messaging/mvnw* .
Copy the Maven wrapper that compiles, installs, and executes the test. Next, in the project (nats-binder) execute the following.
$ ./mvnw clean compile install
$ ./mvnw spring-boot:run -pl nats-messaging-test
If everything went well, you should get the following output every 10 seconds.
Received and Processed: Hello Spring Cloud Stream

Also look at the beginning of the logs, where you have the debug information from the other classes. You should see the Creating Message Listener and Subscribed to: movie messages.

Congratulations! You have created a NATS server binder. Now you can use it everywhere you need to use NATS without worrying about any API.

Don’t forget to stop your NAT server.

Notes

You can find all the source code in the ch07/nats-binder folder in this book’s companion code.

Multiple Binders

It was fun to create a NATS binder, right? Now, let’s look at solving a particular requirement when you need more than one binder. So far, you are using either Rabbit or Kafka, but not together or maybe with multiple Rabbit brokers or a Rabbit for a source and a Kafka for a processor.

In this section, you learn how to use multiple binders, particularly, the NATS and RabbitMQ binders. You create three separated projects: movie-file-source-nats, which exposes JSON movie messages to the NATS server, movie-filter-processor-nats-rabbit, which listens from NATS and sends messages to Rabbit, and finally, movie-log-sink-rabbit, which logs messages from RabbitMQ (see Figure 7-6).
../images/337978_1_En_7_Chapter/337978_1_En_7_Fig6_HTML.jpg
Figure 7-6.

Multiple binders

movie-file-source-nats

This stream reads all the JSON movies from a file, and it sends them to the next stream using the NATS binder. Open a browser and point to https://start.spring.io. Use the following metadata.
  • Group: com.apress.cloud.stream

  • Artifact: movie-file-source-nats

  • Package: com.apress.cloud.stream.movie

  • Dependencies: Lombok

Press the Generate button to download a ZIP file. Uncompress it and import it into your favorite IDE. Note the package name (see Figure 7-7).
../images/337978_1_En_7_Chapter/337978_1_En_7_Fig7_HTML.jpg
Figure 7-7.

Spring Initializr movie-file-source-nats

Open your pom.xml file and add the following two dependencies.
<!-- NATS -->
<dependency>
        <groupId>com.apress.nats</groupId>
        <artifactId>nats-messaging-binder</artifactId>
        <version>0.0.1-SNAPSHOT</version>
</dependency>
<!-- Spring Integration -->
<dependency>
        <groupId>org.springframework.integration</groupId>
        <artifactId>spring-integration-file</artifactId>
</dependency>
Next, create the Movie class (see Listing 7-22).
package com.apress.cloud.stream.movie;
import lombok.AllArgsConstructor;
import lombok.Data;
import lombok.NoArgsConstructor;
@AllArgsConstructor
@NoArgsConstructor
@Data
public class Movie {
    private String title;
    private String actor;
    private int year;
    private String genre;
}
Listing 7-22.

src/main/java/com/apress/cloud/stream/movie/Movie.java

As you can see, the Movie class is the same as in previous chapters. Next, create the MovieStreamProperties class . This class holds the information about the directory (where the JSON movies are) and the name pattern (see Listing 7-23).
package com.apress.cloud.stream.movie;
import lombok.Data;
import org.springframework.boot.context.properties.ConfigurationProperties;
@Data
@ConfigurationProperties(prefix = "movie.stream")
public class MovieStreamProperties {
    private String directory;
    private String namePattern;
}
Listing 7-23.

src/main/java/com/apress/cloud/stream/movie/MovieStreamProperties.java

As you can see, it is the same class that is in other chapters; nothing special about it. Next, create the MovieStream class (see Listing 7-24).
package com.apress.cloud.stream.movie;
import lombok.AllArgsConstructor;
import org.springframework.boot.context.properties.EnableConfigurationProperties;
import org.springframework.cloud.stream.annotation.EnableBinding;
import org.springframework.cloud.stream.messaging.Source;
import org.springframework.context.annotation.Bean;
import org.springframework.integration.dsl.IntegrationFlow;
import org.springframework.integration.dsl.IntegrationFlows;
import org.springframework.integration.dsl.Pollers;
import org.springframework.integration.dsl.Transformers;
import org.springframework.integration.file.dsl.Files;
import org.springframework.integration.file.splitter.FileSplitter;
import java.io.File;
@AllArgsConstructor
@EnableConfigurationProperties(MovieStreamProperties.class)
@EnableBinding(Source.class)
public class MovieStream {
    private MovieStreamProperties movieStreamProperties;
    @Bean
    public IntegrationFlow fileFlow(){
        return IntegrationFlows.from(Files
                        .inboundAdapter(new File(this.movieStreamProperties.getDirectory()))
                        .preventDuplicates(true)
                        .patternFilter(this.movieStreamProperties.getNamePattern()),
                        e -> e.poller(Pollers.fixedDelay(5000L)))
                .split(Files.splitter().markers())
                .filter(p -> !(p instanceof FileSplitter.FileMarker))
                .transform(Transformers.fromJson(Movie.class))
                .channel(Source.OUTPUT)
                .get();
    }
}
Listing 7-24.

src/main/java/com/apress/cloud/stream/movie/MovieStream.java

Listing 7-24 shows the MovieStream class. Note that you are using the version 2.x model programming where you need to use the @EnableBinding annotation and provide the type, in this case, a Source type. Next, open your application.properties file and add the content from Listing 7-25.
# Nats Bindings
# Programming Style version 2.x
spring.cloud.stream.bindings.output.destination=movie
# Movie Stream Properties
movie.stream.directory=.
movie.stream.name-pattern=movies-json.txt
# Debugging
logging.level.com.apress.nats=DEBUG
logging.level.org.springframework.cloud.stream.messaging.DirectWithAttributesChannel=DEBUG
Listing 7-25.

src/main/resources/application.properties

Note that you are renaming the output destination movie.

That’s is for this stream. I know that the code seems repetitive, but it helps you understand the concept better. How can you do this using reactive programming? You need to make a small change. First, you can return Publisher<Message<Movie>> in fileFlow, and instead of calling the get() method (to get the IntegrationFlow instance), use toReactivePublisher(). Second, you need to create a supplier. Remember that you need to subscribe to the publisher. You need to declare a Supplier method for that. And third, you need to use the spring.cloud.stream.bindings.[suplier-method-name]-out-0.destination property.

For this stream, I added movies-json.txt at the root of the project. It contains the following content.
{"title":"The Matrix","actor":"Keanu Reeves","year":1999,"genre":"fiction"}
{"title":"Memento","actor":"Guy Pearce","year":2000,"genre":"drama"}
{"title":"The Prestige","actor":"Christian Bale","year":2006,"genre":"drama"}
{"title":"Disturbia","actor":"Shia LaBeouf","year":2007,"genre":"drama"}
Note

You can find all the source code in the ch07/multiple folder. You find commented out the reactive version.

movie-filter-processor-nats-rabbit

Next, let’s create the processor that filters a movie based on its genre value. This stream uses the NATS (for input) and RabbitMQ (for output) binders. Open a browser and point to https://start.spring.io. Use the following metadata.
  • Group: com.apress.cloud.stream

  • Artifact: movie-filter-processor-nats-rabbit

  • Package: com.apress.cloud.stream.movie

  • Dependencies: Cloud Stream, Lombok

Press the Generate button to download a ZIP file. Uncompress it and import it into your favorite IDE. Note the package name.

Open the pom.xml file and add the following dependencies.
<!-- NATS -->
<dependency>
        <groupId>com.apress.nats</groupId>
        <artifactId>nats-messaging-binder</artifactId>
        <version>0.0.1-SNAPSHOT</version>
</dependency>
<!-- RabbitMQ Binder -->
<dependency>
        <groupId>org.springframework.cloud</groupId>
        <artifactId>spring-cloud-starter-stream-rabbit</artifactId>
</dependency>
Next, create the Movie class. You can use the same code as in Listing 7-22. Next, you need to create the MovieStream class (see Listing 7-26).
package com.apress.cloud.stream.movie;
import org.springframework.cloud.stream.annotation.EnableBinding;
import org.springframework.cloud.stream.messaging.Processor;
import org.springframework.integration.annotation.Filter;
@EnableBinding(Processor.class)
public class MovieStream {
    String GENRE_DRAMA = "drama";
    @Filter(inputChannel = Processor.INPUT,outputChannel = Processor.OUTPUT)
    public boolean onlyDrama(Movie movie) {
        return movie.getGenre().equals(GENRE_DRAMA);
    }
}
Listing 7-26.

src/main/java/com/apress/cloud/stream/movie/MovieStream.java

Here you are still using the version 2.x model in which you need to declare @EnableBinding with its type, in this case, the processor with the input and output processor. Also note that you are using the Spring Integration @Filter annotations that need to return a boolean depending on the evaluated expression. In this case, you are evaluating if the genre is DRAMA; if so, let it pass. Also note that the @Filter annotation requires two parameters: inputChannel and outputChannel; in this case, they are processor type members.

You can find the reactive version in the source code for this project.

Next, let’s rename application.properties as application.yaml. Add the content from Listing 7-27.
spring:
  cloud:
    stream:
      bindings:
        input:
          binder: nats
          destination: movie
        output:
          binder: rabbit
          destination: log
Listing 7-27.

src/main/resources/application.yaml

In this case, you are using YAML because it is more legible and understandable than the properties. Note that you are using the spring.cloud.stream.binding.input.binder set to nats (this name is from the META-INF/spring.binders from the nats-messaging-binder module). And you are setting spring.cloud.stream.binding.input.destination to movie. Set output.binder to rabbit and set output.destination to log.

If you enable the reactive part from the MovieStream class, you need to use the naming convention for bindings. You can find this code commented out in the application.yaml file.

movie-log-sink-rabbit

Next, is the movie-log-sink-rabbit Stream. For this stream log, you use an old style and a Spring Integration XML file to create the log-sink. Open a browser and point to https://start.spring.io. Use the following metadata.
  • Group: com.apress.cloud.stream

  • Artifact: movie-log-sink-rabbit

  • Package: com.apress.cloud.stream.movie

  • Dependencies: Cloud Stream, Lombok

You can press the Generate button to download a ZIP file. Uncompress it and import it into your favorite IDE. Note the package name.

Open the pom.xml file and add the following dependency.
<!-- RabbitMQ Binder -->
<dependency>
        <groupId>org.springframework.cloud</groupId>
        <artifactId>spring-cloud-starter-stream-rabbit</artifactId>
</dependency>
Next, create the Movie class. You can use the code in Listing 7-22. Then, create the MovieStream class (see Listing 7-28).
package com.apress.cloud.stream.movie;
import org.springframework.cloud.stream.annotation.EnableBinding;
import org.springframework.cloud.stream.messaging.Sink;
import org.springframework.context.annotation.Configuration;
import org.springframework.context.annotation.ImportResource;
@Configuration
@ImportResource({"/META-INF/spring/movie-log.xml"})
@EnableBinding(Sink.class)
public class MovieStream {
}
Listing 7-28.

src/main/java/com/apress/cloud/stream/movie/MovieStream.java

You are using @EnableBinding with the sink type as parameter. Note that you are using the @ImportResource annotation to load a legacy XML file. Next, create the META-INF/spring/movie-log.xml file (see Listing 7-29).
<?xml version="1.0" encoding="UTF-8"?>
<beans xmlns:="http://www.springframework.org/schema/beans"
       xmlns:xsi="http://www.w3.org/2001/XMLSchema-instance"
       xmlns:int="http://www.springframework.org/schema/integration"
       xsi:schemaLocation="http://www.springframework.org/schema/beans
    https://www.springframework.org/schema/beans/spring-beans.xsd
    http://www.springframework.org/schema/integration
    https://www.springframework.org/schema/integration/spring-integration.xsd">
    <int:json-to-object-transformer
            input-channel="input"
            output-channel="logger"
            type="com.apress.cloud.stream.movie.Movie"/>
    <int:logging-channel-adapter id="logger"
                                 logger-name="LOG"
                                 level="INFO"
                                 expression="payload"/>
</beans>
Listing 7-29.

src/main/resources/META-INF/spring/movie-log.xml

Listing 7-29 shows the legacy XML Spring Integration. I think that any legacy Spring system that still uses the XML approach can be modernized to Spring Boot very easily because you can reuse your XML and take advantage of the performance (this topic is for another time).

As you can see, you are using the json-to-object-transformer component (because the data from RabbitMQ is an application/JSON type) just to convert to an object and getting the toString() format logged into the console. Note that the transformer sets the input-channel attribute to input (the name of the binding) and the output-channel attribute to logger, which is the logging-channel-adapter component’s ID.

Finally, open application.properties and add the following content.
# Binding RabbitMQ
spring.cloud.stream.bindings.input.destination=log

Running Them All Together

You are ready to run everything, but to run all the streams, you need to make sure the NATS server and the RabbitMQ broker are up and running. I added a docker-compose.yml file in the source code. It contains both servers. Instead of manually starting them, you can use Docker Compose (see Listing 7-30).
version: '3'
services:
  nats:
    image: 'nats:latest'
    container_name: nats
    ports:
      - '4222:4222'
      - '8222:8222'
  rabbit:
    image: 'rabbitmq:3.8.3-management-alpine'
    container_name: rabbit
    ports:
      - '15672:15672'
      - '5672:5672'
Listing 7-30.

docker-compose.yml

Open a terminal window and go to this file. Run the following command to start the servers.
$ docker-compose up
Go to your IDE and run your streams, starting with the log and processor; or you can run this stream using the following well-known Maven command.
$ ./mvnw spring-boot-run.
You need to run movie-file-source-nats last to read the movies-json.txt file, which is the well-known root of the project. After running it, the movie-log-sink-rabbit should only stream the three drama-genre movies.
Movie(title=Memento, actor=Guy Pearce, year=2000, genre=drama)
Movie(title=The Prestige, actor=Christian Bale, year=2006, genre=drama)
Movie(title=Disturbia, actor=Shia LaBeouf, year=2007, genre=drama)

Congrats! You used multiple brokers!

What happens when you have multiple brokers of the same type? In other words, you have a processor that is listening from a RabbitMQ server located on the East Coast, and you need to process the message and send it to a RabbitMQ server on the West Coast. Using the same principle and naming convention, use the following configuration in application.yaml.
spring:
  cloud:
    stream:
      bindings:
        input:
          destination: movie
          binder: rabbit1
        output:
          destination: log
          binder: rabbit2
      binders:
        rabbit1:
          type: rabbit
          environment:
            spring:
              rabbitmq:
                host: east-coast.mydomain.com
        rabbit2:
          type: rabbit
          environment:
            spring:
              rabbitmq:
                host: west-coast.mydomain.com
          username: admin
                password: {cipher}c789b2ee5bd

As you can see, it is very easy to add multiple binders of the same type.

Extra Configuration

Even though I discussed configurations from the previous chapter, there are other properties that are worth mentioning. Check out the org.springframework.cloud.stream.config.BindingServiceProperties class and the Javadoc for more information on these properties.

Summary

In this chapter, I showed you how to create a custom binder by following the three steps: implement from the Binder interface, add the configuration that creates the binder, and finally, add the binder configuration to the spring.binders file. This is used when the Spring Boot autoconfiguration starts due to the findings in the classpath.

You created a NATS binder and used it in the multiple binders. This chapter used different ways to create streams: using version 2.x, where you need to declare the @Binding annotation with its type (source, processor, or sink), using version 3.x, where you can use functional and reactive programming, or using some of the code from old Spring Integration annotations and legacy XML.

In the next chapter, I discuss Spring Cloud Data Flow and how Spring Cloud Stream and the binder technology fit into our solutions.

..................Content has been hidden....................

You can't read the all page of ebook, please click here login for view all page.
Reset
3.144.84.155