
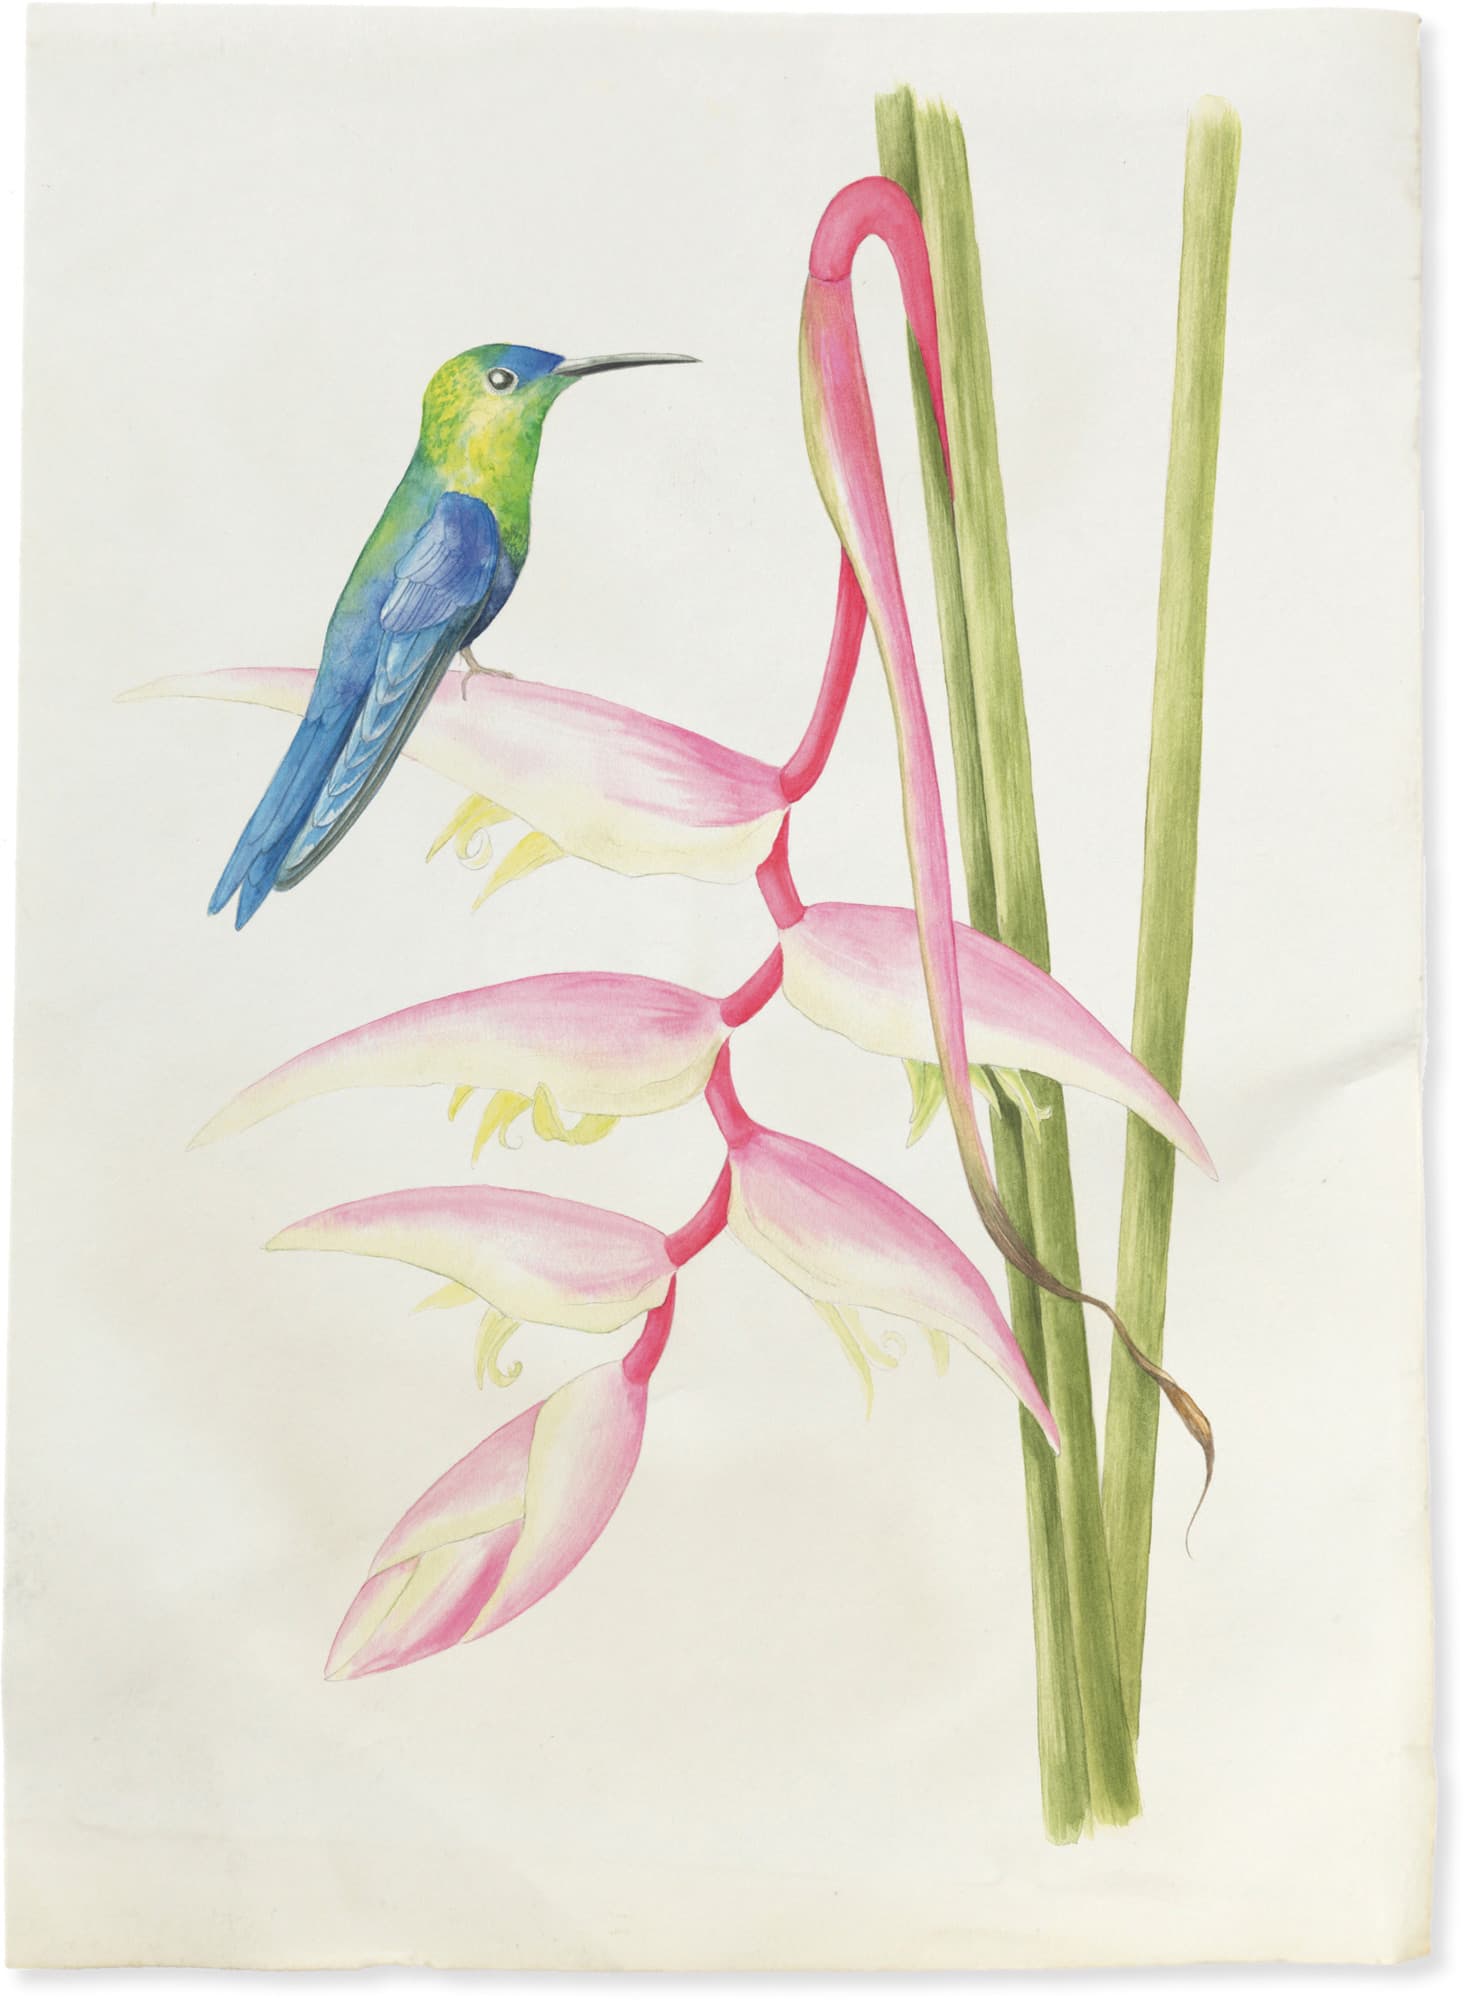
Hummingbird & Pink Flamingo Heliconia
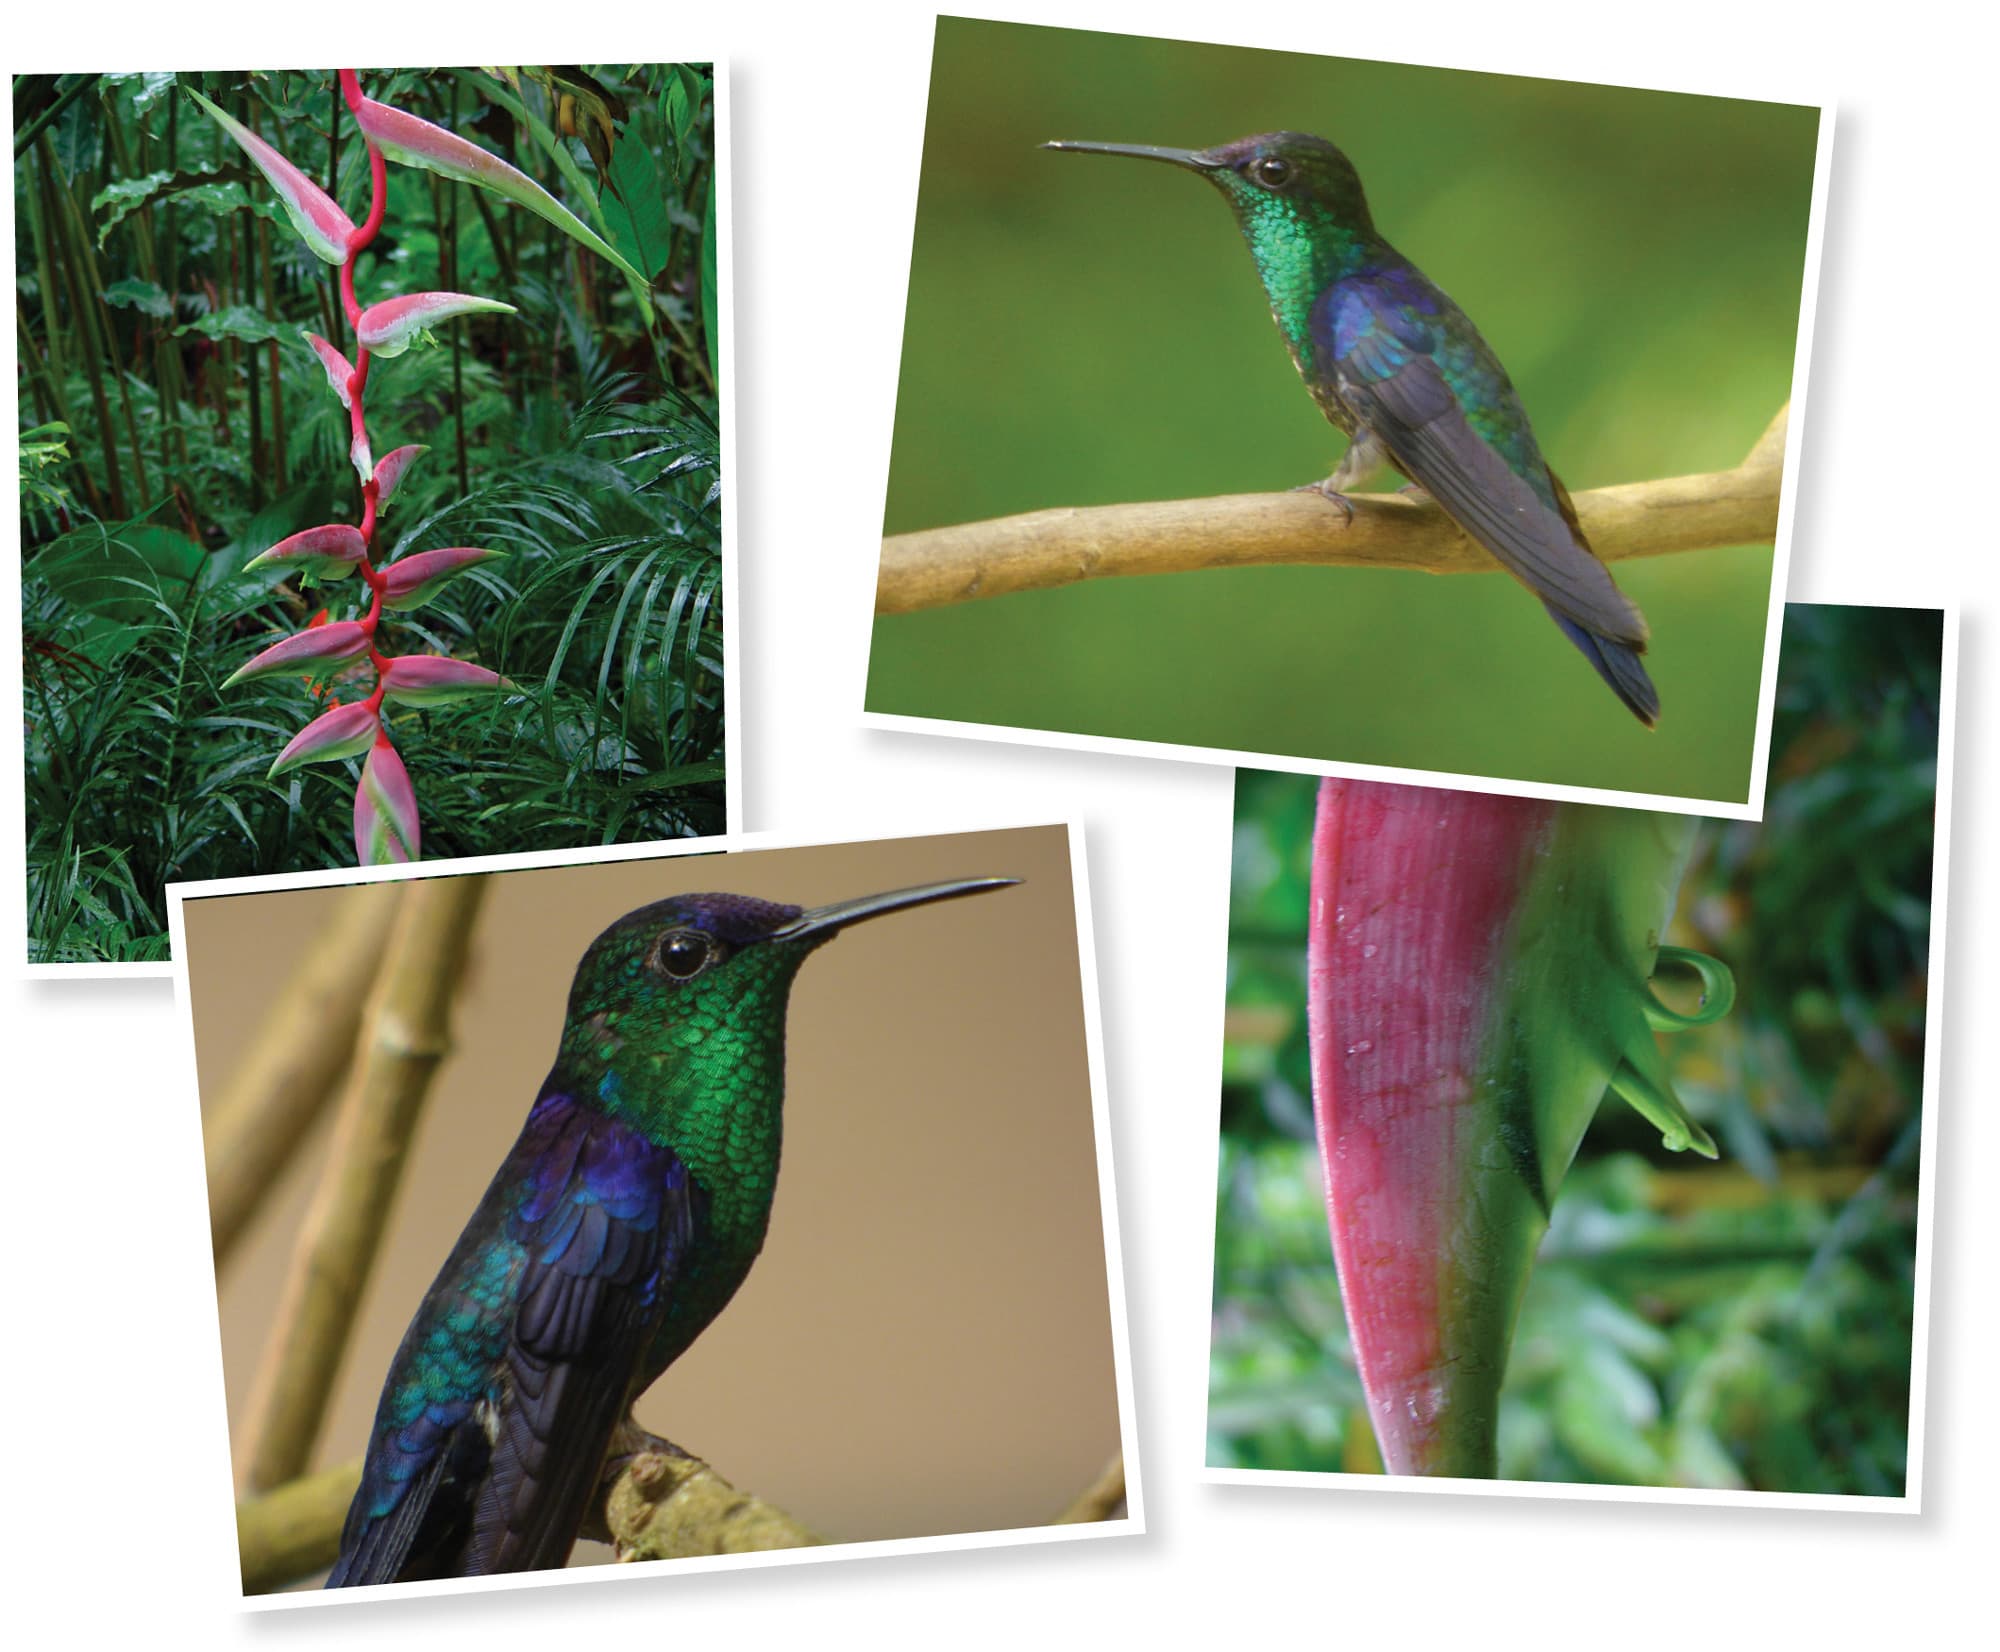
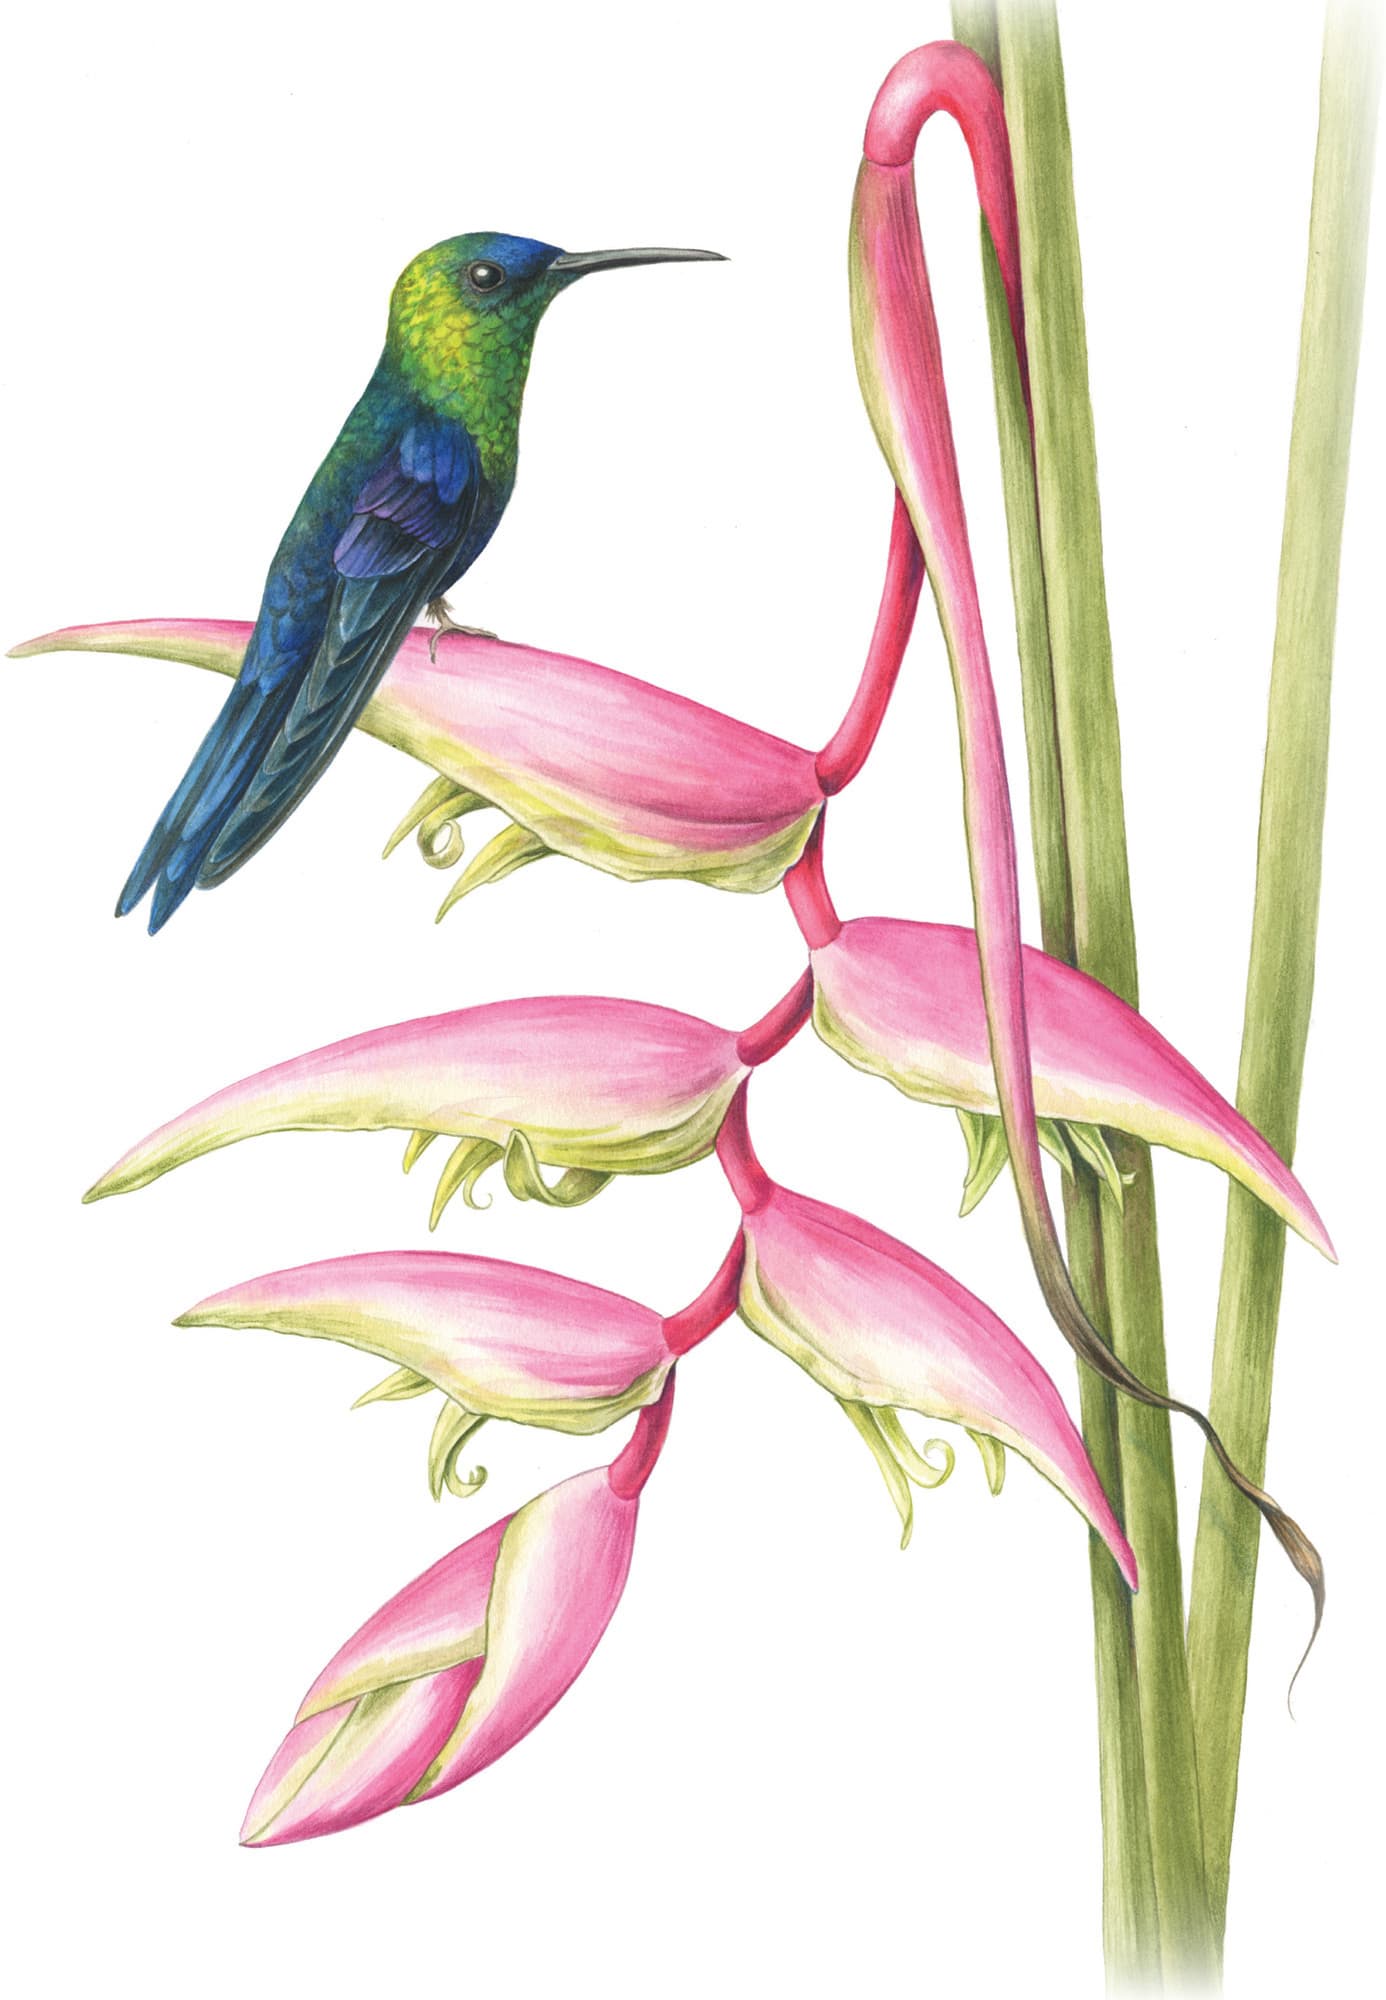
During my travels to Costa Rica, I have collected sketches and photographs over the years of tropical hummingbirds and heliconias. My favorite heliconia is the pink flamingo heliconia, or Heliconia chartacea. It’s a pendulum heliconia, which means the flower droops over the stalk. This is in the same family as the bird of paradise, which is considered an erect heliconia—the flower is upright.
In researching heliconias, I found out they are pollinated by hummingbirds. For this painting, I decided to do a simple composition of a crowned woodnymph, Thalurania colombica, resting on one of the bracts on the flower. To identify the hummingbird, I went to a field guide on the birds of Panama, and then cross-referenced it with the Latin name on the Internet. Below are the reference photos I used for the drawing.
Establishing the Composition
On tracing paper, I refined and drew the hummingbird. I usually start by drawing larger than I want the finished piece to be, which helps me render the details and see things easier in the beginning stages. Hummingbirds have very small features, and I find it challenging to get the anatomy in the right place—drawing the bird larger helps in the process of erasing and correcting. I also draw on both sides of my tracing vellum to refine and correct lines. Once I liked the drawing, I used my all-in-one printer to reduce the image to my desired size.
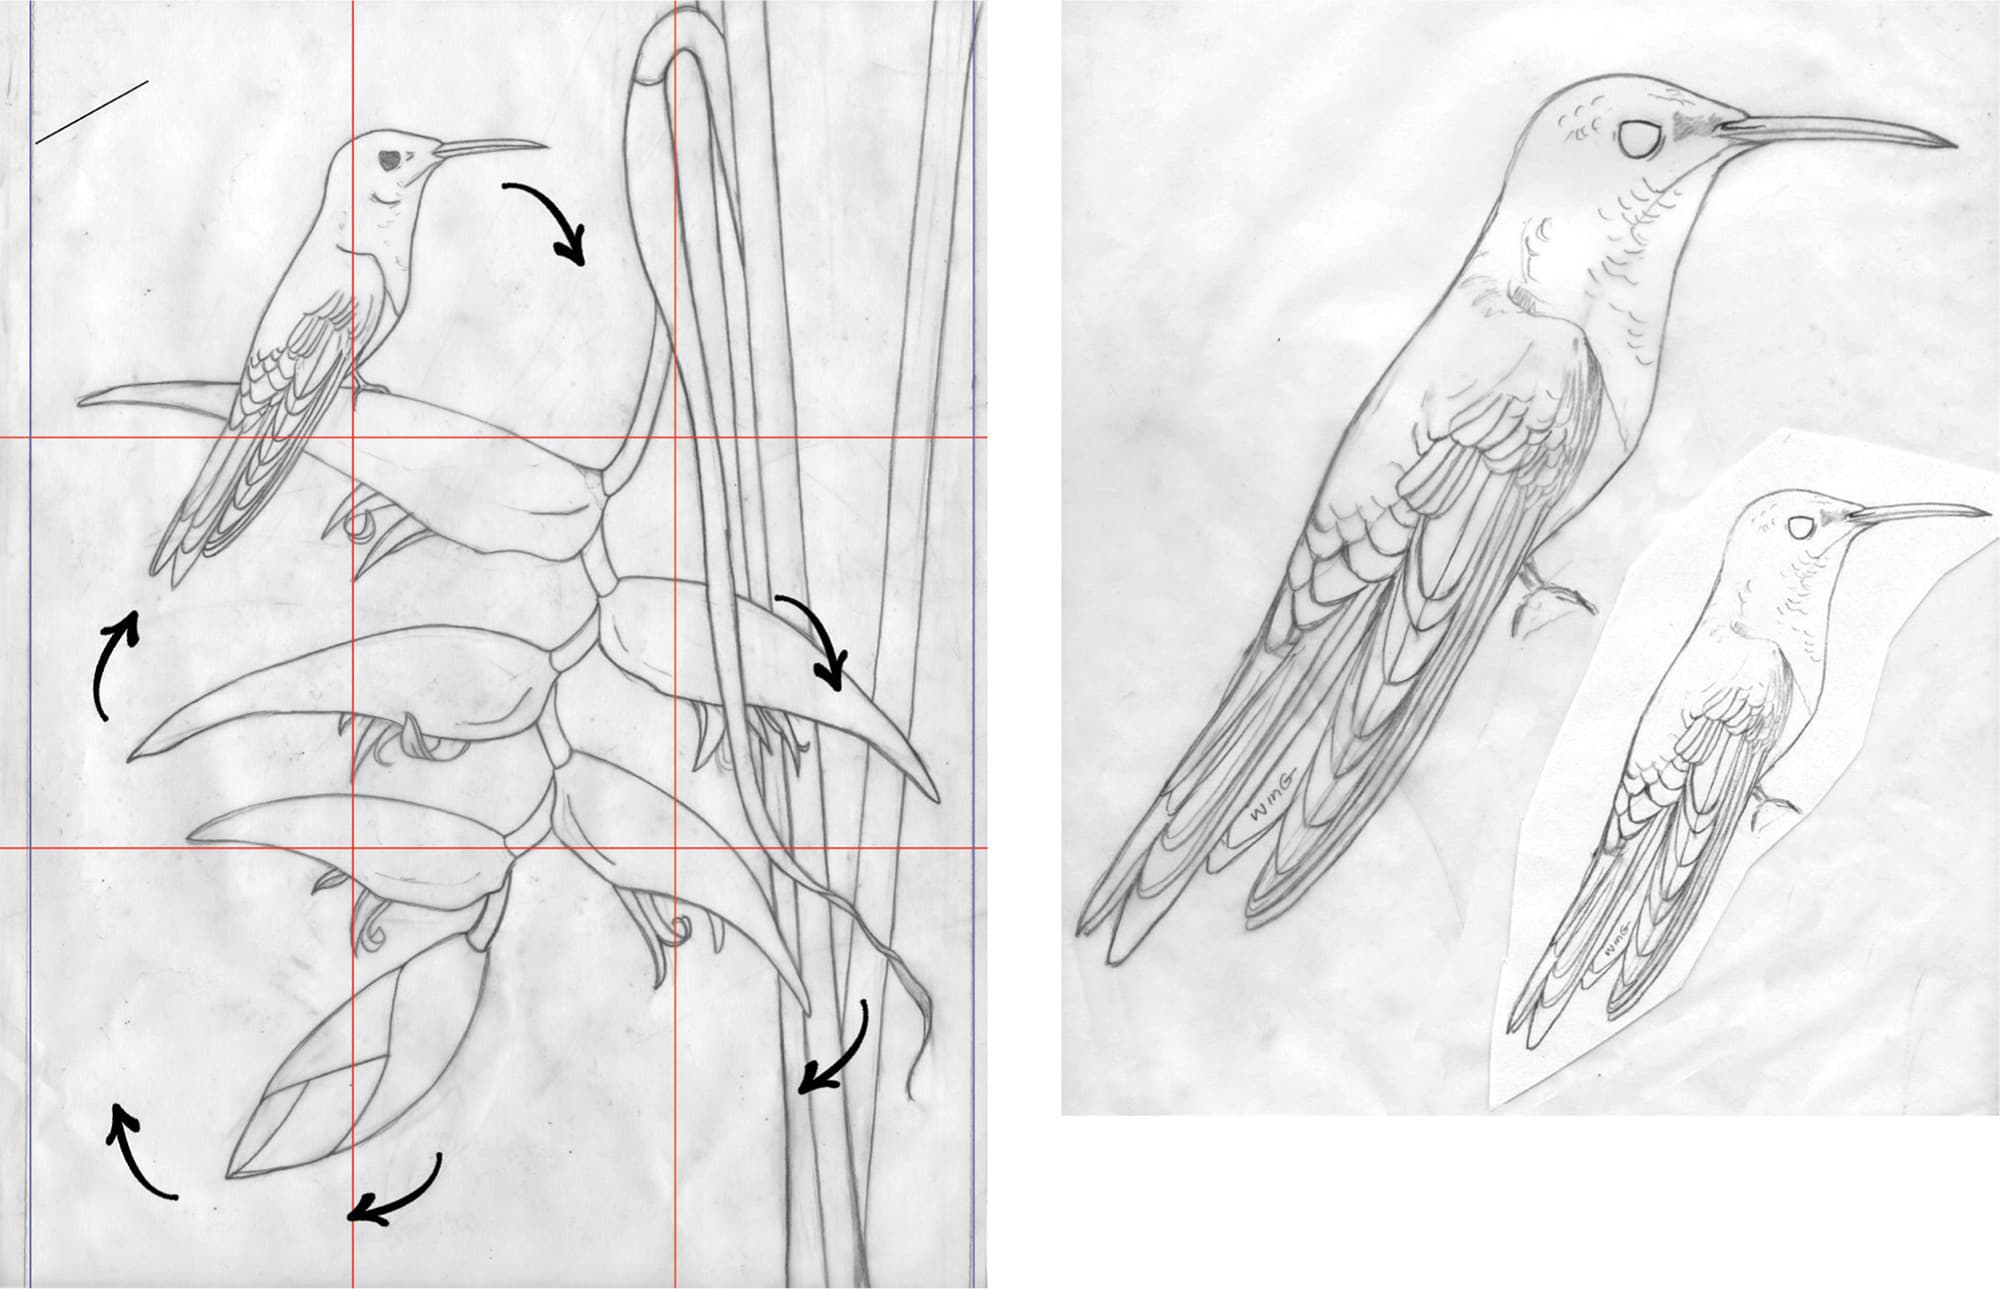
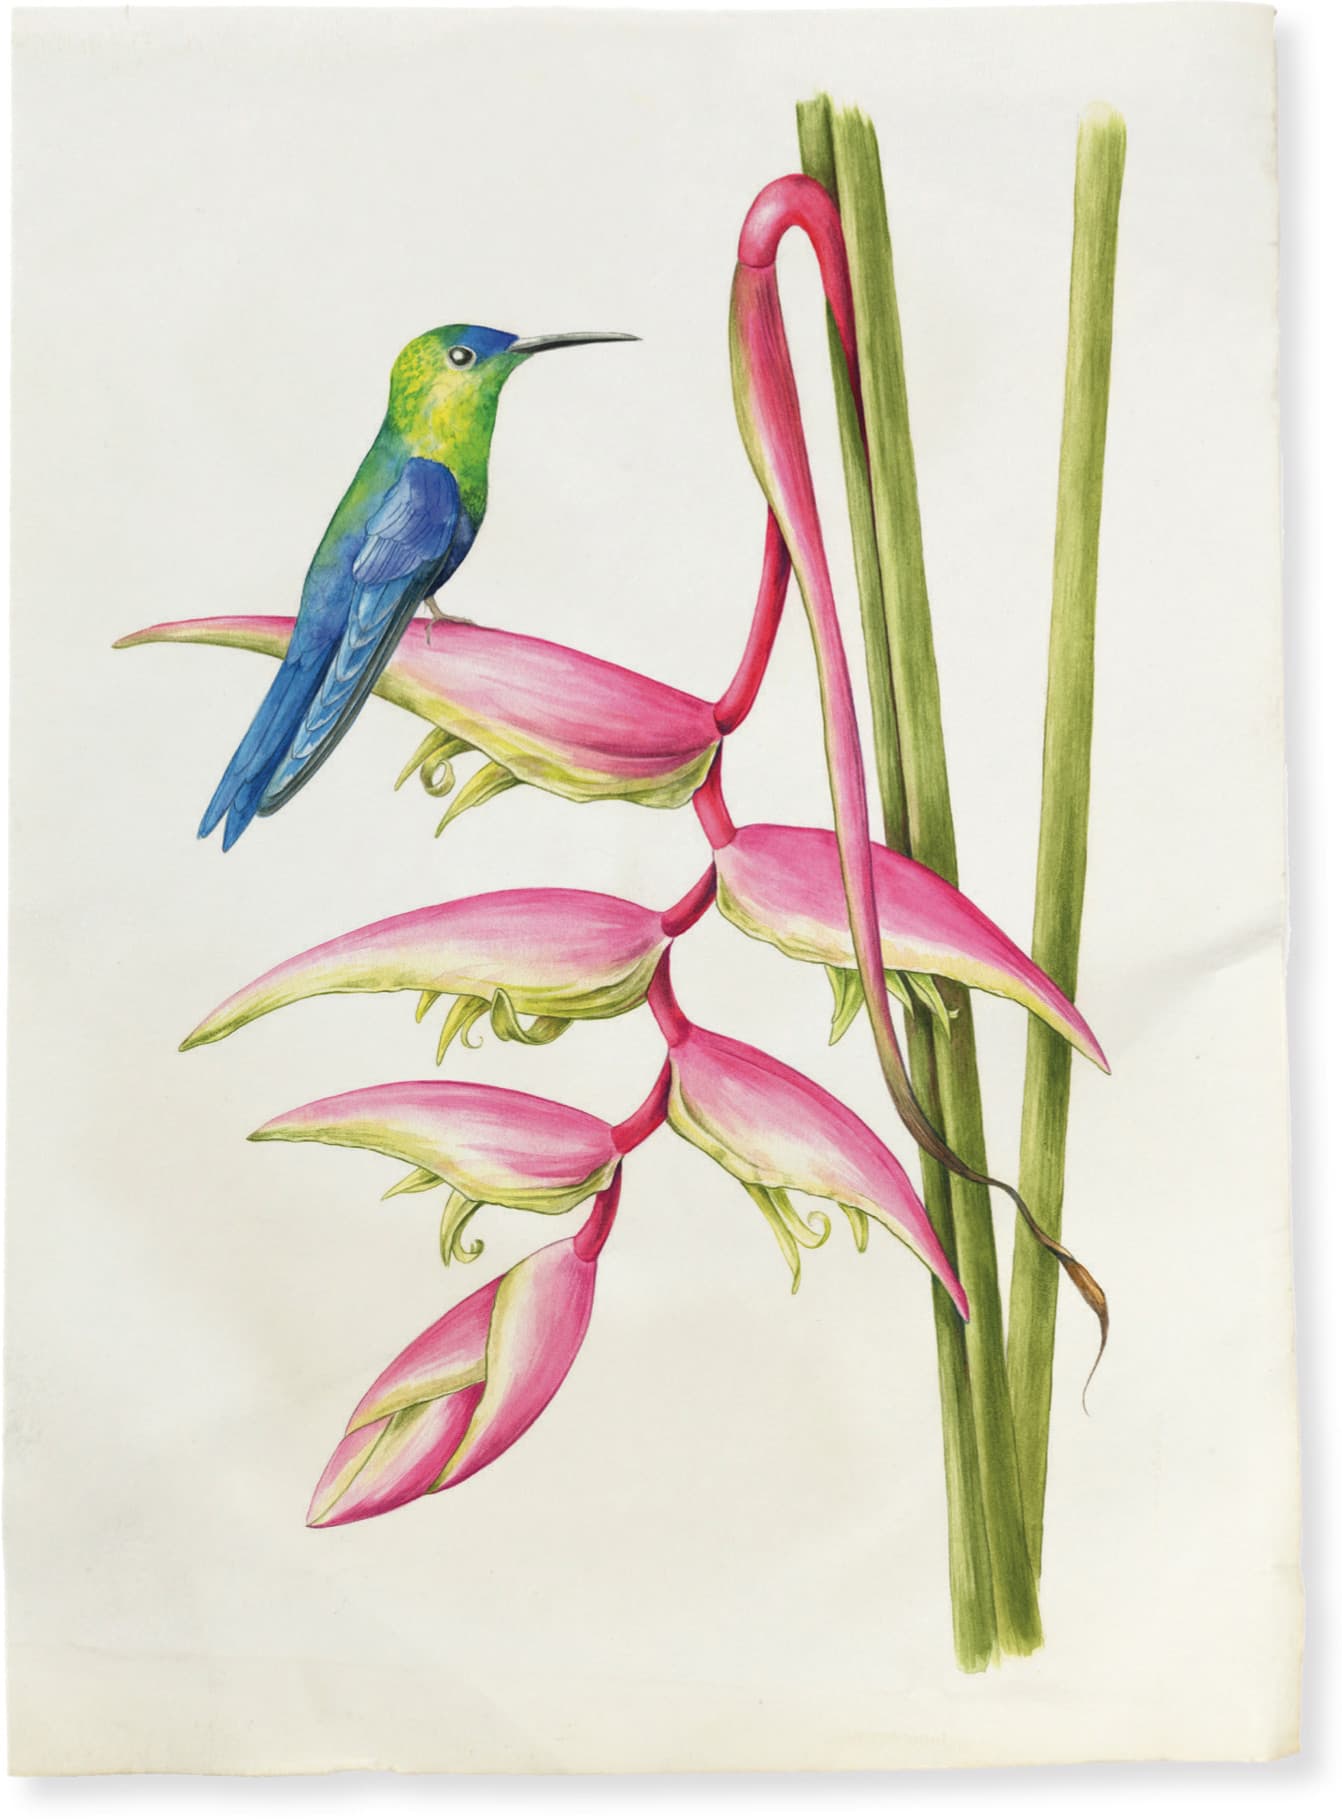
In this composition, I used the rule of thirds. I placed the bird in the upper left, perched high on the first bract. To add grace and movement in the painting, I curved the bottom of the unopened bract to sweep up toward the bird. The tilted position of the stalk leads the eye from the bird down to the right, toward the bottom, and then up again, as indicated by the arrows.
I used the smaller copy of the hummingbird to make the size of the flower and the hummingbird accurate and proportional to one another. At this point, I don’t focus on creating major details. My objective is to get the composition solidified to transfer onto good paper, which is a piece of 140-lb. hot-pressed watercolor paper.
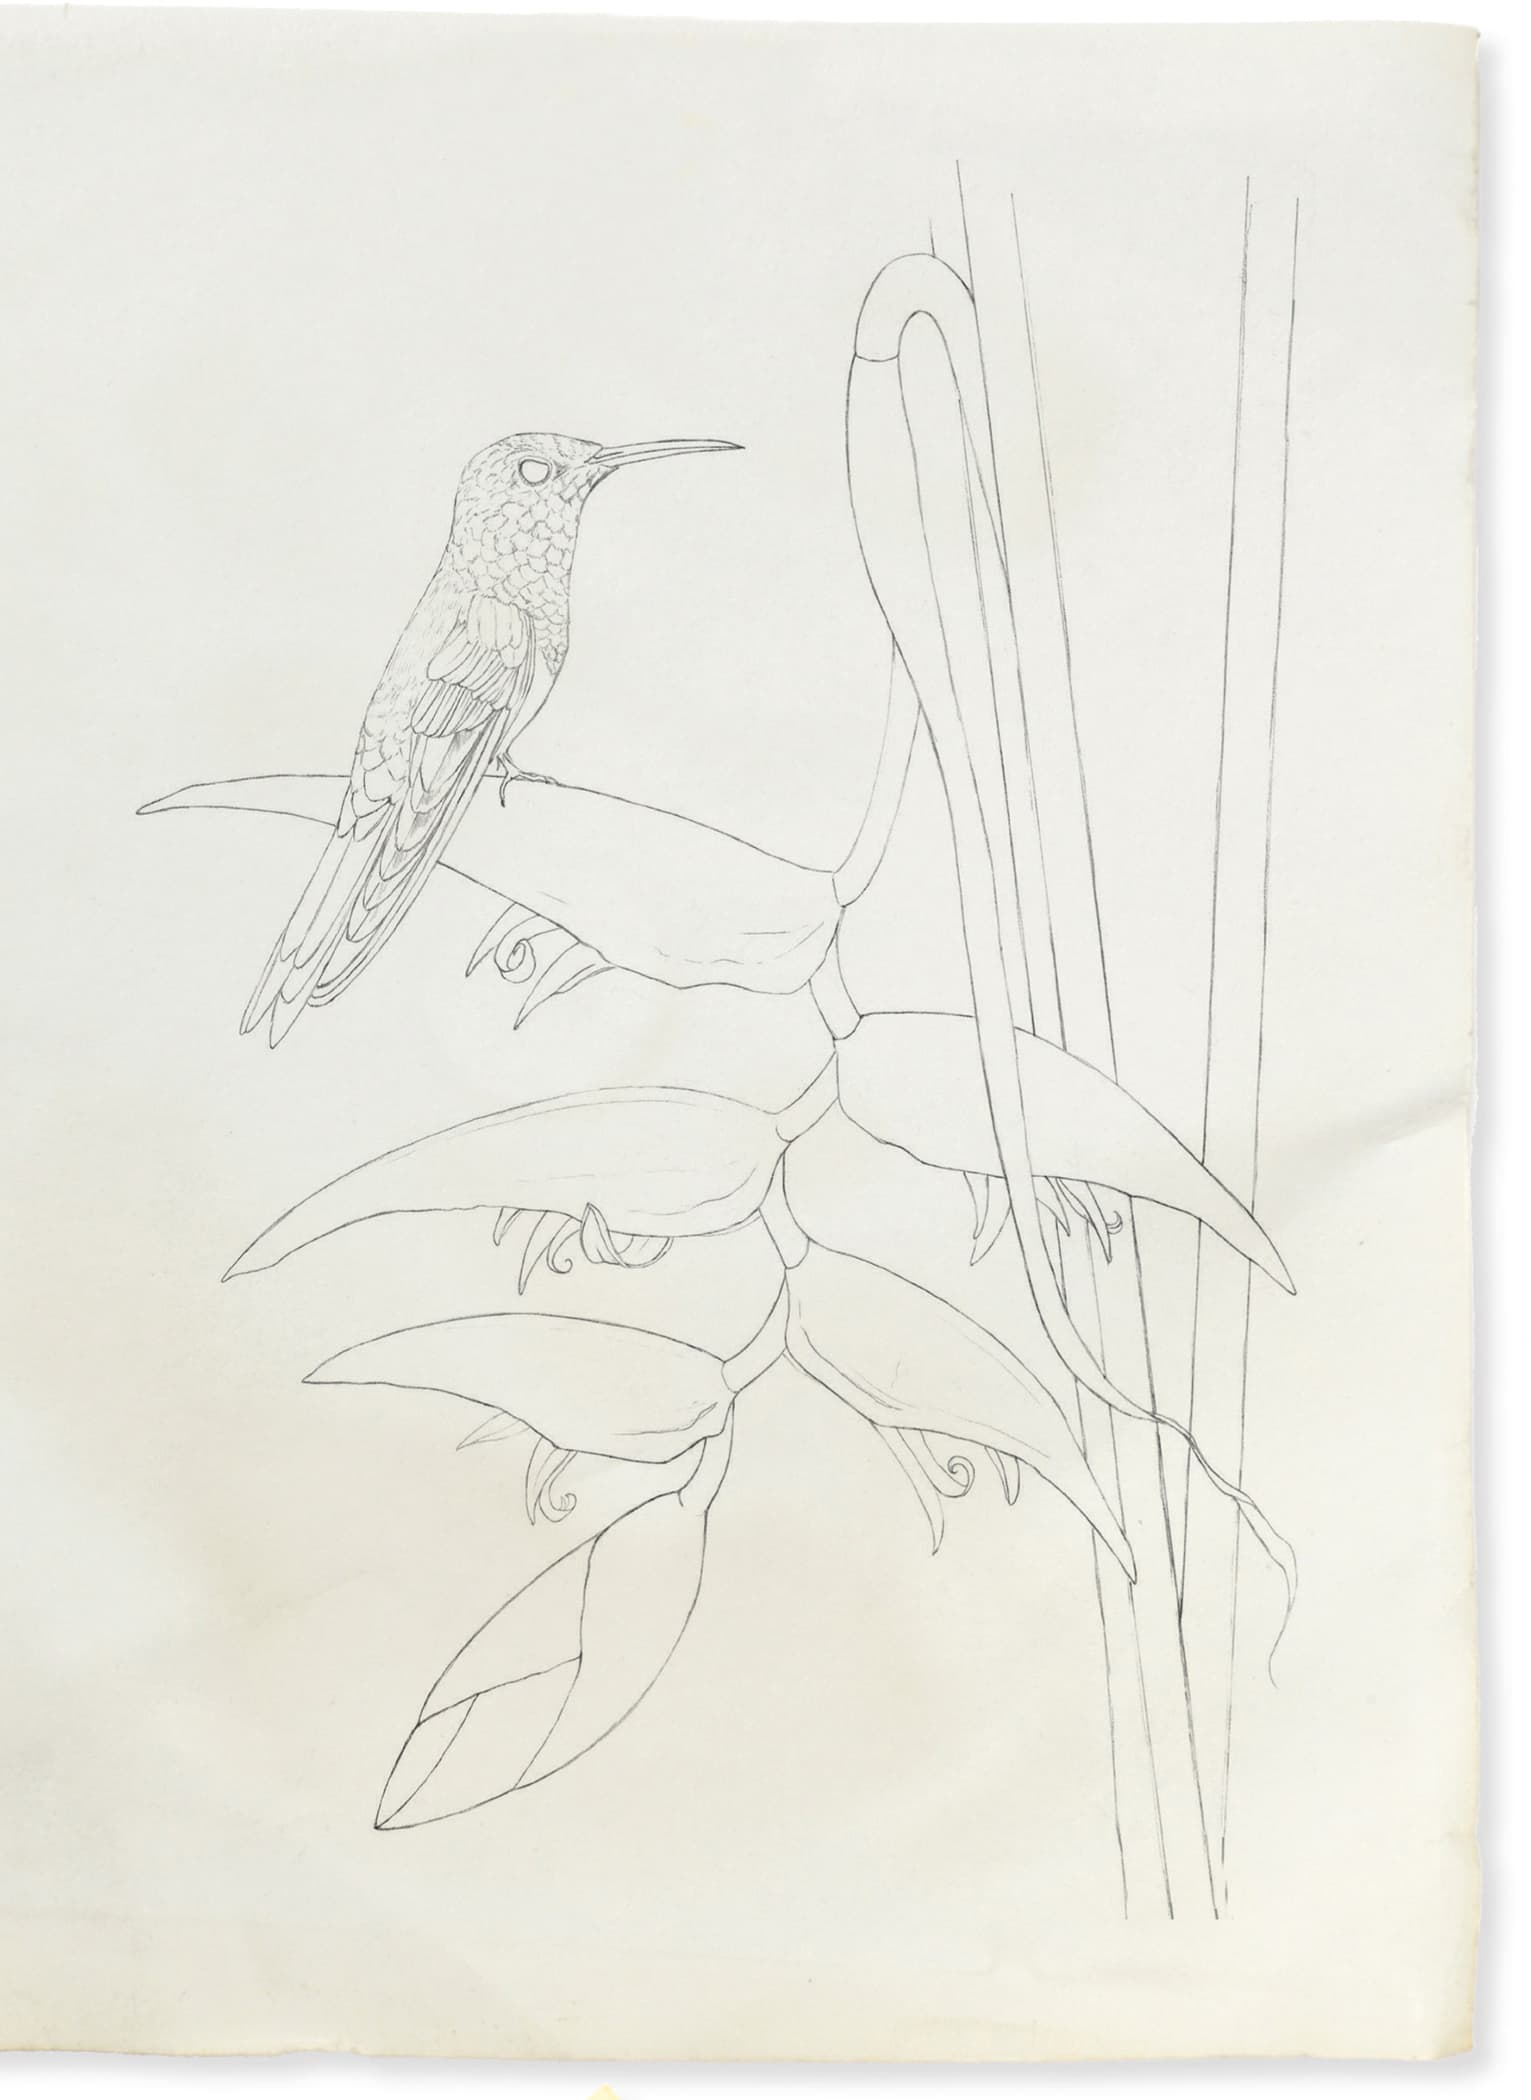
I traced the back of the drawing with an HB drawing pencil and then flipped it over and placed it on the good paper to trace it. Once on the watercolor paper, I refined the drawing and added the details of the bird’s plumage.
Mixing Colors
I almost always work a painting from the background to the foreground. For this painting, the bird is sitting on top of the flower, and the stalks are behind the flower. I started by mixing my watercolors to make sure they were the right color, strength, and properties.
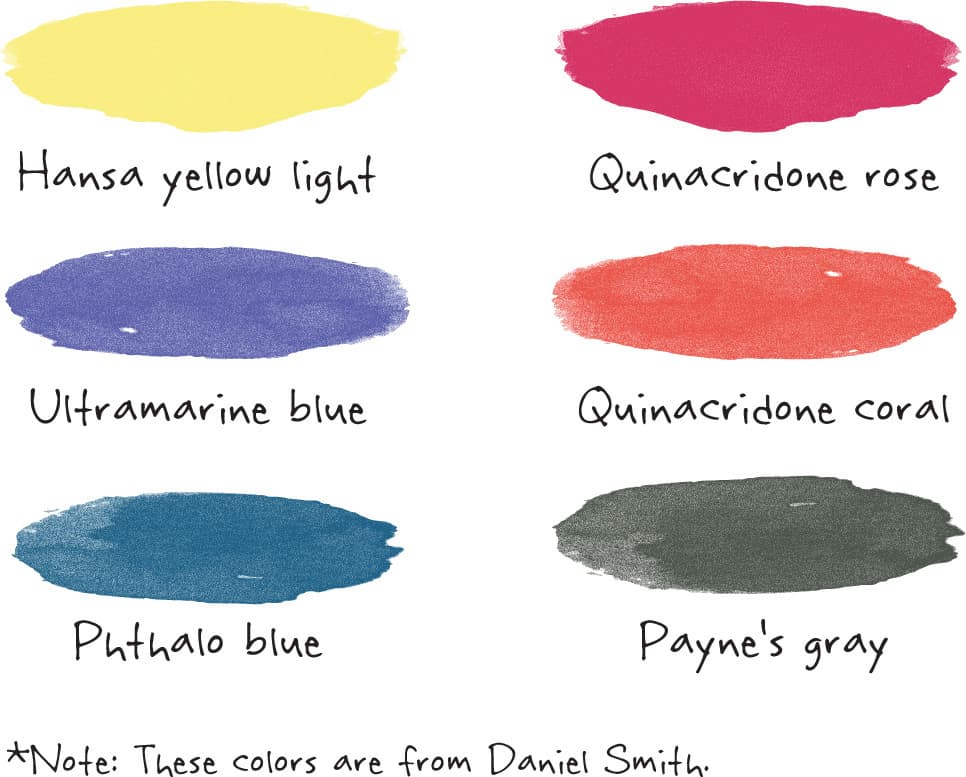
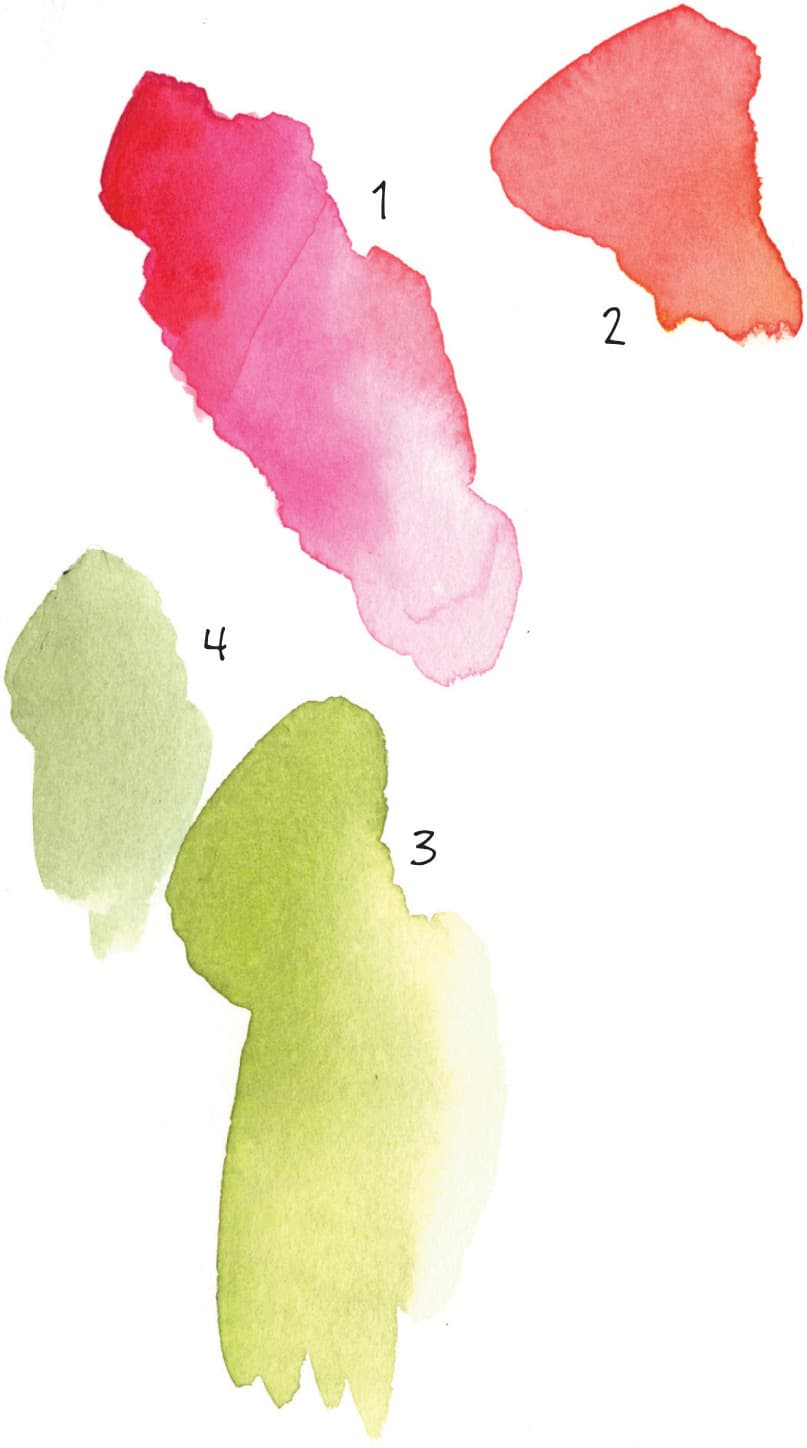
1. Quinacridone rose
2. Quinacridone coral
3. Hansa yellow + ultramarine blue
4. Green mixture with a small amount of quinacridone rose
First Layers

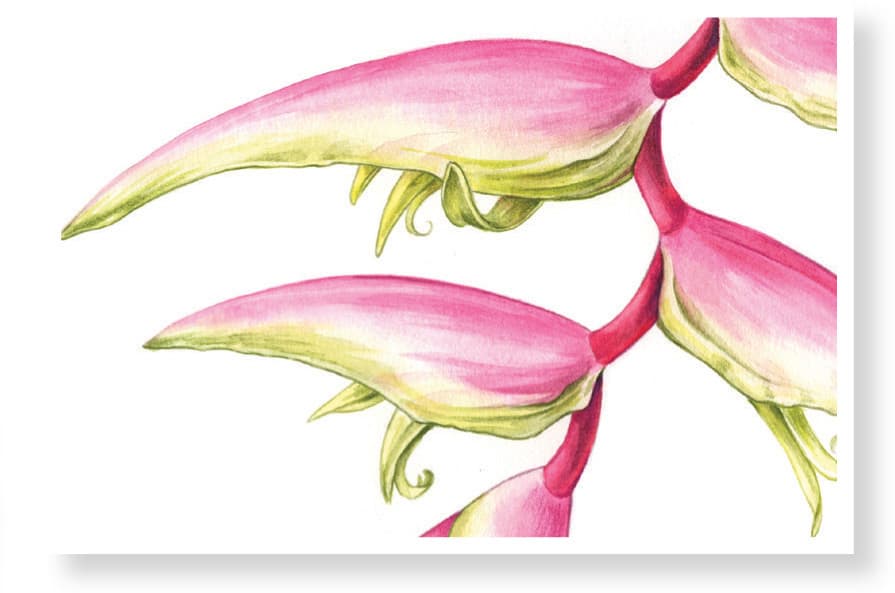
I started on the green stalks, with a light mixture of hansa yellow and ultramarine. I wet the paper for each stalk and dropped the color in the shadow areas, working left to right. Then I began working on the flower. Starting at the top, I worked my way down using a watery mixture of quinacridone rose for the main portion of the bracts, along with my green mixture. I painted the stem with a mixture of quinacridone rose and coral. For the small flowers emerging from the underside of the bract, I used the same green mixture, with a bit more hansa yellow added.
Hummingbird
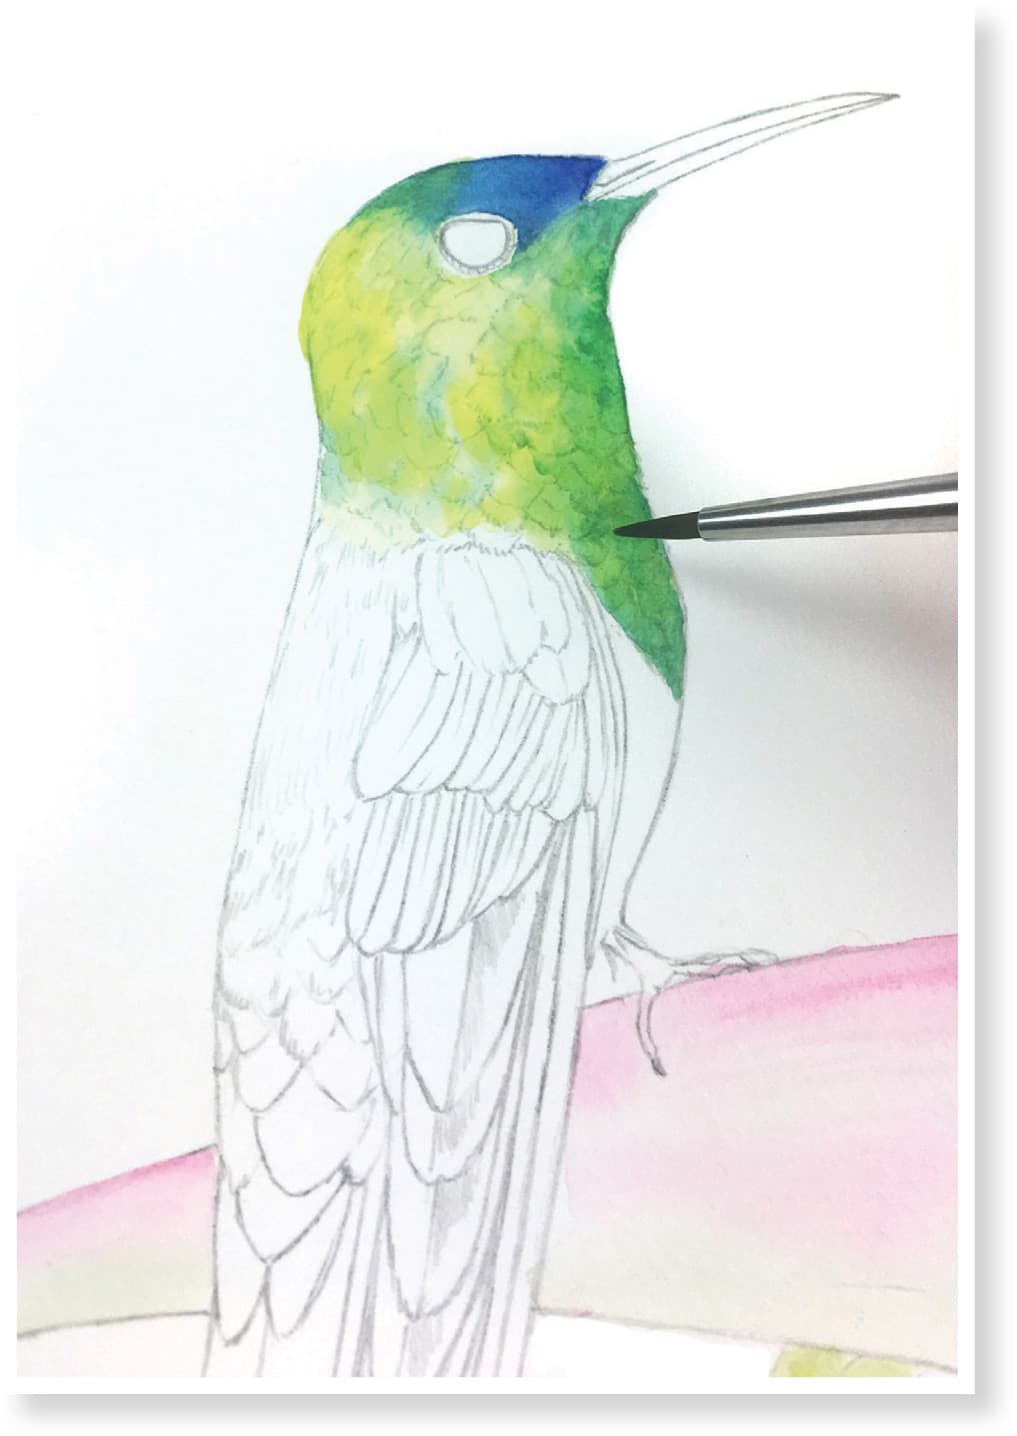
The brilliant colors of the hummingbird must start with the brightest and clearest colors possible. I used hansa yellow, as it is a brilliant yellow that leans green, and phthalo blue, which is a vibrant, intense green-blue. Combined, they create a beautiful emerald green. I mixed ultramarine with phthalo blue for a nice variation of blues for the crown area.
I started by wetting the head and using a small spotter brush to add hansa yellow to the highlight areas, letting it bleed. I added phthalo blue while it was still wet to create green in the areas where the head is in shadow. Then I added two blue mixes to the top of the head toward the beak.
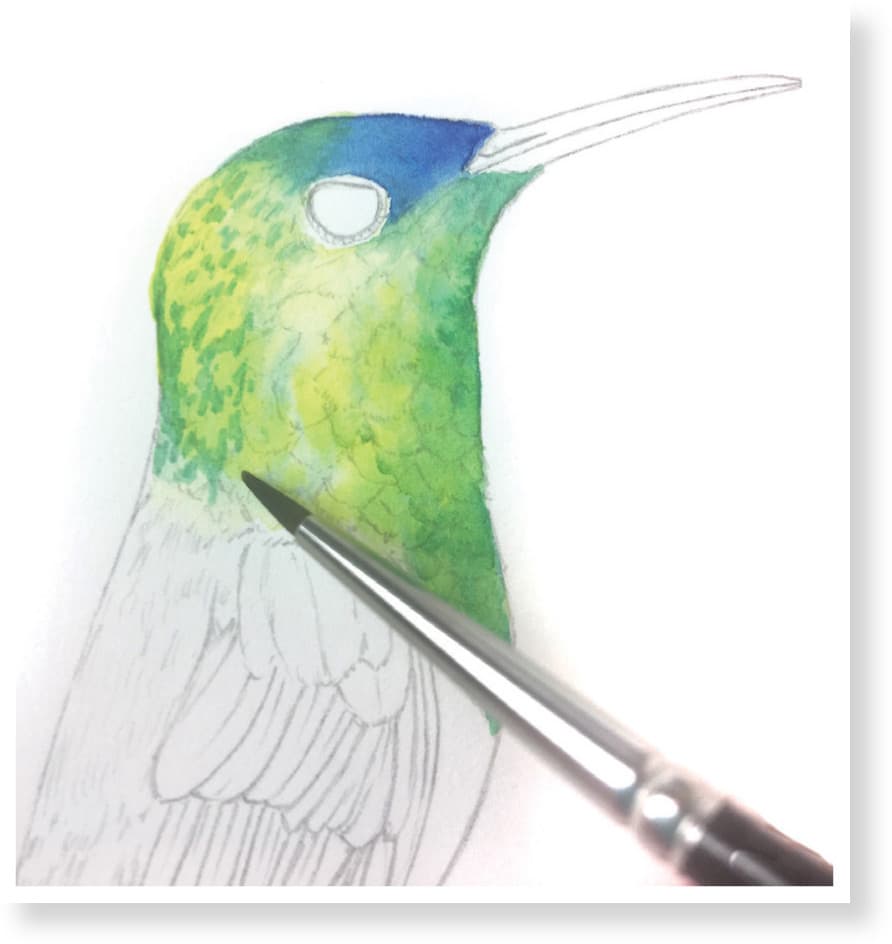
Before going on to the rest of the bird, I created a mixture of emerald green and used the spotter brush to lightly add more depth, detail, and color into the area.
I continued to work the back and the belly of the bird in the same manner. The belly is in shadow, so I dropped darker paint on this side.
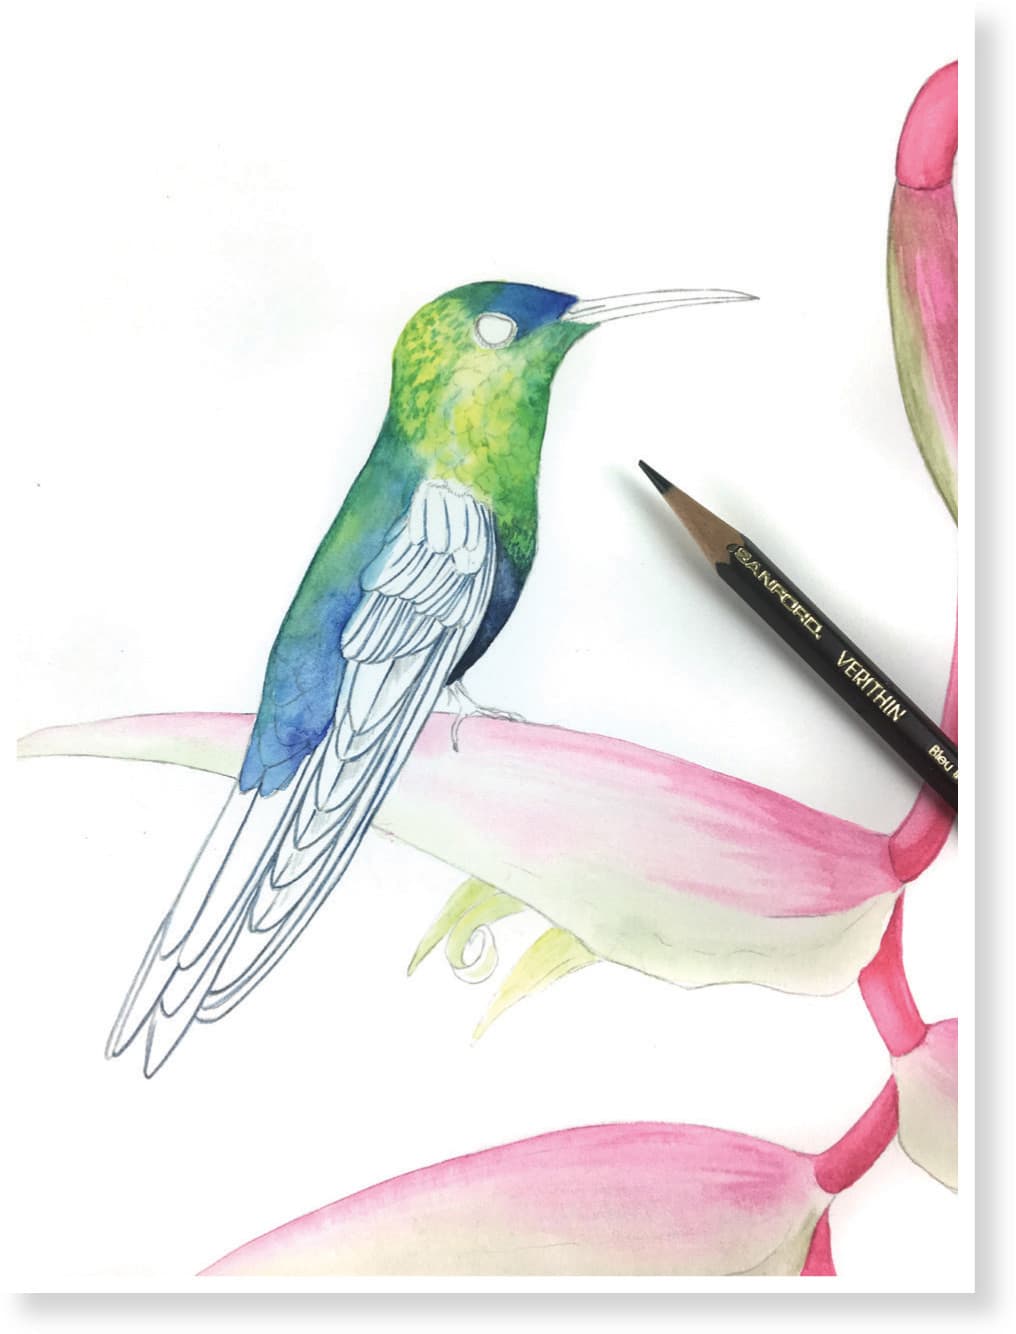
I kept the shoulder blade and left side of the wing in highlight with a mixture of ultramarine and phthalo blue. The first layer of color is now complete.
Second Layers
For the next layers, I used a spotter and drybrush technique. This is almost like using a pencil. The brush is very small, and I built up color with layer upon layer of paint. At this point I added more shadows and detail, starting on the green stalks and systematically working from the top to the bottom bract. I used fine lines to define the edges of the bracts so they would disappear into the painting. Avoid outlining too dark, which will cause you to lose the form.
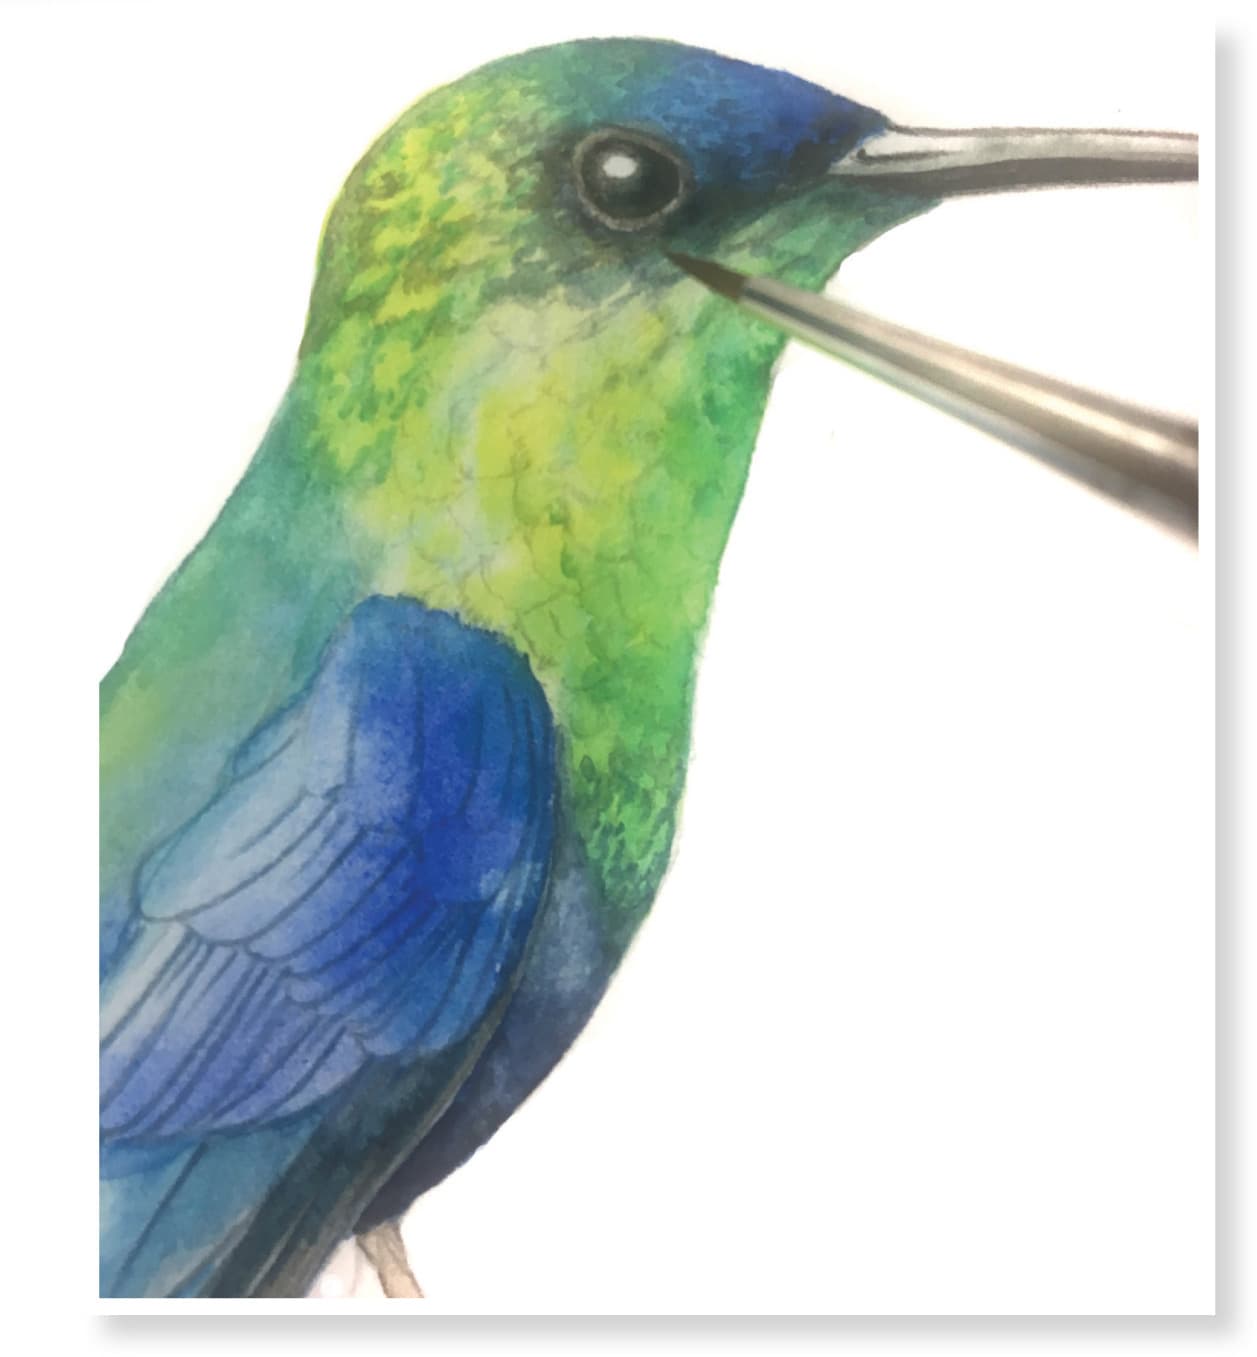
Before going on to the rest of the bird, I created a mixture of emerald green and used the spotter brush to lightly add more depth, detail, and color into the head area.
I continued to work with the small spotter brush, adding detail and more form. Adding the dark areas really helps make the feathers look iridescent. Learning to position the light source in the proper areas on your subject and following the surface contour greatly enhances your finished painting.