
Drawing a Root System
Since this drawing is about the root system, illustrate minimal information for the rest of the plant. Remember that detail always comes forward. If you render more detail on the roots, the emphasis will be on the root system. In this demonstration, we’ll draw an amaryllis bulb.
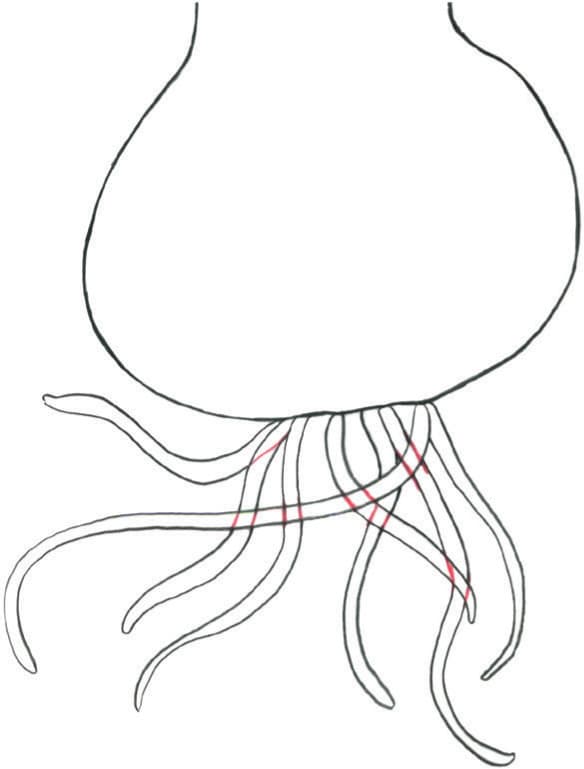
Pick some of the foreground roots and draw them first. Fill in with additional roots, working from front to back. As the illustration evolves, some roots are hidden behind one another.

Draw as many roots as you wish until it looks realistic and full. If you’re working on tracing paper, be sure not to clutter the drawing with too many roots, which will make it very difficult to transfer.

Transfer onto good drawing paper. After you have transferred the drawing, add tone to make it three-dimensional. I use both principles of toning at this point. I toned the roots in the foreground that are tightly spaced light to dark. You may find that some roots cast shadows onto the roots behind. As the roots become less dense and move further away from the bulb, I chose to fade them so there appears to be more space around them.
Adding Color with Gouache
To add color, I used a limited palette of gouache paints: burnt sienna, lemon yellow, and ultramarine blue.

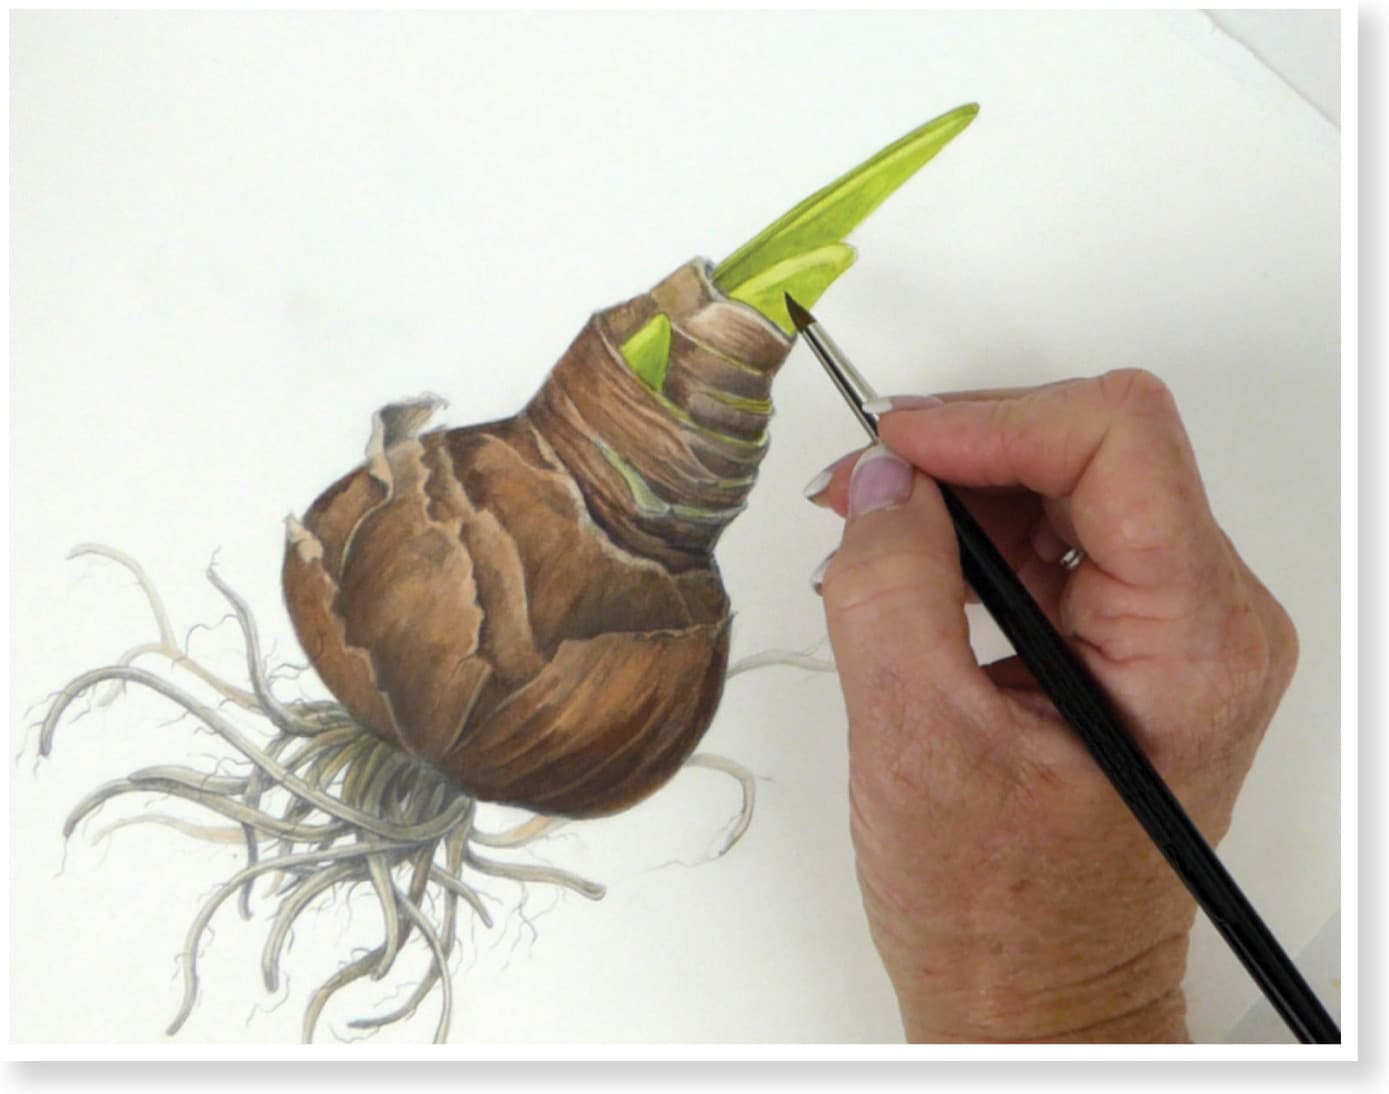
Mix burnt sienna with a small amount of ultramarine blue to create a medium brown. Dilute the paint so it appears transparent and thin, and load a large round watercolor brush with paint. Following the surface contour of the bulb, lightly paint over the entire bulb. Then mix lemon yellow with a small amount of ultramarine blue to create bright green. Dilute the paint and gently apply over the emerging shoots. Lightly paint the root system with a smaller round watercolor brush, varying the brown mixture by adding more water and introducing a small amount of green.
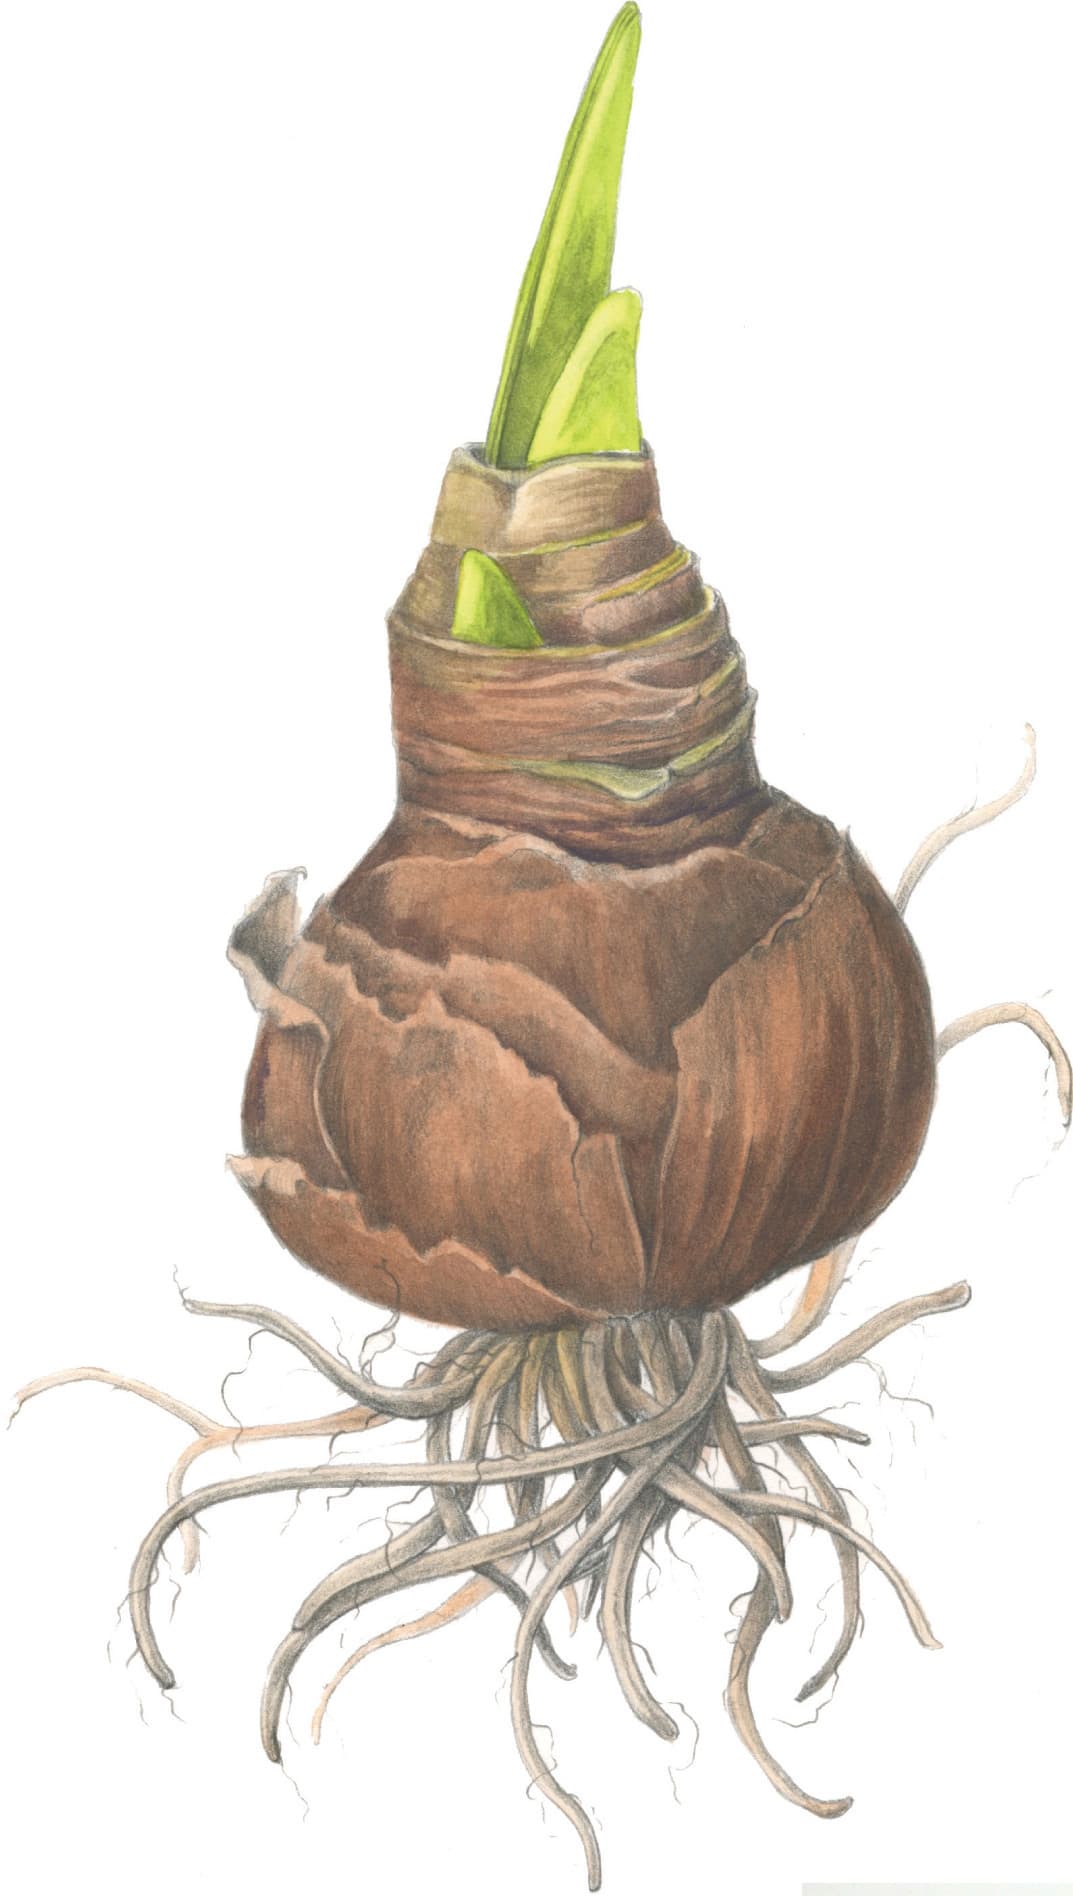
Let the paint dry completely. Create more of the brown and green mixtures with less water, and deepen the values by adding more ultramarine to each color. The paint mixtures should be thicker and less transparent. Begin to slowly layer paint in the darker areas to create more depth, following the surface contour. Layer color until you can barely see the graphite. Some artists stop painting at this point. The hint of graphite showing through gives the piece the appearance of an old tinted, black-and-white photograph.
Working again with the thicker paint, use a small round watercolor brush, such as a spotter, to cover up any remaining graphite. Use fine lines to sharpen the details. If the paint becomes too thick, you can gently apply a wash of clean water over an area to soften it.

A full tonal rendering in graphite can stand on it its own as a finished drawing, but the process is also invaluable in preparing you to add color, like we did here. During the drawing process, you work out how light hits the form, how to create atmospheric perspective within the root system, and how to add surface texture and color pigmentation. Graphite can be lifted, darkened, and manipulated without worrying about ruining the surface of the paper.