Chapter Ten. How to Print Like a Pro and Other Cool Stuff
After All, It’s All About the Print!
SHUTTER SPEED: 1/250 SEC F-STOP: F/2.8 ISO: 1000 FOCAL LENGTH: 14MM | PHOTOGRAPHER: SCOTT KELBY

This is a great chapter to read if you’re a doctor, because you’re going to want a great printer, and you’re going to want big prints (at least 13x19", right?), and that means you’re probably going to need to spend some money, and nobody spends money like doctors. Ya know why? It’s because people always get sick or get hurt. Why just the other day this photographer was in Trinidad shooting and the next thing you know he tumbles down this hillside and winds up in the hospital (I know that last sentence made it sound like he finally stopped tumbling when he hit the wall of the hospital, but that was misleading—he actually was stopped by hitting a large llama grazing at the bottom of the hill, but luckily it was a pretty sharp llama, and she was able to summon an ambulance for him, but not before the llama put all his camera gear on eBay. Hey, I said she was pretty sharp). Anyway, who do you think is going to show up at the hospital to help this unfortunate accident victim? That’s right—a doctor. And is this doctor going to fix this photographer for free? I doubt it. The doctor is going to get paid handsomely from the insurance carrier that covers the travel photographer. So what’s this doctor going to do with the money? He’s going to go on eBay and get a great deal on some camera gear. He’ll probably save thousands. Now, what’s he going to do with the savings? Buy a 13x19" printer. See, this is the wonder of market-driven economies and why we should all sell our camera equipment and go to medical school, because within a few years we’ll all be able to buy some really nice gear.
The Advantages of Shooting in RAW
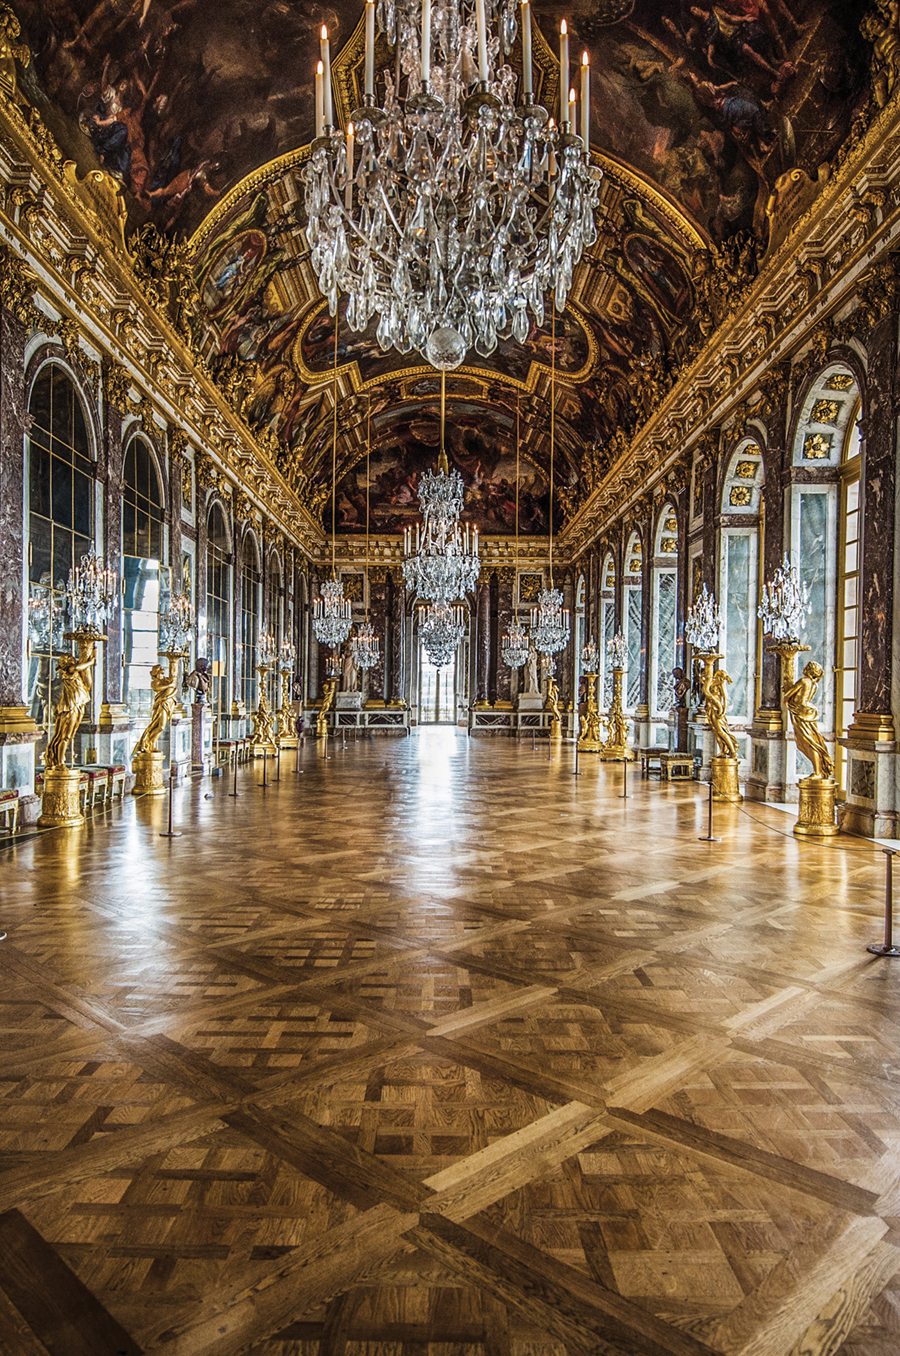
Most professionals today agree that RAW gives you three big advantages over JPEG-quality images: (1) It provides the highest possible image quality—RAW photos are not compressed (JPEG files are compressed to a smaller file size by throwing away some of the original data). (2) RAW files are a higher quality in general, and have a larger dynamic range, so they’re more forgiving if you have to adjust the file because you didn’t nail the proper exposure. (3) When you shoot in JPEG, your camera applies sharpening, contrast, color correction, and all sorts of stuff (called “processing”) to make your images look good. When you switch your camera to shoot in RAW, it turns all that stuff (sharpening, contrast, and so on) off and you get the raw, unprocessed image just as the camera took it. Now you get to process the image yourself, adding contrast and sharpening and all that stuff (usually in Camera Raw [a part of Photoshop], or in Lightroom, or Apple’s Aperture, or whichever RAW processor you choose). The idea is that you can process your images better than your camera’s built-in automation (and I agree), but you can experiment without ever damaging the original RAW file.
How to Process RAW Photos in Photoshop
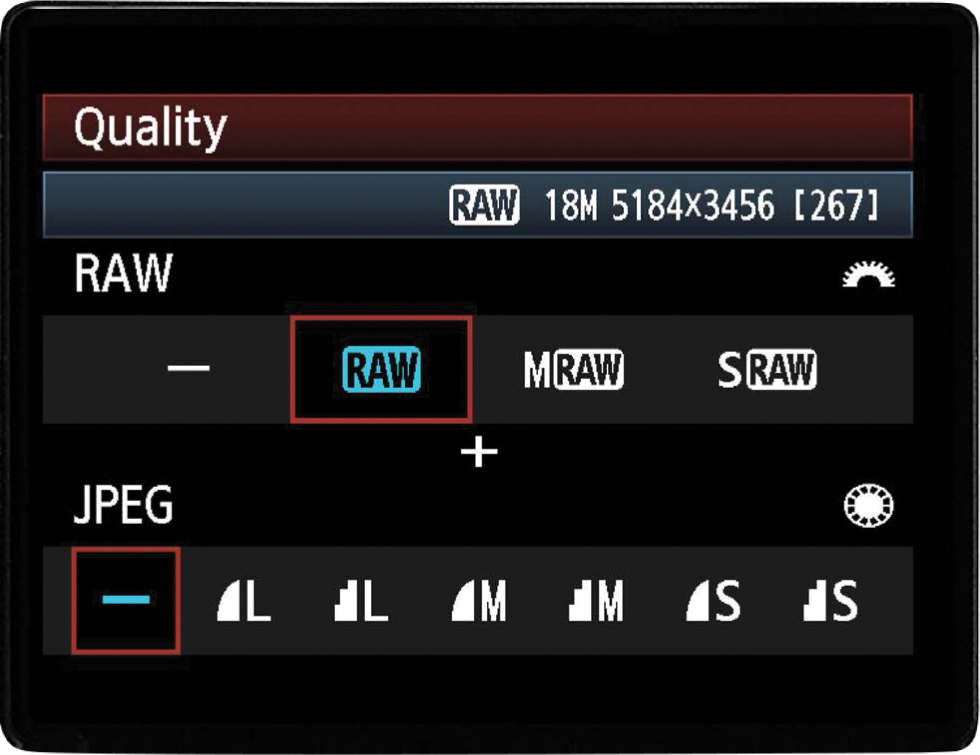
Adobe Photoshop (and Photoshop Elements) includes a RAW processor called Adobe Camera Raw (or ACR, for short). If you shoot in the RAW format, when you double-click on a RAW image on your computer, it will open that image in Camera Raw (if you use Lightroom instead, Camera Raw is built-in there, too—it’s the Develop module. The same sliders and controls as ACR, in the same order, too!). Camera Raw lets you adjust everything from your image’s white balance to exposure (and even fix lens problems) very quickly and easily. This is all done before you enter regular Photoshop for retouching and finishing touches. And, best of all, changes you make in Camera Raw never change your original RAW photo, so you can experiment and create new images anytime from your original RAW file (think of it as your digital negative). You can also process RAW files in Apple’s Aperture, or even iPhoto.
Compare Your LCD to Your Computer Monitor
Once you’re done with your latest photo shoot, go ahead and download the images from your memory card onto your computer and open them in whatever software package you use to view and organize your photos (I use Lightroom, which is a software application from Adobe specially designed from the ground up just for photographers. You can download a free 30-day trial version at adobe.com/lightroom). Now, once you’ve got your photos open on your computer, grab your camera and start comparing how the photos on your camera’s LCD monitor look compared to the photos you’re now seeing on your computer screen. Is it a pretty close match? Is your camera’s LCD darker or lighter than what you see onscreen? This will give you a quick idea of how close your digital camera’s LCD monitor is to what the image will look like once its on your computer (where you’ll ultimately be editing your photos). This can be a big help when you’re out shooting. For example, if you learn that your LCD makes everything look cooler (bluer) than it is on your computer screen, then you know you don’t have to worry about adding a warming filter to your lens to warm up your photos—they’re actually already warm enough. If the LCD is brighter than your computer screen, most cameras these days let you lower the brightness of the LCD screen, so it more closely matches how it will look when you edit your images on your computer. Try this and you’ll be amazed at how knowing how “true” your LCD actually is can help you and your photography.
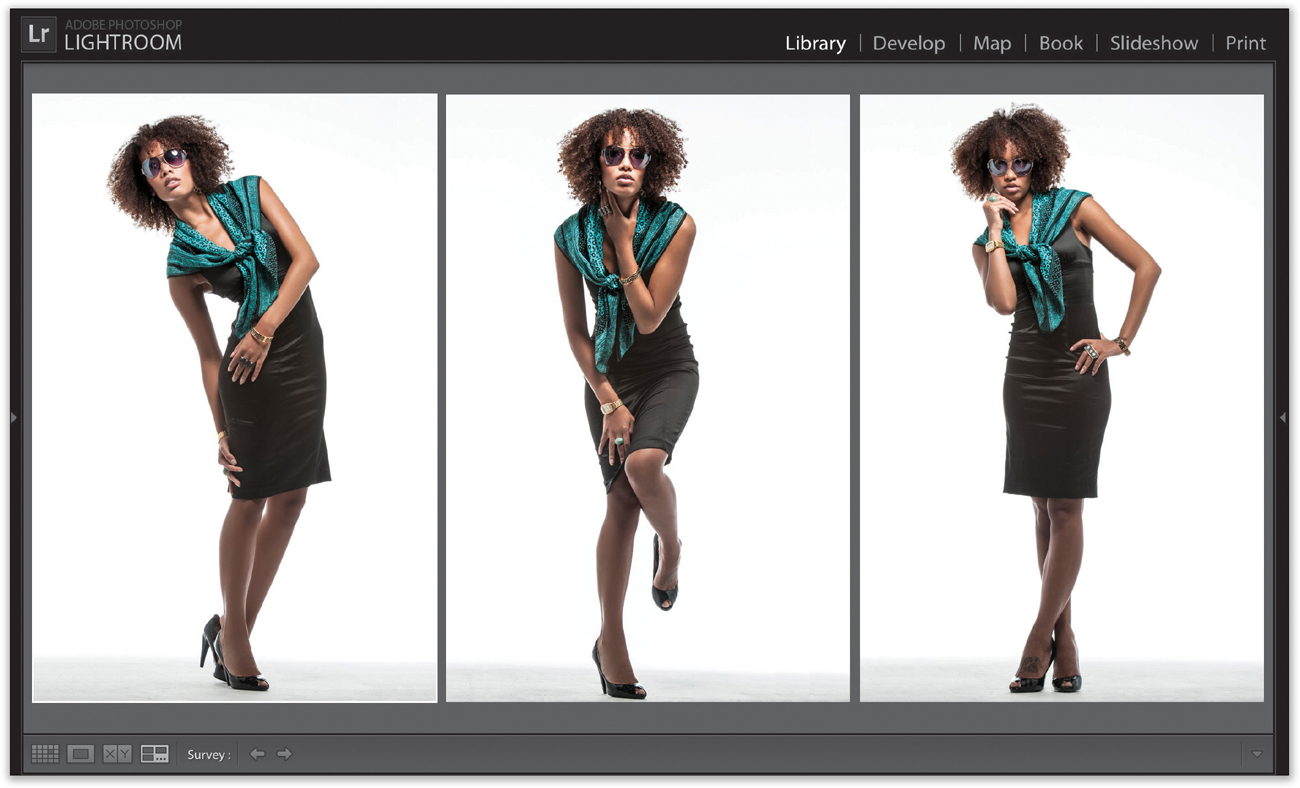
Organizing Your Photos with Lightroom
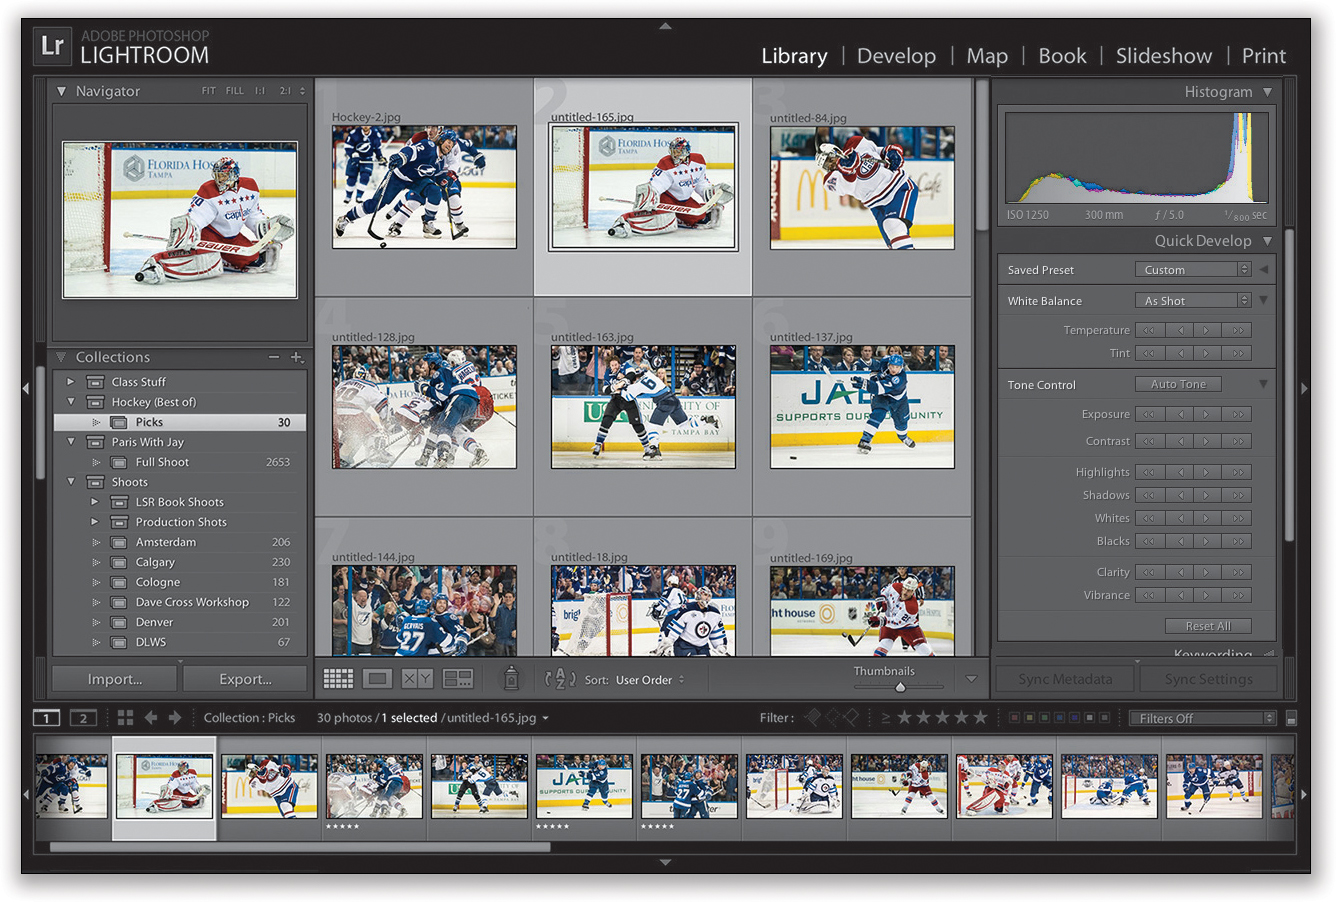
Although I use Photoshop for all the serious retouching and high-end tweaking of my photographic work, I use Lightroom for managing and organizing my thousands of digital photos, processing my RAW photos, creating onscreen slide shows, printing out multi- photo layouts, and even creating custom photo books. It is available for both Macintosh and Windows users, and only costs a fraction of what Photoshop costs (currently $149). Now, it certainly doesn’t replace Photoshop, because it doesn’t really allow for much serious retouching (like removing wrinkles, or reshaping facial features, or any one of a hundred things we can do in Photoshop to make people look their very best), nor does it create the amazing special effects, or photo composites, or layer adjustments, or the myriad of other things that only Photoshop can do, but then Lightroom isn’t supposed to do all those things. Its strength is organizing, viewing, and editing RAW, JPEG, and TIFF files, and printing them, and it does that pretty brilliantly I might add. If you get serious about this whole digital photography thing (and if you bought this book, you’re getting serious), I recommend you check out Lightroom—especially because if you actually go and buy it, I get a cash kickback from Adobe. I’m kidding of course, but I wish I weren’t.

5 megapixel = 11x14"

6 megapixel = 13x19"
8 megapixel = 16x20"
10–12 megapixel = 24x36"
36 megapixel = 30x40" and up
There’s a ton of confusion (also known as marketing hype) around megapixels, and many people believe that megapixels have to do with image quality—the higher the number of megapixels, the better the quality, right? Unfortunately, that’s not true. So, if you were using that as an excuse to buy a new camera, that’s not going to float with me (although your spouse may buy that line). Here’s what megapixels really mean: how large can I print my final photograph? That’s it. If you’re not going to print anything larger than 8x10", then a 5-megapixel camera is absolutely all you need. In fact, it’s really more than you need, but I don’t think you can even find a DSLR that’s only 5 megapixels anymore (heck, our cell phone cameras are more than 5 megapixels these days). Anyway, if you want to routinely print 13x19" color prints, then you only need a 6-megapixel camera, so if yours is more megapixels (and you know, and I know, it is), then you’re already set (I know, this is hard to swallow after years of thinking you needed more megapixels). So, what are today’s 36-megapixel and up cameras for? Suckers. (Okay, not really, but you knew I was going to say that.) Actually, those high-megapixel cameras are for pros who need to print giant-sized images (think 30x40" and larger). If that’s not you, then a 6-megapixel camera is all most people will really ever need, so put away your checkbook. Hey, don’t blame me. I’m trying to save you some money, so you can buy some decent lenses and a fancy tripod.
At some point, after putting all these techniques to use, you’re going to want prints, and today many pro photographers create their own prints. Personally, I only use Epson printers, and about every other pro I know uses Epson printers as well, because they’ve become the standard for professional quality color and black-and-white inkjet printing. Now, before I start making recommendations as to which Epson printer to buy, I want you to know up front that the only reason I’m telling you this is because it’s exactly what I’d tell any friend who asked. I don’t get a kickback or cut from Epson. They have no idea I’m telling you this, so if you tell them, “Hey, Scott said I should buy an Epson,” they’ll say something along the lines of, “Scott who?” I personally have three Epson printers, and I love them dearly for three main reasons:
(1) They work pretty flawlessly most of the time, but if I do run into a bump along the way, they have live 24-hour tech support, which is actually quite good.
(2) They not only sell the printers, but the paper as well, and I love their paper.
(3) The output is absolutely stunning. The quality prints that come out of my Epson printers still amaze me.
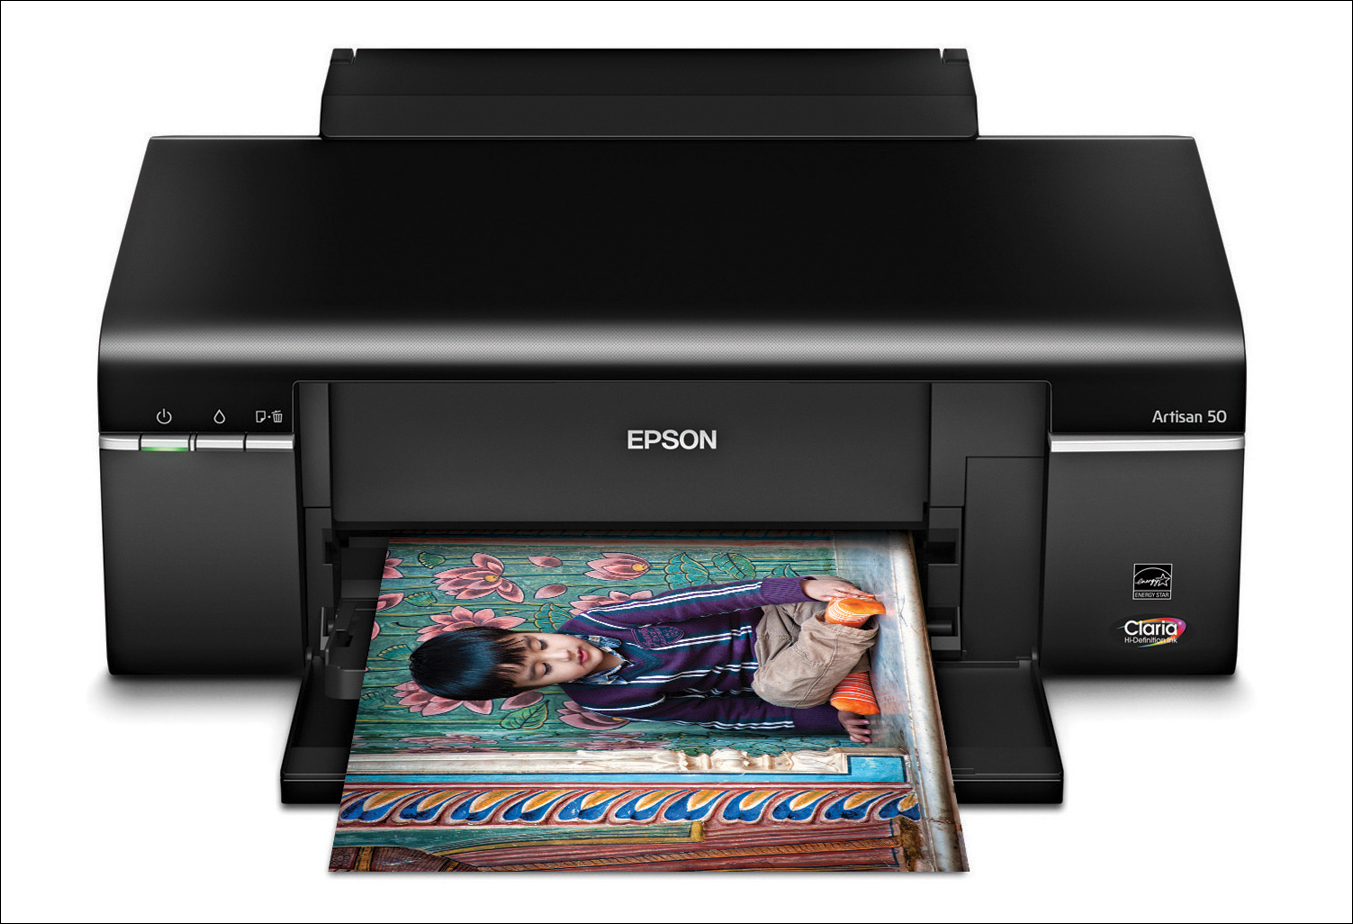
For printing borderless 4x6s, 5x7s, and 8x10s, try the Epson Artisan 50 Inkjet Printer. The street price is around $150 (if that sounds pretty cheap, it is, but don’t get too excited—you’ll make up for it buying ink and photo-quality paper).
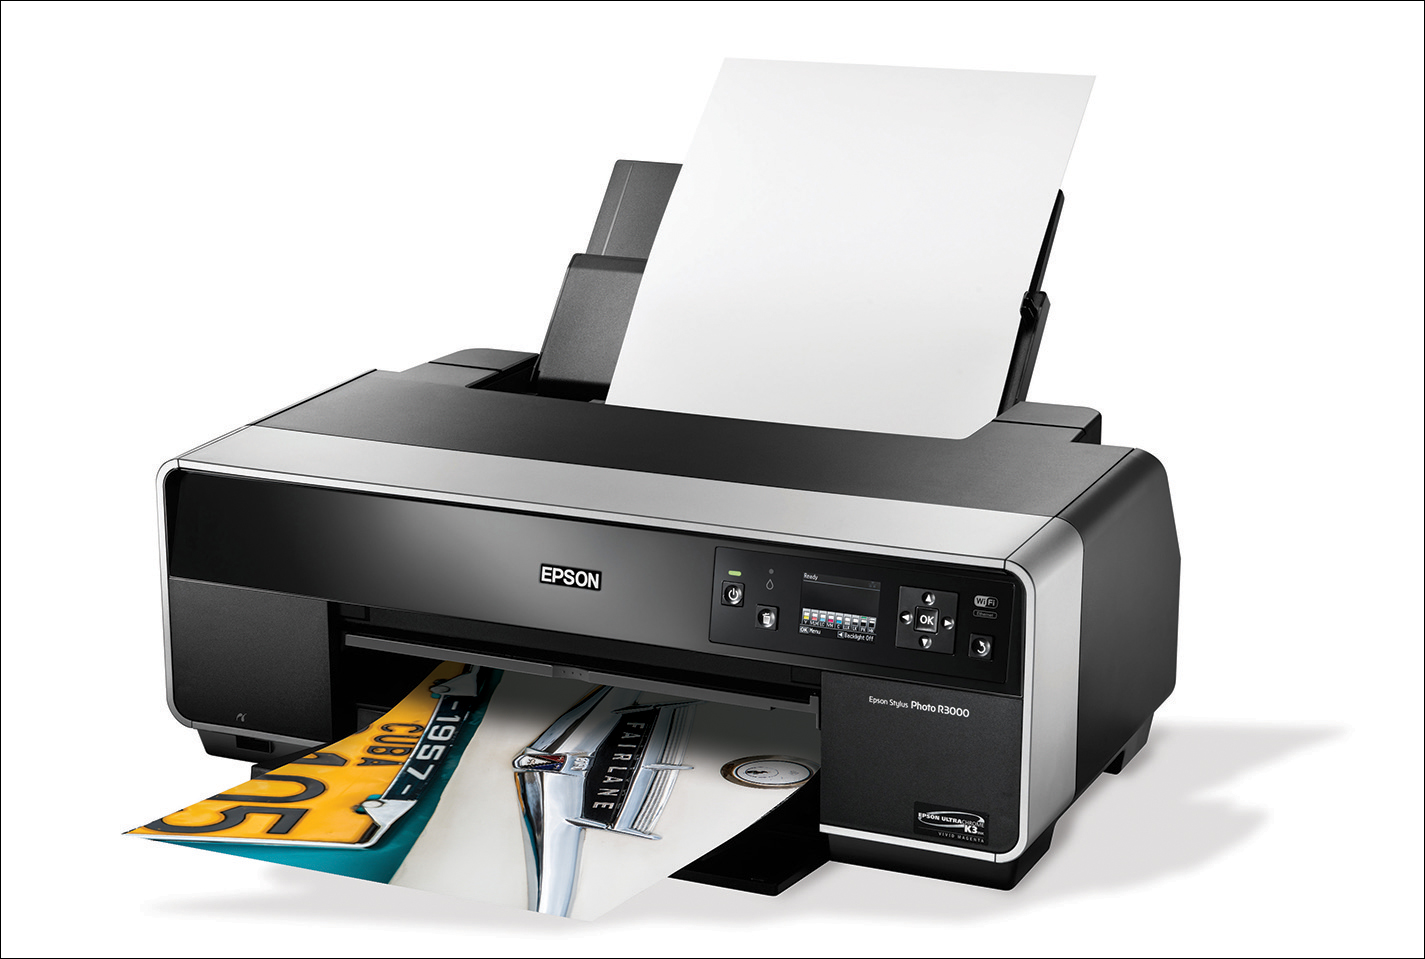
A popular print size with serious photographers is the 13x19" large print, and the Epson Stylus Photo R3000 is the king of this realm (it’s the update to my beloved R2880—Epson tweaks their printers every year or so with the latest technology). Its color output is really stunning, but where the R3000 really kills is when you make black-and-white prints (it has a built-in advanced black and white mode). You’ll lose your mind. Plus, the R3000 uses Epson’s UltraChrome K3 archival-quality inks, so your prints are going to last longer than you will by a long shot. Of course, besides the 13x19" prints, it also does all of the smaller sizes, and you can print to roll paper, as well (for printing lots of prints on an overnight run—ideal for small studios). This is as in love with a printer as I’ve ever become. It costs around $790, which, for what it does, is a bargain.
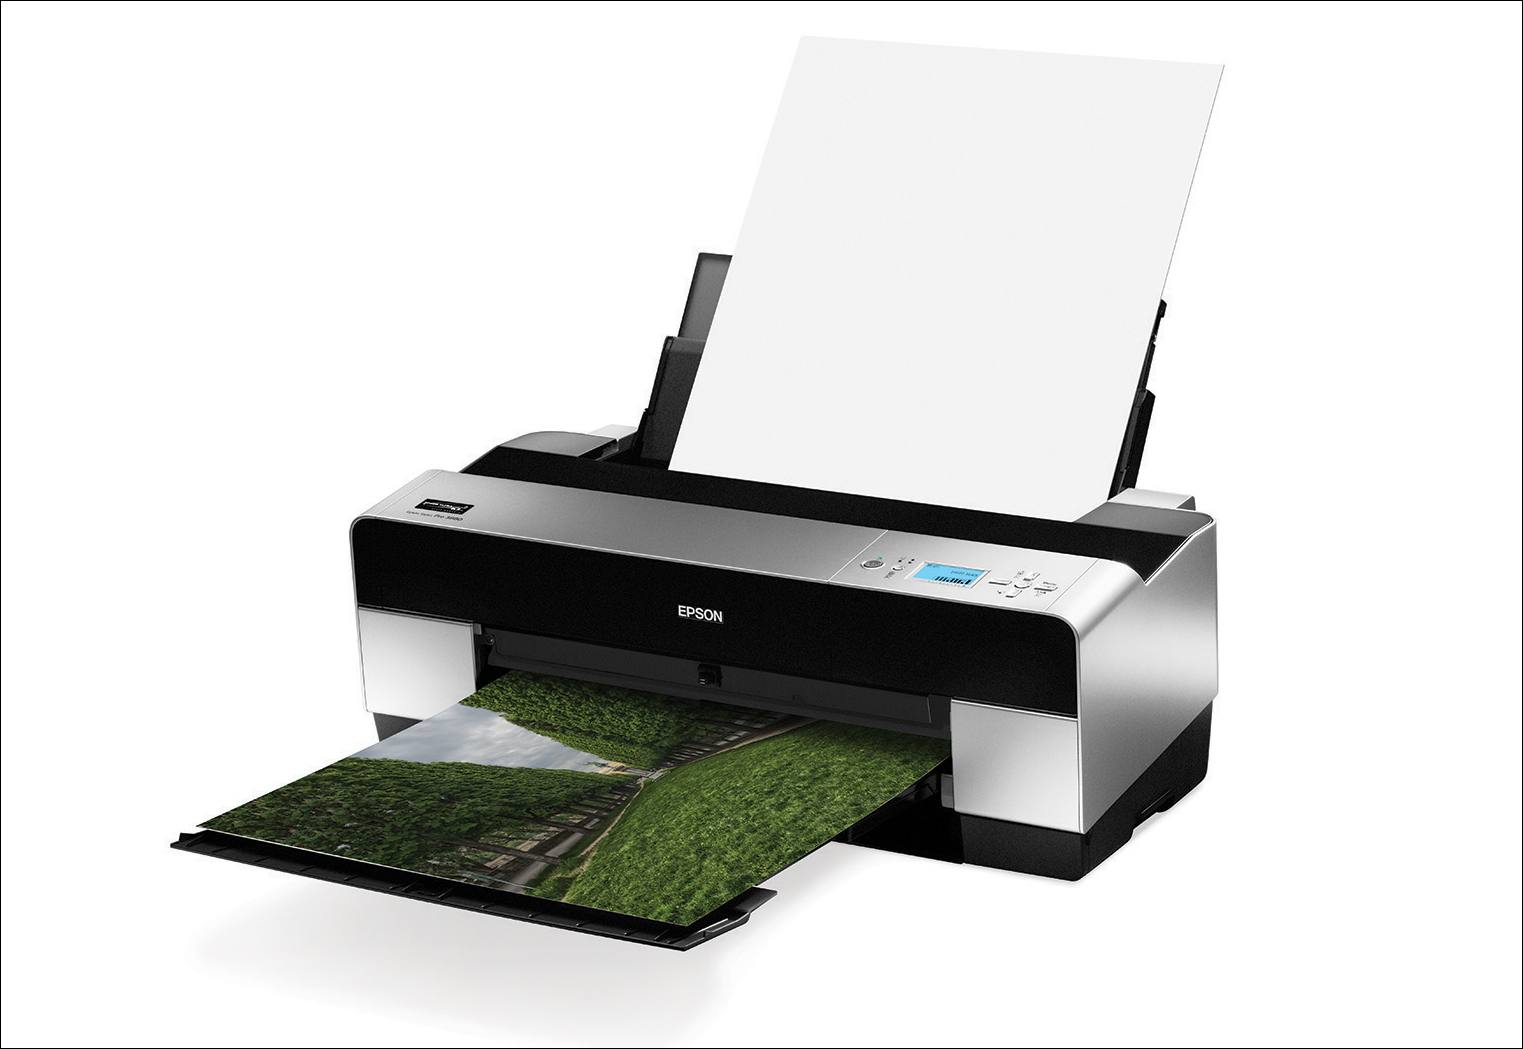
Pros who sell their prints know that the bigger the print, the bigger the paycheck, and maybe that’s why so many favor Epson’s Stylus Pro 3880 large-print format printer, which makes prints on cut sheets up to 17x22" (or 17" by whatever if you use roll paper). For years, I’ve been a little miffed that Epson doesn’t make a cut sheet in the classic 16x20" size, so I bought my 16x20 sheets from Red River Paper. I’ve finally gotten over it and now I just print on 17x22s, which fit digital file dimensions better anyway. Now that my rant is out of the way, this is one seriously killer printer (I think it’s the best one Epson’s ever made), and better yet, I just checked B&H Photo and they had it for $899, which is an insanely low price for a printer like this. If you’re ready for a pro-quality photo printer, this is the one!
Which Paper Should You Print On?

If you’re getting an Epson printer, then you definitely want to print on Epson paper. Epson paper not only works best on Epson printers, sometimes it’s the only paper that will work (for example, one time when I was in a bind, I tried some HP paper. It didn’t work at all—the paper went through the printer and ink came out, but it looked like...well, let’s just say it didn’t work and leave it at that). So, which papers do I recommend? Here they are:
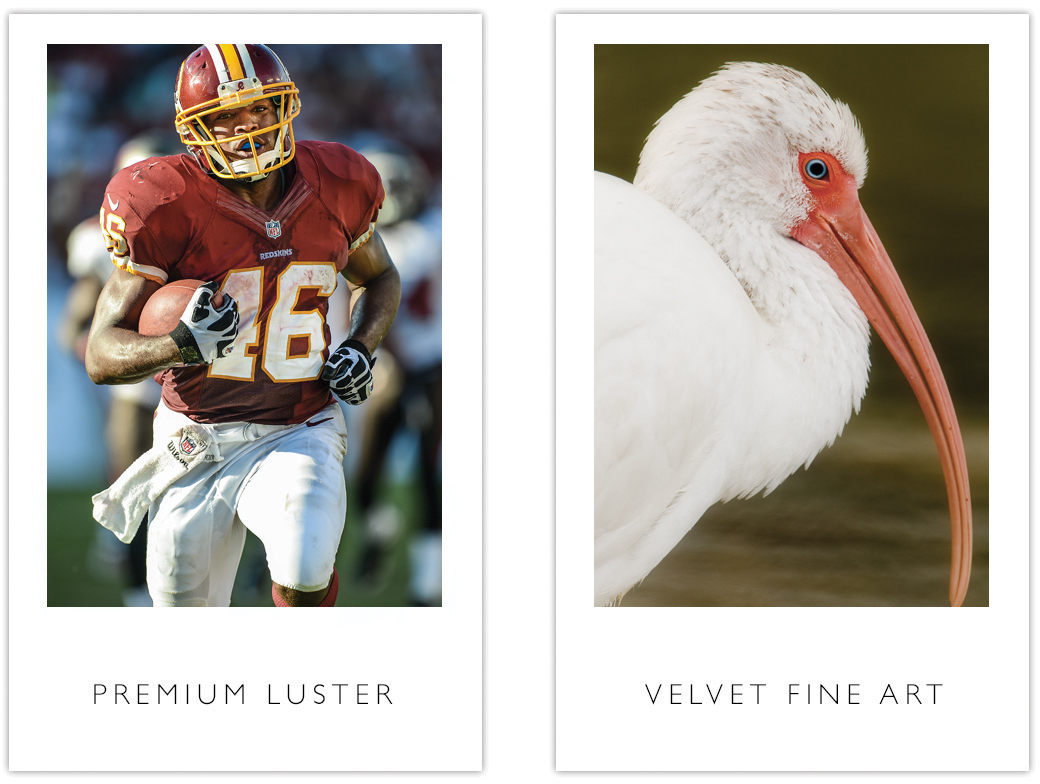
Epson Velvet Fine Art Paper: This is a cotton paper with a matte coating that looks like watercolor paper and has a wonderful texture that gives your photos almost a painted feel. Clients love the feel of this paper and it’s usually the first thing they notice.
Epson Ultra Premium Photo Paper Luster: This is probably my all-around favorite paper (and a favorite with many pros) because, although it definitely has a sheen to it, it does so without being overly glossy. It’s that perfect paper between glossy and matte.
Epson Exhibition Fiber Paper: This is real pro-quality, high-end paper, with a true pro-quality look and a pro-quality price to match. This is about as good as it gets—use it for prints you’re going to hang in a gallery or sell.
All of these papers are available directly from Epson.com, but I also often find these at my local Staples or Office Depot in sizes up to 13x19".
What Determines Which Paper You Use?
So, how do you know which paper to use? Believe it or not, there’s an easy way—the paper you choose to print on is determined by one thing: the subject matter of your photo.
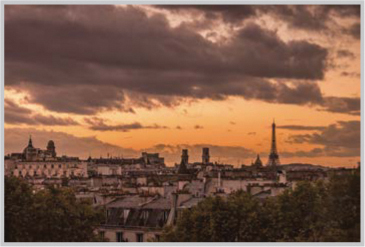
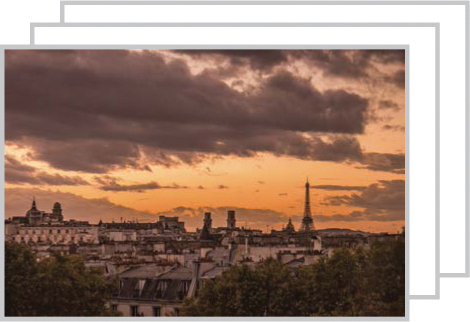
For example, if you’re printing things of a softer nature, like flowers, birds, landscapes, waterfalls, or any type of image where you want a softer feel, try a textured paper like Epson’s Velvet Fine Art Paper (provided you are printing to an Epson printer), which works wonderfully well for these types of images. This is your choice any time you want that “artsy” feel to your photography, and it also works well when your photo isn’t tack sharp. Try it for black-and-white photography, too (especially on Epson’s R3000), when you want extra texture and depth.
For serious portrait work, architecture, city life, travel, and finely detailed landscape shots, try Epson’s Ultra Premium Photo Paper Luster. Anything with lots of detail looks great on this paper, and it really makes your colors vivid. So, when the shot has lots of detail and sharpness, lots of color, and you need it to “pop,” this is the ticket for sharp, crisp prints.
Epson’s Exhibition Fiber Paper is a great choice for landscape or cityscape black-and-white photos on the R3000 or the 3880 (this paper was designed expressly for printers that use Epson’s Ultrachrome K3 inks), and it’s one of the few fiber papers that print both color and black-and-white prints equally as well. When you see one of your landscape shots printed on this paper, you’ll momentarily black out. I am not kidding.
Getting Your Monitor to Match Your Printer
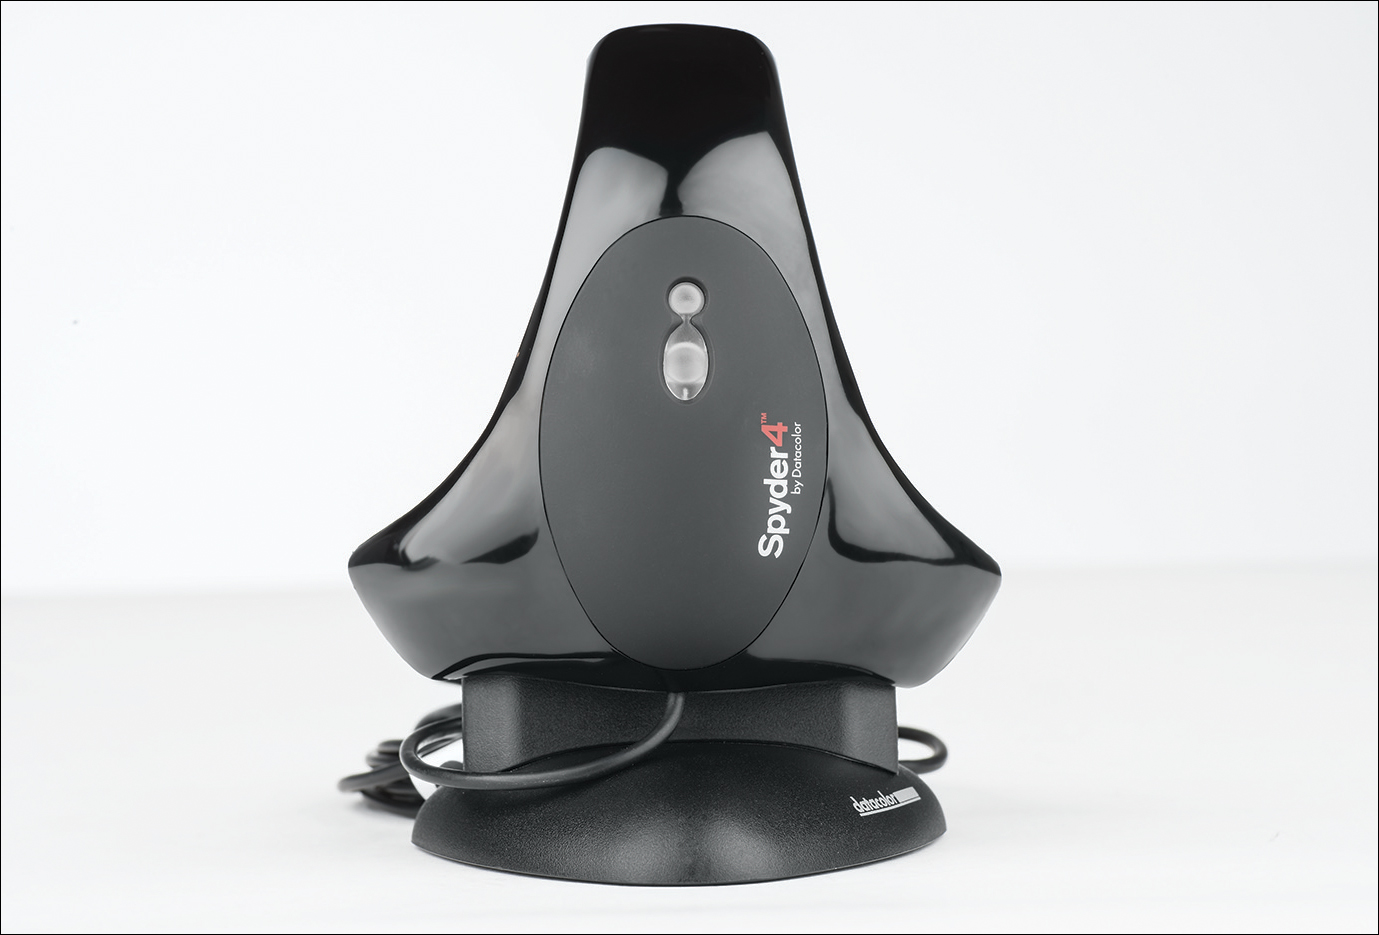
Color management (the art of getting your color inkjet prints to match what you see on your monitor) has gotten dramatically easier in recent years, but the key to getting a color management system to work is getting your monitor color calibrated. A few years ago, this was a costly and time-consuming process usually only undertaken by paid consultants, but now anybody can do it because (1) it’s very affordable now, and (2) it pretty much does all the calibrating work automatically while you just sit there and munch on a donut (you don’t have to eat a donut, but it doesn’t hurt). I use Datacolor’s Spyder4ELITE hardware color calibrator, because it’s absolutely simple to use, it’s affordable, and a lot of the pros I know have moved over to it. It sells for around $249, and that’s pretty much all that stands in the way of having your monitor match your prints. Well, that and downloading the free color profiles for the paper you’re printing on (more on that on the next page).
Download the Color Profiles for Your Paper

If you buy Epson papers (or any of the major name-brand professional inkjet papers), you’ll definitely want to go to Epson’s (or your paper manufacturer’s) website, go to their downloads page for your particular inkjet printer, and download their free color profiles for the exact paper you’ll be printing to. Once you install these free color profiles (they install with just a double-click), when you go to Photoshop (or Lightroom, or Elements) to print your photo, you can choose the exact printer and paper combination you’ll be printing to. This gives you the best possible results (and color fidelity) for your particular paper and printer. The pros do this every time and it makes a huge difference in the quality of their prints.
Selling Your Photos as “Stock” Online
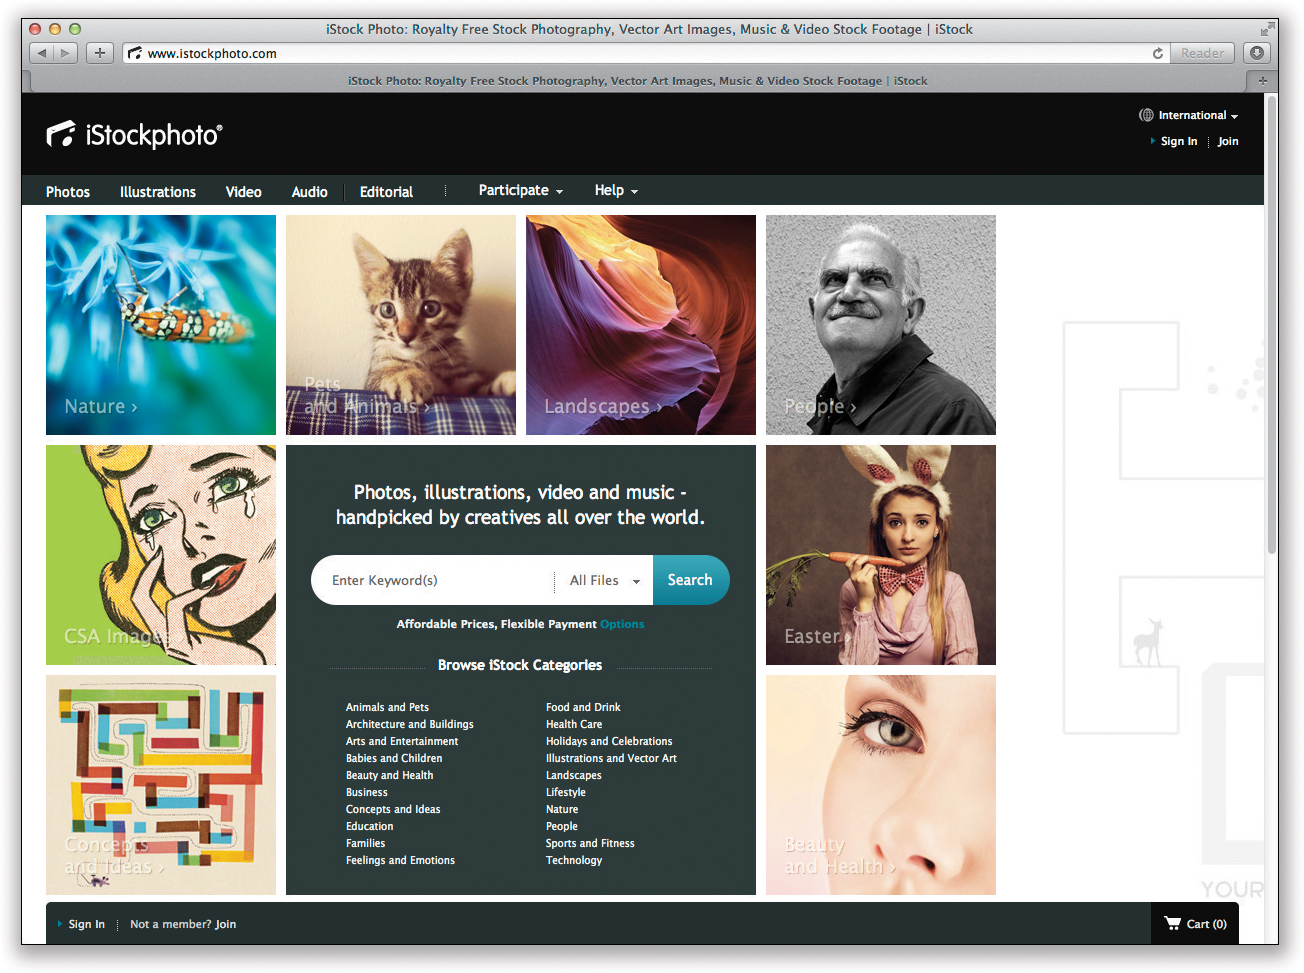
Selling photos to a stock agency is a dream of many photographers (pros included), but generally only the best of the best get this opportunity. Until now. Now you can start selling royalty-free stock photography today thanks to iStockphoto, which is a community of photographers all around the world who sell their photos online as stock (which means you give the rights to other people to buy, download, and use your photos in brochures, ads, wetbsites, flyers, and other collateral material graphic designers and web designers create for their clients). The great thing is anybody that follows their guidelines can upload their own photos and start selling them right away as part of iStockphoto’s huge database of images. Now, you only get paid on how many people actually buy your photo, and since prices vary based on a buyer’s subscription, and you get from 15%–25% (depending on how many people download your image), you’re going to need to move a lot of photos to make this a business. But let me tell you this, there are photographers who make their living (and their Porsche payments) strictly from what they sell on iStockphoto.com, because iStockphoto is used by about a bazillion people around the world. Needless to say, the better quality your work is, and the more popular the subjects are, the more your images will get downloaded. How popular is iStockphoto? Well, Getty Images, one of the world’s leading and most respected providers of high-quality stock images, bought them out—if that gives you any idea.
A Quick Peek at My Gear
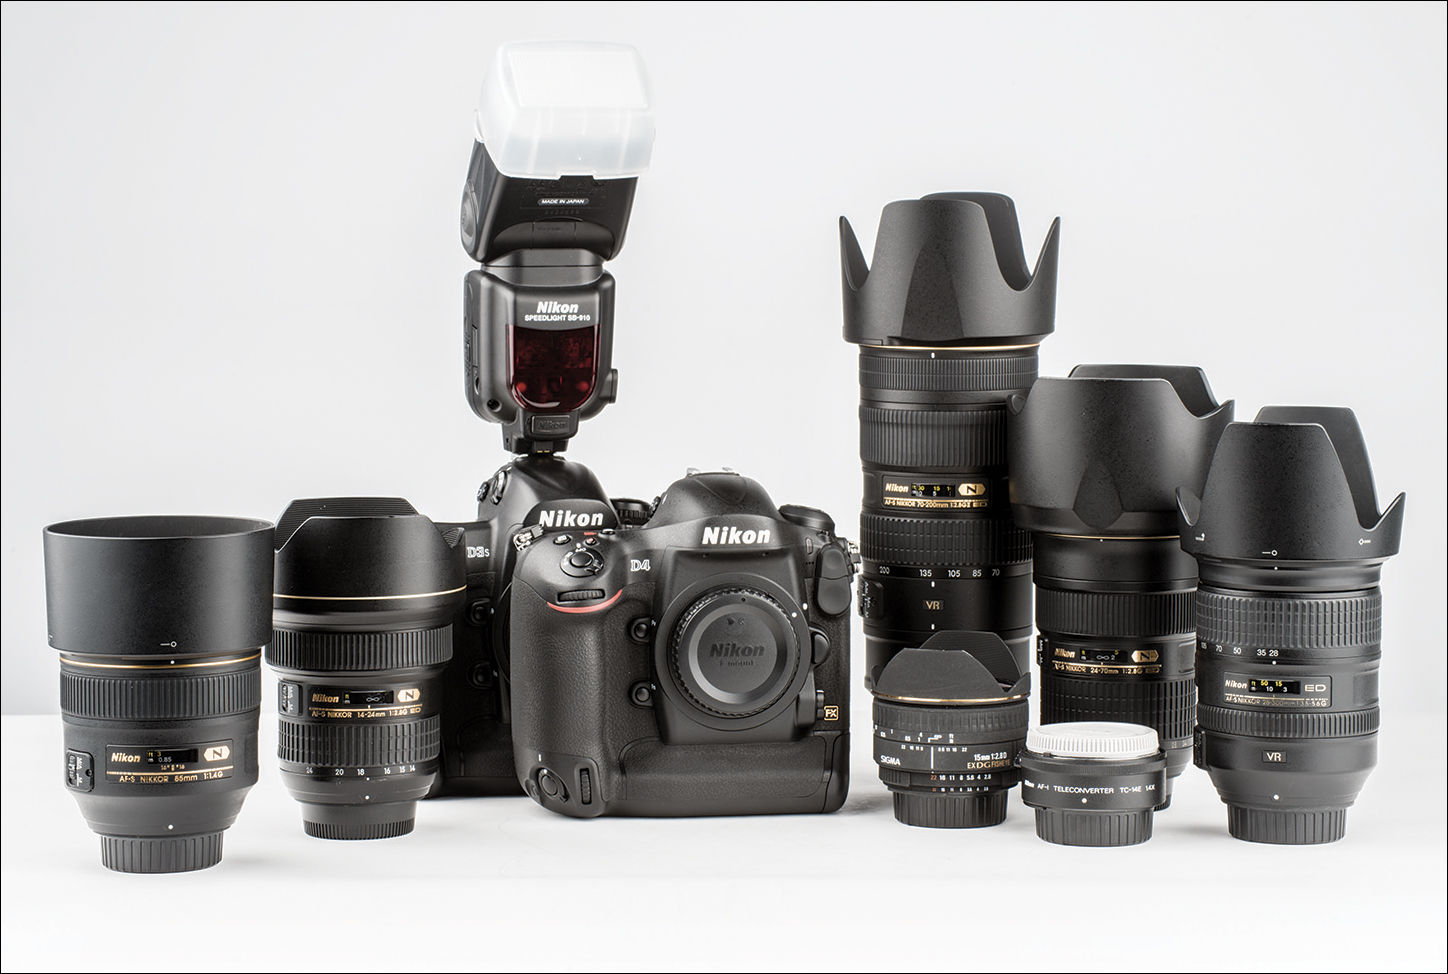
For those interested in what kind of photo gear I use, here’s a quick look: my main camera is a Nikon D4 and my backup camera body is a Nikon D3S. My go-to lens (if I have to have just one) is a Nikon 70–200mm f/2.8 VR II zoom lens (I use it for everything from portraits to my second lens when shooting sports).
For travel, I like to use just one lens (less is more for travel), and that’s a Nikon 28–300mm f/3.5–f/5.6 VR lens. For landscapes, it’s a Nikon 14–24mm f/2.8 super-wide-angle lens. I also use a Sigma 15mm f/2.8 fisheye lens for when I want an extreme-wide-angle for special effects type shots. You can’t use it every day, but use it sparingly and it’s really effective. I have a few other lenses (like a Nikon 85mm f/1.4 and a Nikon 24–70mm f/2.8), but those are the ones I use day-in/day-out (for sports, I have some long glass: a Nikon 300mm f/2.8 VR II, a Nikon 400mm f/2.8 VR II, and a Nikon 200-400mm f/4 VR).
I use two Nikon SB-910 hot shoe flashes and a Nikon TC-14E II 1.4x teleconverter to make my long lenses even longer. I use a collapsible Hoodman HoodLoupe, so I can see my LCD screen clearly when I’m shooting outside, and two Gitzo tripods (one for travel; one for everything else) with a BH-55 (and a smaller BH-40) Really Right Stuff ballhead (the mother of all ballheads, if you ask me). I have Lexar 600x and 1000x CompactFlash memory cards (you can never have enough), and I move all this gear in a Think Tank Photo Airport International V 2.0 Rolling Camera Bag (it’s awesome!). You can see all my latest gear, with photos and links, at scottkelby.com/gear.
There Are Three Other Books in This Series
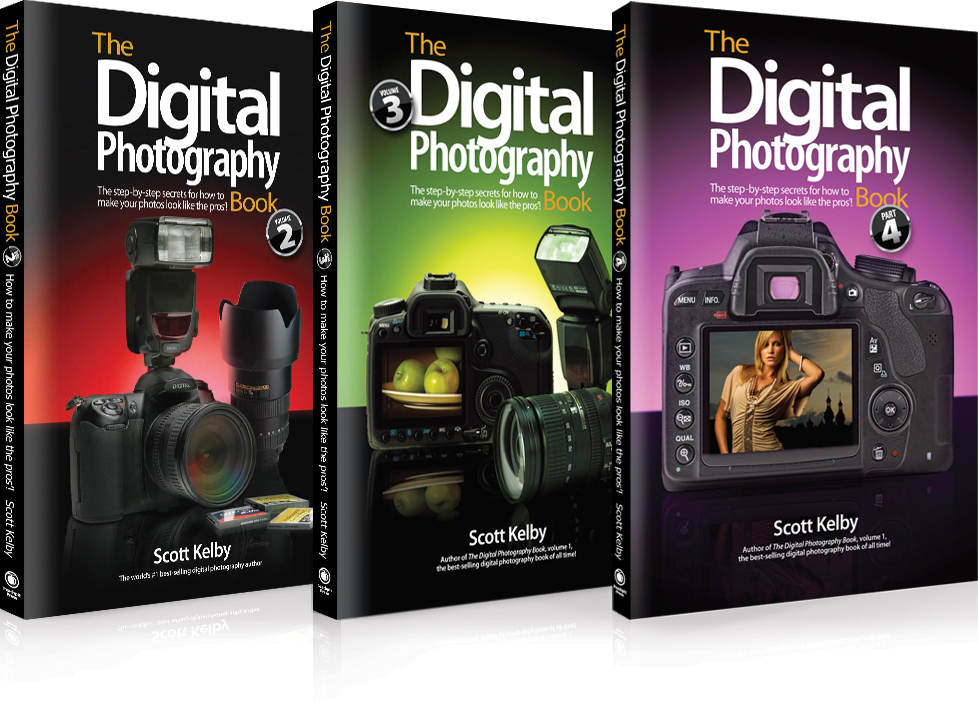
I hope this book has ignited your passion to learn more about photography, and if that’s the case, I want to let you know that the book you’re holding is Part 1 of what is (so far) a four-part series. I didn’t plan it that way, but so many folks wrote me and asked, “When are you doing a part 2?” that I did Part 2. It did really well, so my publisher asked, “When are you doing a part 3?” and then I emailed myself a note asking, “When are you doing a part 4?” I am now concerned that I might send myself a tweet asking, “Will there be a part 5?” Probably, but only when I come up with enough kick-butt tips to fill an entire book—sometime in the year 2525, if man is still alive. (Okay, did anyone catch that vague reference to the song “In the Year 2525?” You did? Nice! Okay, bonus question: What’s the name of the artists? Don’t feel bad; nobody knows this one. It’s by Zager and Evans.) Anyway, each part builds on the previous book, so you started with the right one by starting here with Part 1. You should read Part 2 next—don’t jump ahead to Part 3 or Part 4. Here’s what’s in the other books in this series:
Part 2: It includes chapters on hot-shoe flash, studio lighting basics, shooting macro, more on everything from travel to landscapes to portraits, and more photo recipes.
Part 3: There are chapters on shooting outdoors, composition, product photography, lenses, and lots more on portraits, hot-shoe and studio flash, and sports.
Part 4: Lots more on lighting, chapters on shooting HDR and shooting DSLR video, plus more travel, portraits, shooting with natural light, sports, and lots more.
I hope you’ll continue your photographic journey with me through this series. There’s always the possibility the jokes will get better in Parts 2, 3 & 4 (Spoiler Alert: They don’t).
Learn More with Me Each Week on The Grid
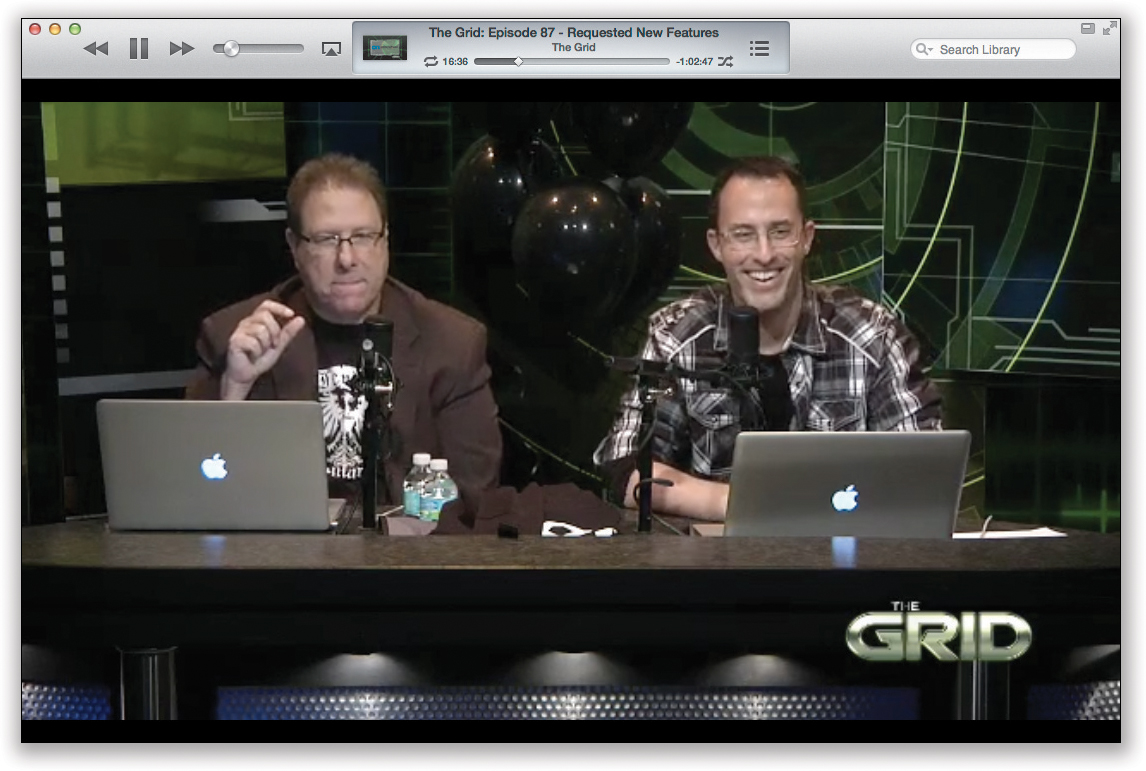
Every Wednesday at 4:00 p.m. EST, I co-host (with photographer and Photoshop Guy Matt Kloskowski) a free, weekly photography talk show called The Grid. We talk about the week’s hot topics in the photography community, and once a month we do a very popular episode called “Blind Photo Critiques,” where you can send us five images for critique on the show. They’re called “Blind Photo Critiques” because we don’t reveal your name on-air, so we can be really honest and helpful to the person sending in the images. If you want “a hug,” post your images on Flickr, and people will line up to tell you you’ve reinvented a photography genre, even if it’s just a photo of your cat, Mr. Whiskers, playing with an empty juice box. Here, we actually tell you the truth (good or bad) and do it in a way that helps people learn about photography. Photographers from around the world tell us they learn a tremendous amount from it (in fact, the Light Stalking website included us in their list of “5 Incredible Online Communities to Get Genuine Feedback on Your Photography”). We also have famous in-studio guests, like Joe McNally, Cliff Mautner, Joel Grimes, Moose Peterson, Glyn Dewis, Lindsay Adler, Dave Black, and more. It’s fast-paced, informative, sometimes controversial, often enlightening, and always a lot of laughs and fun. It airs live at kelbytv.com/thegrid, and we take your questions live on-air during the show. See you on The Grid!