
This is interesting enough, but being in an all-white world would be quite boring. Thankfully, it's very easy to add textures to everything. However, first, we need to have some textures to paint onto the world. For this instance, we will make use of some of the free assets that Unity provides us with.
- So, with that mindset, navigate to Assets | Import Package | Environment.
- From there, uncheck all of the folders aside from the Environment one and then click on Import.

- Once imported, you may see an error that says SpeedTree materials need to be regenerated. To check the error, click on the Console tab to open it up.
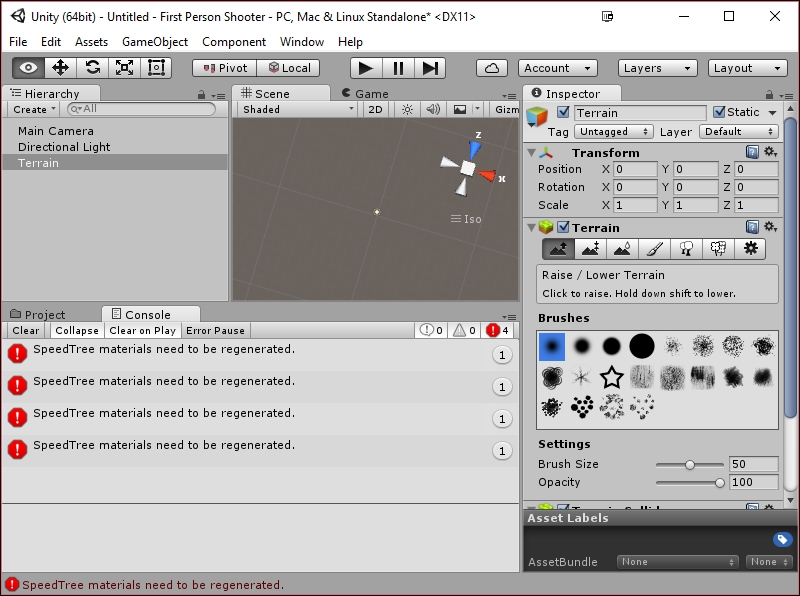
We aren't actually using the trees yet, but I don't like seeing errors so let's fix them now.
- To fix this, switch back to the Project tab and open up the
Standard AssetsEnvironmentSpeedTreefolder. Inside theBroadleaffolder, you'll find two objectsBroadleaf_DesktopandBroadleaf_Mobile,and from Inspector, click on the Apply & Generate Materials button. After this, use theConifer_Desktopand thePalm_Desktopand do the same. And with that our errors are gone!
- Go to the Project tab and open up the
Standard AssetsEnvironmentTerrainAssetsSurfaceTexturefolder. From here, you'll see the images that we are going to use to paint our terrain. - Select the Terrain object and then click on the fourth from the left button (that looks like a paint brush) to select the Paint Texture button. From here, you'll notice that it looks quite similar to the previous sections we've seen. However, now there is a Textures section as well, but as of now, there is the information for No terrain textures defined. So, let's fix that. Click on the Edit Textures button and then select Add Texture.
- You'll see an Add Terrain Texture dialogue popup. Under the Texture variable, place the GrassHillAlbedo texture and then click on the Add button.

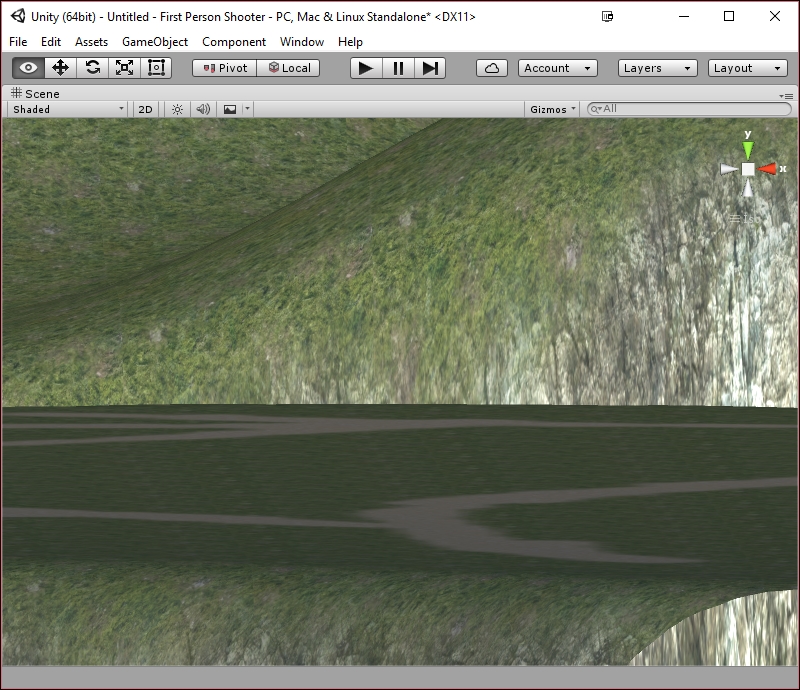
At this point, you should see the entire world change to green if you're far away. If you zoom in you'll see that now the entire terrain is now using the GrassHillAlbedo texture.

Now, we don't want the entire world to have grass. Next, we will add cliffs around the edges where the water is.
- To do this, add an additional texture by navigating to Edit Textures... | Add Texture. Select CliffAlbedoSpecular as the texture and then select Add. Now if you select the terrain, you should see two textures. With the CliffAlbedoSpecular texture selected, paint the edges of the water by clicking and holding the mouse, modifying the Brush Size value as needed:

- We now want to create a path for our player to follow, so we're going to create yet another texture this time using the SandAlbedo material. Since this is a path the player may take, I'm going to change the Brush Size value to 8 and the Opacity value to 30, and use the second brush from the left, which is slightly less faded. Once finished, I'm going to paint in some trails that the player can follow. One thing that you will want to try to do is to make sure that the player shouldn't go too far before having to backtrack and reward the player for exploration. The following screenshot shows the path:

Now, it's starting to look really nice, but if we play the game and look at the floor or in the distance you can see some receptiveness in the textures, especially from the flat floor.
Thankfully, Unity has some things we can do in order to break up this monotony, namely that we can mix textures.
- To reduce the appearance of texture duplication, we can introduce new materials with a very soft opacity, which we place in patches in areas where there is just plain ground. For example, let's create a new texture with the GrassRockyAlbedo texture. Change the Brush Size value to
16and the Opacity value to something really low, such as6, and then start painting the areas that look too repetitive. Feel free to select the first brush again to have a smoother touch up. - Now, if we zoom into the world as if we were a character there, I can tell that the first grass texture is way too big for the environment, but we can actually change that very easily. Double-click on the texture to change the Size value to (
8,8). This will make the texture smaller before it duplicates. It's a good idea to have different textures with different sizes so that the seams of each texture aren't visible to others. The following screenshot shows the size options:
- Do the same changes as in the preceding step for our sand texture as well, changing the Size option to
(8,8):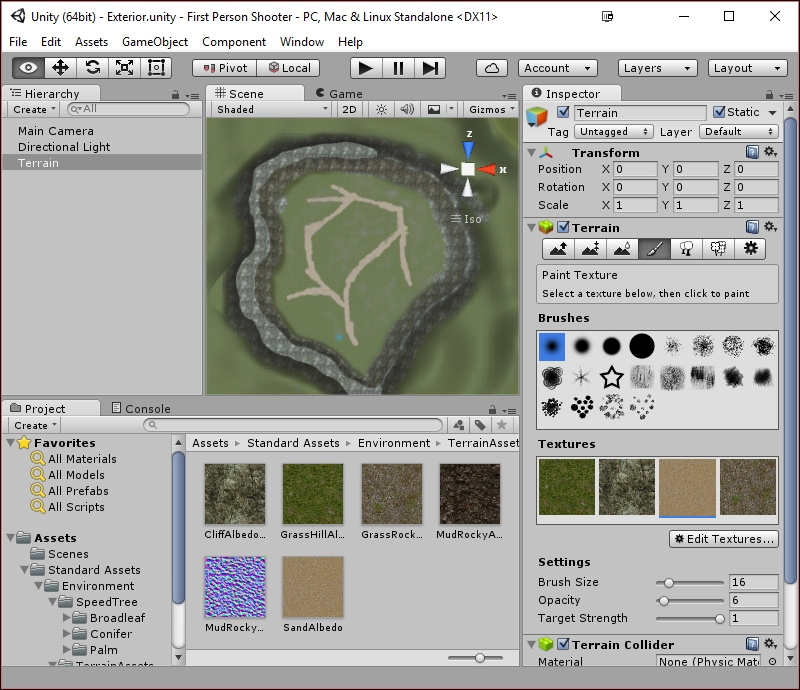
With this, we already have a level that looks pretty nice! However, that being said, it's just some hills. To really have a quality-looking title, we are going to need to do some additional work to beautify the environment.