
56 Beginner | TECHNIQUES
PUTTING IT INTO PRACTICE
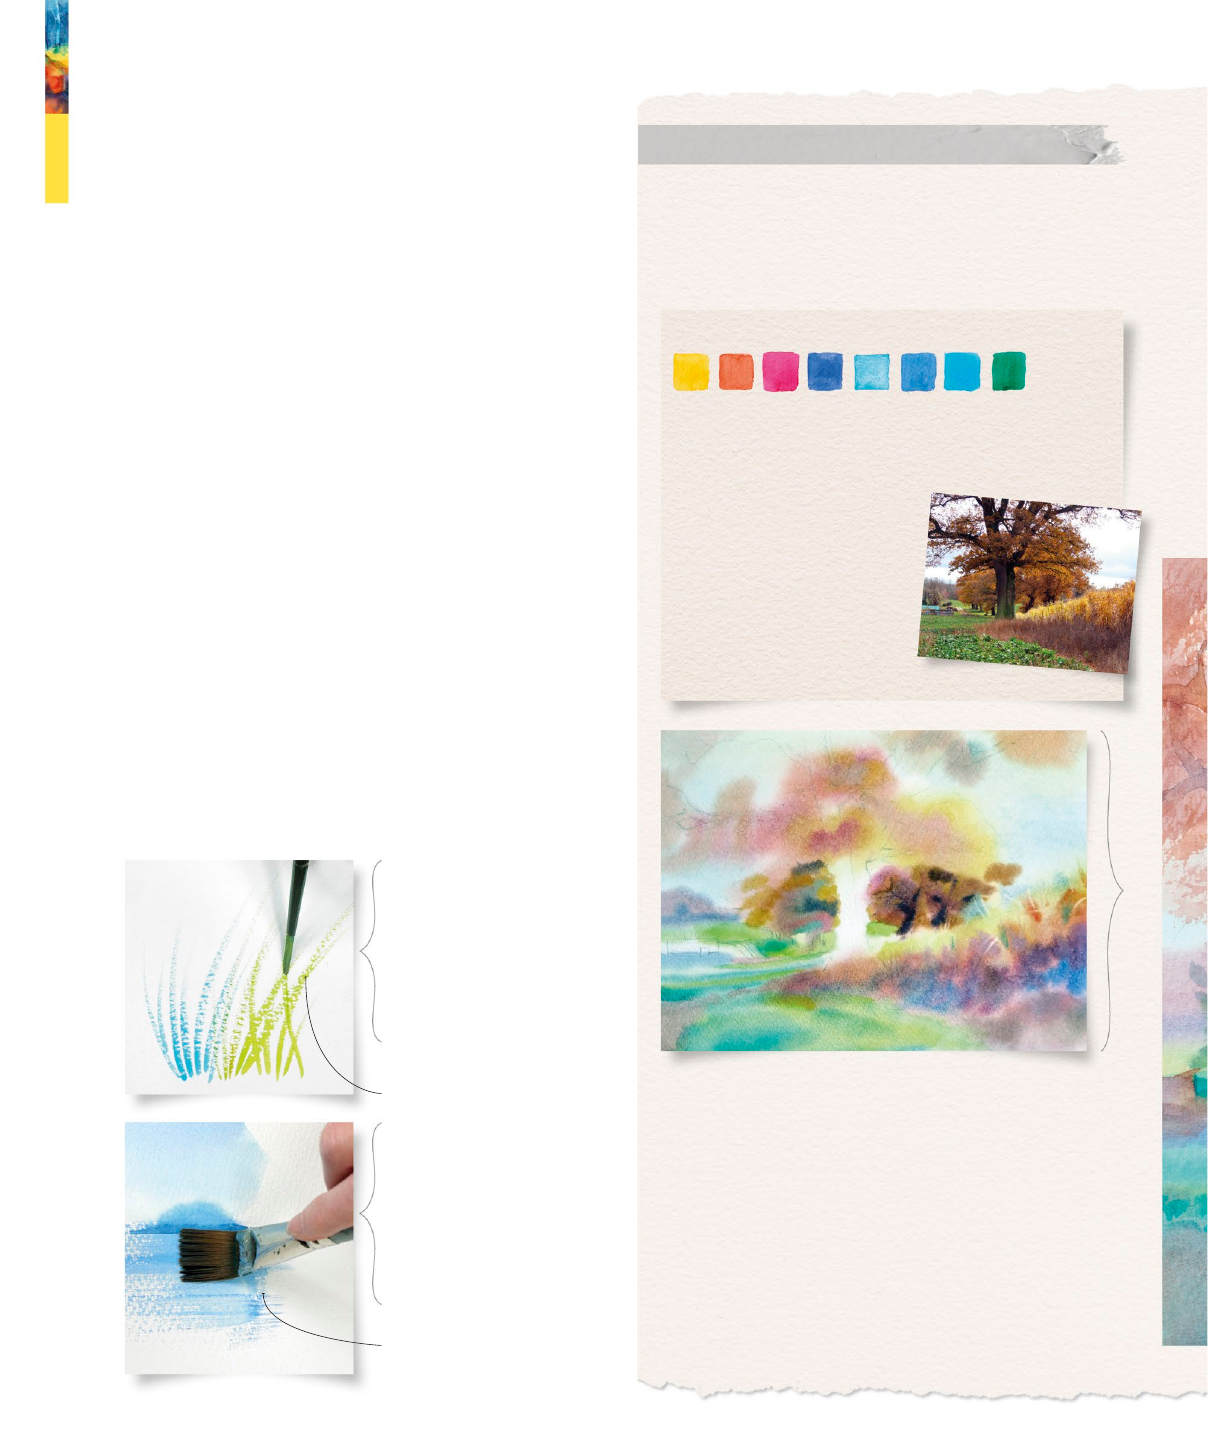
A soft, wet-in-wet underpainting provides a base for
working dry brush to convey the complex fall foliage
of the tree and hedgerow, using light directional
brush marks at a shallow angle.
1
Underpainting
After lightly drawing the scene, wet the entire surface
of your paper so that you can work all of the underpainting
entirely wet-in-wet. Apply washes of orange, green, and violet
for the main areas, allowing the pigment to ow freely.
Angling the brush
Start with the right ratio of pigment to water in your
palette; not too wet that it drips and not so dry that it
leaves streaks. Load the brush fully and then use the
direction of your brush marks to describe the object
you are representing, changing the angle of the brush
to control the size and shape of the marks. Choose
different brushes, from round to at, for variety.
Broken linear marks
Pulling up
Quickly pull the tip of your
brush upward to represent
thin subjects like grass, leaving
broken marks at the top of the
stroke. Either replenish your
brush or continue for drier
texture. Vary the density of
the line with different pressure.
Splaying bristles
A at brush is ideal for linear
subjects. Press near the head of
the brush to splay and atten
the bristles, then quickly drag
in the direction of your subject;
for example, vertically for
grass or horizontally for
light sparkles on water.
Thin, dry strokes
No. 14, no. 10, and no. 4
soft-hair round brushes
1
⁄4 in (6 mm) synthetic at brush
10
1
⁄2 x 14
1
⁄2 in (26 x 36cm)
rough 140 lb (300 gsm)
watercolor paper
You will need
Cadmium red
Phthalo blue
Permanent rose
Cobalt turquoise
light
Ultramarine blue
Viridian
Cadmium yellow
Cerulean blue
Fall foliage
Dry brush
PAINTING BROKEN MARKS
Dry brush refers to atechnique where
marks are made with a sparsely loaded
brush, resulting in broken edges and
textured effects. Simply by varying the
angle and direction of the brush you can
represent complex subjects such as foliage,
the texture of rock or bark, and broken light.
Work on rough paper for optimal effect.
“The key to dry brush is
the angle of the brush;
the atter the better.”
US_056-057_Drybrush.indd 56 02/04/2020 3:33pm

57 Dry brush
2
Broken edges for foliage
Working wet-on-dry, use an upright brush
to apply a at wash for masses of foliage.
Break up the edges with dry brush marks
from a attened brush, without overworking.
3
Preserving edges
To paint the branches in between the
foliage, apply a clear wash along the length of
a branch and then add pigment between the
foliage. This will preserve dry brush edges.
4
Directional strokes
For the long grass in the foreground,
separate the bristles of a at brush with your
thumb and make quick, light, directional dry
marks over the soft underpainting.
US_056-057_Drybrush.indd 57 02/04/2020 3:33pm
..................Content has been hidden....................
You can't read the all page of ebook, please click here login for view all page.