
Chapter 4. Photo Manipulation

A, by Evan Bohringer
Photo manipulation can transform an image much more than subtle changes to the color balance or contrast of a photograph. The resulting image may have little or no resemblance to the picture (or pictures) of origin. Today, photo manipulation is a widely accepted art form. Wikipedia defines photo manipulation as follows:
Photo manipulation is the application of image editing techniques to photographs in order to create an illusion or deception (in contrast to mere enhancement or correction), through analog or digital means.
Before computers, artists manipulated photos using paint, double exposure, and even by montaging negatives. The 1980s saw the emergence of digital retouching, with computers running software such as Quantel Paintbox, which were later effectively replaced by Adobe Photoshop and other image-editing applications.
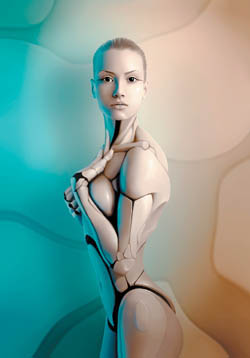
1. Michael O, AMALGAMATE
In this age of digitization, photo manipulation has become a widespread phenomenon, but it remains a commonly misunderstood and misrepresented topic, associated primarily with the practice of altering images for deceptive purposes. But photo manipulation, in essence, is simply a creative treatment of a digital photograph. Photo manipulation is very often used in fashion and advertising. It’s used not only for retouching and altering image elements, but also for changing the image composition, helping to show a message that sometimes isn’t possible with a photograph in its original form.
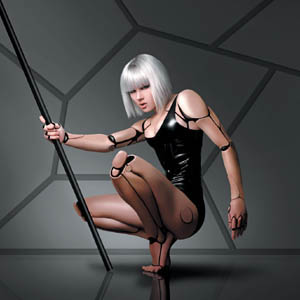
2. Michael O, AMALGAMATE II
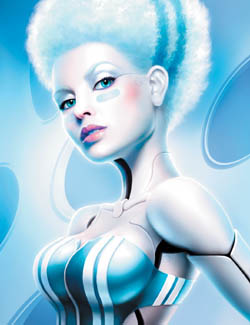
3. Michael O, DEXTERIA
Manipulation, applied artistically, has no intention to deceive, and this becomes even more evident when the work makes clear what is real and what is manipulated. This type of work requires creativity, imagination, and the ability to explore the full potential of digital tools.

4. Michael O, UNDER MY SKIN

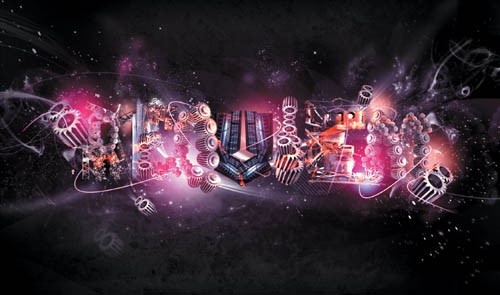
1. Fabio Sasso, ABDUZEEBORG
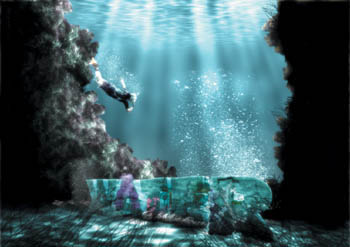
2. Fabio Sasso, UNDERWATER EXPERIMENT

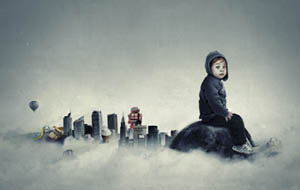
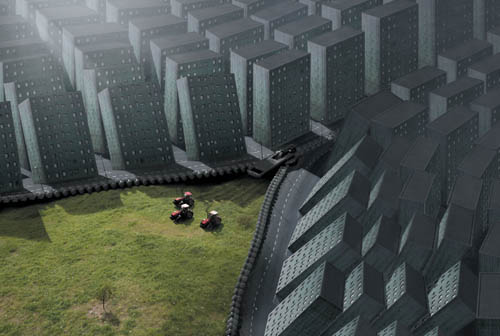
3. Mart Biemans, HOME SWEET HOME

4. Fabio Sasso, CALL OF ABDUZEEDO
5. Fabio Sasso, PHOTOSHOP EXPERIMENT
In a post titled “Deceptive Meanings of Illusional Photo Manipulation World,” Dzineblog360 blogger WAQAS E. offers a great take on this topic:
A photographer is an artist, but the art of photography is different from many other arts. It may sound [like an] exaggeration, but you know it when you start learning about it. It is mainly because the idea originates from imagination, but its execution has to be done in real life. When you take a photo, you have to take an image from real life and immortalize it. [H]owever, the problem is that ... real life isn’t exactly known for perfection. From this point the manipulation of an image begins and it ends with the final copy of reality depicting your imagination. The photo manipulation is an art today and it will grow further because with more technological advancement, the room for limning imagination into reality will grow.

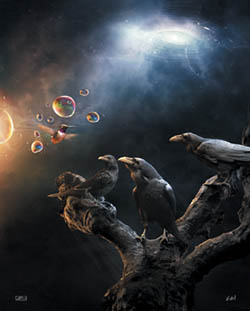
1. Jeff Huang, THE ROTTEN APPLE
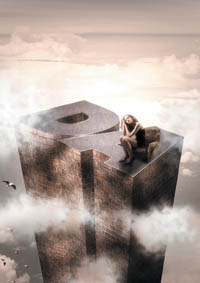
2. Felix Ajenjo, SITTIN’ ON TOP
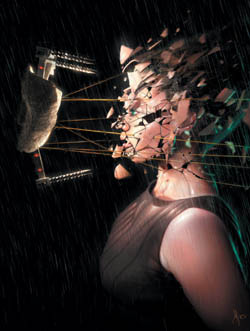
3. Jeff Huang, THE BECOMING
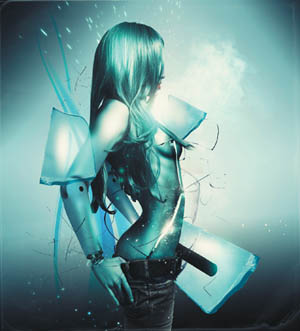
4. Pete Harrison (Aeiko), HEARTLESS
5. Pete Harrison (Aeiko), REQUIEM

1. Ed Lopez, JESTER

2. Ed Lopez, SPAWN
3. Przemek Nawrocki, NOT SO COLORFUL
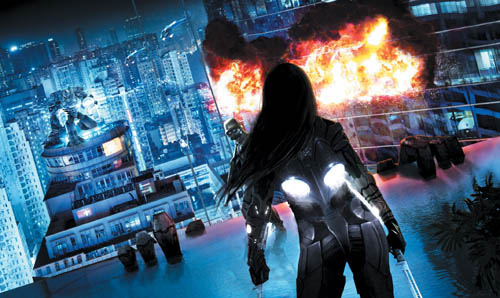
4. Rob Shields, ENEMY MINE
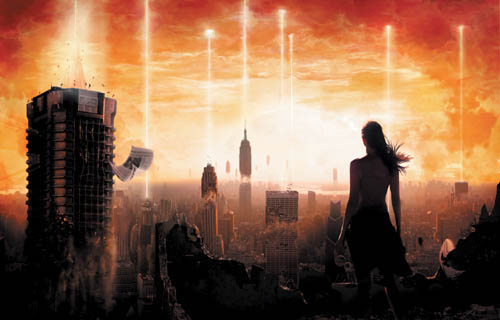
5. Rob Shields, THE GOOD REASON FOR OUR FORGETTING
Interview: Erik Johansson
Erik Johansson is a professional photographer and photoretoucher based in Sweden who works on both personal and professional/commercial projects. A former engineering student, he creates photo manipulations that create “a realistic view of an unreal picture,” according to Aloa’s blog on Abduzeedo.com. Erik shoots with a Canon 5D Mark II and manipulates his photos in Adobe Photoshop CS5. You can see Erik’s work online at www.alltelleringet.com.

How did you start your career as a digital artist? Did you always know that’s what you wanted to do?
I’ve been drawing for as long as I can remember. As a kid, when my parents asked me how my day in school was, I would rather draw to explain than explain it in words. Early on, I developed an interest in computers. When I got my first digital camera, it was a natural step to try to use the computer to modify photos in different ways. My way of thinking of photography is similar to drawing; the ideas always start with a sketch and it’s a challenge to realize them in a photo that’s as realistic as possible. As my photos started to spread over the Internet, I got some work requests, and this hobby started to become more and more of a job. Today I’m working on both personal and commercial projects. My personal projects have always been important to me since I can do the projects I feel like working with. The commissioned work is also a challenge in a different way.
How did you come up with your style?
I haven’t really decided what I want my style to look like. I just do what feels right and the style becomes a product of my imagination. My ideas are often twisted and surreal, but my goal is always to realize them in a way that’s as realistic as possible. I think the characteristic of my style is that I want to make it look like it “could” be true, although some ideas are more unrealistic than others.
How would you describe your project workflow? How would you break down your workflow in steps?
It always starts with an idea that I make a quick sketch of. Usually, I let it rest for a while to come up with small improvements and make it better. Most of the ideas don’t make it beyond this point. But if the idea feels right and I think it could be realized in a nice way, I take it to the next step.

The next step is to find places and material that I can photograph to realize the idea. The photos are my material, just like the colors for a painter. The last part is where I put everything together. The time it takes to create this kind of montage depends on the number of photos and the complexity of each part, similar to a puzzle. I usually can’t do the montage in one sweep. It’s good to let it rest for a while to see it with new eyes a few days later.
What role does the computer play in this creative process?
If I could draw very photorealistically, I wouldn’t have to use the computer at all. It’s just a tool that helps me to realize my ideas. I don’t see it as a part of the creative process. But of course it’s an important tool, as my drawing skills aren’t as good as my retouching skills.
Could you list some artists/designers you admire?
I actually am more influenced by artists than photographers—Salvador Dali, M.C. Escher, Rob Gonsalves, and René Magritte, to mention a few. I’ve always been fascinated by illusions and how they mess with your brain. M.C. Escher is one of the best in this area, and many of my impossible pictures are influenced by his work, although I always try to come up with original variations on the theme. Inspiration is something that I get from almost everywhere.
Tell us about some of your works that you are proudest of, and explain why they are so important to you.
I always look forward; I don’t really like to look at what I have done, but rather think of what I can do. It’s a curse, in a way, but it also helps me to explore new ideas and become better and better.

Apart from the money you make, what type of satisfaction do you get from your work? And how much does this matter in your life?
My personal projects are very important for me. It just feels like something that I have to do. I don’t want to force a message upon my viewers; rather, I think that the message should be interpreted by the viewers themselves. Even though my photos don’t change the world, I hope that they can inspire people or make them think, just as I get inspired by others.
Commissioned work is not always as creative, as it’s limited by the message the client wants to express, but it’s also a challenge to realize someone else’s idea. I don’t think I will ever give up working with personal projects; they’re my creative outlet.
What advice do you have for those who are starting out in their careers?
I think that trying is the best way of learning. I recommend experimenting a lot and trying to find your own style. Doing a lot of personal projects doesn’t generate much direct income, but it helps to show others what you are capable of.


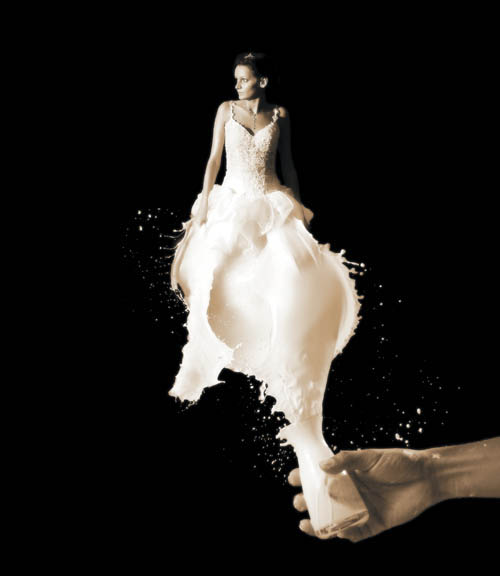
Tutorial: Milky Bride in Photoshop
Photo manipulation is all about mixing images in a way that they don’t look like they’re from different sources. You can create some bizarre effects like Erik Johansson does by playing with photos to achieve unexpected and often funny results.
In this tutorial I will show you how to create a bride with a wedding dress made out of milk. The purpose of this exercise is to show you how to mix images in the most realistic way possible.
Step 1
To begin, open Photoshop and create a new document (1). Fill the background layer with black using the Paint Bucket tool (G).

1
Step 2
Next, add a stock photo. The one I am using comes from Shutterstock, and you can download it here: www.shutterstock.com/pic-70183345/stock-photo-bride-at-night-on-the-beach.html. Using the Lasso tool or the Pen tool and paths, select only the bride and delete the background (2). Remember that Photoshop CS5 has a super-improved Refine Edges tool that makes it much easier to extract the background.
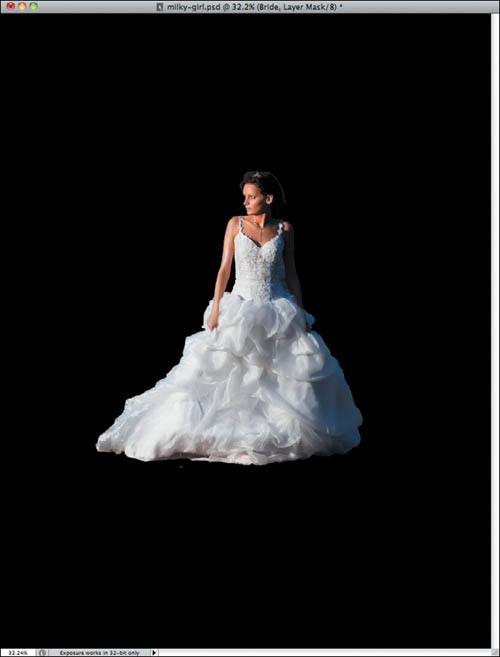
2
Step 3
Once you have removed the background and isolated the bride, choose Layer > Layer Mask > Reveal All. Then, using the Brush tool (B) and a very soft brush with black selected as the color, paint over some parts of the dress to hide them (3).
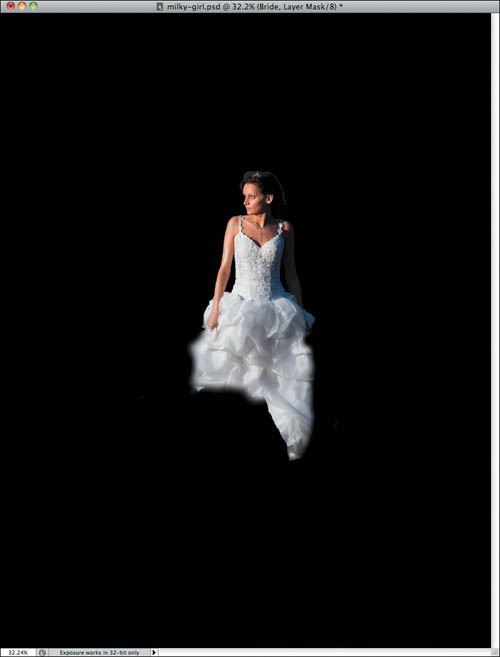
3
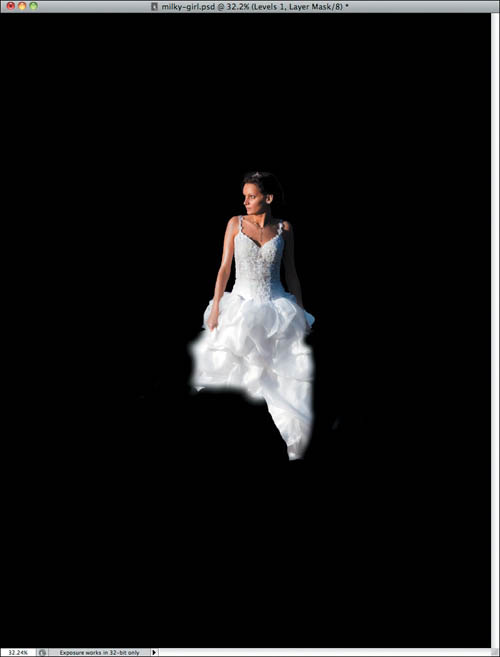
Step 4
Choose Image > Adjustment > Levels. Change the white input to 226 and the gray input to 1.53 (4).

4
Step 5
Duplicate the bride’s layer (5).
5
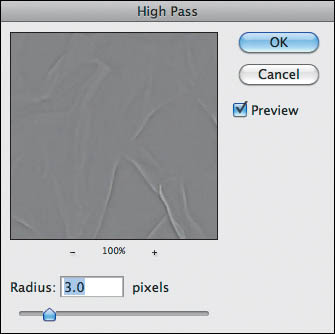
Step 6
Choose Filter > Other > High Pass. Use 3.0 pixels for the Radius setting. Then change the Blend Mode setting of this layer to Soft (6).
6
Step 7
Now let’s import some more stock photos, this time using images of milk splashes. The images I am using are all courtesy of Shutterstock, and you can find them at the following URLs:
• www.shutterstock.com/pic-57731110/stock-photo-milk-splash-in-the-air.html
• www.shutterstock.com/pic-57731107/stock-photo-milk-splash-in-the-air.html
• www.shutterstock.com/pic-36258220/stock-photo-splashing-milk.html
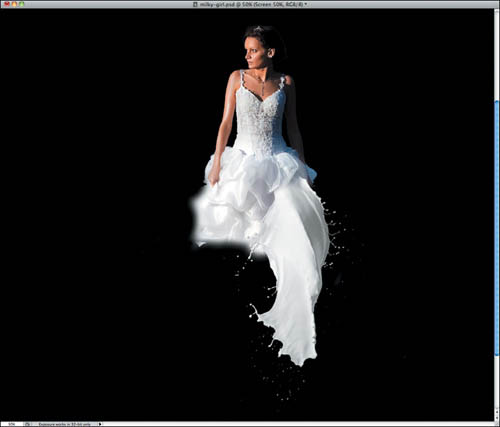
Isolate the milk splashes from the background and them place them directly below the bride (7). The idea is to create a new dress made out of those splashes.
7
Step 8
Import another milk splash and position it on the other side. You can select Edit > Transform > Warp to distort the splash to achieve the effect you want (8).
8
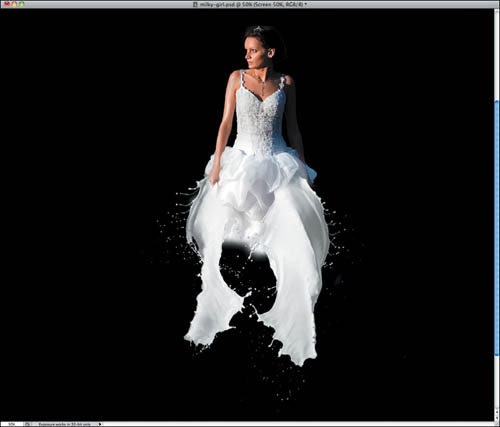
Step 9
Use one more milk splash here to finish the dress. Note that you will have to use the Eraser tool (E) to make the transition of the milk and the bride’s dress smooth and realistic (9).
9
Step 10
Now let’s import another image, this time of a hand pouring a glass of milk. You can find the image here: www.shutterstock.com/pic-61137037/stock-photo-hand-pouring-glass-of-the-milk.html.
Place it in front of the other layers (10). Notice that the transition of the milk and dress is not right, so now it’s time to use the Eraser tool (E).

10
Step 11
Using the Eraser tool (E), delete parts of the milk of the hand layer so both images are blended together realistically (11).
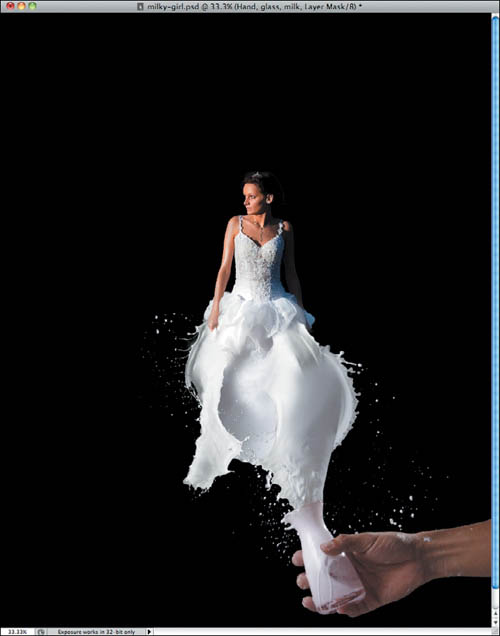
11
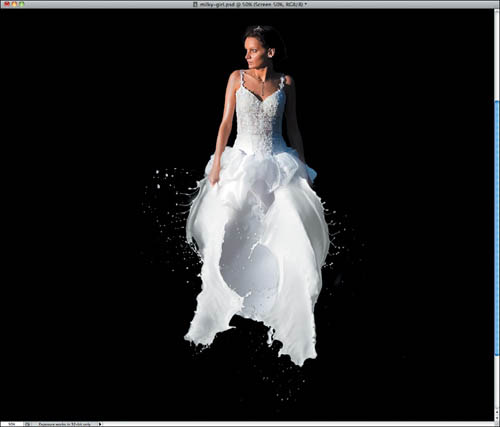
Step 12
Choose Layer > New Adjustment Layer > Hue and Saturation. This adjustment layer has to be on top of the other layers. Change the Hue value to 34 and the Saturation setting to 23 (12).
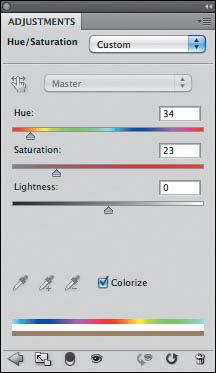
12
Step 13
Select all layers and duplicate them by using the keyboard shortcut Command/Ctrl+Alt+ Shift+E (13).
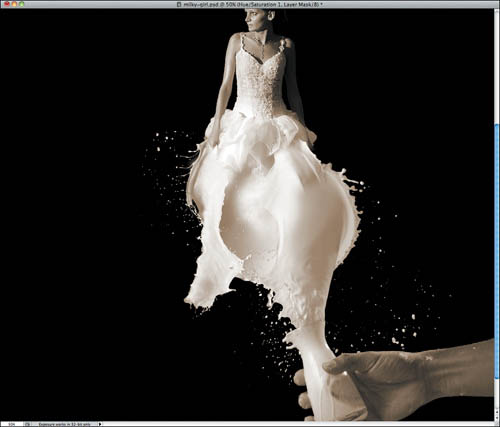
13
Step 14
Select the new layer with all the layers merged into it and choose Filter > Blur > Gaussian Blur. Use 15 pixels for the Radius setting (14).
14
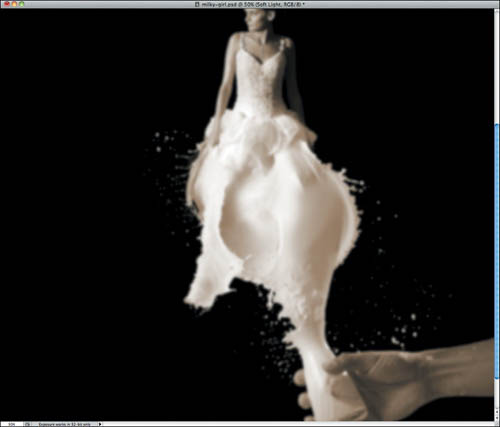
Step 15
Change the Blend Mode to Soft Light, and then duplicate the layer. Select the layer that is on top and change its Screen setting to 50%. This screen layer will create a nice glow effect that will help blend together the parts of your composite image (15).
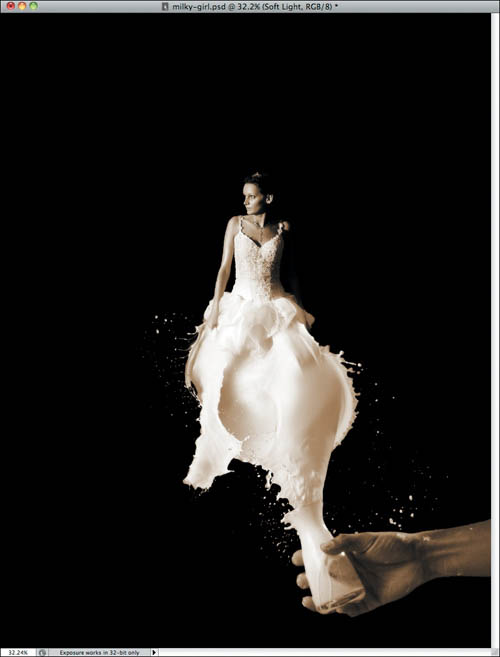
15
Conclusion
The purpose of this tutorial was to show you how to mix photos to create an unexpected effect, such as a wedding dress made out of milk. As you can see, the most important challenge was to find the right images and to make the adjustments necessary to blend them together in the most realistic way.
Blend modes and adjustment layers are key for this type of effect. Keep working with these tools to become comfortable using them and don’t stop practicing.
