
2. Organizing the Media Files for Your Project
Lesson overview
• Use Adobe Bridge to manage, preview, and add metadata to your media files
• Understand basic film script page elements
• Use Adobe Story to write and collaborate on a script
• Use Adobe Prelude to ingest and add comments to video clips
• Create bins to organize your media files
• Assemble a rough cut
• Add time-based comments
• Export your Adobe Prelude project for use in Adobe Premiere Pro
Previewing clips in Adobe Prelude CS6.
About Adobe Bridge
Adobe Bridge CS6 digital asset management software provides integrated, centralized access to your project files and enables you to quickly browse through your creative assets visually—regardless of what format they’re in—making it easy for you to locate, organize, and view your files.
In addition, Adobe Bridge CS6 allows you to add searchable keywords to your files to make these files easier to find. You can add frequently accessed folders on your system to a Favorites list as well. Adobe Bridge CS6 also can do batch processing of media files, such as applying a Photoshop Action to a folder of images or renaming several files for more efficient organization.
Naming and managing your project and media files
Having a strategy for how you name and organize your files is fundamental. When possible, use clear, simple naming that describes what is in the file or folder. Organize your media files into folders based on category.
You’ll use Adobe Bridge to browse through the media files that we’ve included for you to work with in this Classroom in a Book. We’ve named the files and organized them into folders based on a simple, effective strategy that you can use in your own productions.
Navigating and previewing media
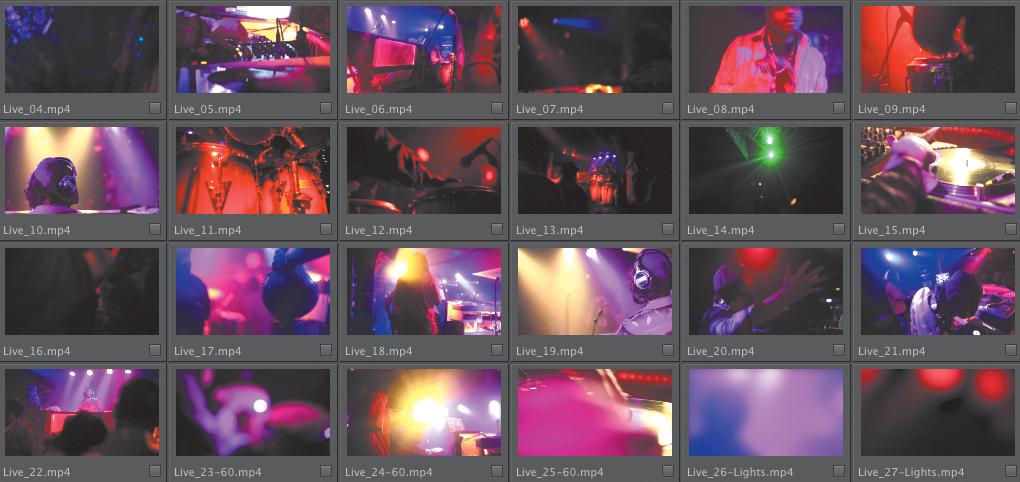
When you’re beginning the postproduction of a video project, it’s good working practice to look at all of the footage and media before you start editing. You become familiar with the material you’ll be working with and also discover anything that might be wrong with the footage.
Adobe Bridge CS6 allows you to browse through your footage and other media, and it can provide technical details about your footage and media.
1. Launch Adobe Bridge.
2. Using the Favorites panel in the upper-left corner of the interface, navigate to the Adobe CS6 Project Assets folder.
3. Double-click on the Adobe CS6 Project Assets folder to reveal its contents.
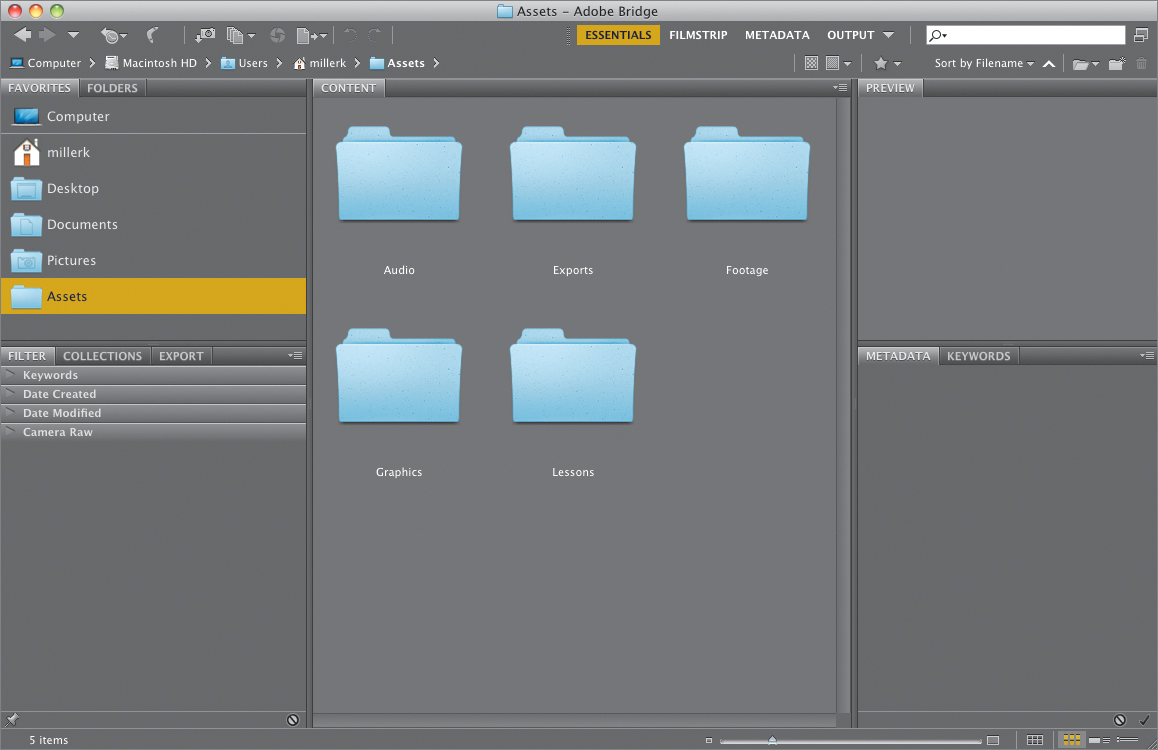
The assets are organized by category: Audio, Exports, Footage, and Graphics. This is a simple way to organize assets at a high level in any video project.
4. Double-click on the Footage folder, and then double-click on the Interview folder to reveal its contents.
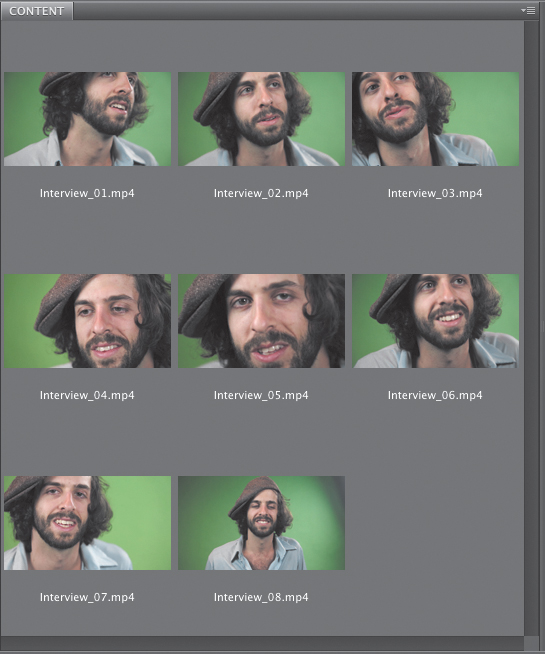
The interview clips are all named “interview” with the take number. They are grouped together in this folder for easy access later in the editing process.
5. Click the clip Interview_01.mp4 to select it.
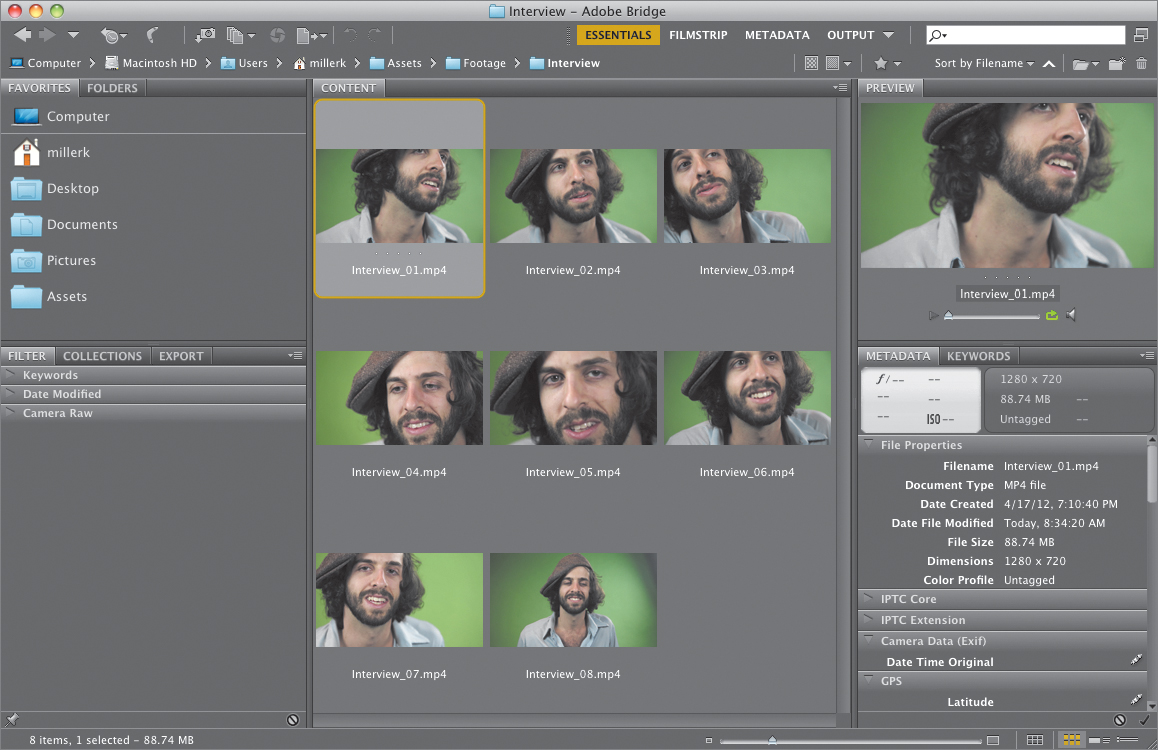
The clip is now visible in the Preview panel.
6. In the Preview panel, click the Play button to preview the clip. When you’re finished, click the Pause button to stop playback.
You can also drag the playback bar to scrub forward and back through the video, which is useful when you’re choosing which clips to use.
Working with metadata
Simply put, metadata is data about your data.
Looking at a video file, you’d have no idea what is contained within the file without metadata. For example, what video format is it? What is the frame size and frame rate? What is the duration? Is this a good take or a bad take? Metadata describes these and other attributes of the media files you use in video production.
One of the advantages of using Adobe Bridge as a file management tool is that you can create custom metadata fields, and then add them to your media files. Because the metadata stays with the media, it will be usable in all facets of your workflow down the line. For example, if you enter comments about the video in Adobe Bridge, you’ll be able to see those comments when you’re working with that video later in the other components of Creative Suite 6 Production Premium.
In the Metadata panel in Adobe Bridge, you’ll see some of the metadata attached to the Interview_01.mp4 clip that you currently have selected.

You can add your own metadata to any file using Adobe Bridge.
Adding metadata to your media
Adobe Bridge CS6 provides an easy way to add metadata to your footage for future reference when editing.
Metadata can include information like scene description, shot number, and shooter’s name. You can also add a comment about qualitative information, such as whether a take is usable or not, which can help streamline the editing process. This process of adding comments to your media is known as logging clips.
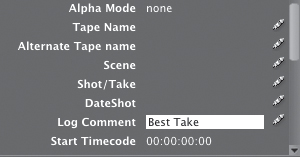
Let’s look at the basics on adding metadata by adding a “Best Take” comment.
1. Using the scroll bar in the Metadata panel, scroll down until the Video category is visible.

2. Click the gray space directly to the right of Log Comment.
3. Type Best Take.
4. In the Content panel, click on the clip’s thumbnail.
5. In the dialog that appears, click the Apply button to apply your metadata changes.
6. The comment is now attached to the file and will stay with it throughout the rest of the workflow.
When you’re logging clips, it’s very useful to add notes about camera angles or different takes, making it much easier to find and work with your clips.
About Adobe Story
Now that we’ve discussed some basics about naming files and adding metadata, let’s change gears and talk about Adobe Story, which is an application that simplifies formatting scripts for film, television, and other outlets so that you can focus on writing your story.
Adobe Story is more than just a script writing application. During the preproduction phase of a project, scriptwriters can use Adobe Story to store their scripts in the cloud. After all of the footage has been shot, video editors can import an Adobe Story Script Format file to Adobe Premiere Pro to compare the dialogue in the script with a speech analysis of selected clips. This makes it easier for editors to locate segments of footage with certain dialogue.
With a paid subscription to Adobe Story Plus, you can automatically synch scripts and other Adobe Story documents with other collaborators. Because scenes are numbered in the script, this information can be used during the production phase. Producers can use Adobe Story Plus to automatically generate production reports and schedules that relate to certain scenes.
The first exercise in this section is intended to give you a brief overview of how to properly format film script page elements with Adobe Story, and the subsequent exercise covers some of the collaboration features found in Adobe Story Plus.
Basic film script page elements
A screenplay is more than just a script with scene descriptions and character dialogue: It’s also a blueprint for producers and directors that makes it easy for them to break down what is needed to shoot a movie and helps them to budget costs for equipment, actors, locations, and so on. A screenplay follows a certain format that is based on standards that were established in the 1980s. These standards have been adopted in screenwriting software and are still in use today.
The definitive guide to formatting film scripts is The Complete Guide to Standard Script Formats by Judith H. Haag and Hillis R. Cole (CMC Publishing, 1989).
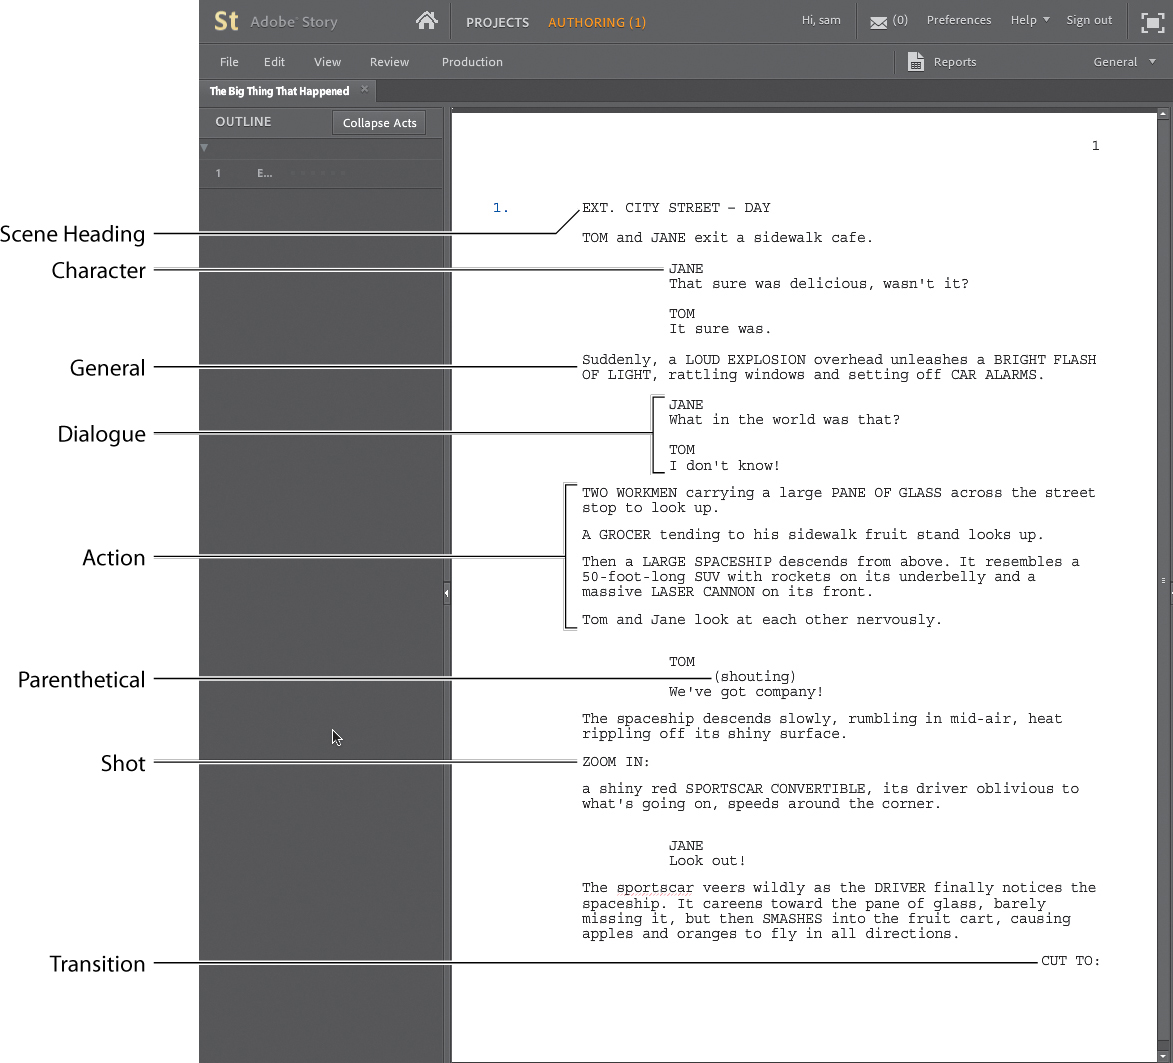
The following is a brief list of screenplay formatting elements that you can use in your script when you’re writing with Adobe Story:
• Scene Heading. This is a brief indicator of the location of a scene and what time of day it takes place. Interior and exterior locations are denoted by the abbreviations INT and EXT.
• Character. When a character is introduced in a screenplay, it is important to clearly indicate this to the reader, which is why the character’s name is written in capital letters. This element also allows a producer to see at a glance how many actors will be needed to shoot a scene or a movie when a script is being budgeted.
• General. At the beginning of a scene, it’s a good idea to describe what you intend the viewer to see. If your script needs to indicate the presence of props, visual effects, sound effects, or anything that the producer might need to include in the production’s budget, indicate those items with capital letters.
• Dialogue. When a character has a spoken line of dialogue, the character’s name (using capital letters) and the dialogue are indented to the center of the page.
• Action. When something happens in a scene that is not dialogue, write a brief visual description of it. Be as concise as possible; a screenplay is not a novel.
• Parenthetical. This element is brief stage direction that is indented on the page with dialogue so that the flow of the scene is not interrupted with a separate general description. Keep parenthetical directions very brief.
• Shot. Whenever a specific camera direction (pan, zoom, dolly, etc.) is needed for a shot, indicate this using capital letters. The producer can then see at a glance if any extra camera equipment (special lenses, camera crane, etc.) will be required and needs to be included in the production budget.
• Transition. This element indicates a specific type of transition (cut, dissolve, wipe, etc.) at the end of a scene as a general guideline for the editor(s).
Starting a new script in Adobe Story
To become familiar with what Adobe Story can do, let’s write a sample page of film script.
1. Open your web browser.
2. In the Address field, type the URL story.adobe.com and press Return (Enter).
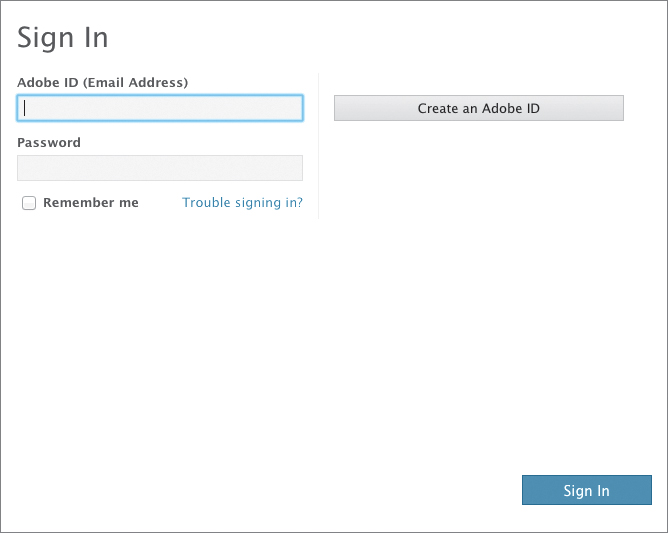
3. On the Adobe Story homepage, click Sign In.

4. In the Sign In window that appears, enter your Adobe ID and Password, and then click Sign In. If you don’t already have an Adobe ID, follow the onscreen instructions to create one. Accept the terms of use as well.
Your web browser will load the Story interface.
5. Click the Projects menu at the top left of the interface and choose New Project.
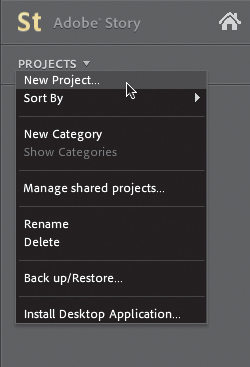
6. In the Create New Project dialog enter a name for your project (you can type in The Big Thing That Happened, which is the name of our hypothetical script, or any other name of your choosing), and then click Create.

7. At the top of the Story interface, click the + New button to create a new script in your project.

8. In the Create New Document - Adobe Story window, click the Type menu and choose Film Script.
9. Double-click in the Title field and type The Big Thing That Happened.
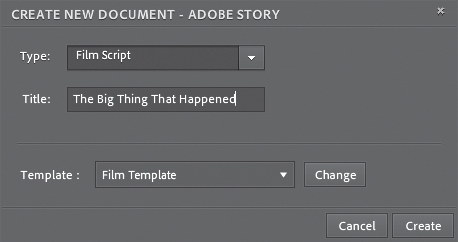
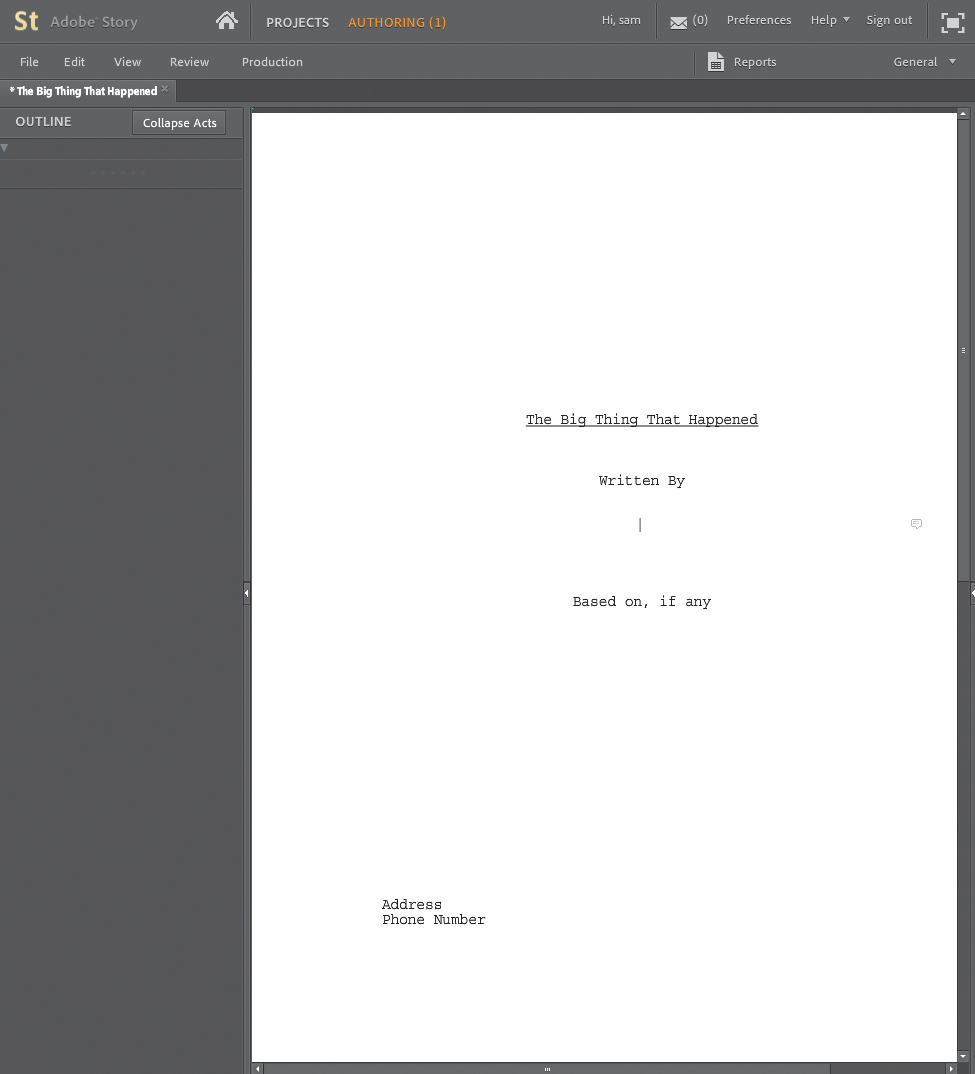
10. Click Create. The script’s title page appears.
11. Notice that Adobe Story has formatted your title page by placing your script title and your name automatically.
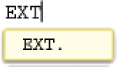
12. Scroll down to the first page of the script to where you see the placeholder text ENTER SCENE HEADING. Click on that text and type in the new scene heading EXT. CITY STREET – DAY.
As you are typing the word EXT, Story anticipates that you want to type a commonly used scene heading by showing the word EXT in a floating menu below your cursor. You can either continue typing, or you can choose the desired word from the floating menu.
13. Press Return (Enter) to start a new line of text.
Next, you’ll write a brief bit of action.
14. Type TOM and JANE exit a sidewalk cafe.
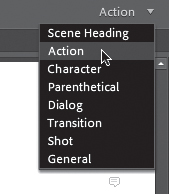
Note that in the Formatting menu at the top right of the interface, Story has automatically formatted this line of text as Action.
15. Choose from the Formatting menu to manually format any text in your script.
Let’s write some dialogue.
16. Press Return (Enter), click the Formatting menu, and choose Character.
17. Type jane and then press Return (Enter). The formatting automatically changes to Dialogue.
18. Type that sure was delicious, wasn’t it?
Notice that Story automatically and conveniently formats character names with all capital letters and adds a capital letter to the start of the dialogue.
Collaborating with others on your script
The free version of Adobe Story, which is available with your Adobe ID account, gives you the ability to craft your story using industry-standard formatting. However, many collaboration features are only available with a paid subscription to Adobe Story Plus.
The following exercise takes advantage of these collaboration features. If you do not have a paid subscription to Adobe Story Plus, proceed to the next exercise in the section “About Adobe Prelude.”
One of the primary advantages of using Adobe Story Plus to write your scripts is that it enables you to collaborate with others and track changes in a single interface. This removes the “what version is this” factor of sharing and working on the same document with multiple contributors.
Adobe Story Plus helps to ensure that any changes to dialogue, shot lists, or other copy in a script is associated with a specific user and when those changes were made.
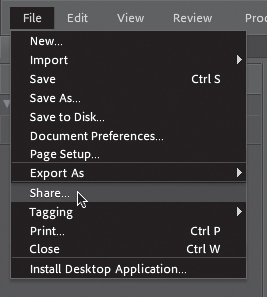
1. Choose File > Share.
2. In the dialog that appears, enter the email addresses of people you want to collaborate with, and assign them roles (co-author, reviewer, or reader).
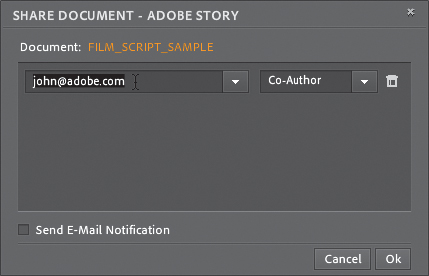
3. Select the Send E-Mail Notification check box.
4. Click OK to add your collaborators and send them an email inviting them to collaborate on your script.
5. Choose Review > Start Tracking Changes.
6. Choose View > Track Changes Toolbar.
Now you’ll be able to see, in red text on your script, what changes have been made and by whom.
About Adobe Prelude
With modern digital video cameras that use memory cards, it has become possible during the production phase of a project to not only view footage immediately after it is shot, but to transfer the footage to a computer’s hard drive while on set.
Adobe Prelude CS6 allows you to begin organizing your footage right after the footage has been transferred to a computer from a camera. Prelude was also designed for producers (and non-editors) to be able to mark up clips for their editors, as part of a collaborative workflow. You can ingest entire raw clips or selected portions of clips to a Prelude project. Once clips are ingested to Prelude, you can add descriptive metadata to them, mark subclips, and insert searchable comments. This added metadata will be saved with the clips when you send your rough cut from Adobe Prelude to Adobe Premiere Pro, which can help streamline the editing process.
In this exercise you’ll ingest the Afrolicious raw clips to a project in Adobe Prelude CS6, apply metadata to some clips, create a rough cut of the clips, and then send the rough cut to Adobe Premiere Pro CS6.
Ingesting footage
Let’s go through the process of ingesting the raw footage for the project into Adobe Prelude CS6 so that you can begin logging and commenting on the footage.
1. Launch Adobe Prelude and click New Project.

2. By default, Adobe Prelude saves a new project to its own Projects folder. But instead, navigate to the Lesson 02 folder (Adobe CS6 Project Assets > Lessons > Lesson 02) and open it.
3. Name your project Afrolicious Ingest, and then click Save.
4. Click the Ingest button. The Ingest panel opens.
Similar to Adobe Bridge, you’ll see a list of the contents of your computer’s hard drive(s) on the left of the interface.
5. Navigate to the Adobe CS6 Project Assets folder and then to the Footage folder to reveal its contents.
By default, the contents of the Footage folder are displayed as a list, but it can be more useful to display the contents as thumbnails.
6. Toggle the Thumbnail view by clicking the Thumbnail button.

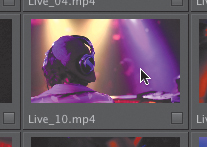
You can hover your cursor over a thumbnail and scrub through it to preview its contents.
7. Drag your cursor to one of the thumbnails and park it there, but do not click on the thumbnail.
8. Move your mouse left and right to scrub through the video.
If you want to ingest just a portion of a video clip, you set In and Out points, defining the portion of the video to be ingested.
9. Click on any of the thumbnails in the Ingest panel.
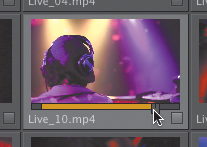
10. Drag the scrubber to a frame toward the beginning of the clip.
11. Press the I key to set an In point.
12. The thumbnail now shows a shortened Timeline, indicating that the portion of the video prior to the In point will not be ingested.
13. Drag the scrubber to a frame toward the end of the clip.
14. Press the O key to set an Out point.
Note that to ingest only part of a clip, Prelude would need to make a trimmed copy of the file, and it would only do that if the Transfer Clips to Destination check box is selected along with Transcode.

Because you actually want to ingest this entire clip, reset the In and Out points to their original locations.
15. Drag the scrubber to the beginning of the clip and press the I key.
16. Drag the scrubber to the end of the clip and press the O key.
17. You can select which clips and folders you want to ingest simply by selecting the check box under their corresponding thumbnails. Deselected clips and folders will not be ingested into your project. However, in this exercise you’ll be ingesting all the clips and folders contained within the Footage folder.
The shortcut for marking clips is to press the V key. You can then select multiple clips and press the V key to mark all selected clips for ingest.
18. Click the Check All button at the bottom of the ingest window to select all the clips.

19. Click the Ingest button to ingest your selected clips.
Adding notes to footage
The log comment you added in Adobe Bridge, in the earlier section “Adding metadata to your media,” remains attached to the file as metadata. You can view this comment in Prelude and add new comments.
A typical workflow involves ingesting files and then adding the notes or log comments. Prelude is perfectly suited for this.
1. In the Project panel, double-click the first clip Interview_01.mp4.
2. Choose Window > Metadata. Click the disclosure triangle next to Dynamic Media, and then scroll down the list until the Log Comment field is visible.
Note that the comment you entered in Adobe Bridge is still attached to the file.
3. In the Project panel, double-click the clip Interview_02.mp4.
4. In the Metadata panel, type Alternate take in the Log Comment field, and then press Return (Enter). Close out of the Metadata panel in preparation for the next lesson.
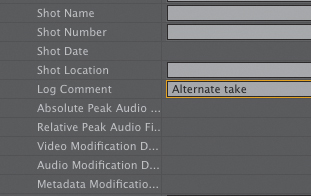
The comment is added to the file and will be attached to the clip throughout the rest of the workflow.
Creating bins
In film and video production, the folders you create to organize your media files are called bins . The term bins dates back to traditional film editing when you literally sorted your physical clips of film into bins.
It’s essential when starting a video editing project to organize your media into bins. This will help you to quickly locate specific clips when the editing process is underway.
1. In the Project panel, click the New Bin icon. A new bin appears in the Project panel.
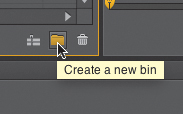
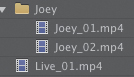
2. Name the bin Joey, and then press Return (Enter) to confirm.
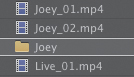
3. Click on the Joey_01.mp4 clip to select it, and then hold down the Shift key and click on the Joey_02.mp4 clip to select it.
4. Drag the selected clips into the Joey bin.
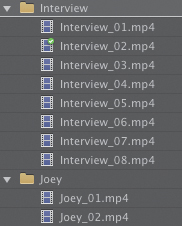
5. Now create a new bin by clicking the New Bin icon. Name this new bin Interview. Select Interview_01.mp4, hold down the Shift key, and then click Interview_08.mp4 to select all clips in between. Drag these selected interview clips into the Interview bin.
Assembling a rough cut
You can begin creating simple, assembly edits in Prelude, either to get a head start on editing or to assemble clips for another editor if you’re working on a project as part of a team.
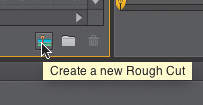
1. Click the Create a New Rough Cut icon.
2. In the Create Rough Cut dialog, enter the name Studio Assembly and save the rough cut to your Lesson 02 folder. The rough cut now appears in your Project panel.
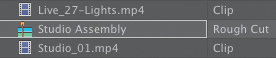
3. Double-click the Studio Assembly rough cut to open it in the Timeline.
Let’s add some clips to the rough cut.
4. Drag the clip Studio_01.mp4 to the Timeline panel.

5. Drag the clip Studio_02.mp4 to the right of the first clip in the Timeline panel and drop it there. The second clip is now inserted after the first clip.
6. Drag the clip Studio_03.mp4 to the left of the first clip in the Timeline panel and drop it there. The third clip is now inserted before the first clip.
7. Drag the clip Studio_04.mp4 in between the first two clips on the Timeline. The fourth clip is now inserted in between the existing clips.

8. Drag and drop the clips on the Timeline to rearrange them in any order.
9. Press the spacebar to play back your rough cut.
10. Choose File > Save to save your project.
Adding time-based comments
You may want to specify which segment of a clip you want to use in the edit. You can enter comments on clips in your Prelude Timeline that pertain to specific parts of your clips. These comments will be available in Adobe Premiere Pro when you move to the editing part of the workflow.
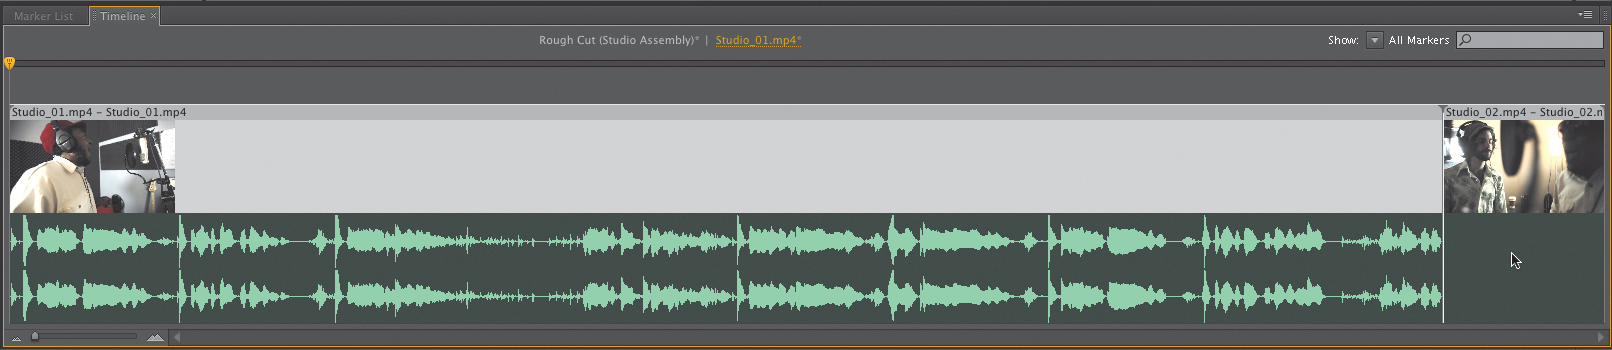
1. In your Timeline, double-click the clip Studio_01.mp4.
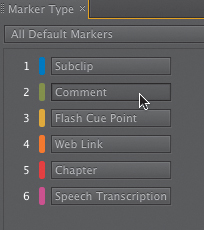
2. In the Marker Type panel, click the Comment button.
3. Type use this section to enter the comment, and then press Return (Enter).
You’ll see the comment in the Timeline starting at whatever frame your current time indicator (CTI) was parked on. You can adjust the In and Out points of the comment to indicate which portion of the clip it pertains to.

4. Drag the left edge of the comment to a new location on the Timeline to set its In point.
5. Drag the right edge of the comment to a new location on the Timeline to set its Out point.

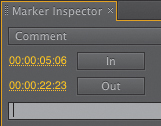
It’s also possible to set comment In and Out points by scrubbing your CTI in the Timeline and then clicking the In and Out buttons in the Marker Inspector panel.
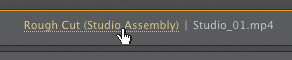
6. To return to the rough cut, click the underlined text Rough Cut (Studio Assembly) at the top of the Timeline.
Sending your project to Adobe Premiere Pro
All of the work you’ve done so far is prep work for the next step of the workflow, which is to edit your project in Adobe Premiere Pro. A single menu selection is all it takes to move your project from Prelude to Adobe Premiere Pro.
1. Click the Project panel.
2. Choose Edit > Select All to select all of the items in the project.
If you want to send just certain items to Adobe Premiere Pro, not your entire project, simply select those items in the Project panel. Any items not selected will not be sent to Adobe Premiere Pro.
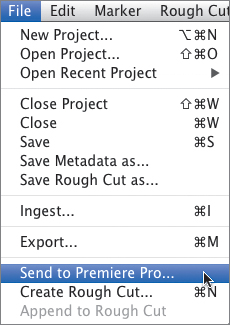
3. Press Command+S (Ctrl+S) to save your project. Then choose File > Send to Premiere Pro.
Adobe Premiere Pro will launch, if it is not already open, and will create a new project for you.
If Adobe Premiere Pro is already open when you send a rough cut from Prelude, the currently open Adobe Premiere Pro project will receive the rough cut.
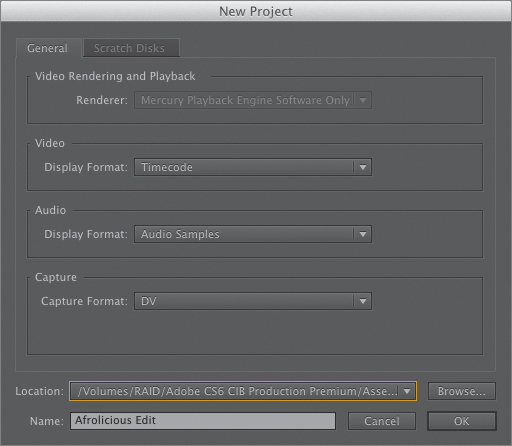
4. In the New Project dialog, click the Browse button.
5. Navigate to your Lesson 02 folder and click Choose.
6. In the Name field type Afrolicious Edit and click OK.
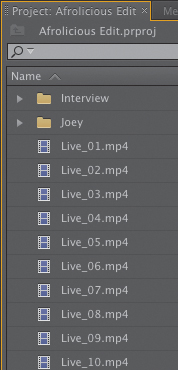
All of your footage (with metadata still attached), the bin you created, and the rough cut you created are now in your Adobe Premiere Pro project.
Review questions
1. What is a simple and effective way of organizing your media into folders?
2. What is metadata, and why is it useful?
3. How do you format text in a script?
4. How do you collaborate with others on your script?
5. When ingesting media, how do you ingest only a portion of a clip?
6. How do you send footage and rough cuts from Prelude to Adobe Premiere Pro?
Review answers
1. Organizing your media by asset type (Footage, Audio, Graphics) is simple and effective.
2. Metadata is information about your data. It contains information such as frame resolution, frame rate, clip duration, and so on. Metadata provides useful information to streamline your video production workflow.
3. The Formatting menu in Adobe Story lets you easily format your script the preferred, industry-standard way.
4. Choosing File > Share in Adobe Story lets you invite and assign roles to collaborators.
5. Setting In and Out points on a clip in the Adobe Prelude Ingest panel lets you specify which portion of the clip is ingested, but only if it’s marked for transcoding.
6. Select all desired clips and rough cuts in the Prelude Project panel, and then choose File > Send to Premiere Pro.