5. Working with Graphics
What You’ll Do
Importing a Graphic by Dragging-and-Dropping
Repositioning a Graphic Inside a Frame
Placing a Photoshop (PSD) Button
Setting Objects to Display at 100% Browser Width
Introduction
Without photos and graphics, your websites would be pretty boring, now wouldn’t they? Without a doubt, graphics play an important role in any layout for any type of media. Web design is no exception.
Thankfully, placing graphics in Muse is incredibly easy. In fact, the entire process is very similar to working in InDesign. Muse contains an Assets panel, which behaves similarly to the Links panel in InDesign. Other shared features include an Edit Original command, a Content Grabber, and the ability to place layered PSD files.
In this chapter, you’ll learn the different file types you can import and how to place them onto a page. You’ll also learn how to resize graphic frames and their contents, both separately and together.
This chapter also explains how to replace and delete graphics in an existing frame using the Fill panel Image options, and shows you the various ways you can rotate and duplicate objects.
The final sections of the chapter explain how easy it is to give your graphics browser control. You’ll learn how to pin a graphic to a specific browser location and set page objects to display at 100% browser width.
Placing a Graphic
The easiest way to place a graphic into your layout is to apply the Place command. Muse enables you to place graphics that have been saved in the following file formats: PNG, PSD, JPEG, and GIF. The GIF format is best used for small, non-transparent web graphics such as logos, icons, and buttons. PNG is a nice alternative to GIF, as it is the native format for Adobe Fireworks and handles transparency better; however, PNG files are usually a little bit larger in file size. The JPEG format is best used for photos, while layered PSD files are best for creating buttons that can be edited directly in Muse (see “Placing a Photoshop [PSD] Button” later in this chapter).
Choose the Place command
![]() Choose Plan Mode from the View menu.
Choose Plan Mode from the View menu.

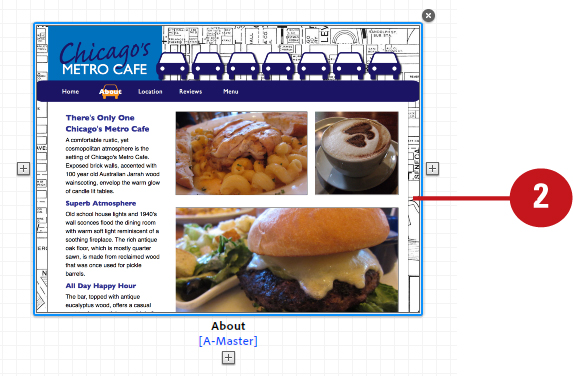
![]() Double-click any page or master page thumbnail from the sitemap.
Double-click any page or master page thumbnail from the sitemap.
Muse opens the page in Design Mode.
![]() Choose File > Place to access the Import dialog box.
Choose File > Place to access the Import dialog box.
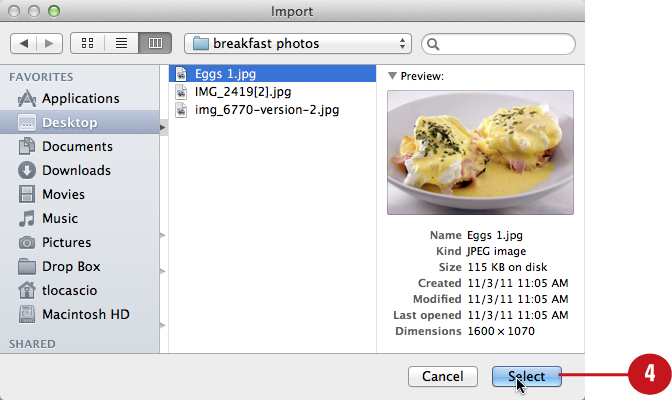
![]() Using the Import dialog box, navigate to the background image on your system disk. Click the image file to select it and then click Select.
Using the Import dialog box, navigate to the background image on your system disk. Click the image file to select it and then click Select.
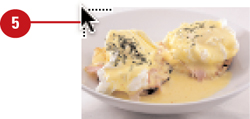
![]() Click the loaded place cursor anywhere on the page to place the image at its actual size (100%).
Click the loaded place cursor anywhere on the page to place the image at its actual size (100%).
Importing a Graphic by Dragging-and-Dropping
Another way to import graphics is to drag-and-drop them into a Muse layout from the Finder (Mac OSX) or Explorer (Windows). All you need to do is navigate to the PNG, PSD, JPEG, or GIF file on your system disk; then select it, and drag it into your Muse layout. As soon as you move the cursor over the layout, Muse displays the loaded place cursor, which features a thumbnail of the graphic next to the selection arrow. Click anywhere on the page to place it at its actual size (100%).
Drag from the Finder (Mac OSX) or Explorer (Windows)
![]() Choose Plan Mode from the View menu.
Choose Plan Mode from the View menu.

![]() Double-click any page or master page thumbnail from the sitemap.
Double-click any page or master page thumbnail from the sitemap.
Muse opens the page in Design Mode.
![]() Select the image in Finder (Mac OSX) or Explorer (Windows).
Select the image in Finder (Mac OSX) or Explorer (Windows).
![]() Drag-and-drop the selected image onto the Muse page.
Drag-and-drop the selected image onto the Muse page.
![]() Click the loaded place cursor anywhere on the page to place the image at its actual size (100%).
Click the loaded place cursor anywhere on the page to place the image at its actual size (100%).
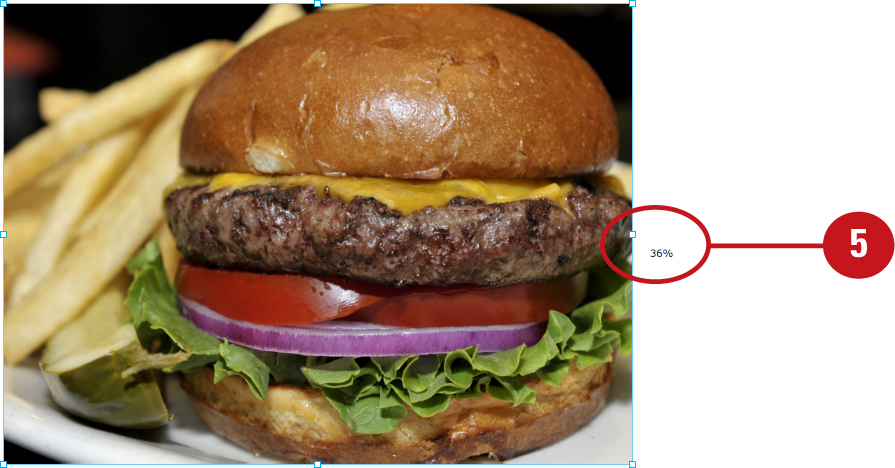
Resizing a Graphic
The best way to size your web graphics is to do so using an image editing application, such as Adobe Fireworks or Adobe Photoshop. However, as you’re creating your initial layouts in Muse, you may not know exactly what pixel dimensions you want to use for each graphic. In this instance, you can resize graphics on the fly, directly in Muse. Keep in mind that you should never scale a graphic higher than its actual size (100%), or you risk losing overall image quality, thereby causing the image to display poorly.
Drag a side or corner node with the Selection tool
![]() Choose Plan Mode from the View menu.
Choose Plan Mode from the View menu.

![]() From the sitemap, double-click the thumbnail of the page whose graphic you’d like to resize.
From the sitemap, double-click the thumbnail of the page whose graphic you’d like to resize.

Muse opens the page in Design Mode.
![]() Click the Selection Tool icon at the top of the Design Mode interface.
Click the Selection Tool icon at the top of the Design Mode interface.

![]() Click the graphic to select it.
Click the graphic to select it.
![]() Click and drag any corner or side node to resize the selected graphic.
Click and drag any corner or side node to resize the selected graphic.
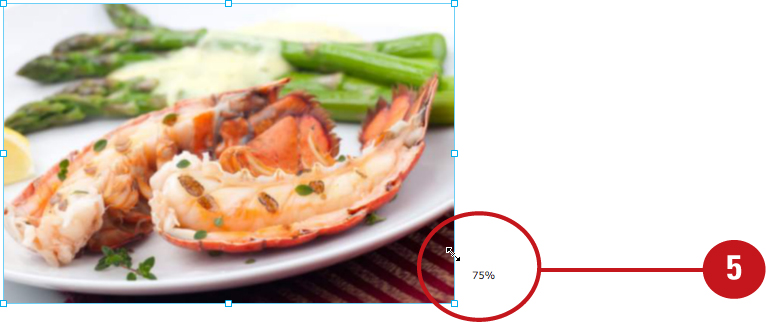
As you resize the graphic, Muse displays the current scale percentage next to the Selection tool cursor.
You can also resize a graphic without resizing its frame container. To do so, double-click the graphic with the Selection tool to select the contents. Muse displays the image boundaries. Click and drag any boundary node to resize the contents without also resizing the container.
Cropping a Graphic
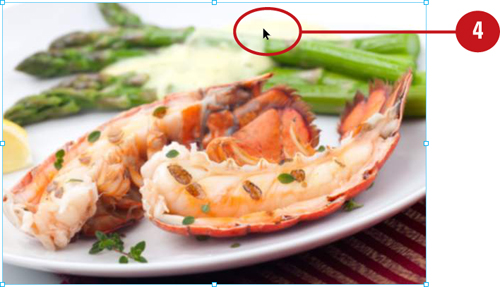
Some web graphics, such as photographs, may contain more imagery than you need to display in a certain layout. With Muse, you can adjust the crop of an image by changing the size of its frame container. The Crop tool enables you to drag any side or corner selection node and resize a frame, without resizing its graphic contents. You can also change the size of a graphic frame numerically, by entering new width and height values in the Control panel or Transform panel.
Drag a side or corner node with the Crop tool
![]() Choose Plan Mode from the View menu.
Choose Plan Mode from the View menu.

![]() From the sitemap, double-click the thumbnail of the page whose graphic you’d like to resize.
From the sitemap, double-click the thumbnail of the page whose graphic you’d like to resize.
Muse opens the page in Design Mode.
![]() Click the Crop Tool icon at the top of the Design Mode interface.
Click the Crop Tool icon at the top of the Design Mode interface.

![]() Click the graphic to select it.
Click the graphic to select it.
![]() Click and drag any corner or side node to resize the graphic frame.
Click and drag any corner or side node to resize the graphic frame.
Change the Width and Height settings
![]() Choose Plan Mode from the View menu.
Choose Plan Mode from the View menu.

![]() From the sitemap, double-click the thumbnail of the page whose graphic you’d like to resize.
From the sitemap, double-click the thumbnail of the page whose graphic you’d like to resize.
Muse opens the page in Design Mode.
![]() Click the Selection Tool icon at the top of the Design Mode interface.
Click the Selection Tool icon at the top of the Design Mode interface.

![]() Click the graphic to select it.
Click the graphic to select it.
![]() Enter new pixel values in the Control panel Width and Height fields.
Enter new pixel values in the Control panel Width and Height fields.
Muse resizes the selected graphic frame.
You can also enter Width and Height values in the Transform panel. To display the Transform panel, choose Transform from the Window menu.
Repositioning a Graphic Inside a Frame
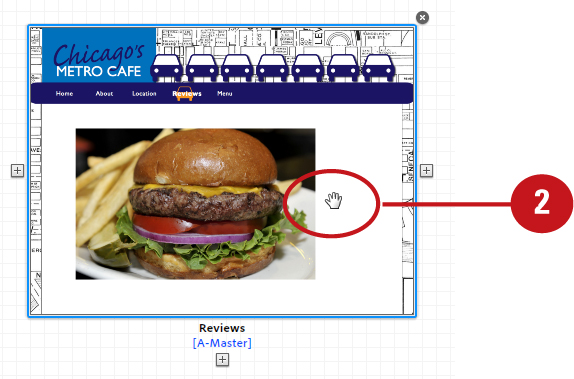
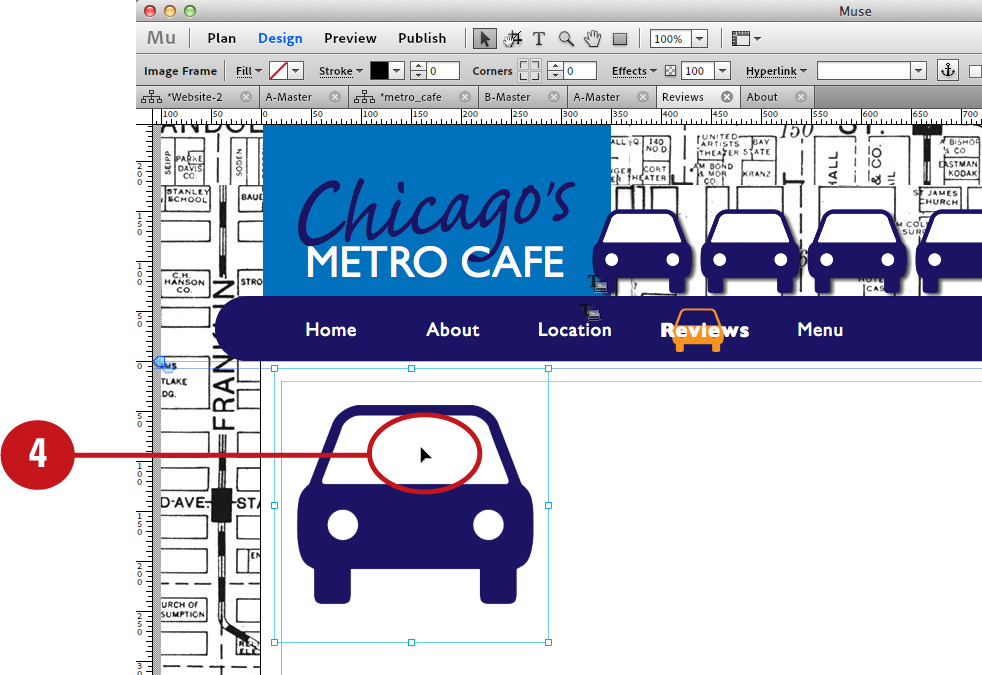
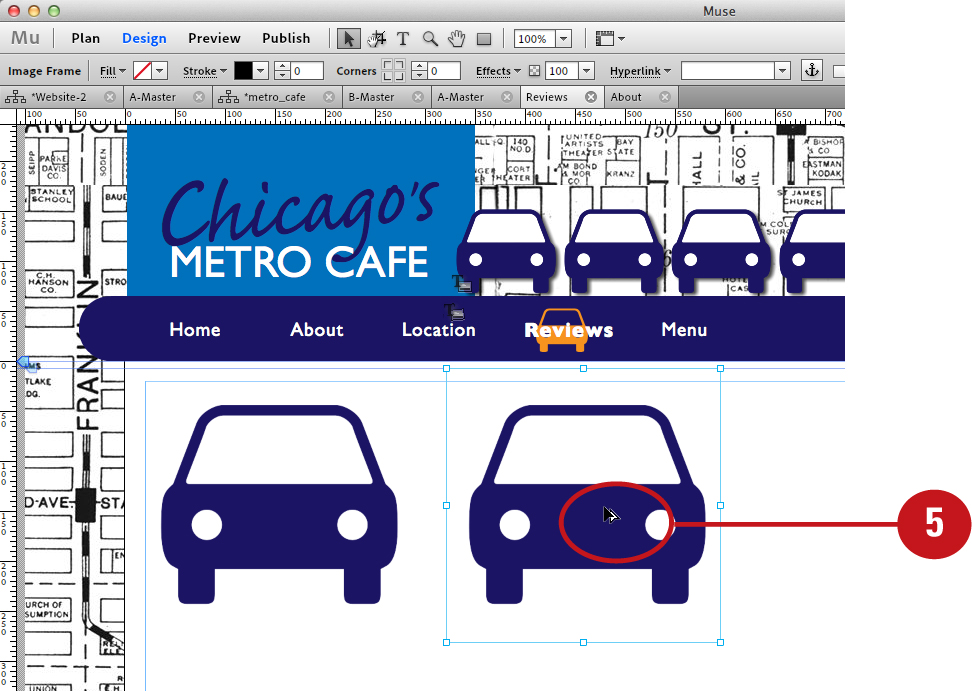
Another way you can change the crop of an image is to reposition it inside of its frame container. When you select the Crop tool and hover the cursor over a placed image, Muse displays a circle icon—called the Content Grabber—in the center of the frame. By dragging the Content Grabber, you can reposition the image inside the frame. You can also reposition a graphic inside of a frame by double-clicking it with the Selection tool and dragging.
Click and drag the Content Grabber
![]() Choose Plan Mode from the View menu.
Choose Plan Mode from the View menu.

![]() From the sitemap, double-click the thumbnail of the page whose graphic you’d like to resize.
From the sitemap, double-click the thumbnail of the page whose graphic you’d like to resize.
Muse opens the page in Design Mode.
![]() Click the Crop Tool icon at the top of the Design Mode interface.
Click the Crop Tool icon at the top of the Design Mode interface.

![]() Hover the cursor over the center of the placed graphic until the Content Grabber (the circle icon) appears.
Hover the cursor over the center of the placed graphic until the Content Grabber (the circle icon) appears.
![]() Click and drag the Content Grabber to reposition the graphic inside the frame.
Click and drag the Content Grabber to reposition the graphic inside the frame.

You can also use the Selection tool to reposition a graphic inside of a frame. To do so, double-click the graphic with the Selection tool to select the contents. Muse displays the image boundaries. Click and drag the image to reposition it inside the container.
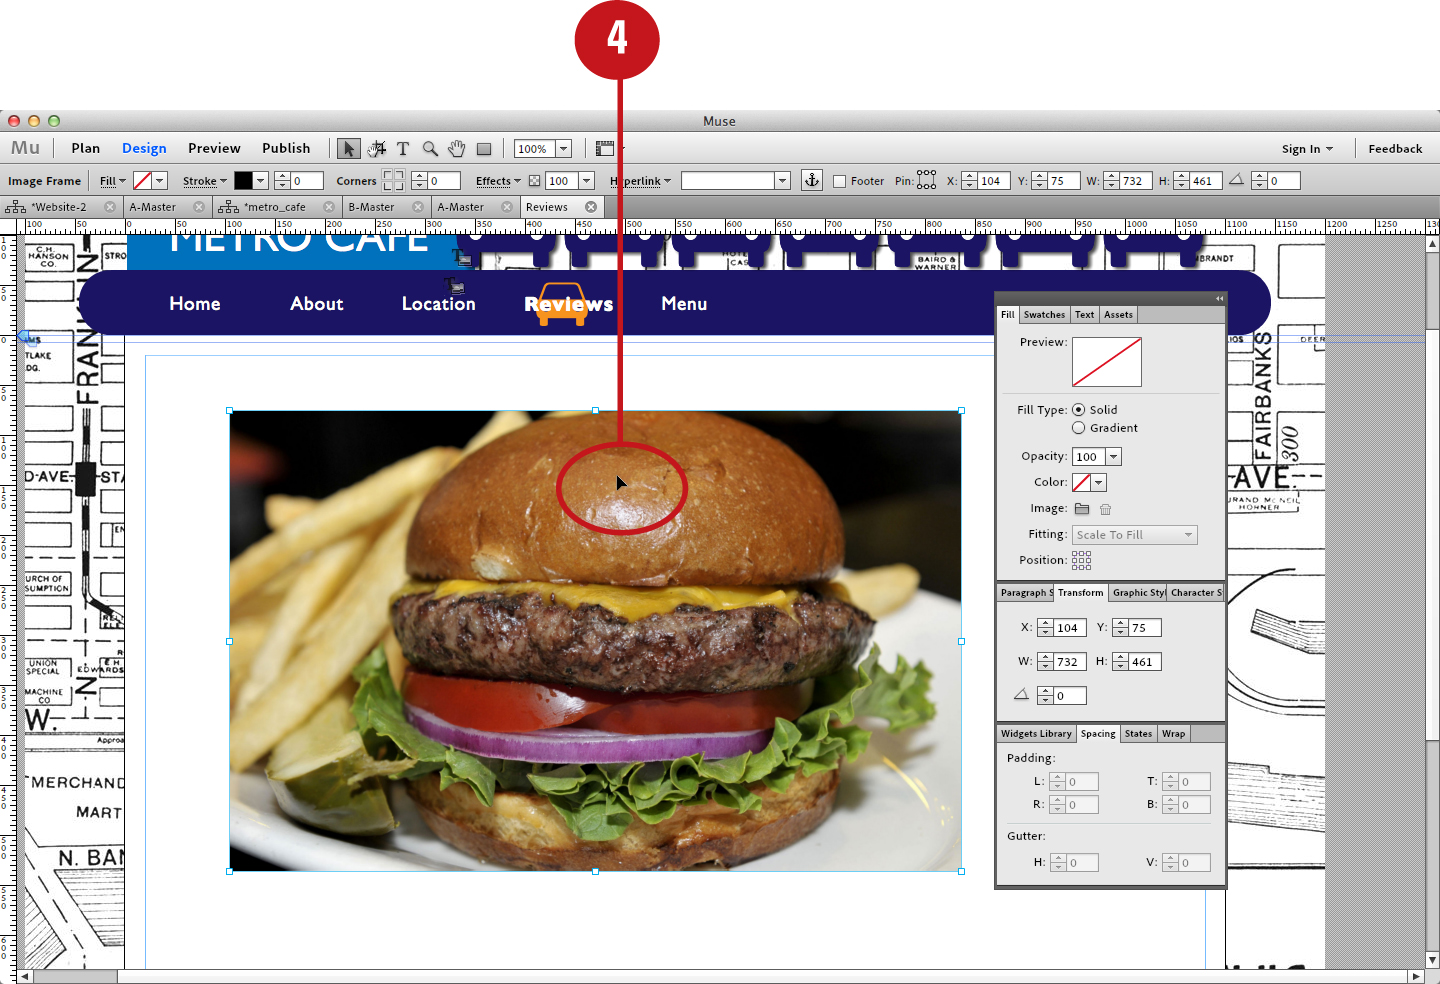
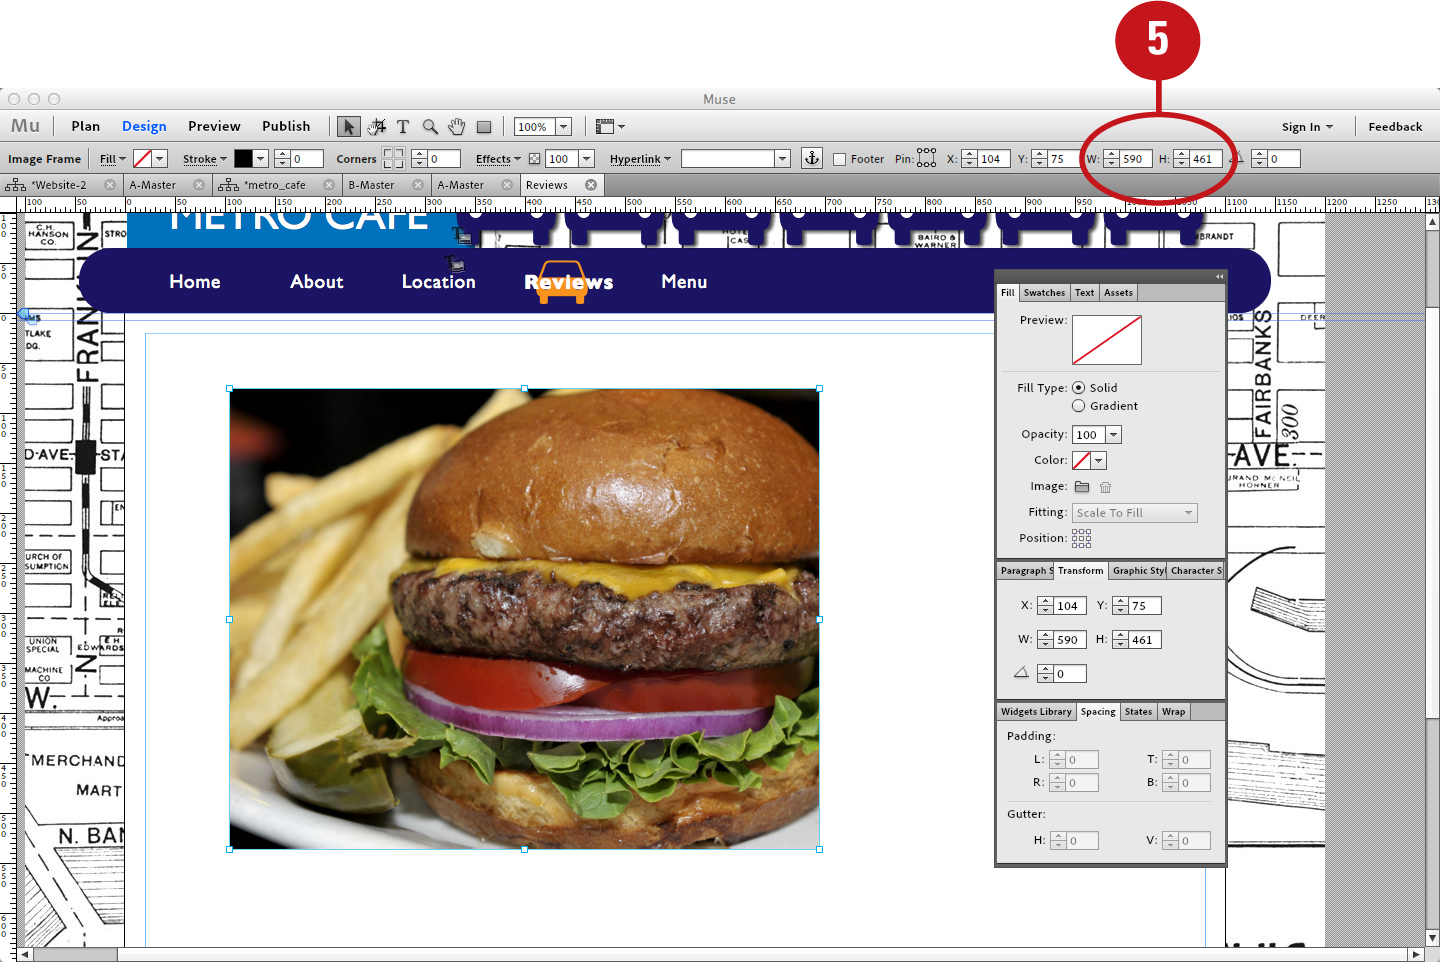
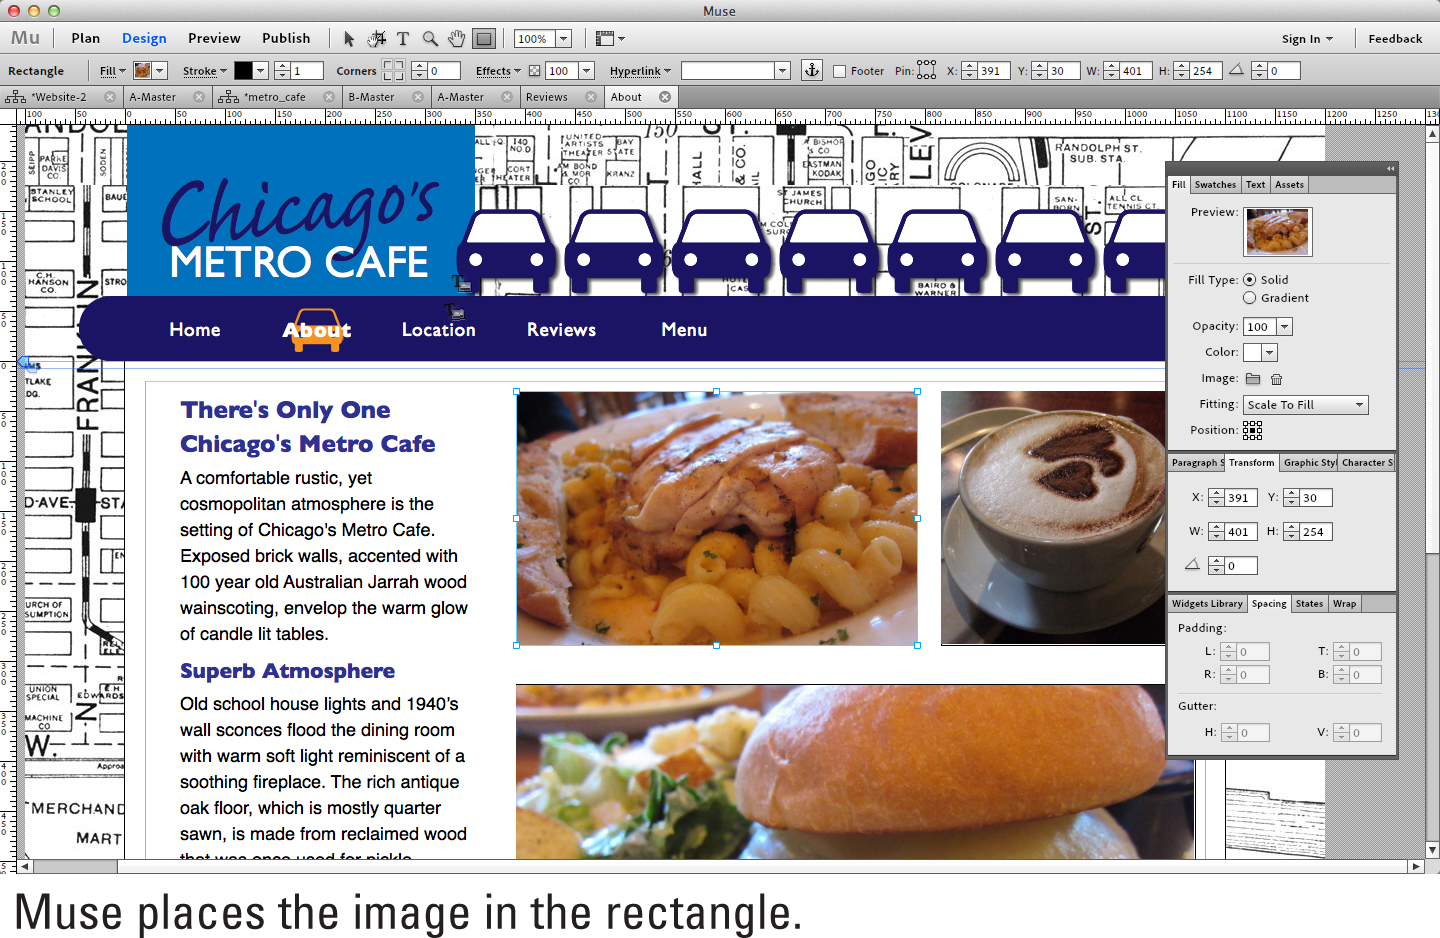
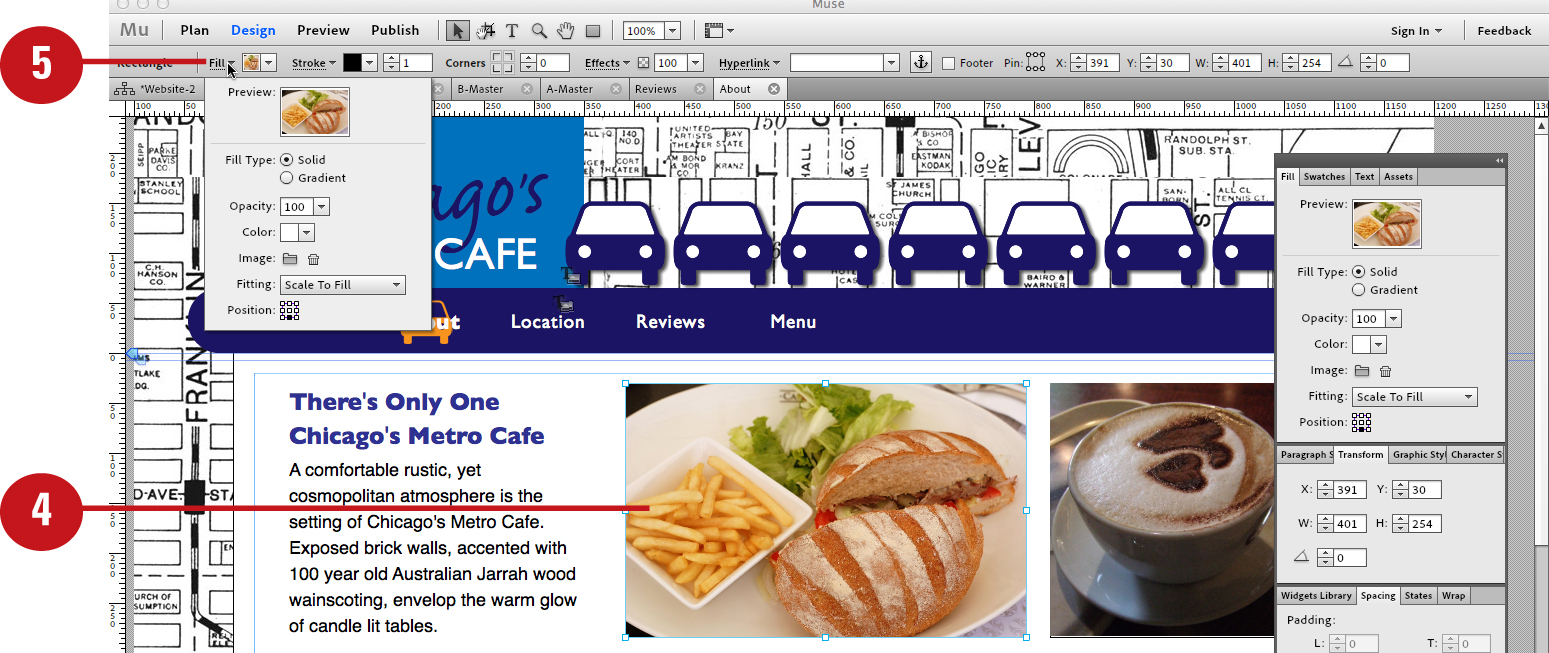
Filling a Frame with an Image
Another way to place graphics in Muse is to select an existing frame and click the Image Import button, which is located in the Fill panel. When you apply this method, Muse enables you to choose how you’d like to fit the image inside the frame. The Fill panel Scale to Fill option enables you to automatically resize the image proportionally to fill the frame. Just be sure not to scale the image above its actual size (100%), or you could compromise the image’s quality (see “Resizing a Graphic” earlier in this chapter).
Place graphics using the Fill panel Image option
![]() Choose Plan Mode from the View menu.
Choose Plan Mode from the View menu.

![]() Double-click any page or master page thumbnail from the sitemap.
Double-click any page or master page thumbnail from the sitemap.
Muse opens the page in Design Mode.
![]() Click the Rectangle Tool icon at the top of the Design Mode interface.
Click the Rectangle Tool icon at the top of the Design Mode interface.

![]() Click and drag anywhere on the page to draw a rectangle with the Rectangle tool.
Click and drag anywhere on the page to draw a rectangle with the Rectangle tool.
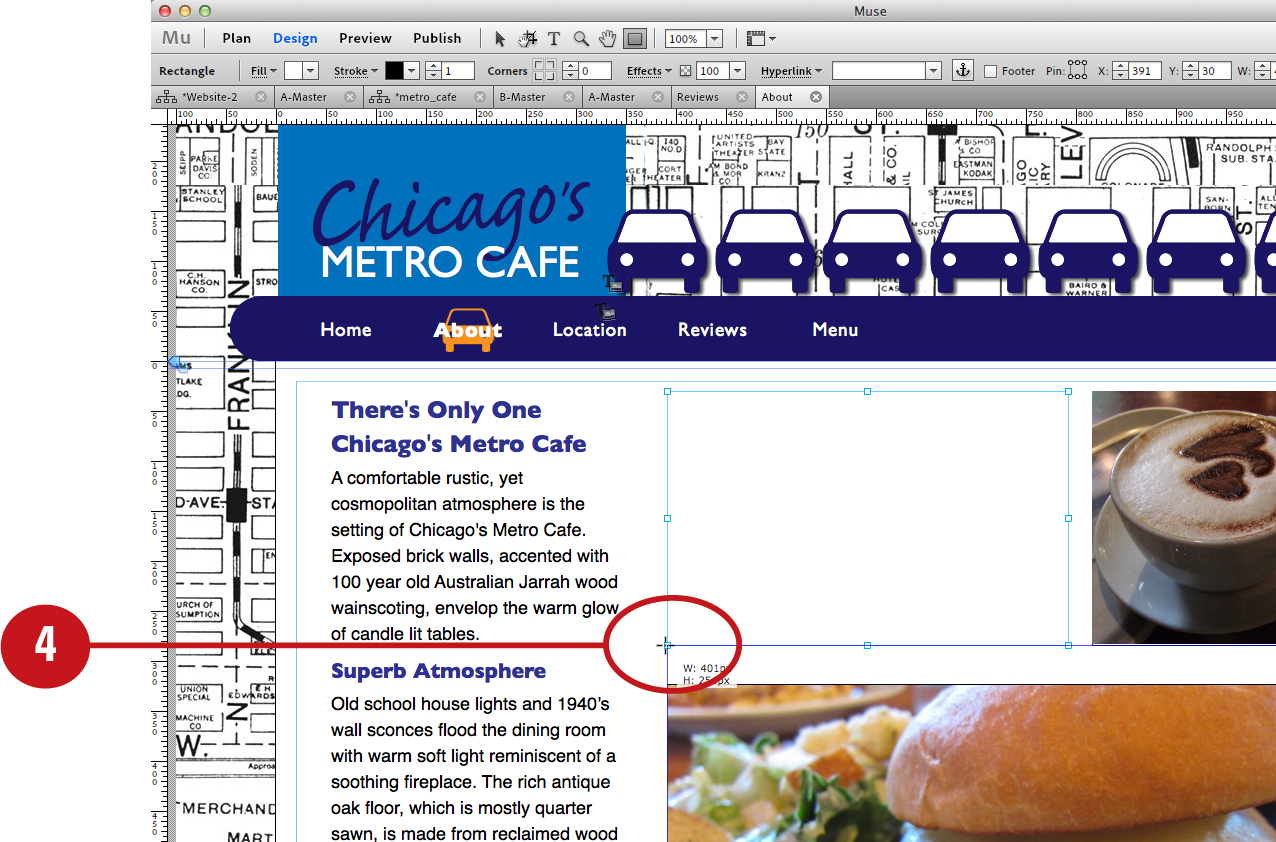
![]() Click the Fill button in the Control panel to access a drop-down Fill panel.
Click the Fill button in the Control panel to access a drop-down Fill panel.
![]() From the drop-down Fill panel, click the Image button (the folder icon) to access the Import dialog box.
From the drop-down Fill panel, click the Image button (the folder icon) to access the Import dialog box.
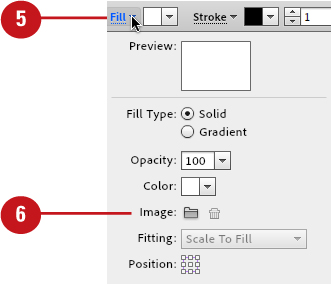
You can also access Fitting settings in the Fill panel. To display the Fill panel, choose Fill from the Window menu.
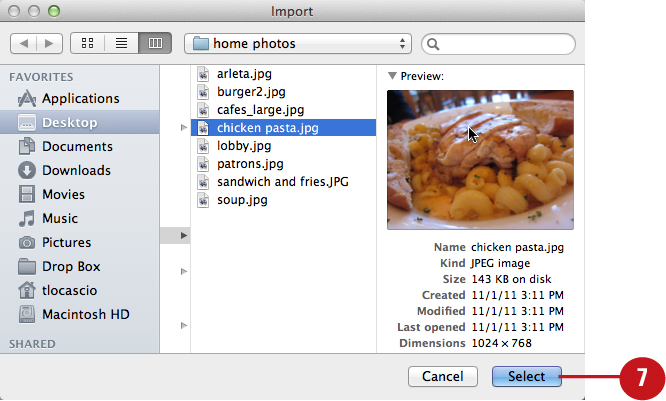
![]() Using the Import dialog box, navigate to the image on your system disk. Click the image file to select it and then click Select.
Using the Import dialog box, navigate to the image on your system disk. Click the image file to select it and then click Select.
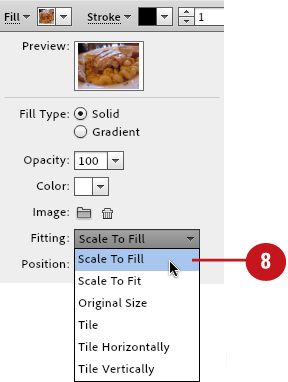
![]() Choose Scale to Fill from the Fitting drop-down list.
Choose Scale to Fill from the Fitting drop-down list.
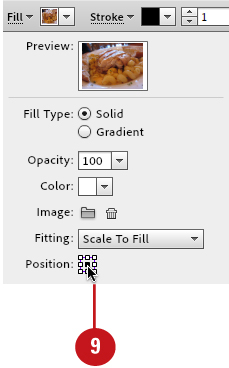
![]() Click the small center square next to the Position option in the Fill drop-down panel. By doing so, you can center the image in the rectangle.
Click the small center square next to the Position option in the Fill drop-down panel. By doing so, you can center the image in the rectangle.
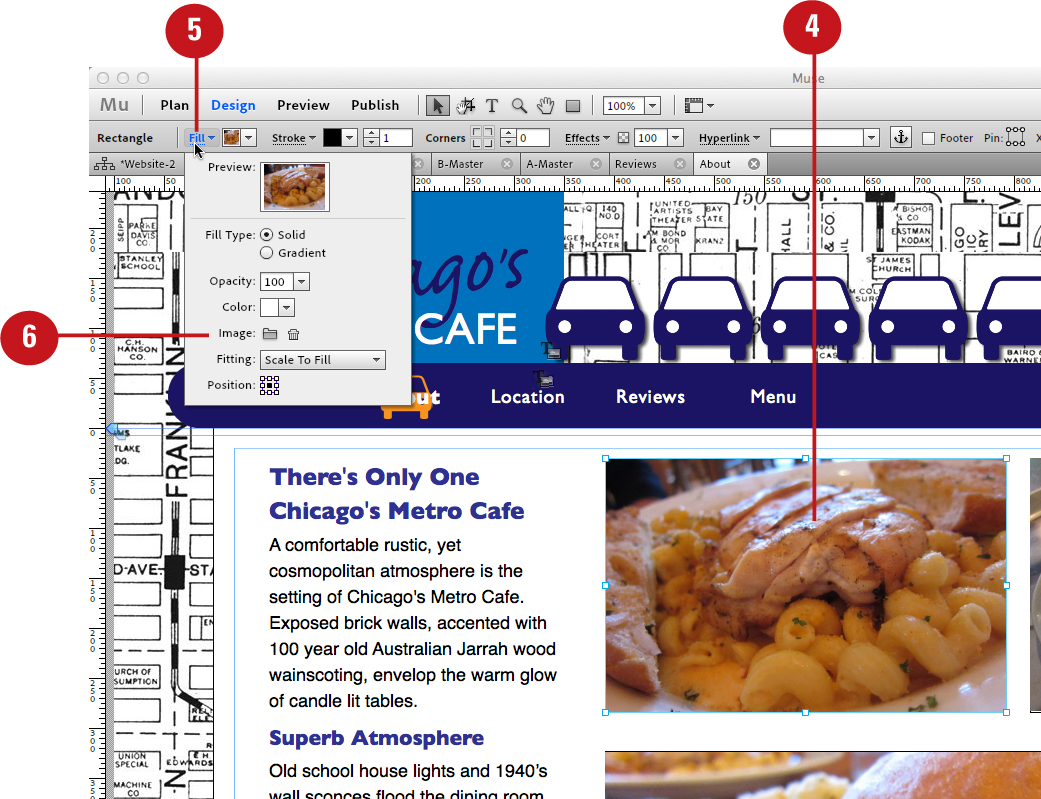
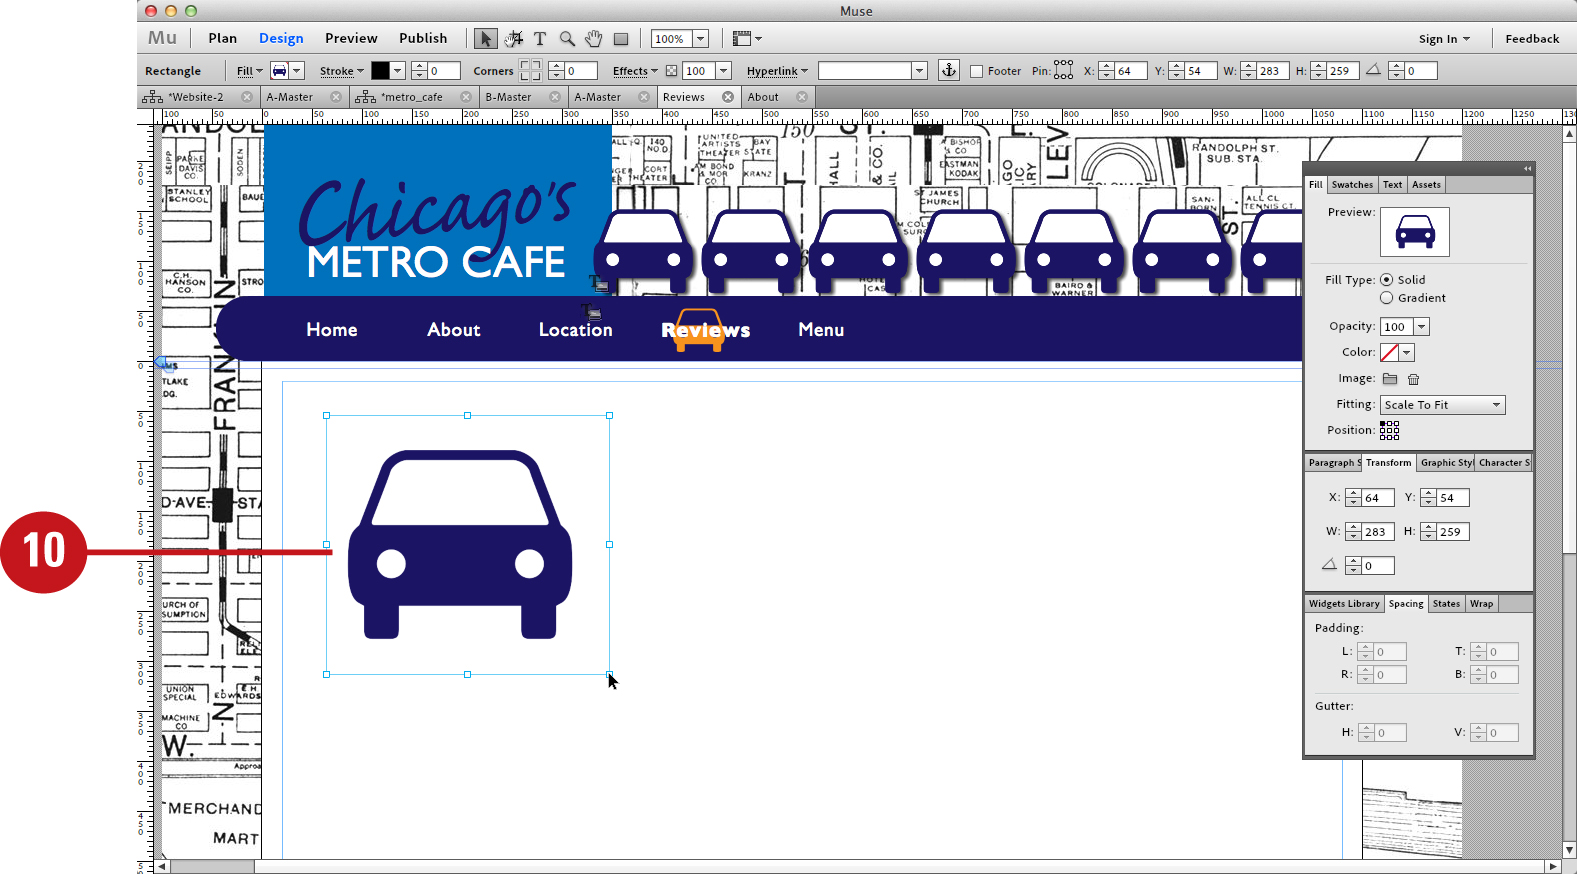
Replacing a Graphic
If you already have an image placed in a frame, but later decide to swap it out with another, you can do so by selecting the frame and clicking the Fill panel Image button. Doing so enables you to select another graphic from your hard disk and replace the current one. The Fill panel also enables you to choose Fitting and Position options for the replacement graphic.
Replace graphics using the Fill panel Image option
![]() Choose Plan Mode from the View menu.
Choose Plan Mode from the View menu.
![]() From the sitemap, double-click the thumbnail of the page whose graphic you’d like to replace.
From the sitemap, double-click the thumbnail of the page whose graphic you’d like to replace.
Muse opens the page in Design Mode.
![]() Click the Selection Tool icon at the top of the Design Mode interface.
Click the Selection Tool icon at the top of the Design Mode interface.

![]() Click the graphic to select it.
Click the graphic to select it.
![]() Click the Fill button in the Control panel to access a drop-down Fill panel.
Click the Fill button in the Control panel to access a drop-down Fill panel.
![]() From the drop-down Fill panel, click the Image button (the folder icon) to access the Import dialog box.
From the drop-down Fill panel, click the Image button (the folder icon) to access the Import dialog box.
![]() Using the Import dialog box, navigate to the image on your system disk. Click the image file to select it and then click Select.
Using the Import dialog box, navigate to the image on your system disk. Click the image file to select it and then click Select.
![]() Choose a fitting option from the Fitting drop-down list. Options include: Original Size, Scale to Fill, Scale to Fit, Tile, Tile Horizontally, and Tile Vertically.
Choose a fitting option from the Fitting drop-down list. Options include: Original Size, Scale to Fill, Scale to Fit, Tile, Tile Horizontally, and Tile Vertically.
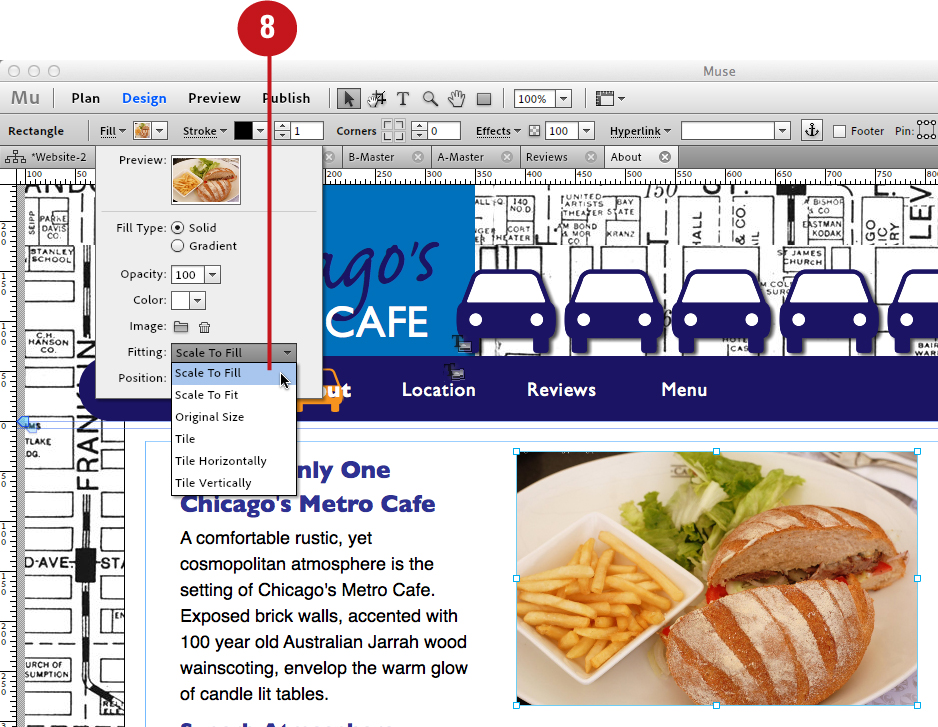
The Tile options enable you to repeat the image in the rectangle. The Tile option repeats the image both horizontally and vertically.
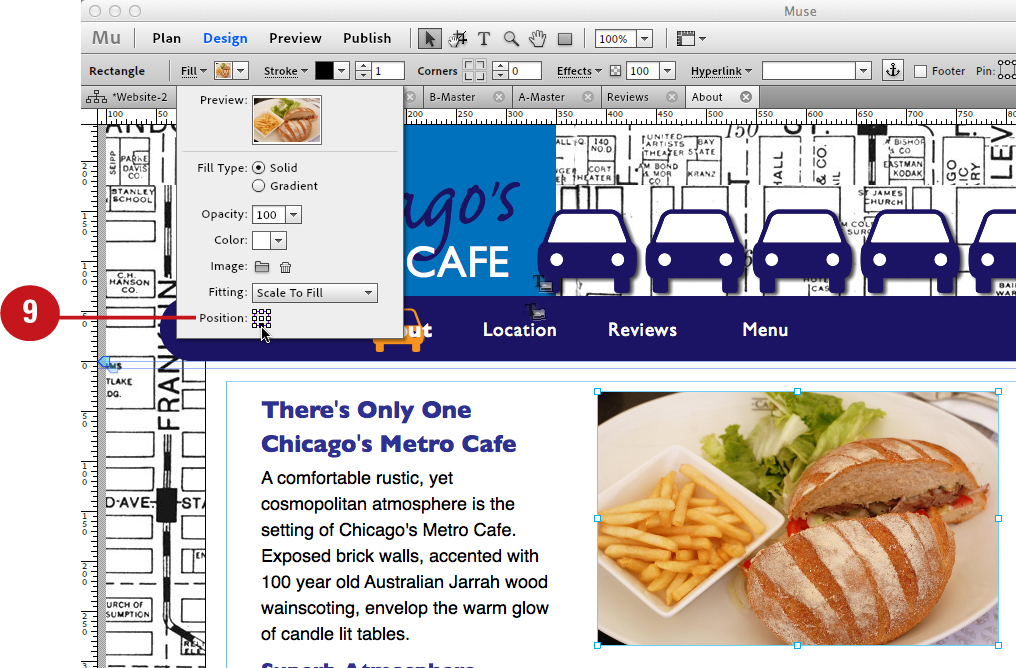
![]() Click one of the small squares next to the Position option in the Fill drop-down panel. By doing so, you can determine how the image is positioned in the rectangle relative to where you clicked.
Click one of the small squares next to the Position option in the Fill drop-down panel. By doing so, you can determine how the image is positioned in the rectangle relative to where you clicked.
Deleting a Graphic
By using the Fill panel Image options, you can delete a placed graphic and retain its frame container. You can do so by selecting the graphic and clicking the Clear Background Image button (the Trash Can icon) in the Fill panel. This enables you to keep the frame in the layout as a placeholder and import a different graphic into it at a later time.
Remove a graphic using the Fill panel Image option
![]() Choose Plan Mode from the View menu.
Choose Plan Mode from the View menu.

![]() From the sitemap, double-click the thumbnail of the page whose graphic you’d like to resize.
From the sitemap, double-click the thumbnail of the page whose graphic you’d like to resize.
Muse opens the page in Design Mode.
![]() Click the Selection Tool icon at the top of the Design Mode interface.
Click the Selection Tool icon at the top of the Design Mode interface.

![]() Click the graphic to select it.
Click the graphic to select it.
![]() Click the Fill button in the Control panel to access a drop-down Fill panel.
Click the Fill button in the Control panel to access a drop-down Fill panel.
![]() From the drop-down Fill panel, click the Clear Background Image button (the Trash Can icon) to delete the placed graphic.
From the drop-down Fill panel, click the Clear Background Image button (the Trash Can icon) to delete the placed graphic.
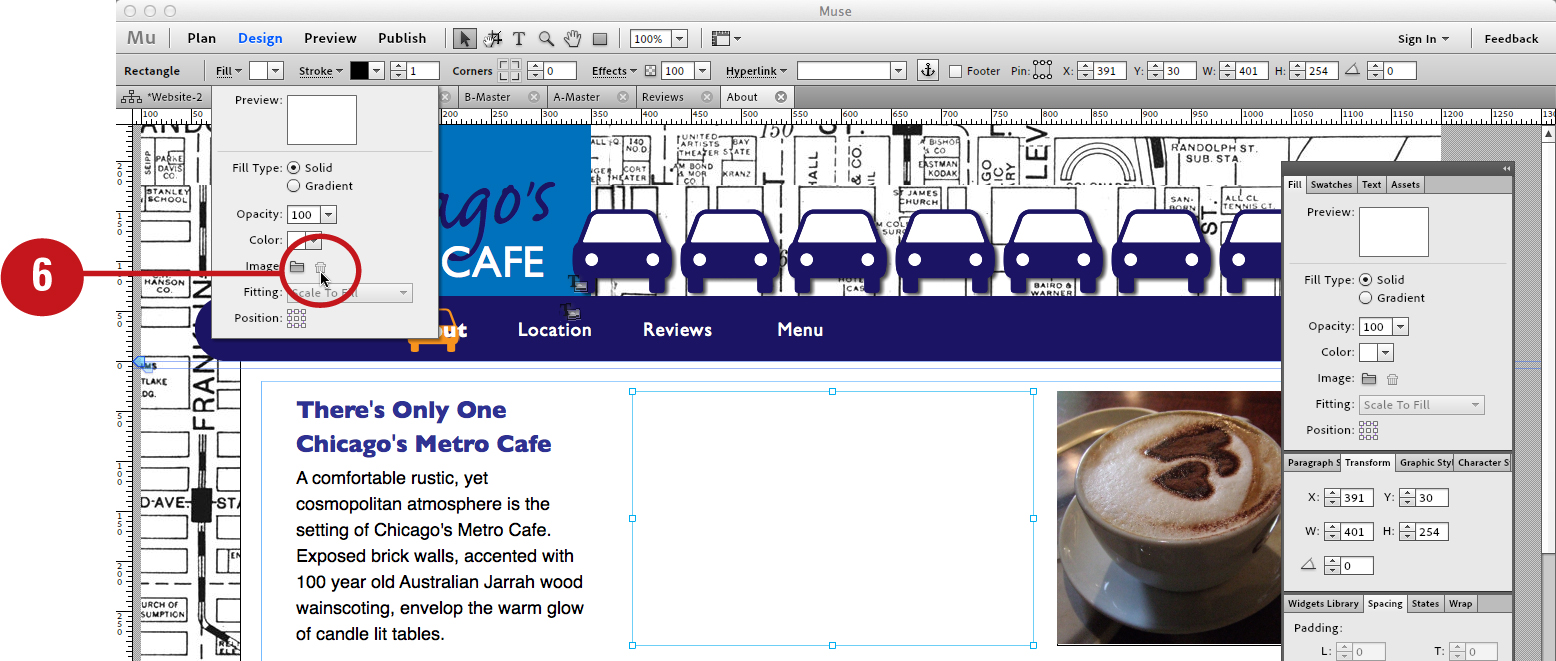
Muse deletes the graphic contents while maintaining the graphic frame.
Rotating an Object
Rotating objects in Muse is really no different from rotating objects in Adobe InDesign or Illustrator. You can rotate selected objects on the fly by dragging a corner node with the Selection tool, or to a specific angle by entering a value in the Rotation Angle field of the Control panel or Transform panel. When entering values in the Rotation Angle field, you must remember to enter positive values to rotate clockwise and negative values to rotate counterclockwise.
Rotate with the Selection tool
![]() Choose Plan Mode from the View menu.
Choose Plan Mode from the View menu.

![]() From the sitemap, double-click the thumbnail of the page whose object you’d like to rotate.
From the sitemap, double-click the thumbnail of the page whose object you’d like to rotate.

Muse opens the page in Design Mode.
![]() Click the Selection Tool icon at the top of the Design Mode interface.
Click the Selection Tool icon at the top of the Design Mode interface.

![]() Click the object to select it.
Click the object to select it.
![]() Hover the cursor next to any corner selection node.
Hover the cursor next to any corner selection node.
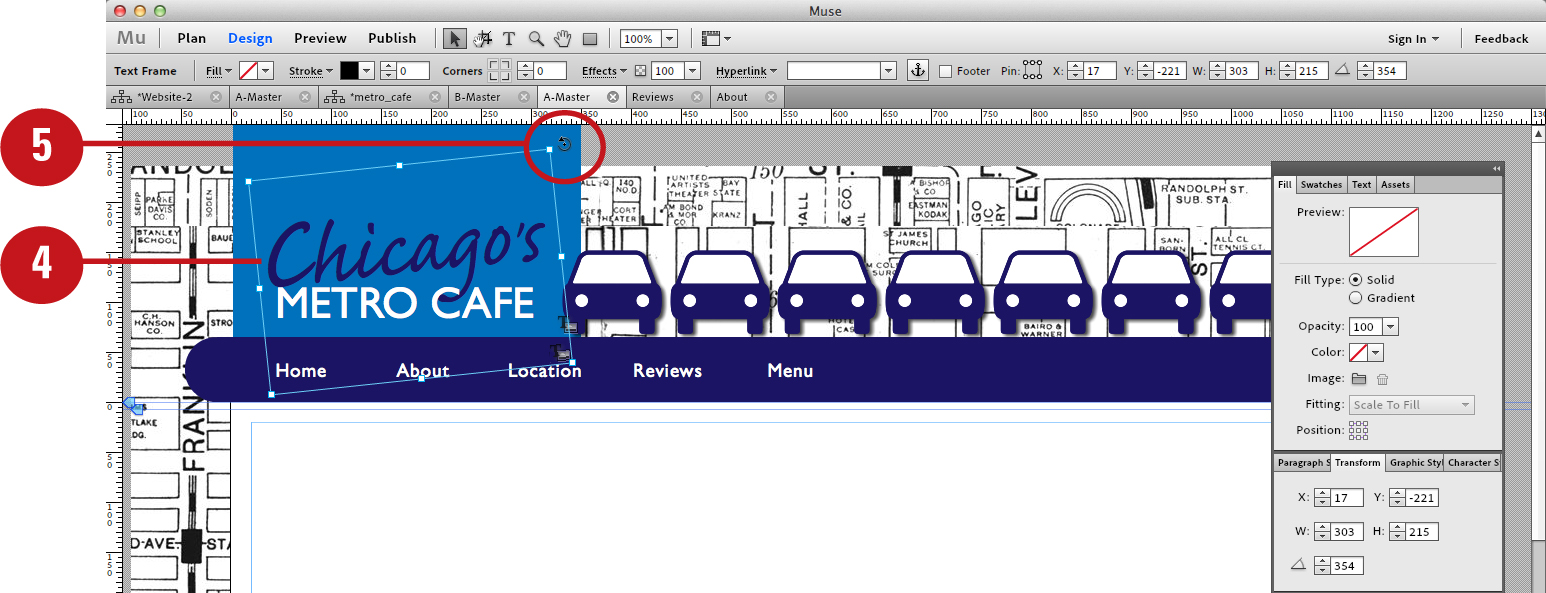
Muse displays the rotate cursor.
![]() Click and drag down to rotate clockwise; click and drag up to rotate counterclockwise.
Click and drag down to rotate clockwise; click and drag up to rotate counterclockwise.
You can also rotate an image without also roatating its frame container. To do so, double-click the image with the Selection tool and hover the cursor over any corner node. Drag to rotate the image within its stationary frame container.
Enter a value in the Rotation Angle field
![]() Choose Plan Mode from the View menu.
Choose Plan Mode from the View menu.

![]() From the sitemap, double-click the thumbnail of the page whose graphic you’d like to rotate.
From the sitemap, double-click the thumbnail of the page whose graphic you’d like to rotate.
Muse opens the page in Design Mode.
![]() Click the Selection Tool icon at the top of the Design Mode interface.
Click the Selection Tool icon at the top of the Design Mode interface.

![]() Click the graphic to select it.
Click the graphic to select it.
![]() In the Control panel, enter a value in the Rotation Angle field.
In the Control panel, enter a value in the Rotation Angle field.
Enter positive numbers to rotate clockwise; enter negative numbers to rotate counterclockwise.
Muse applies the rotation angle to the selected graphic.
You can also enter Rotation Angle values in the Transform panel. To display the Transform panel, choose Transform from the Window menu.
Duplicating an Object
The best way to handle repeating graphics is to tile them in a single graphic frame using the Fill panel Fitting options. Doing so keeps the overall file size of your pages small, so that the viewer does not have to wait a long time for them to load in a browser. However, should your design include duplicate graphics that cannot be tiled due to their nonconsecutive placement on the page, you can duplicate selected graphics easily by applying the Duplicate command or by Option-(Mac) or Alt-(Win) dragging them.
Choose the Duplicate command
![]() Choose Plan Mode from the View menu.
Choose Plan Mode from the View menu.

![]() From the sitemap, double-click the thumbnail of the page whose object you’d like to duplicate.
From the sitemap, double-click the thumbnail of the page whose object you’d like to duplicate.

Muse opens the page in Design Mode.
![]() Click the Selection Tool icon at the top of the Design Mode interface.
Click the Selection Tool icon at the top of the Design Mode interface.

![]() Click the graphic to select it.
Click the graphic to select it.
![]() Choose Duplicate from the Edit menu.
Choose Duplicate from the Edit menu.
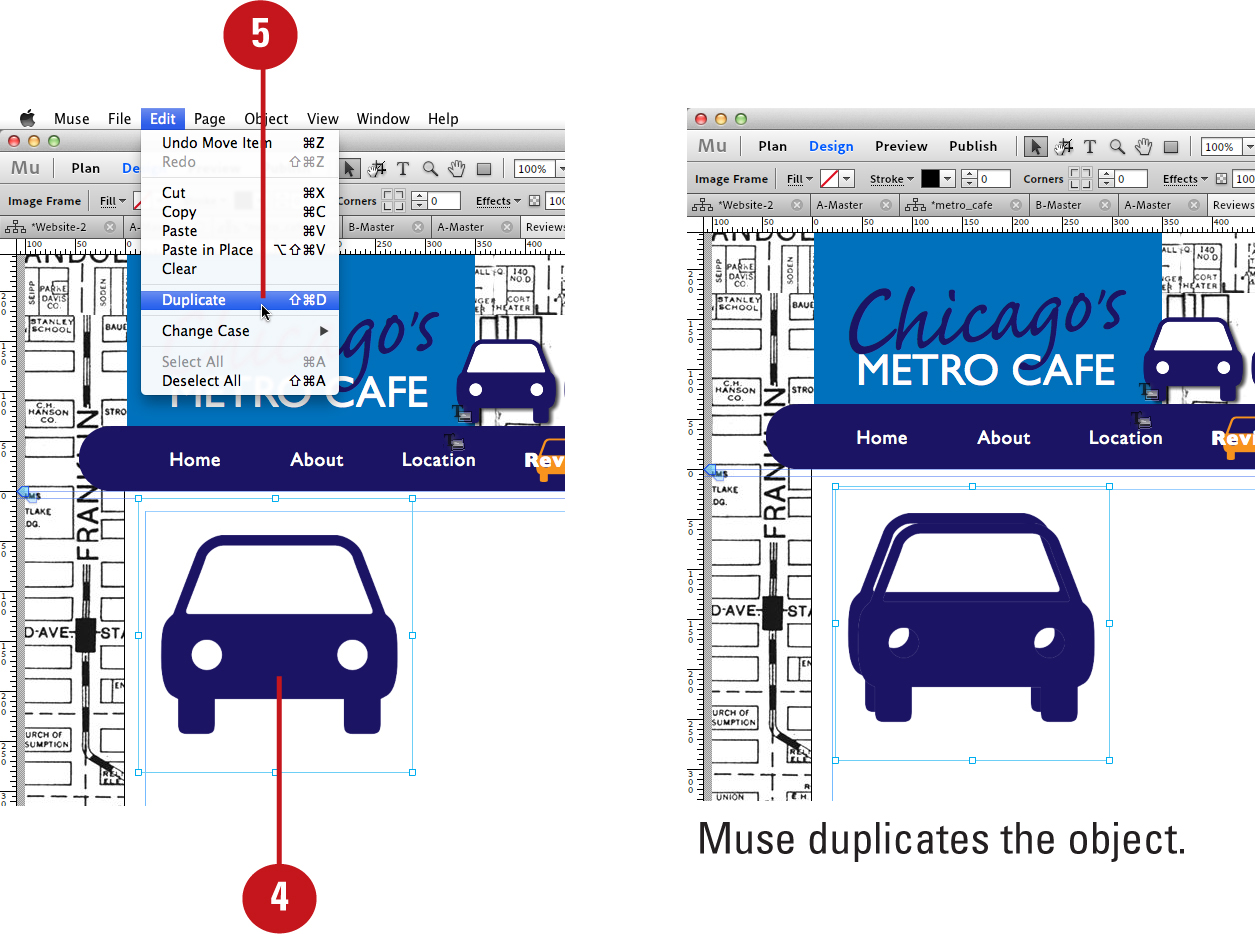
Muse creates a duplicate of the selected object and places it adjacent to the original. The duplicate object remains selected while the original does not.
Option/Alt-drag the graphic
![]() Choose Plan Mode from the View menu.
Choose Plan Mode from the View menu.
![]() From the sitemap, double-click the thumbnail of the page whose graphic you’d like to duplicate.
From the sitemap, double-click the thumbnail of the page whose graphic you’d like to duplicate.
Muse opens the page in Design Mode.
![]() Click the Selection Tool icon at the top of the Design Mode interface.
Click the Selection Tool icon at the top of the Design Mode interface.

![]() Click the graphic to select it.
Click the graphic to select it.
![]() To create a duplicate, hold down Option (Mac) or Alt (Win) and drag in any direction.
To create a duplicate, hold down Option (Mac) or Alt (Win) and drag in any direction.
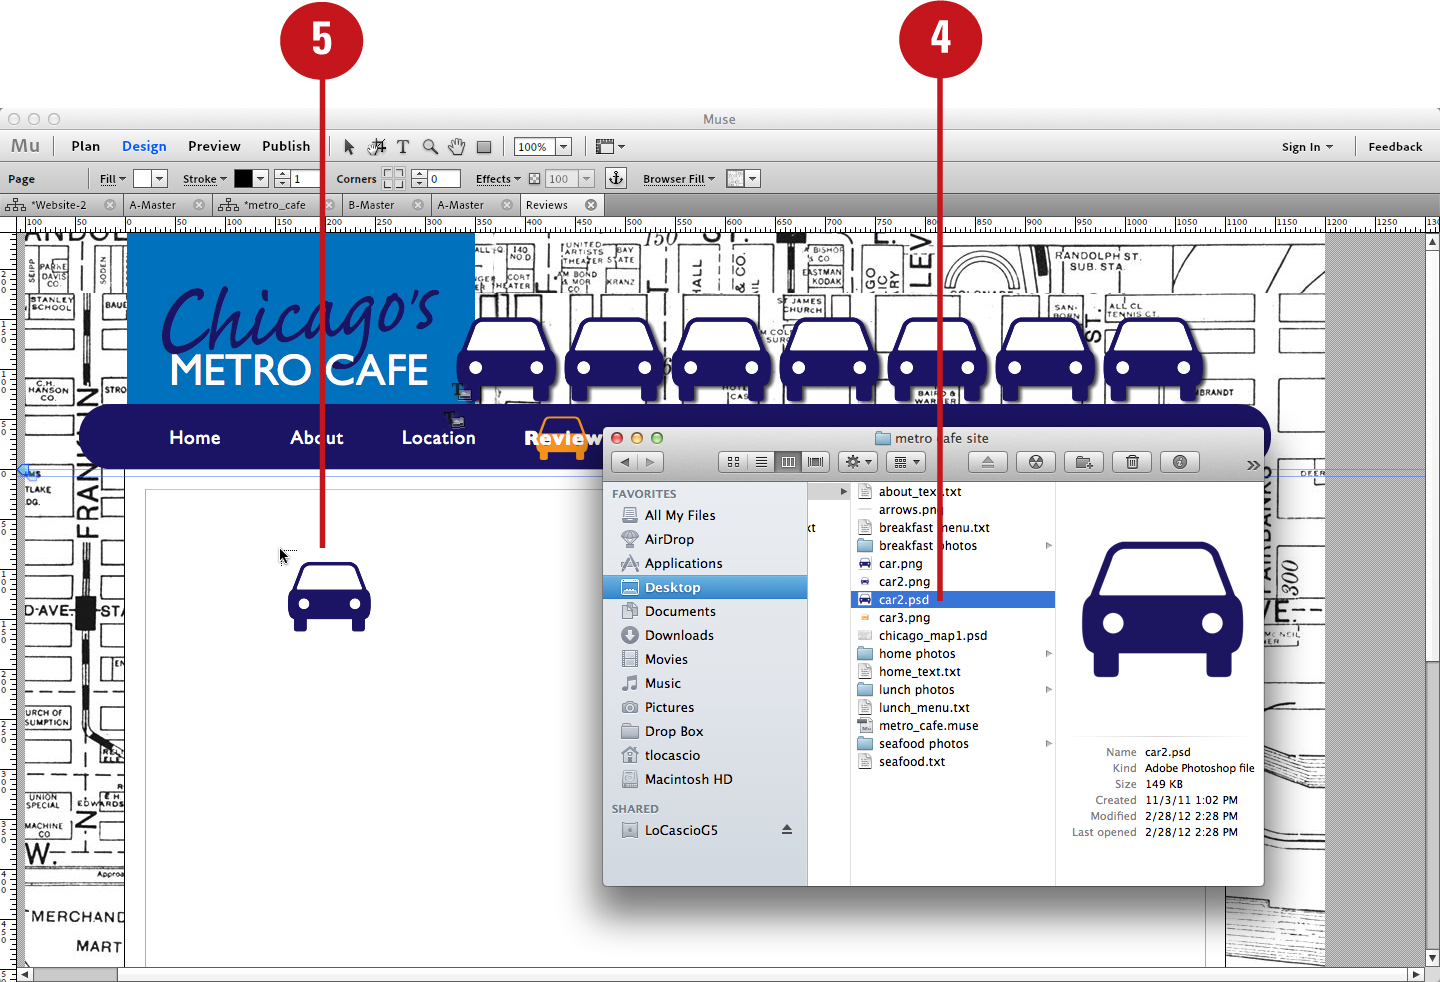
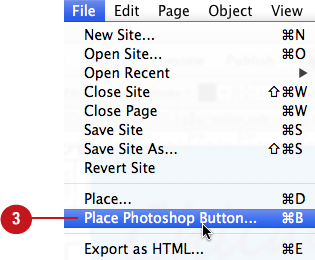
Placing a Photoshop (PSD) Button
One of the great things about working with Muse is that you can place native Photoshop files. By placing graphics saved in the PSD format, you can access the different layers contained in the file and apply them to specific button rollover states in Muse. You can do so directly from the Photoshop Import Options dialog box. Creating dynamic web buttons has never been so easy!
Choose the Place Photoshop Button command
![]() Choose Plan Mode from the View menu.
Choose Plan Mode from the View menu.

![]() Double-click any page or master page thumbnail from the sitemap.
Double-click any page or master page thumbnail from the sitemap.

Muse opens the page in Design Mode.
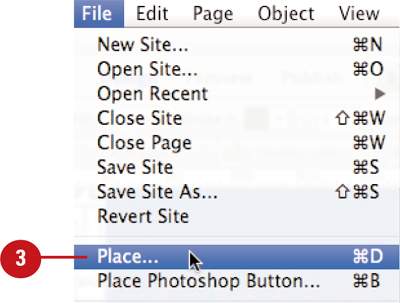
![]() Choose File > Place Photoshop Button to access the Place Photoshop Button dialog box.
Choose File > Place Photoshop Button to access the Place Photoshop Button dialog box.
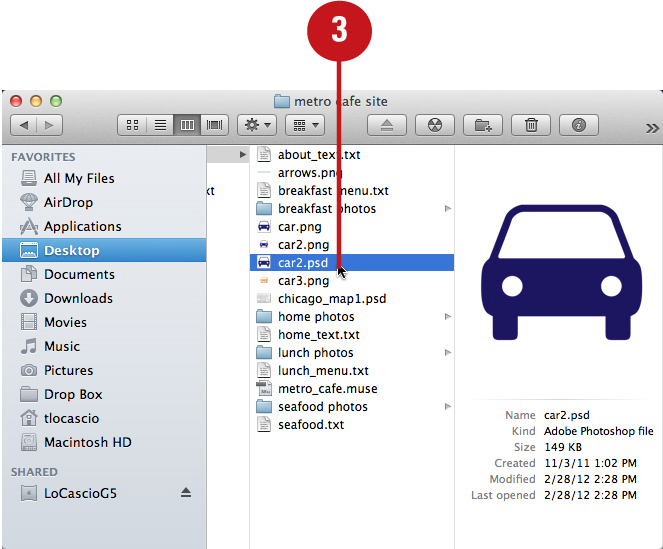
![]() Using the Place Photoshop Button dialog box, navigate to the PSD image on your system disk. Click the image file to select it and then click Select.
Using the Place Photoshop Button dialog box, navigate to the PSD image on your system disk. Click the image file to select it and then click Select.
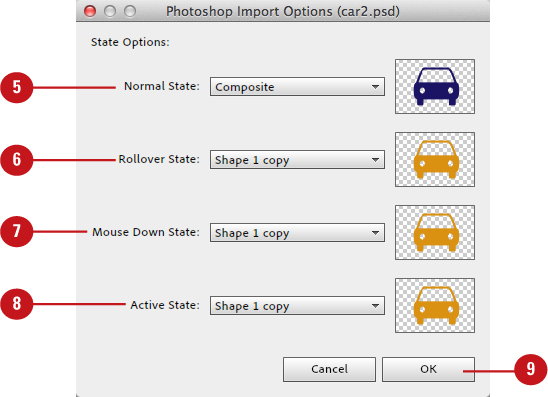
Muse displays the Photoshop Import Options dialog box.
![]() Using the Photoshop Import Options dialog box, choose a Photoshop layer to apply as the Normal State.
Using the Photoshop Import Options dialog box, choose a Photoshop layer to apply as the Normal State.
![]() Choose a Photoshop layer to apply as the Rollover State.
Choose a Photoshop layer to apply as the Rollover State.
![]() Choose a Photoshop layer to apply as the Mouse Down State.
Choose a Photoshop layer to apply as the Mouse Down State.
![]() Choose a Photoshop layer to apply as the Active State.
Choose a Photoshop layer to apply as the Active State.
![]() Click OK to close the Photoshop Import Options dialog box and apply the import options.
Click OK to close the Photoshop Import Options dialog box and apply the import options.
![]() Click the loaded place cursor anywhere on the page to place the image at its actual size (100%).
Click the loaded place cursor anywhere on the page to place the image at its actual size (100%).
![]() To test the button, choose Preview from the View menu or click the Preview button above the Control panel.
To test the button, choose Preview from the View menu or click the Preview button above the Control panel.
See Chapter 4, “Adding Navigational Content,” to learn more about working with rollover states in a menu.
Using Edit Original
Although it is treated as a separate Adobe product, Muse is truly integrated with the Creative Suite. Not only can you place native Photoshop files (see “Placing a Photoshop [PSD] Button” earlier in this chapter), but you can also utilize round-trip editing of all your placed graphics. By selecting the graphic from the Assets panel and choosing Edit Original from the contextual menu, you can open the graphic in its native application, such as Photoshop, Fireworks, or Illustrator, and apply edits to it. When you return to Muse, the graphic automatically updates.
Choose the Edit Original command
![]() Choose Plan Mode from the View menu.
Choose Plan Mode from the View menu.
![]() From the sitemap, double-click the thumbnail of the page whose graphic you’d like to edit.
From the sitemap, double-click the thumbnail of the page whose graphic you’d like to edit.
Muse opens the page in Design Mode.
![]() Click the Selection Tool icon at the top of the Design Mode interface.
Click the Selection Tool icon at the top of the Design Mode interface.

![]() Click the graphic to select it.
Click the graphic to select it.
![]() Display the Assets panel by choosing Window > Assets.
Display the Assets panel by choosing Window > Assets.

![]() Locate the name of the graphic from the Assets panel list. Right-click or Control-click (Mac) the name to access the contextual menu and choose Edit Original.
Locate the name of the graphic from the Assets panel list. Right-click or Control-click (Mac) the name to access the contextual menu and choose Edit Original.

Muse opens the graphic in its native application.
![]() Proceed to edit the graphic in its native application and then choose File > Save.
Proceed to edit the graphic in its native application and then choose File > Save.
Muse automatically updates the placed graphic.
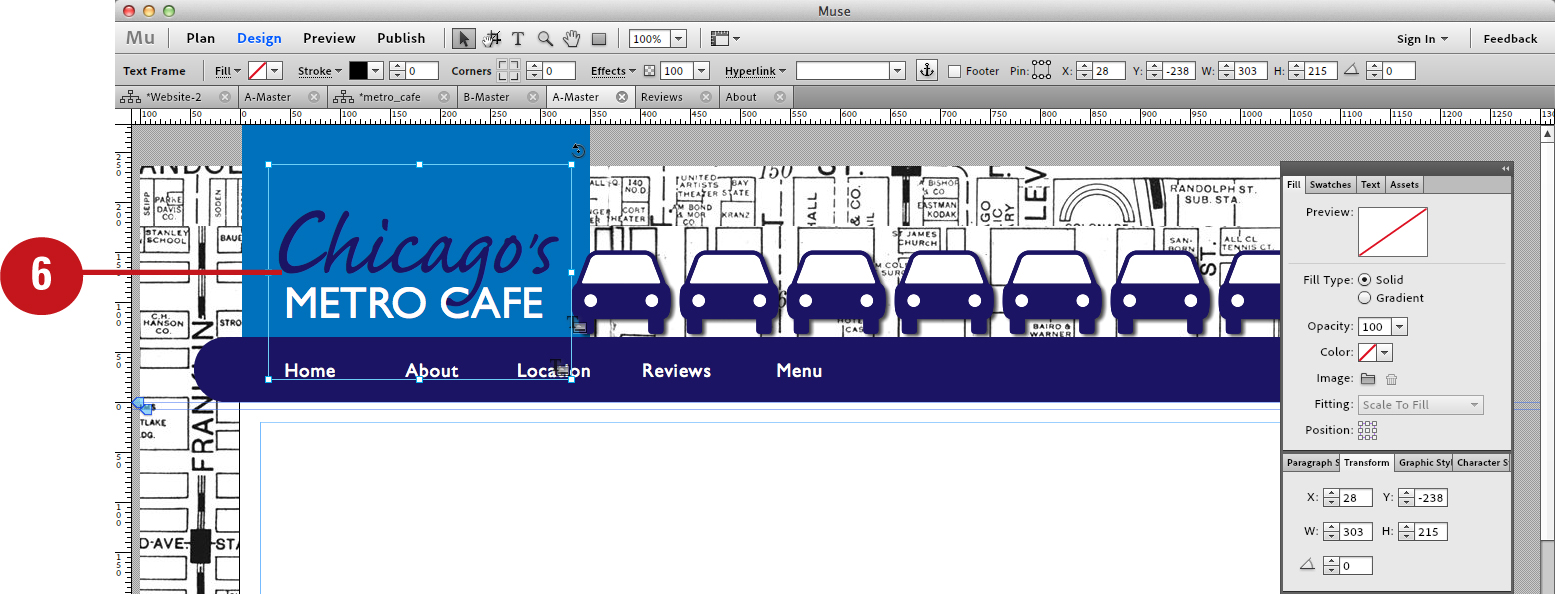
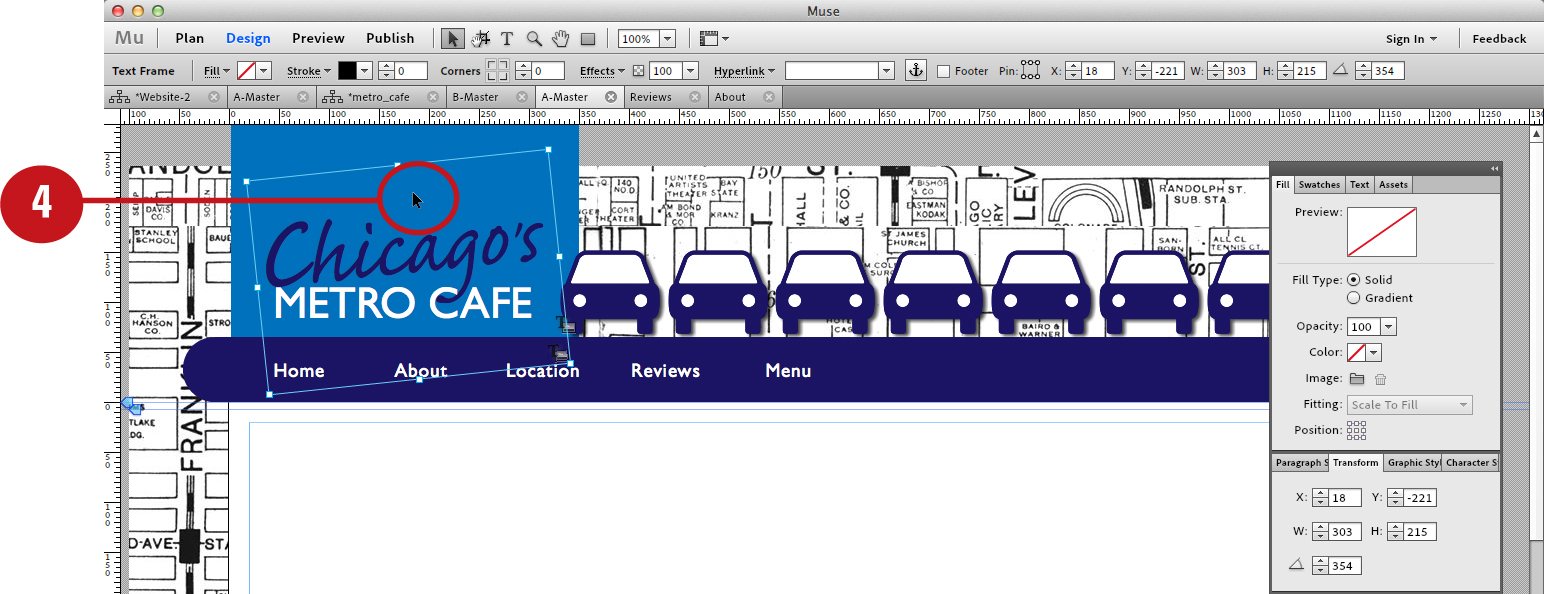
Pinning a Graphic
Another unique feature in Muse is the ability to pin a graphic to a specific browser location. By selecting a graphic and choosing a Pin position from the Control panel, you can force the graphic to stay in position as the viewer scrolls through the page in a browser. It’s that simple!
Pin a graphic to a specific browser location
![]() Choose Plan Mode from the View menu.
Choose Plan Mode from the View menu.

![]() From the sitemap, double-click the thumbnail of the page whose graphic you’d like to edit.
From the sitemap, double-click the thumbnail of the page whose graphic you’d like to edit.

Muse opens the page in Design Mode.
![]() Click the Selection Tool icon at the top of the Design Mode interface.
Click the Selection Tool icon at the top of the Design Mode interface.

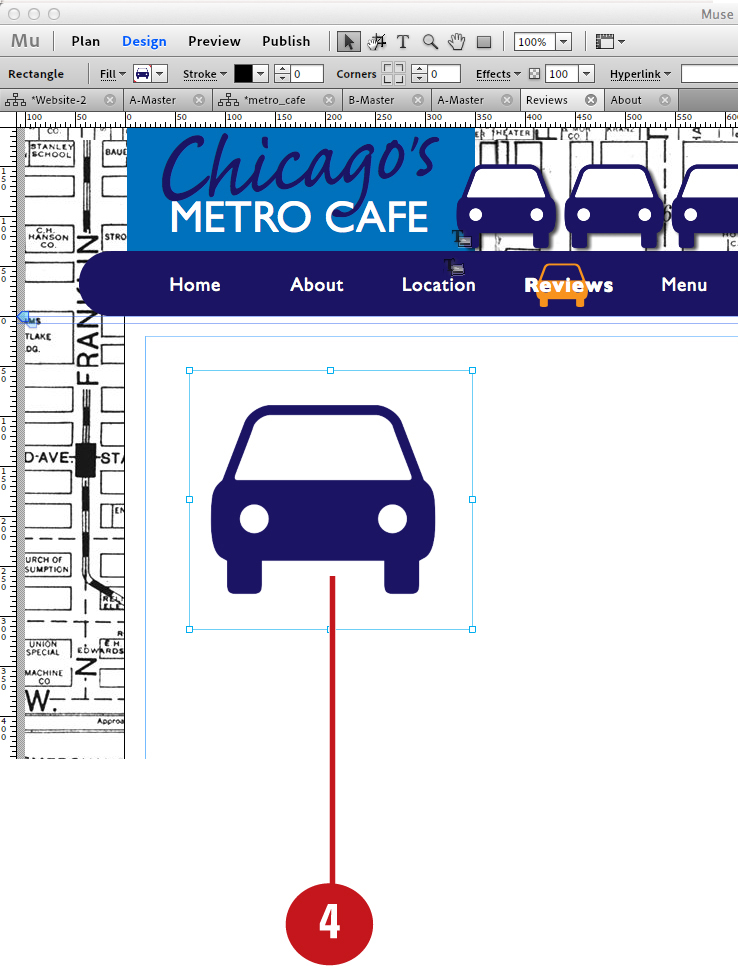
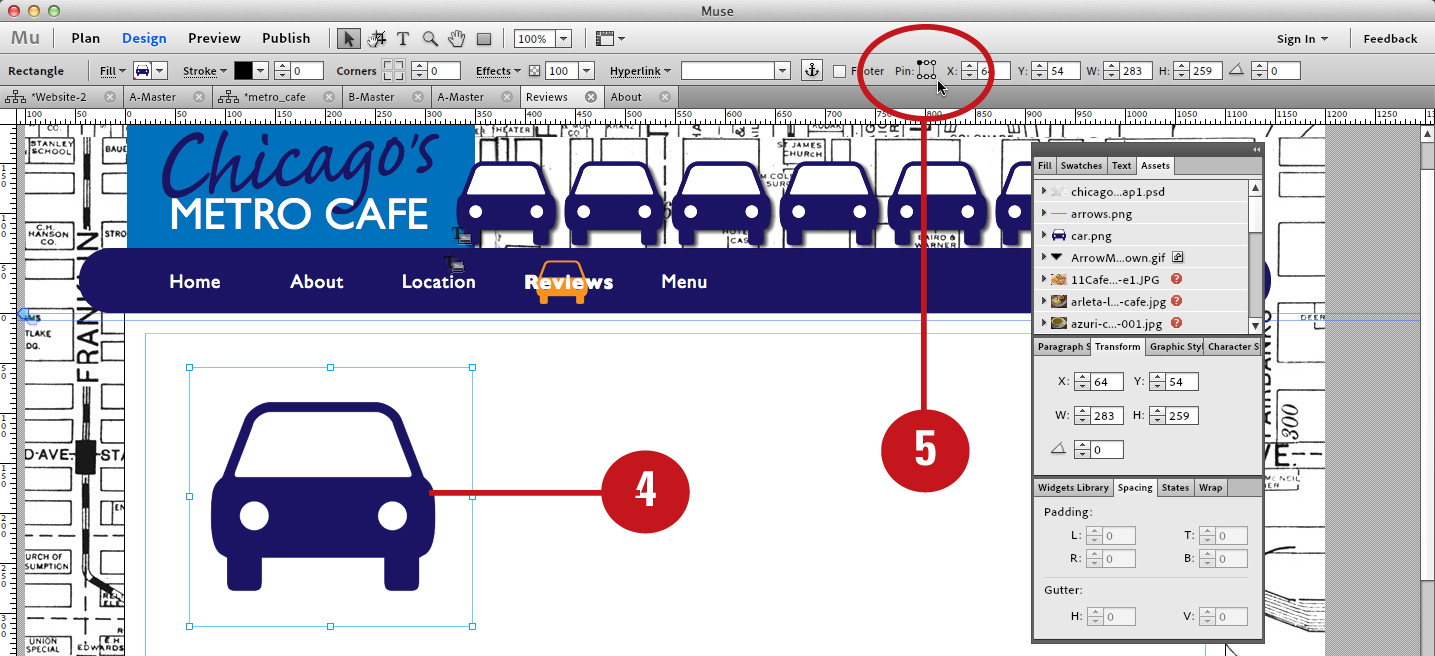
![]() Click the graphic to select it.
Click the graphic to select it.
![]() In the Control panel, click a Pin position. Doing so pins the graphic to the browser relative to were you clicked. For example, clicking the upper-left square pins the graphic to the upper-left corner of the browser window.
In the Control panel, click a Pin position. Doing so pins the graphic to the browser relative to were you clicked. For example, clicking the upper-left square pins the graphic to the upper-left corner of the browser window.
Muse pins the graphic to the chosen browser location.
![]() To view the pinned graphic, choose Preview from the View menu or click the Preview button above the Control panel.
To view the pinned graphic, choose Preview from the View menu or click the Preview button above the Control panel.
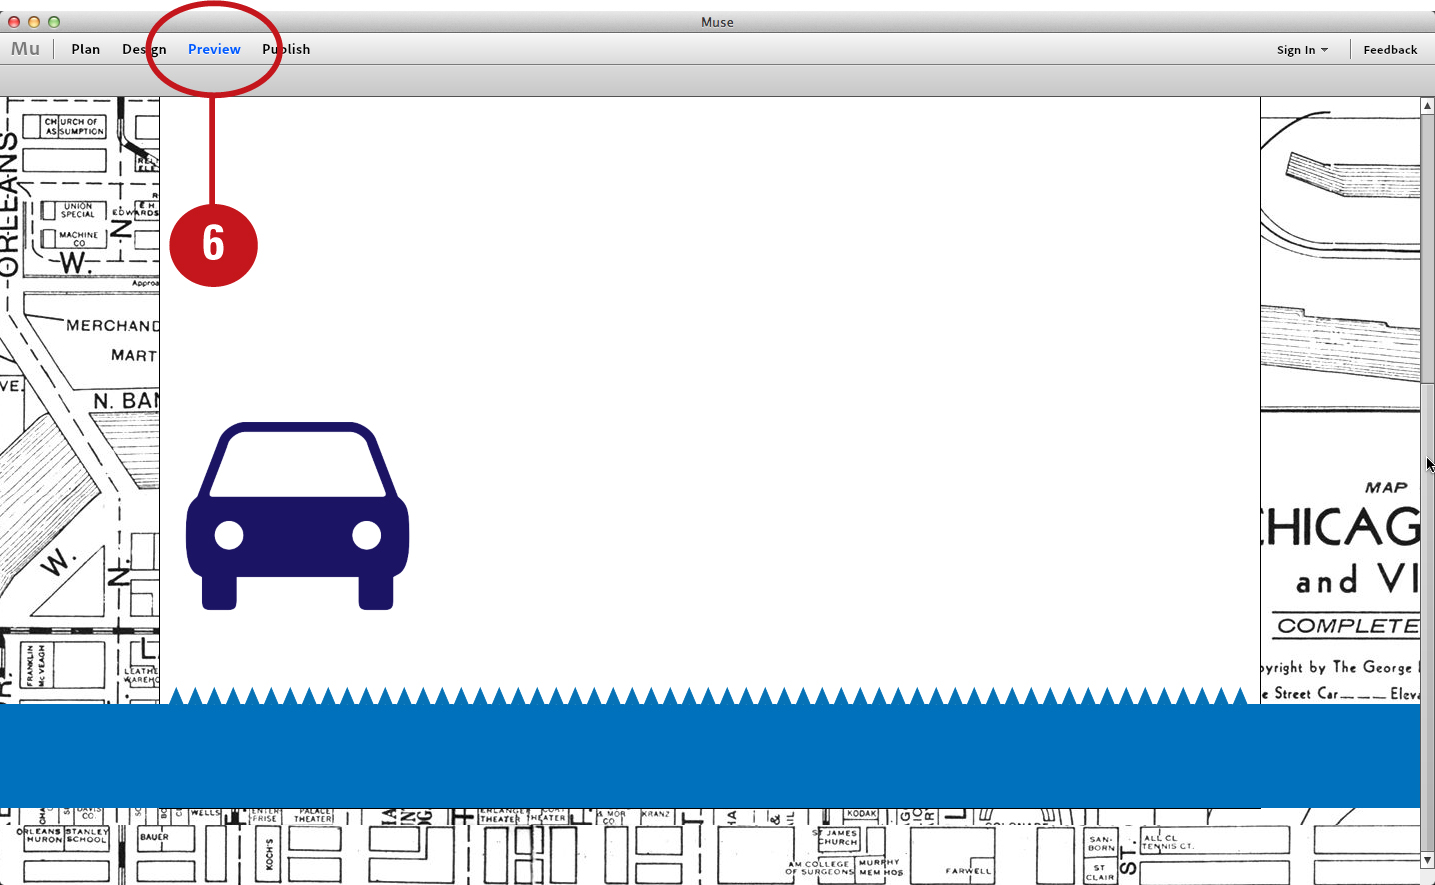
The pinned graphic stays in position as you scroll the page.
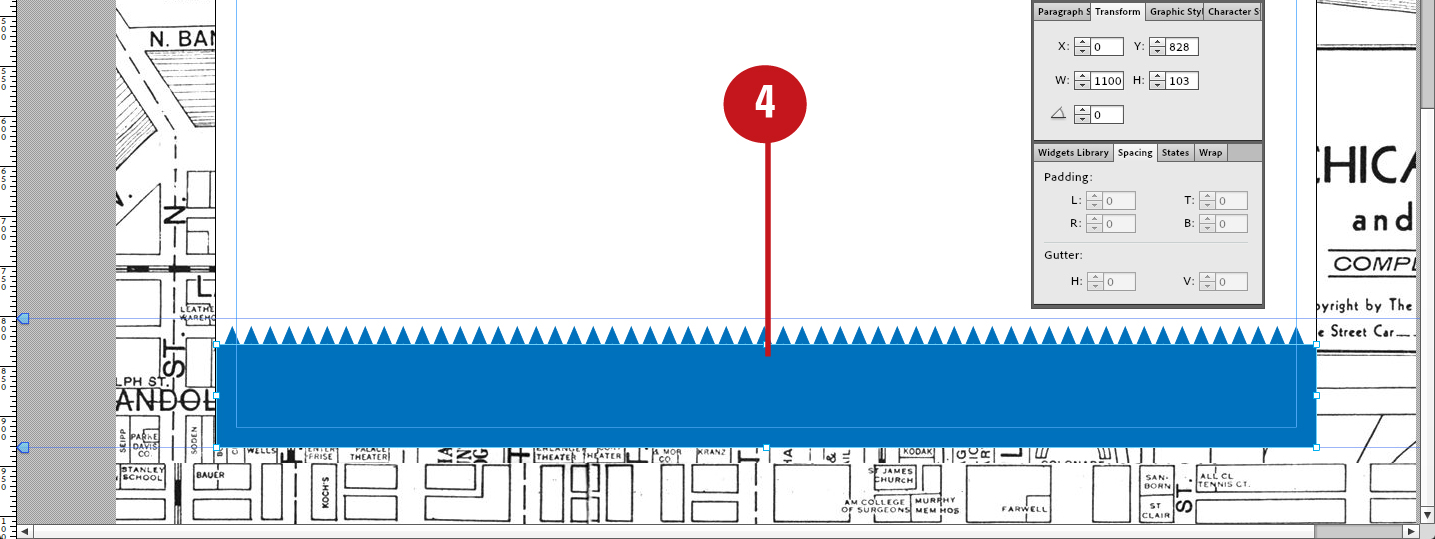
Setting Objects to Display at 100% Browser Width
Another useful feature in Muse is the ability to set objects to display at 100% browser width. This is especially useful when setting up objects on master pages, because it enables the objects to resize with the browser window—an effect you would usually want to keep consistent throughout your site pages. These objects can contain color fills or tiled background images.
Create rectangles that resize with the Browser window
![]() Choose Plan Mode from the View menu.
Choose Plan Mode from the View menu.

![]() From the sitemap, double-click the thumbnail of the page that you’d like to add a graphic to at 100% browser width.
From the sitemap, double-click the thumbnail of the page that you’d like to add a graphic to at 100% browser width.

Muse opens the page in Design Mode.
![]() Click the Rectangle Tool icon at the top of the Design Mode interface.
Click the Rectangle Tool icon at the top of the Design Mode interface.

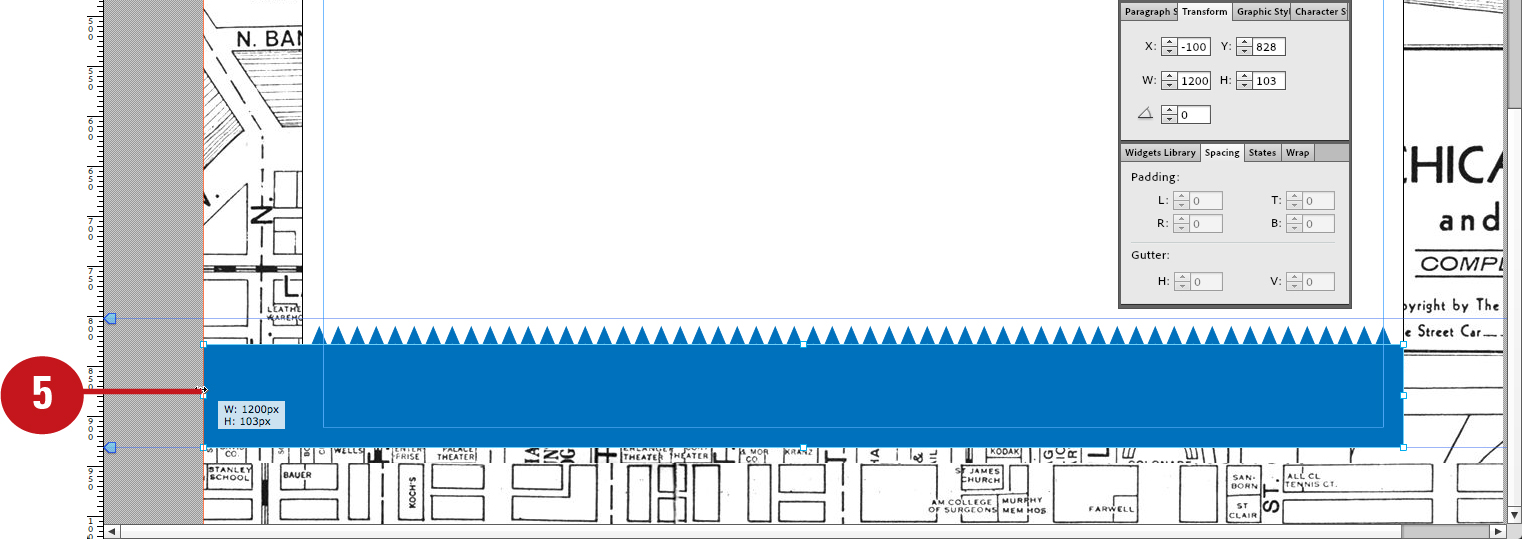
![]() Click and drag with the Rectangle tool to create the shape. Proceed to apply the desired fill and stroke attributes.
Click and drag with the Rectangle tool to create the shape. Proceed to apply the desired fill and stroke attributes.
As you draw with the Rectangle tool, Muse displays the current width and height measurements (in pixels) next to the cursor.
![]() Hold down Cmd (Mac) or Ctrl (Win) to temporarily access the Selection tool. Click and drag the left and right side nodes to align them with the edges of the page. Release the mouse button when the red highlight appears.
Hold down Cmd (Mac) or Ctrl (Win) to temporarily access the Selection tool. Click and drag the left and right side nodes to align them with the edges of the page. Release the mouse button when the red highlight appears.