When it comes to working with Spark or building Spark applications, there are many options. This chapter describes the three common options, including using Spark shell, submitting a Spark application from the command line, and using a hosted cloud platform called Databricks. The last part of this chapter is geared toward software engineers who want to set up Apache Spark source code on a local machine to study Spark source code and learn how certain features were implemented.
Downloading and Installation
To learn or experiment with Spark, it is convenient to have it installed locally on your computer. This way, you can easily try out certain features or test your data processing logic with small datasets. Having Spark locally installed on your laptop lets you learn it from anywhere, including your comfortable living room, the beach, or at a bar in Mexico.
Spark is written in Scala. It is packaged so that it can run on both Windows and UNIX-like systems (e.g., Linux, macOS). To run Spark locally, all that is needed is Java installed on your computer.
To set up a multitenant Spark production cluster requires a lot more information and resources, which are beyond the scope of this book.
Downloading Spark

Apache Spark download options
Installing Spark
Once the file is successfully downloaded onto your computer, the next step is to uncompress it. The spark-3.1.1-bin-hadoop2.7.tgz file is in a GZIP compressed tar archive file, so you need to use the right tool to uncompress it.
For Windows computers, you can use either the WinZip or 7-zip tool to unzip the downloaded file.
Once the uncompression is successfully finished, there should be a directory called spark-3.1.1-bin-hadoop2.7. From here on, this directory is referred to as the Spark directory.
If a different version of Spark is downloaded, the directory name is slightly different.
The Subdirectories in spark-3.1.1-bin-hadoop2.7
Name | Description |
|---|---|
bin | Contains the various executable files to bring up Spark shell in Scala or Python, submit Spark applications, run Spark examples |
data | Contains small sample data files for various Spark examples |
examples | Contains both the source code and binary file for all Spark examples |
jars | Contains the necessary binaries that are needed to run Spark |
sbin | Contains the executable files to manage Spark cluster |
The next step is to test out the installation by bringing up the Spark shell.
Spark shell is like a Unix shell. It provides an interactive environment to easily learn Spark and analyze data. Most Spark applications are developed using either Python or Scala programming language. Spark shell is available for both of those languages. If you are a data scientist and Python is your cup of tea, you will not feel left out. The following section shows how to bring up Spark Scala and Spark Python shell.
Scala is a Java JVM-based language, and thus, it is easy to leverage existing Java libraries in Scala applications.
Spark Scala Shell

Scala Spark shell output
To exit the Scala Spark shell , type :quit or :q.
Java version 11 or higher is preferred to run the Spark Scala shell.
Spark Python Shell

Output of Python Spark shell
To exit the Python Spark shell, enter ctrl-d.
Spark Python shell requires Python 3.7.x or higher.
The Spark Scala shell and the Spark Python shell are extensions of Scala REPL and Python REPL, respectively. REPL is an acronym for read-eval-print loop. It is an interactive computer programming environment that takes user inputs, evaluates them, and returns the result to the user. Once a line of code is entered, the REPL immediately provides feedback on whether there is a syntactic error. If there aren’t any syntax errors, it evaluates them. If there is any output, it is displayed in the shell. The interactive and immediate feedback environment allows developers to be very productive by bypassing the code compilation step in the normal software development process.
To learn Spark, Spark shell is a very convenient tool to use on your local computer anytime and anywhere. It doesn’t have any external dependencies other than the data files you process need to reside on your computer. However, if you have an Internet connection, it is possible to access those remote data files, but it will be slow.
The remaining chapters of this book use the Spark Scala shell.
Having Fun with the Spark Scala Shell
This section provides information about Scala Spark shell and a set of useful commands to know to be effective and productive at using it for exploratory data analysis or building Spark applications interactively.
The ./bin/spark-shell command effectively starts a Spark application and provides an environment where you can interactively call Spark Scala APIs to easily perform exploratory data processing. Since Spark Scala shell is an extension of Scala REPL, it is a great way to use it to learn Scala and Spark at the same time.
Useful Spark Scala Shell Command and Tips
Once a Spark Scala shell is started, it puts you in an interactive environment to enter shell commands and Scala code. This section covers various useful commands and a few tips on working in the shell.

List of available shell commands
Useful Spark Shell Commands
Name | Description |
|---|---|
:history | This command displays what was entered during the previous Spark shell session as well as the current session. It is useful for copying purposes. |
:load | Load and execute the code in the provided file. This is particularly useful when the data processing logic is long. It is a bit easier to keep track of the logic in a file. |
:reset | After experimenting with the various Scala or Spark APIs for a while, you may lose track of the value of various variables. This command resets the shell to a clean state to make it easy to reason. |
:silent | This is for an advanced user who is a bit tired at looking at the output of each Scala or Spark APIs that were entered in the shell. To re-enable the output, simply type :silent again. |
:quit | This is a self-explanatory command but useful to know. Often, people try to quit the shell by entering :exit, which doesn’t work. |
:type | Display the type of a variable. :type <variable name> |
In addition to these commands, a helpful feature for improving developer productivity is the code completion feature. Like popular integrated development environments (IDEs) like Eclipse or IntelliJ, the code completion feature helps developers explore the possible options and reduce typing errors.

Tab completion output of spa
In addition to completing the name of a partially entered word, the tab completion can show an object’s available member variables and functions.

List of available member variables and functions of object called “spark”
The :history command displays the previously entered commands or lines of code. This suggests that the Spark shell maintains a record of what was entered. One way to quickly display or recall what was entered recently is by pressing the up arrow key. Once you scroll up to the line you want to execute, simply hit Enter to execute it.
Basic Interactions with Scala and Spark
The preceding section covered the basics of navigating the Spark shell; this section introduces a few fundamental ways of working with Scala and Spark in Spark shell. This fundamental knowledge will be really helpful in future chapters as you dive much deeper into topics like Spark DataFrame and Spark SQL.
Basic Interactions with Scala
Let’s start with Scala in the Spark Scala shell, which provides a full-blown environment for learning Scala. Think of Spark Scala shell as a Scala application with an empty body, and this is where you come in. You fill this empty body with Scala functions and logic for your application. This section intends to demonstrate a few simple Scala examples in Spark shell. Scala is a fascinating programming language that is powerful, concise, and elegant. Please refer to Scala-related books to learn more about this programming language.

Output of the Hello World example command
The next example defines an array of ages and prints those element values out in the Spark shell. In addition, this example illustrates the code completion feature mentioned in the previous section.

Output of defining an array of ages

Output of code completion

Output from printing out the ages
The previous code statement may look a bit cryptic for those new to Scala; however, you can intuitively guess what it does. As the foreach function iterates through each element in the “ages” array, it passes that element to the println function to print the value out to the console. This style is used quite a bit in the coming chapters.

If there are syntax errors, Spark shell returns the function signature

The output from filtering and printing out only ages that are odd numbers

Output of :type command
To learn Spark, it is not necessary to master the Scala programming language. However, one must be comfortable with knowing and working with the basics of Scala. A good resource for learning just enough Scala to learn Spark is at https://github.com/deanwampler/JustEnoughScalaForSpark. This resource was presented at various Spark-related conferences.
Spark UI and Basic Interactions with Spark
In the previous section, I mentioned Spark shell is a Scala application. That is only partially true. The Spark shell is a Spark application written in Scala. When the Spark shell is started, a few things are initialized and set up for you to use, including Spark UI and a few important variables.
Spark UI
If you go back and carefully examine the Spark shell output in either Figure 2-2 or Figure 2-3, you see a line that looks something like the following. (The URL may be a bit different for your Spark shell.)
The SparkContext Web UI is available at http://<ip>:4040.

Spark UI
The Spark UI is a web application designed to help with monitoring and debugging Spark applications. It contains detailed runtime information and various resource consumptions of a Spark application. The runtime includes various metrics that are tremendously helpful in diagnosing performance issues in your Spark applications. One thing to note is that the Spark UI is only available while a Spark application is running.
The navigation bar at the top of the Spark UI contains links to the various tabs, including Jobs, Stages, Storage, Environment, Executors, and SQL. I briefly cover the Environment and Executors tabs and describe the remaining tabs in later chapters.
Sections in the Environment Tab
Name | Description |
|---|---|
Runtime Information | Contains the locations and versions of the various components that Spark depends on, including Java and Scala. |
Spark Properties | This area contains the basic and advanced properties that are configured in a Spark application. The basic properties include the basic information about an application like application id, name, and so on. The advanced properties are meant to turn on or off certain Spark features or tweak them in certain ways that are best for a particular application. See the resource at https://spark.apache.org/docs/latest/configuration.html for a comprehensive list of configurable properties. |
Resource Profiles | Information about the number of CPUs and the amount of memory in the Spark cluster. |
Hadoop Properties | The various Hadoop and Hadoop File System properties. |
System Properties | These properties are mainly at the OS and Java level, not Spark specific. |
Classpath Entries | Contains a list of classpaths and jar files that are used in a Spark application. |

Executor tab of a Spark application that uses only a single executor
You revisit Spark UI in a later chapter.
Basic Interactions with Spark

Showing the type of “spark” variable
The SparkSession class was introduced in Spark 2.0 to provide a single entry point to interact with underlying Spark functionalities. This class has APIs for reading unstructured and structured data in text and binary formats, such as JSON, CSV, Parquet, ORC, and so on. In addition, the SparkSession component provides a facility to retrieve and set Spark configurations.

Spark version output

Display Spark version using println function

Default configurations in Spark shell application

A complete list of variables that can be accessed from the spark variable
Upcoming chapters have more examples of using spark to interact with underlying Spark functionalities.
Introduction to Collaborative Notebooks
Fully managed Spark clusters
An interactive workspace for exploration and visualization
A production pipeline scheduler
A platform for powering your favorite Spark-based applications
The Collaborative Notebooks product has two versions, the full platform and the community edition. The commercial edition is a paid product that provides advanced features such as creating multiple clusters, user management, and job scheduling. The community edition is free and ideal for developers, data scientists, data engineers and anyone who wants to learn Apache Spark or try Databricks.
The following section cover the basic features of Collaborative Notebooks community edition. It provides an easy and intuitive environment to learn Spark, perform data analysis or build Spark applications. This section is not intended to be a comprehensive guide. For that, you can refer to the Databricks user guide (https://docs.databricks.com/user-guide/index.html).

Databricks email to confirm your email address
Databricks sign-in page

Databricks welcome page
Over time, the welcome page may evolve, so it does not look exactly like Figure 2-23. Feel free to explore the tutorial or the documentation.
- 1.
Create a cluster.
- 2.
Create a folder.
- 3.
Create a notebook.
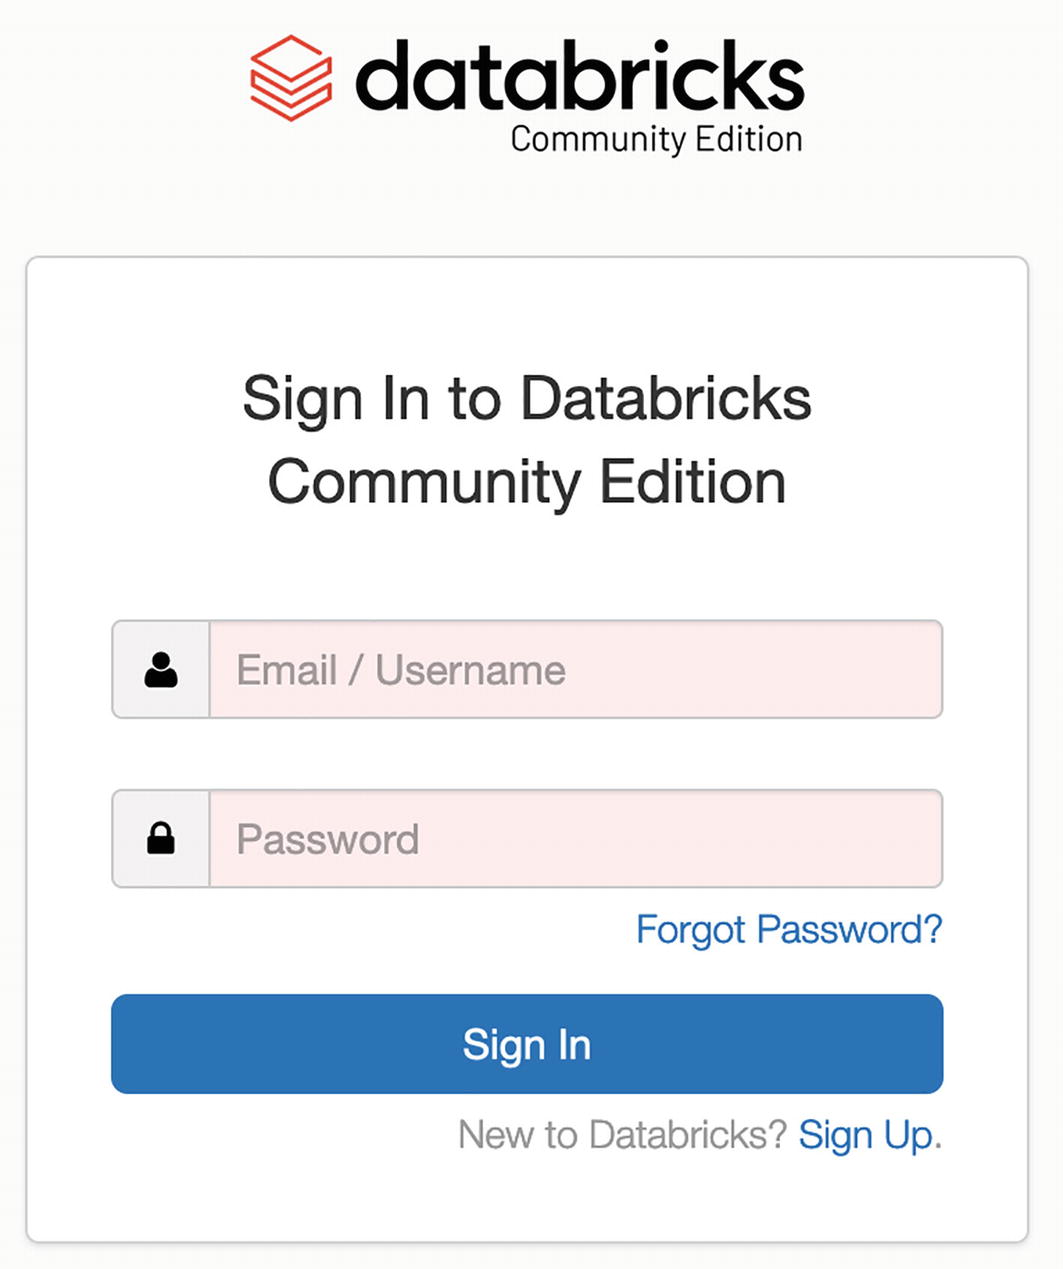
Create a Cluster
One of the coolest features of the community edition (CE) is that it provides a single node Spark cluster with 15 GB of memory for free. At the time of writing this book, this single node cluster is hosted on the AWS cloud. Since the CE account is free, it provides the capability to create multiple clusters simultaneously. A cluster continues to stay up as long as it is being used. If it is idle for two hours, it automatically shuts down. This means you don’t have to proactively shut down the cluster.

DataBricks Cluster page with no active clusters
Create Cluster form
Databricks New Cluster Form Fields
Name | Description |
|---|---|
Cluster Name | A unique name to identify your cluster. The name can have space between each word; for example, “my spark cluster”. |
Databricks Runtime Version | Databricks supports many versions of Spark. For learning purposes, select the latest version, which is automatically filled for you. Each version is tied to a specific AWS image. |
Instance | For the CE edition, there isn’t any other choice. |
AWS – Availability Zone | This allows you to decide which AWS Availability Zone your single node cluster runs in. The options may look different based on your location. |
Spark – Spark Config | This allows you to specify any application-specific configurations that should be used to launch the Spark cluster. Examples include JVM configurations to turn on certain Spark features. |

After a cluster is created successfully
Feel free to explore by clicking the name of your cluster or the various links on this page. If you try to create another Spark cluster by following the same steps, it won’t allow you to do so.
To terminate an active Spark cluster, click the square block under the Actions column.
For more information on creating and managing a Spark cluster in Databricks, go to https://docs.databricks.com/user-guide/clusters/index.html.
Let’s move on to the next step, creating a folder.
Create a Folder
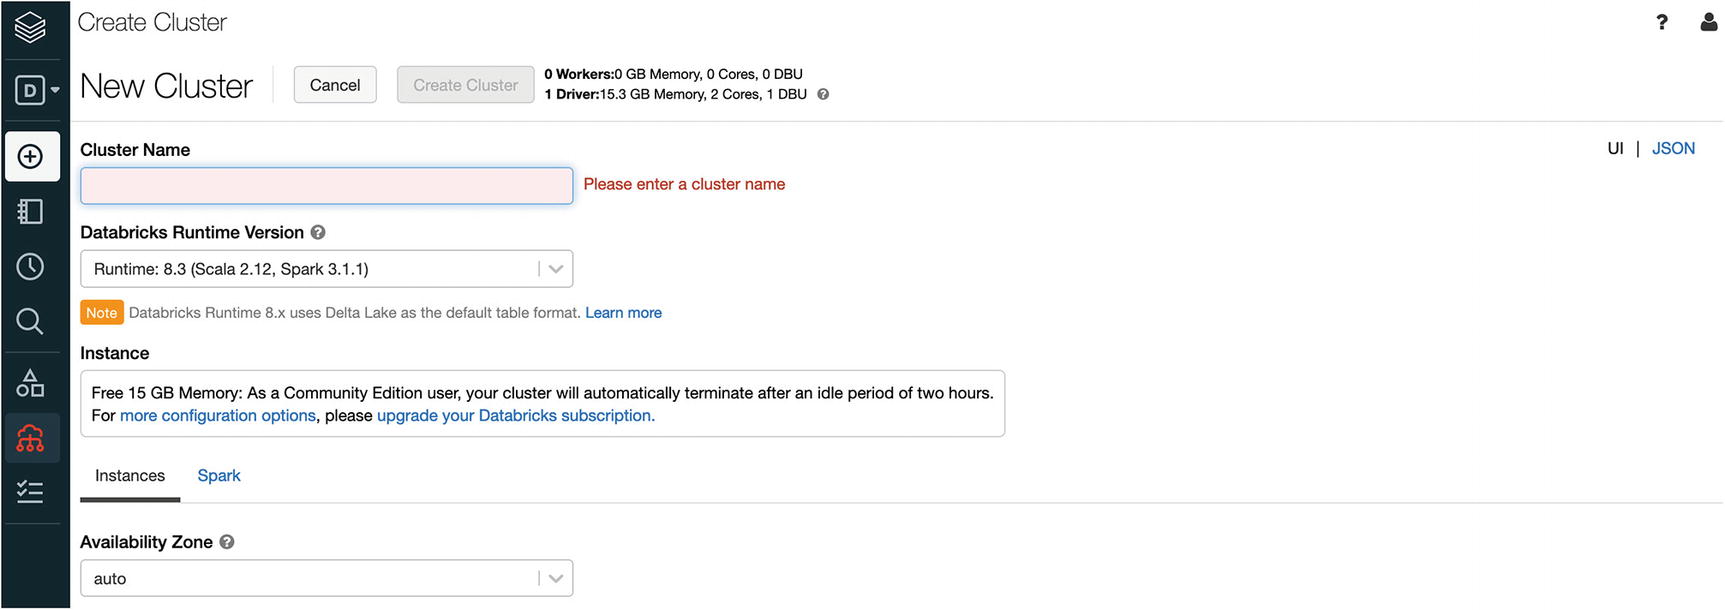
Before going into how to create a folder, it is worth it to take a moment to describe the workspace concept in Databricks. The easiest way to think about workspace is to treat it as the file system on your computer, which means one can leverage its hierarchical property to organize the various notebooks.

Workspace column

Menu item for creating a folder

New Folder Name dialog box

Chapter 2 folder appears in the Workspace column
Before creating a notebook, it is worth mentioning that there is an alternative way to create a folder. Place your mouse pointer anywhere in the Workspace column and right-click; the same menu options appear.
For more information on workspaces and creating folders, please go to https://docs.databricks.com/user-guide/workspace.html.
Create a Notebook
Chapter 2 column appears to the right of Workspace column

Create notebook menu item

Create Notebook dialog box with Scala language option selected

New Scala notebook
If you have never worked with IPython notebook, the notebook concept may seem a bit strange at first. However, once you get used to it, you find it intuitive and fun.
A notebook is essentially an interactive computational environment (similar to Spark shell, but way better). You can execute Spark code, document your code with rich text using Markdown or HTML markup language and visualize the result of your data analysis with various types of chart and graph.
The following section covers only a few essential parts to help you be productive in using the Spark Notebook. For a comprehensive list of instructions on using and interacting with a Databricks notebook, please go to https://docs.databricks.com/user-guide/notebooks/index.html.
The Spark Notebook contains a collection of cells, and each one contains either a block of code to execute or markups for documentation purposes.
A good practice of using the Spark Notebook is to break your data processing logic into multiple logical groups so each one resides in one or more cells. This is similar to the practice of developing maintainable software applications.
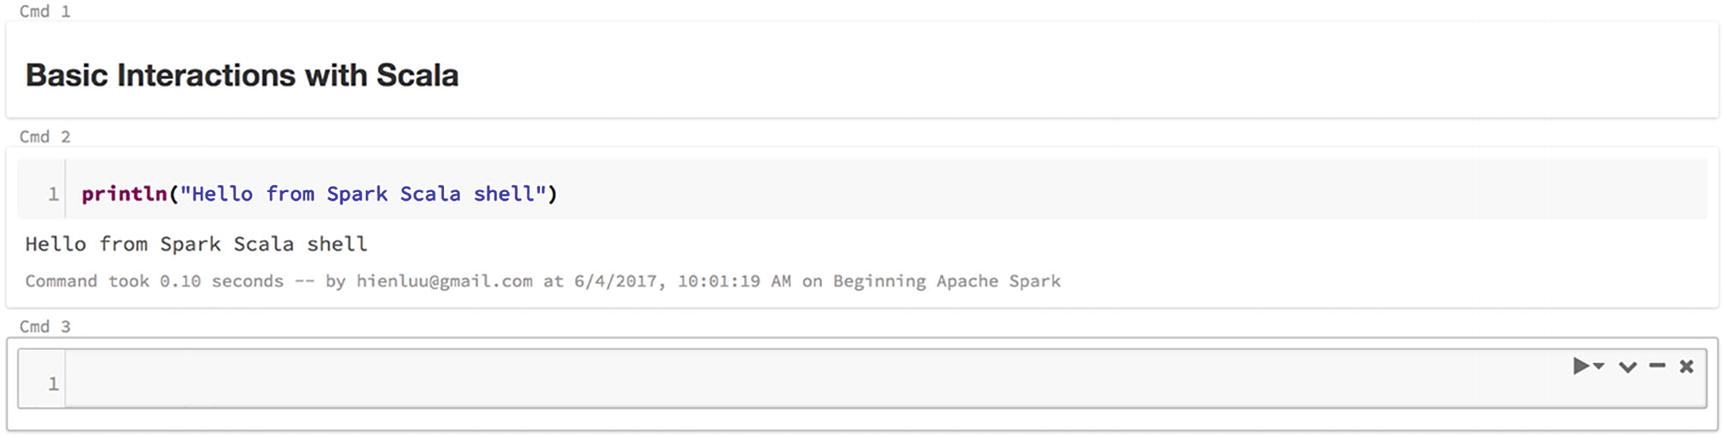
Let’s divide the notebook into two sections. The first section contains the code snippets you entered in the “Basic Interactions with Scala” section. The second section contains the code snippets you entered in the “Basic Interactions with Spark” section.

Cell contains section header markup statement

The output of executing the markup statement
The output of executing the println statement

The remaining code statements from the “Interactions with Scala” section
Like Spark Scala shell, Scala Notebook is a full-blown Scala interactive environment where you can execute Scala code.

Output of the code snippets from Interactions with Spark section
There are a few important notes to know when working with a Spark Notebook. It provides a very convenient auto-saving feature. The content of a notebook is automatically saved as you enter market statements or code snippets. In fact, the menu items under the File menu item don’t have an option for saving a notebook.

Using plus icon to create a new cell between two existing cells

Notebook publishing menu item

Publishing confirmation dialog box
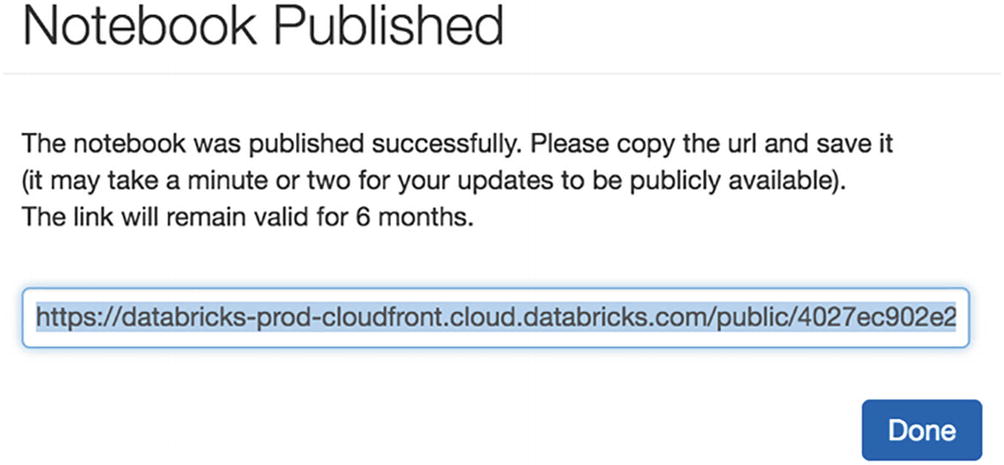
Notebook published URL
This section covers only the essential parts of using Databricks. Many other advanced features make it enticing to use Databricks as the platform for performing interactive data analysis or building advanced data solutions like machine learning models.
The CE provides a free account with a single node Spark cluster. Learning Spark through the Databricks product becomes so much easier than before. I highly recommend giving Databricks a try in your journey of learning Spark.
Setting up Spark Source Code
This section is geared toward software developers or anyone interested in learning how Spark works at the code level. Since Apache Spark is an open source project, its source code is publicly available to download from GitHub, examine and study how certain features were implemented. The Spark code is written in Scala by some of the smartest Scala programmers on the planet, so studying the Spark code is a great way to improve one’s Scala programming skills and knowledge.

Apache Spark source download option
To complete the source code download process, click the link on line #3 to download the compressed source code file. The final step is to uncompress the file into the directory your choice.
Once the Apache Spark source code is downloaded on your computer, go to http://spark.apache.org/developer-tools.html for information on how to import them into your favorite IDE.
Summary
When it comes to learning Spark, there are a few options. You can either use the locally installed Spark or use the Collaborative Notebook Community Edition. These tools make it easy and convenient for anyone to learn Spark.
The Spark shell is a powerful and interactive environment to learn Spark APIs and to analyze data interactively. There are two types of Spark shell, Spark Scala shell, and Spark Python shell.
The Spark shell provides a set of commands to help its users to become productive.
Collaborative Notebooks is a fully managed platform designed to simplify building and deploying data exploration, data pipelines, and machine learning solutions. The interactive workspace provides an intuitive way to organize and manage notebooks. Each notebook contains a combination of markup statements and code snippets. Sharing a notebook with others only requires a few mouse clicks.
For software developers interested in learning about the internals of Spark, downloading and examining the Apache Spark source code is a great way to satisfy that curiosity.